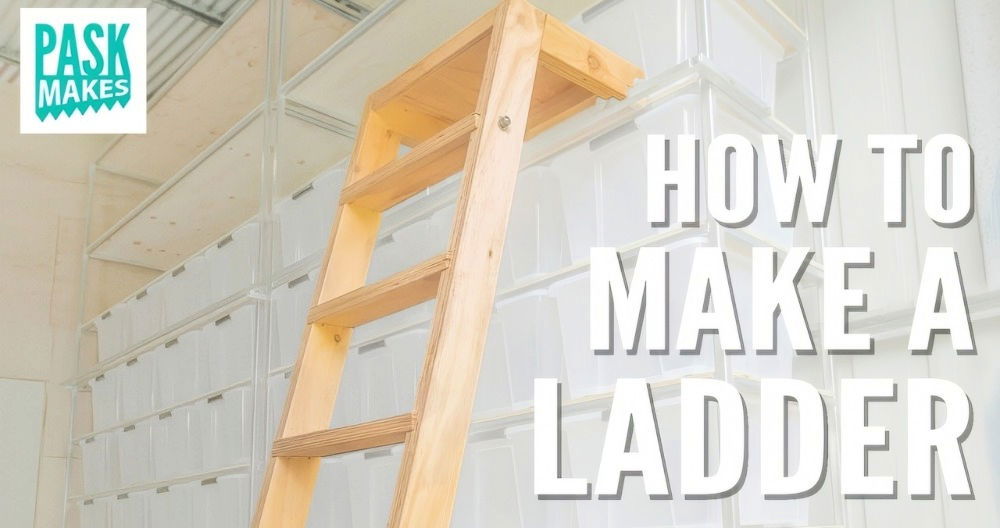
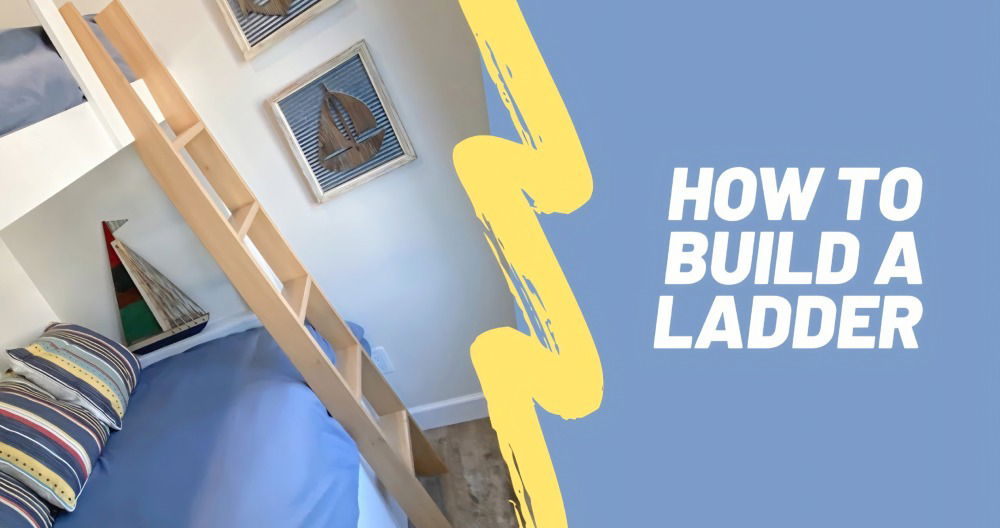
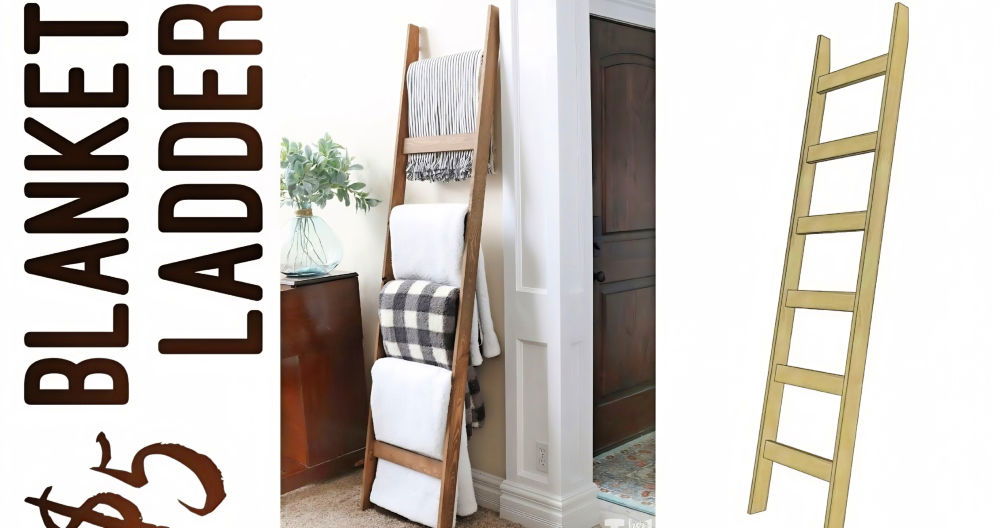
Building a DIY rolling library ladder can be a rewarding project that enhances both the functionality and aesthetics of your space. This guide will take you through the process of building your own DIY library ladder, covering everything from selecting materials to final assembly. By following the steps, you can ensure your ladder is both safe and sturdy, giving you easy access to those high shelves.
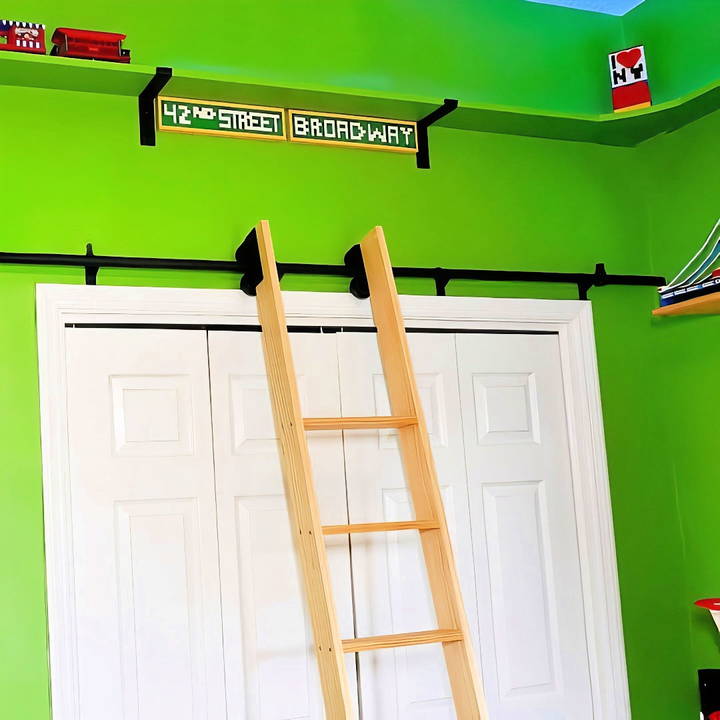
To start, you'll need a list of basic materials such as wood, hardware for rolling mechanisms, and tools like a saw and drill. The step-by-step instructions will help you measure, cut, and assemble the ladder with precision. Once you have all the pieces prepared, you'll follow a clear assembly process to put together your rolling library ladder.
Ready to get hands-on and build your own DIY rolling library ladder? Let's move on to the detailed steps.
Materials Needed
Before you begin, gather these materials. Each one is essential for the project's success:
- Library Ladder Hardware Kit: This is necessary for the rolling mechanism and ensures the ladder glides smoothly along the rails.
- Two Additional Rails: To provide the necessary length for the ladder to cover a significant portion of the library or wall.
- Three 1x4 Select Pine 8-Foot Boards: You'll need these to construct the ladder frame and steps. Select pine is sturdy yet lightweight, making it ideal for this project.
- Wood Screws (1.5 inches): These are used to secure the steps to the frame and ensure stability.
- Danish Oil: For sealing the wood and enhancing its durability.
- Additional Tools: Drill, circular saw, portable drill press, level, carpenter square, clamps, paint or finish of your choice.
Step by Step Instructions
Learn how to build a DIY library ladder with our step-by-step instructions. Easy installation guide from rail setup to finishing touches.
Step 1: Installing the Rail
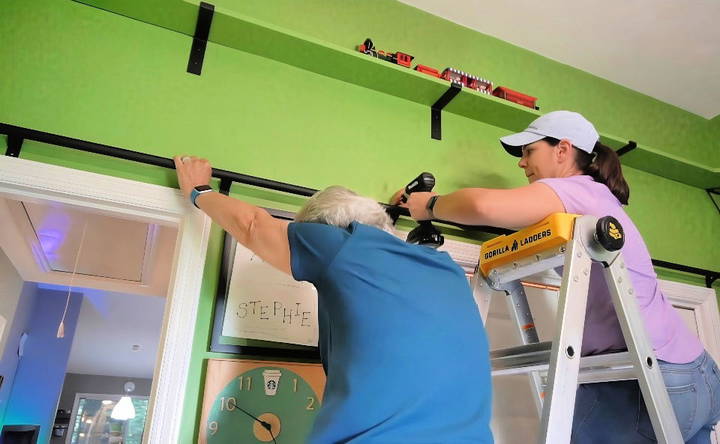
Start by installing the rail where the ladder will roll.
- Order Library Ladder Hardware: I ordered my hardware from Amazon. It comes with detailed instructions, but here's my simplified version.
- Attach the Rails: I bought extra rails to extend the length. Connecting them was tricky, but once attached to the wall, they were very secure.
- Pilot Holes for Brackets: Off-camera, I drilled pilot holes through each bracket and then screwed them into the rail. Luckily, my attachments hit the wall studs, but if yours don't, consider adding a backer board for extra support.
- Add Stoppers: Ensure to add stoppers to both ends before fully securing the rail, preventing the ladder from sliding off.
Step 2: Preparing the Ladder Boards
Now, let's cut and prepare the wood for the ladder.
- Cut the Boards: I used three 1x4 select pine boards for the sides and steps. Start by cutting the bottom of the eight-foot side pieces at a 12-degree angle. Keep the scrap pieces; they'll be useful later.
- Mark the Steps: Measure and mark every 11 inches along the length of the sidepieces for step placement.
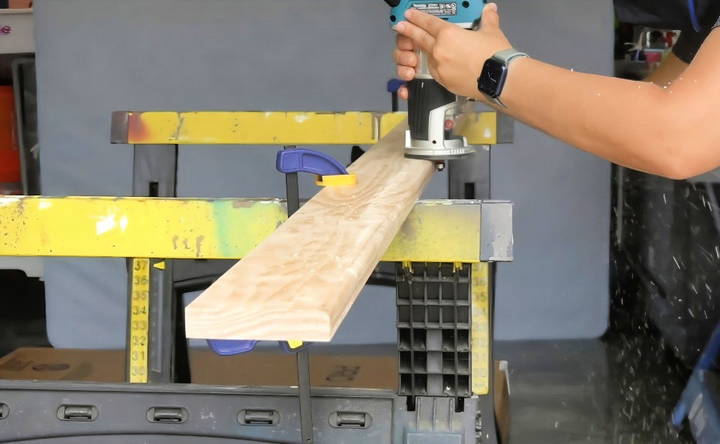
- Curve the Steps: Using a router, I rounded one edge of each step board to make them more comfortable for bare feet.
Step 3: Assembling the Ladder
With the boards ready, it's time to assemble.
- Cut the Steps: I cut the eight-foot board into 12-inch sections for the steps.
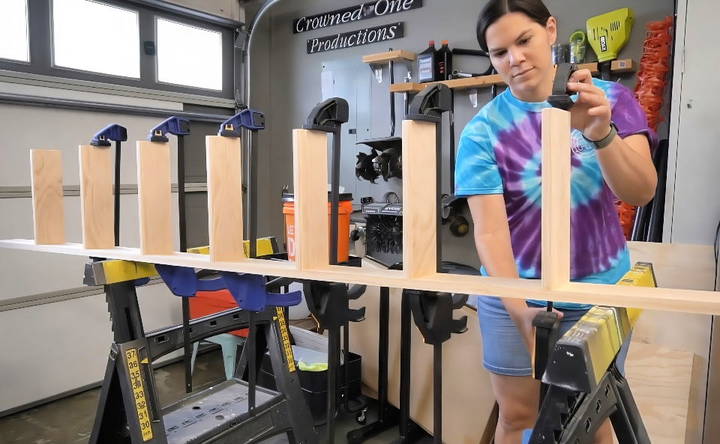
- Mark and Attach Steps: Using the scrap pieces cut at 12 degrees, I marked the placement for each step on the side boards. This consistent angle simplifies assembly.
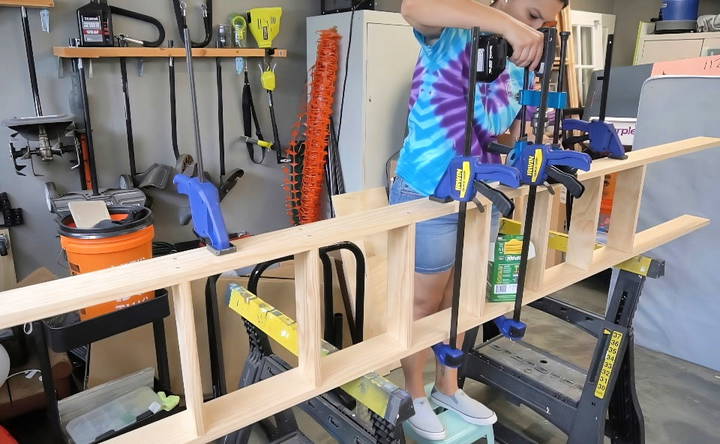
- Glue and Clamp: I glued each step into place, clamped them down, and ensured they stood square. After 24 hours, the glue dried, and I attached the other side piece.
Step 4: Securing and Finishing
Additional steps are necessary to ensure longevity and stability.
- Drill Holes for Screws: I used a portable drill press to drill straight holes. Each step received two screws on each side.
- Attach Wheels: First, remove wheels from their brackets to access screw holes. Place them three-fourths inch from the bottom at a 12-degree angle and reattach the wheels.
- Install Top Hardware: Measure and mark where the top hardware goes. I used a circular saw to trim any excess wood and secured the brackets with screws.
Step 5: Final Touches
The ladder is now structurally complete. Some final touches to finish it off:
- Seal the Ladder: I disassembled the ladder and applied Danish oil to seal and protect the wood.
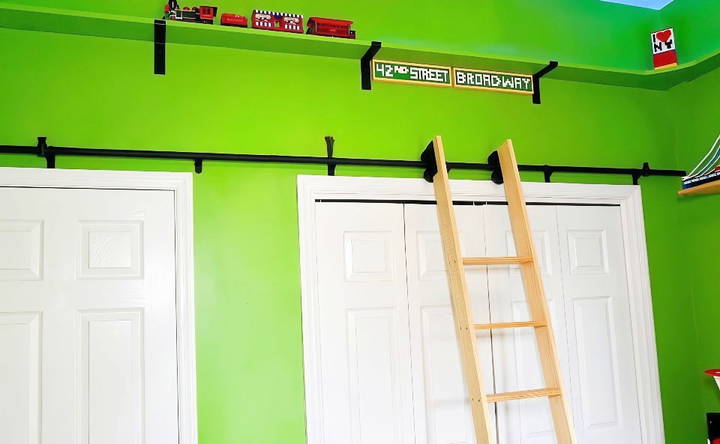
- Reassemble and Test: Once dry, I reassembled the ladder and tested it. To my relief, it was sturdy and smooth.
Lessons Learned
- Research is Key: Before starting, I did extensive research. This preparation made the process much smoother.
- Angles Aren't Scary: I was initially worried about the angles, but maintaining the same 12-degree angle throughout simplified the project.
- Weight Capacity: I ensured the ladder could safely hold my weight. At 150 pounds, the ladder held up perfectly.
Troubleshooting Common Issues
Even the most carefully planned DIY projects can hit a snag. Don't worry! Here are solutions to common problems you might face when building your rolling library ladder:
- Wobbly Ladder: This is usually caused by uneven legs or loose screws. Double-check that all screws are tight and that the legs are the same length. If needed, add small shims under the shorter leg to level it out.
- Sticky Wheels: Wheels that don't roll smoothly can be frustrating. Clean the wheels and tracks to remove any dust or debris. You can also try lubricating the wheel bearings with a silicone-based lubricant.
- Ladder Doesn't Lock: If your ladder won't stay in place when you climb it, the locking mechanism might be faulty. Check that all parts of the lock are working correctly. If not, you may need to replace the lock.
- Ladder Slips on the Floor: If your ladder slips when you're on it, consider adding non-slip pads to the feet. This will build more friction and help keep the ladder in place.
- Ladder is Too Short/Tall: If you miscalculated the height of your bookshelf, your ladder might not reach high enough or be too tall. You can add or remove rungs to adjust the height.
Remember, safety is key! If you're having trouble with your ladder or are unsure about any part of the construction process, don't hesitate to ask for help from a qualified professional.
Frequently Asked Questions
Discover answers to your FAQs about DIY rolling library ladder. Find tips on installation, materials, safety, and more for your home project.
1. What type of wood is best for a rolling library ladder?
Hardwoods like oak, maple, or cherry are ideal for their strength and durability. Avoid softwoods like pine as they may not be strong enough to support weight.
2. How do I determine the correct height for my ladder?
Measure the height of your bookshelf and subtract a few inches to allow for comfortable reach. The top rung should be slightly below the top of the bookshelf.
3. Can I customize my ladder to match my décor?
Absolutely! You can paint or stain the wood to match your existing furniture. You can also add decorative elements like carved details or metal accents.
4. How do I ensure my ladder is safe to use?
Use high-quality materials and hardware, follow the instructions carefully, and test the ladder thoroughly before using it. Make sure the ladder is stable and the wheels lock securely.
5. Can I build a rolling library ladder if I'm a beginner DIYer?
Yes, but it's important to choose a plan that matches your skill level. Start with a simple design and use clear, detailed instructions. Don't hesitate to ask for help if you need it.
Conclusion
Building a DIY rolling library ladder was truly rewarding. Not only does it meet my needs, but it also adds a unique, personalized touch to my home. If you're thinking about undertaking this project, remember that with patience and the right materials, it's entirely doable. Whether you decide to construct one from scratch or use a pre-made kit, the result is a beautiful, functional library ladder that will be the envy of your bookish friends.


