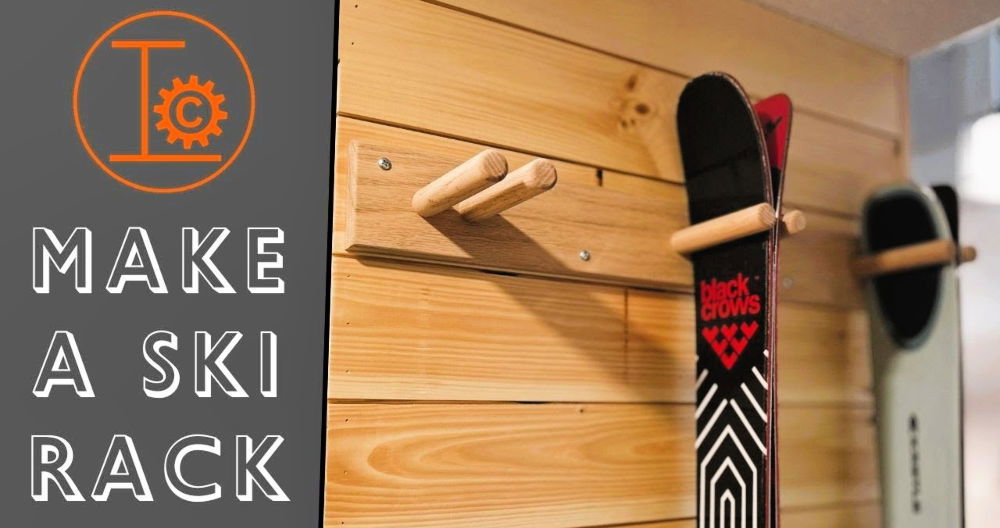
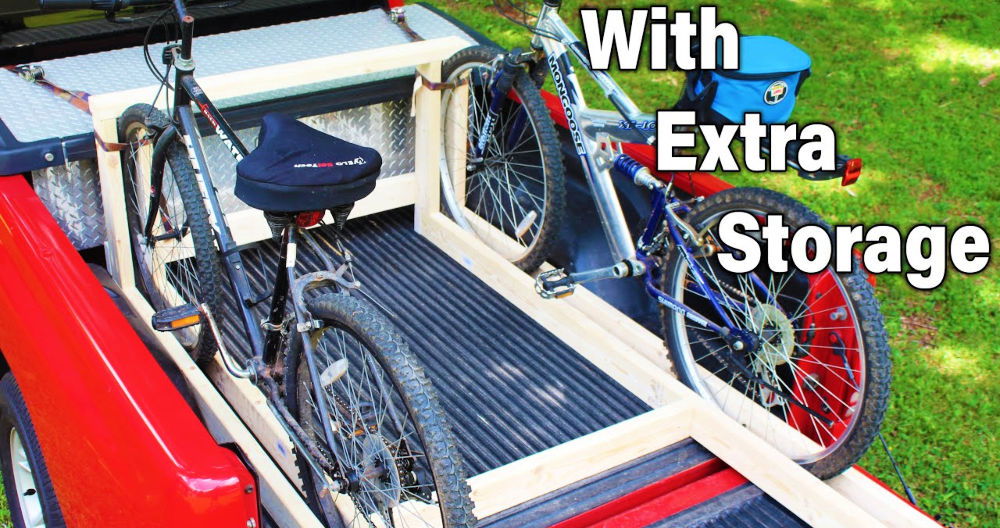
Making your own DIY ski rack is a straightforward and rewarding project that you can complete in minutes. This homemade custom roof rack can be tailored to fit your space and specific needs. Building it yourself not only saves money but also gives you a personalized solution for storing your skis securely. All you need are a few basic tools and some simple materials to get started.
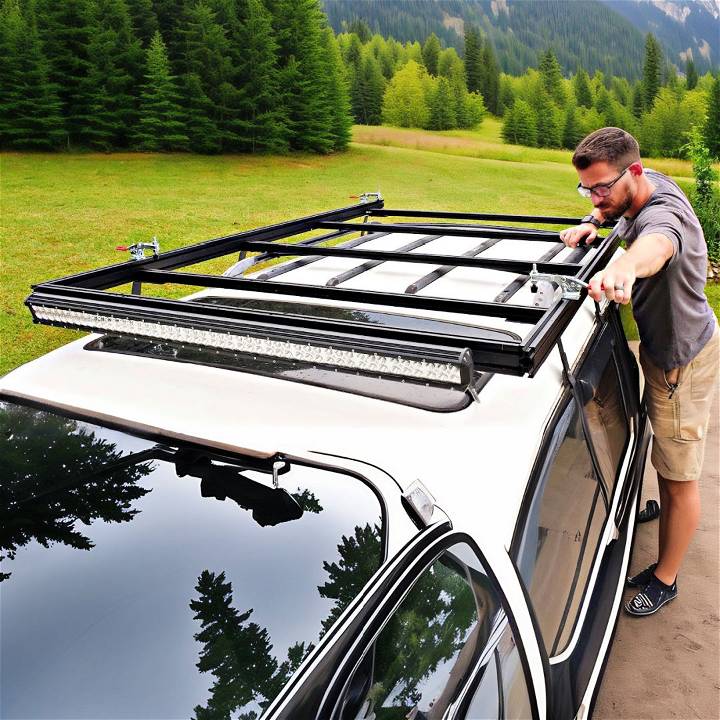
A DIY roof rack can also be a weekend project that adds value to your vehicle. By making your own rack, you ensure that it fits your car and ski equipment perfectly. The process involves measuring, cutting, and assembling materials, which is easier than it sounds with the right instructions.
Make your own DIY ski rack with this easy guide. Maximize space, keep skis organized, and save money with our step-by-step instructions.
Materials Needed and Why
- Aluminum Extrusion: The backbone of our roof rack, providing a lightweight yet sturdy structure. I chose 1-inch by 2-inch extrusions for the sides and front and 1-inch by 1-inch for the internal frames and back. This variation in sizes allowed for a more accessible way to slide in lumber or other materials.
- 90-Degree Connectors: Essential for joining the aluminum pieces at right angles. Their stainless construction ensures durability against the elements.
- Eighth Inch Steel: For making the brackets that would attach the rack to my Land Cruiser's rain gutters. Its thickness offers a balance between strength and ease of manipulation without specialized tools.
- Powder Coating Supplies: To give our rack a durable and weatherproof finish. This step is crucial for protecting the metal from corrosion.
- Toggle Clamps: To secure load on the rack efficiently. They’re adjustable, allowing customization based on the thickness of the material being transported.
- Nuts, Bolts, Washers: For assembly and ensuring everything is tightly secured.
Step by Step Instructions
Learn how to build a DIY ski rack with our step-by-step instructions, including planning, design, frame building, brackets, powder coating, and final assembly.
Step 1: Planning and Design
I started by sketching a design based on the dimensions of my Land Cruiser's roof. It was crucial to have a clear plan to order the exact lengths of aluminum extrusion needed for the project.
Step 2: Building the Frame
Using the 90-degree connectors, I began assembling the frame. This process felt like playing with oversized construction toys. The connectors slide into the extrusion channels, and a set screw at each corner locks them in place. It’s fascinating how these simple parts come together to form a robust structure.
Step 3: Making the Mounting Brackets
This step required the most elbow grease. I measured and cut the eighth-inch steel, forming it into hooks that would cradle the vehicle's rain gutters. Using a bench vise and a hefty hammer, I shaped the brackets, constantly checking against the prototype for accuracy.
Step 4: Assembling the Brackets
After finalizing the bracket design, it was time to make adjustments for a perfect fit on the vehicle. This involved drilling holes for the bolts and ensuring the brackets would snugly fit around the rain gutters.
Step 5: Powder Coating
Cleaning the completed frame and brackets thoroughly was crucial before powder coating. I hung the pieces and applied a positively charged powder that adhered to the negatively charged metal. Baking them in an oven, melt the powder into a smooth, protective coating.
Step 6: Final Assembly and Installation
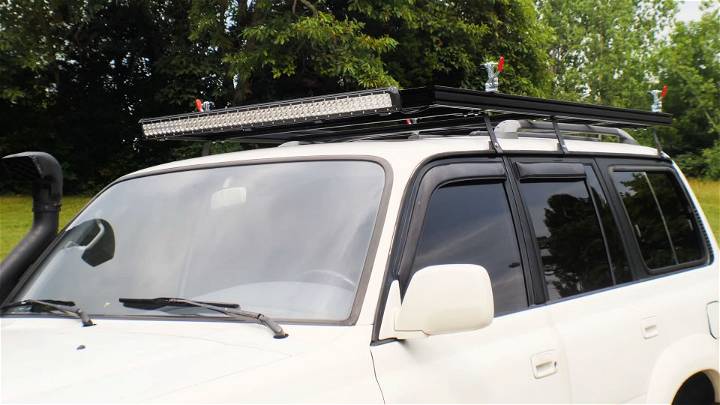
With the brackets ready and the frame coated, mounting the rack onto the Land Cruiser was surprisingly straightforward. I opted to attach the brackets to the rack first, then hoist the entire assembly onto the roof, securing it in place. The toggle clamps slid easily into the extrusion slots, ready for their role in securing cargo.
Step 7: Customization and Tweaks
After the rack was securely mounted, it was time to customize. The beauty of using aluminum extrusion is the ease of adding accessories or making adjustments. I experimented with different placements for the toggle clamps to optimize the holding capacity and ensure easy access.
Customization Ideas for Your DIY Roof Rack
Making a DIY roof rack gives you the freedom to tailor it to your specific needs and preferences. Here are some customization ideas that can make your roof rack more versatile and functional:
Choose the Right Material
Start by selecting a material that balances durability with weight. Aluminum is a popular choice for its strength-to-weight ratio and resistance to rust. Steel is another option, known for its robustness, but it’s heavier and may require additional measures to prevent corrosion.
Design for Versatility
Consider a modular design that allows you to add or remove components as needed. For example, using a T-slot framing system can let you attach accessories like bike mounts or cargo boxes easily.
Accessorize for Convenience
Add accessories that enhance the functionality of your roof rack. Attachments like light bars for night-time visibility or toggle clamps for easy installation and removal of items can be very useful.
Focus on Aerodynamics
To reduce wind noise and improve fuel efficiency, design your rack with an aero shield or streamline the shape. This can also enhance the overall look of your vehicle.
Incorporate Security Features
Security is crucial, especially if you plan to carry valuable items. Include locking mechanisms or design the rack so that it can be secured with a padlock.
Personalize with Paint
Choose a paint that not only protects the metal but also matches your vehicle’s color scheme. Powder coating is a durable option that can withstand the elements.
Plan for Heavy Loads
If you intend to carry heavy items, reinforce the rack’s structure with additional supports or choose a design that distributes weight evenly across the roof.
Make It Multi-Purpose
Design your rack to support various activities. Whether it’s for carrying sports equipment, tools, or camping gear, think about the different scenarios in which you’ll use the rack.
Easy Installation and Removal
Your DIY roof rack should be easy to install and remove. Consider designs that don’t require drilling into your vehicle and can be securely attached to existing roof rails.
Use these ideas to design a custom roof rack that's simple, secure, and tailored to your needs, enhancing your vehicle's value and functionality.
Advanced Techniques for Your DIY Roof Rack
When you’re ready to take your DIY roof rack to the next level, advanced techniques can help you make a more professional and customized solution. Here’s how you can apply some sophisticated methods to your project:
Utilizing Aluminum T-Slot Framing
Aluminum T-slot framing is a versatile option for building a robust and adjustable roof rack. It allows for easy attachment of accessories and can be cut to any length to fit your vehicle perfectly. The T-slot design also means you can add or remove components without altering the entire structure.
Incorporating Welding for Strength
If you have welding skills, you can make a stronger and more durable roof rack. Welding joints instead of using bolts can increase the load capacity and longevity of your rack. Remember to treat any welded areas with a rust inhibitor to prevent corrosion.
Adding an Aero Shield
An aero shield can significantly reduce wind noise and drag, making your vehicle more fuel-efficient. You can design an aero shield that complements the shape of your vehicle and attaches seamlessly to your roof rack.
Customizing with Powder Coating
Powder coating is not just about aesthetics; it provides a tough, durable finish that protects against the elements. Choose a color that matches your vehicle or stands out, depending on your preference. This finish will ensure your roof rack withstands all weather conditions.
Designing for Specific Loads
Tailor your roof rack for the specific items you plan to carry. If you’re transporting kayaks, consider adding padded bars or straps for secure mounting. For heavy equipment, reinforce the structure with additional crossbars to distribute the weight evenly.
Implementing Locking Mechanisms
For added security, integrate locking mechanisms into your design. This could be as simple as padlock points or as complex as built-in locks. Ensuring your cargo is secure is essential, especially when carrying valuable items.
Using these techniques, you'll improve your DIY roof rack's functionality, durability, and security. Though they need more skill, the result will be a high-quality product tailored to your needs.
Maintenance and Care Tips for Your DIY Roof Rack
Keeping your DIY roof rack in top condition is essential for safety and longevity. Here are some straightforward maintenance and care tips:
Regular Cleaning
Dirt and grime can lead to corrosion over time. Clean your roof rack regularly with mild soap and water, especially after exposure to salt or pollutants. Make sure it’s completely dry before you put it back on your vehicle.
Inspect for Damage
Check your roof rack often for any signs of wear, such as rust or cracks. Pay special attention to the weld points and areas where the rack attaches to the vehicle. Early detection of damage can prevent more significant issues down the line.
Lubricate Moving Parts
If your roof rack has moving parts or locking mechanisms, keep them lubricated to ensure smooth operation. Use a silicone-based lubricant to protect against rust and ensure longevity.
Rust Prevention
For metal parts, especially if you’ve chosen steel, apply a rust inhibitor or regularly treat with a suitable protective coating. This is particularly important if you live in a coastal area or where roads are salted in winter.
Secure Load Properly
Always make sure your cargo is securely fastened. Loose items can cause damage to the rack and your vehicle, and they pose a serious safety risk. Use straps that are in good condition and check the load regularly during long trips.
Seasonal Maintenance
Perform a thorough check and maintenance routine with each new season or after prolonged storage. This helps to catch any potential issues that could be exacerbated by temperature changes or disuse.
Follow Manufacturer Guidelines
Stick to the manufacturer’s instructions for care and weight limits. Overloading your roof rack can cause damage and may void any warranties.
Follow these tips to keep your DIY roof rack reliable and ready for adventures. Regular maintenance extends its life and ensures safety for you and your cargo.
Legal and Safety Considerations for Your DIY Roof Rack
When building and using a DIY roof rack, it’s crucial to consider both legal and safety aspects to ensure you’re not only compliant with the law but also protecting yourself and others on the road. Here’s what you need to know:
Legal Compliance
- Vehicle Regulations: Check your vehicle’s manual or manufacturer’s website for specifications on roof loading. Exceeding these limits can lead to fines or void warranties.
- Road Safety Laws: Different regions have specific laws regarding the dimensions and securement of loads on vehicles. Ensure your DIY roof rack adheres to these regulations to avoid penalties.
Safety Measures
- Load Limits: Always stay within the recommended weight limit for your vehicle’s roof. Overloading can affect the vehicle’s handling and increase the risk of accidents.
- Secure Attachment: Your roof rack should be securely attached to your vehicle. A poorly attached rack can detach while driving, posing a serious hazard.
- Proper Load Distribution: Distribute the weight evenly across the rack to maintain the vehicle’s balance and stability.
- Regular Inspections: Before each use, inspect the roof rack for any signs of damage or wear that could compromise its integrity.
Best Practices
- Driving Adjustments: With a loaded roof rack, your vehicle’s center of gravity is higher, which can affect handling. Drive cautiously, especially around corners and during high winds.
- Aerodynamics: Consider the wind resistance your load may make. Secure and streamline the load to minimize drag and maintain fuel efficiency.
- Visibility: Ensure that your load doesn’t obstruct your view or your vehicle’s lights and indicators.
Keep legal and safety considerations in mind to enjoy your DIY roof rack safely and legally. Prioritize these aspects when planning, building, and using it.
FAQs About DIY Roof Rack
Discover everything you need to know about DIY roof racks with our frequently asked questions guide - from materials to installation and maintenance tips.
You can attach the roof rack using:
Aluminum spacers to make a gap between the rack and the roof.
Bolts and nuts that are compatible with your vehicle’s roof mount points.
Rubber bumpers to prevent damage to the roof.
Yes, you can build a roof rack without welding by using:
Bolts and nuts to assemble the aluminum tubes and angles.
Adhesive or rivets for additional strength if needed.
Clamps to hold the pieces together while you work.
To ensure safety and security:
Double-check all measurements before cutting and assembling.
Tighten all bolts and nuts securely.
Use lock washers or thread-locking fluid to prevent loosening.
Test the rack with a light load before full use to ensure it’s mounted properly.
To determine the size and shape of your DIY roof rack:
Measure your vehicle’s roof to understand the available space.
Consider the items you plan to carry to ensure the rack will accommodate them.
Sketch a design that fits within the roof’s dimensions and meets your needs.
Adjust for aerodynamics by designing a shape that reduces wind resistance.
To protect your DIY roof rack from weather and rust:
Use a weather-resistant material like aluminum for construction.
Apply a protective coating such as truck Bedliner spray to shield against moisture and UV rays.
Regularly inspect for any signs of wear and touch up any areas where the protective coating has worn off.
Closing Thoughts
Wrapping up, you've learned how to build a DIY ski rack in minutes and even explored making a DIY roof rack and a homemade custom roof rack. These projects are budget-friendly and can be completed quickly, thanks to the step-by-step instructions provided. Not only will you save money, but you'll also gain the satisfaction of building something useful with your own hands.


