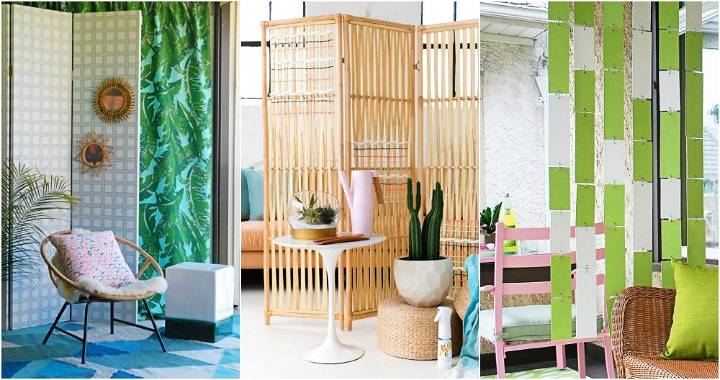
Making a room divider from scratch might seem daunting at first, but it turned out to be one of the most rewarding DIY projects I've undertaken. I wanted to share my experience, coupled with a step-by-step guide that helped me transform my living space. Whether you're looking to partition a room for privacy, or simply add an aesthetic flair, this guide is for you. Remember, you don't need to be a professional; all it takes is some patience and creativity.
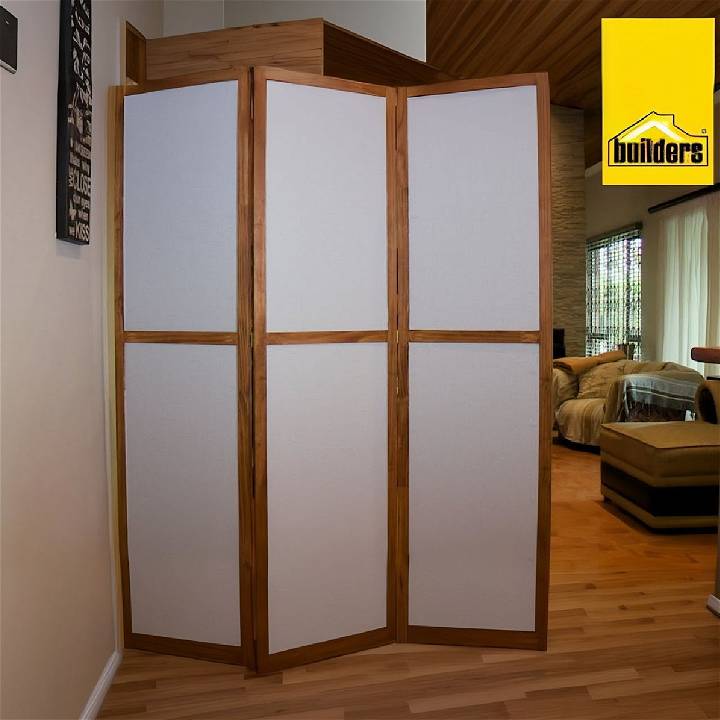
Materials You'll Need and Why:
- Timber (32 by 22 mm planed pine) - For the frame. I needed six pieces at two meters for the vertical sections and nine pieces at 500 mm for horizontal sections.
- Plywood (12 mm thick) - For the panels. I had six pieces cut to 500 by 900 mm. This would serve as the base for the wallpaper.
- Wallpaper - Choose a design that speaks to you. This not only adds personality to the divider but also acts as the visual centerpiece.
- Kreg Pocket Hole System - This was crucial for securely joining the frame. Ensuring your divider stands firm.
- Screws (25 mm and 32 mm), Wooden Plugs, and Wood Glue - To assemble everything together. The plugs and glue add extra strength and a neat finish.
- Wallpaper Adhesive - Apply the wallpaper to the panels.
- Hinges (six in total) - To join the panels, ensure the divider is flexible and stands properly.
- Tools: A drill, driver, sander, clamp, utility knife, rubber squeezegee, and paintbrush.
Getting Started: DIY Room Divider
Learn how to build your own DIY room divider with these simple steps. From drilling pocket holes to applying wallpaper, we've got you covered!
Step 1: Drilling Pocket Holes
My journey began with drilling pocket holes in both the timber and plywood, a process I learned is foundational to building a strong and durable frame. Placing two holes on each side of the shorter timber pieces and spacing them around the plywood ensured a firm assembly.
Step 2: Preparing the Wallpaper
Before even touching the wood with a tool, I cut the wallpaper according to the size of the plywood panels. A tip here is to use the actual panel as a stencil to ensure a perfect fit. This preparation step made the later stages much smoother.
Step 3: Assembling the Frame
The real construction started here. By applying wood glue for extra bonding and using clamps to hold the pieces steady, I fastened the top cross pieces to the vertical legs and secured the plywood panel in the middle. Each step felt like a milestone, gradually seeing the frame take shape.
Step 4: Hiding the Screws
After the frame was assembled, I added wooden plugs dipped in glue into the holes. Not only did this technique hide the screws, but also it added to the finish, making the frame look professional and clean.
Step 5: Sanding and Sealing
Once the glue dried, I sanded down the entire frame (excluding the plywood panels to preserve them for wallpapering) and applied a sealer. Choosing a sealer that matched the aesthetic I wanted for the divider was crucial.
Step 6: Applying the Wallpaper
Mixing the wallpaper adhesive according to the instructions was next. A tip here is to be generous while applying the adhesive to avoid dry spots. Placing the wallpaper carefully and using a squeegee ensured it adhered smoothly without any bubbles or loose ends.
Step 7: Joining the Panels
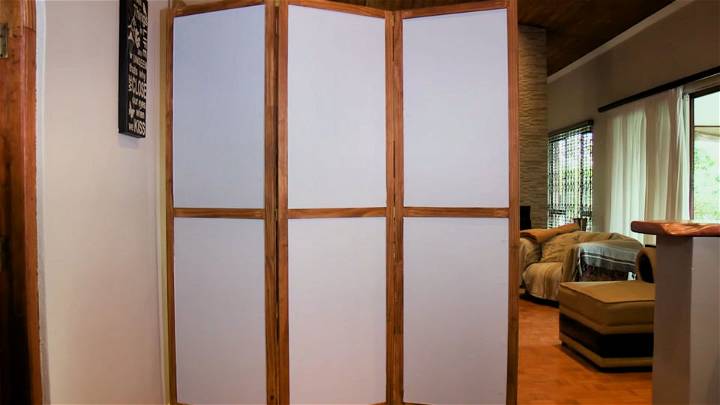
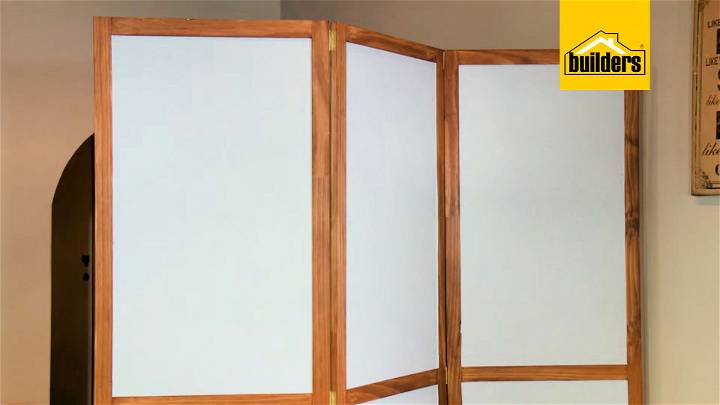
The final step was to attach the three panels together using the hinges. This required some attention to ensure that they were aligned properly, allowing the divider to fold correctly.
Customization Tips for Your DIY Room Divider
Making a DIY room divider is not just about separating spaces; it's an opportunity to express your personal style and add a unique touch to your home. Here are some tips to help you customize your room divider in a way that's both functional and reflective of your personality:
Choose a Theme
Start by deciding on a theme that resonates with you. Whether it's vintage, modern, rustic, or eclectic, your theme will guide your choice of materials and design.
Select Materials That Speak to You
The materials you choose can significantly impact the look and feel of your room divider. Consider using repurposed items like old doors, bookshelves, or window frames for a touch of character.
Play with Colors and Patterns
Colors and patterns can transform a simple divider into a statement piece. If you're artistic, hand-paint designs onto fabric panels or wood slats. For a simpler approach, use wallpaper or fabric with bold prints.
Add Functional Elements
Think about how your room divider can serve more than one purpose. Shelves, pockets, or hooks can turn it into a storage solution, while a chalkboard or corkboard section makes it interactive.
Incorporate Natural Elements
Incorporate elements like plants, stones, or wood to bring a bit of nature indoors. Hanging planters or attaching lightweight potted plants can make a living wall effect.
Light It Up
Adding lights can change the ambiance of the room. Fairy lights, LED strips, or even small lamps attached to the divider can make a warm and inviting space.
Make It Personal
Personalize your divider with photos, artwork, or souvenirs that tell your story. This not only customizes the divider but also makes it a focal point of conversation.
Consider Mobility
If you want the flexibility to move your divider around, add casters or hinges. This allows you to change the layout of your space as needed.
Safety First
Ensure that your customized room divider is stable and secure. Avoid heavy items on higher sections and anchor the divider if necessary to prevent tipping.
Future Trends in Room Dividers
The world of interior design is always evolving, and room dividers are no exception. As we look to the future, several trends are emerging that promise to make room dividers more versatile, stylish, and functional than ever before. Here's what you can expect:
Embracing Multifunctionality
Modern room dividers are expected to go beyond mere partitioning. The trend is towards multifunctional dividers that can double as bookshelves, art displays, or even vertical gardens. This not only saves space but also adds a dynamic element to any room.
Eco-Friendly Materials
Sustainability is key in future design trends. Room dividers made from recycled materials, sustainable woods, and biodegradable fabrics are becoming increasingly popular. These eco-friendly options are not just good for the planet; they also bring a natural and serene vibe to your space.
Technology Integration
With the rise of smart homes, room dividers are getting a tech upgrade. Features like built-in LED lighting, sound systems, and digital screens are being incorporated to enhance functionality and entertainment value.
Customization and Personalization
The future is all about personalization. Custom-built room dividers that reflect individual tastes and styles are on the rise. Whether it's through adjustable shapes, interchangeable panels, or personalized artwork, these dividers are as unique as their owners.
Bold and Artistic Designs
Gone are the days of plain dividers. Expect to see bold patterns, vibrant colors, and artistic designs that make a statement. Room dividers will serve as focal points, much like a piece of statement furniture or art.
Soundproofing and Acoustic Enhancements
As open-plan living continues to be popular, the need for sound management grows. Future room dividers will likely incorporate sound-absorbing materials to make quieter, more intimate spaces within larger rooms.
Lightweight and Portable Options
Portability will become increasingly important, especially for renters and those who like to change their space frequently. Lightweight, easy-to-move dividers that can be set up or taken down quickly will be in demand.
Seamless Indoor-Outdoor Flow
With the lines between indoor and outdoor living blurring, room dividers that can easily transition between the two will become more prevalent. Materials that withstand the elements and designs that complement outdoor spaces will be key.
FAQs About DIY Room Dividers
Making a DIY room divider can be a fun and rewarding project. To help you get started, here are five frequently asked questions, answered in a clear and straightforward manner:
What materials can I use for a DIY room divider?
You can use a variety of materials for your room divider, depending on the look and function you want. Common materials include wood, fabric, PVC pipes, repurposed doors, and even plants. For a more creative touch, consider using ropes, beads, or recycled items like old window frames.
How do I make my room divider stand on its own?
To ensure your room divider stands securely, you can make a stable base by using heavier materials like wood for the frame. If you're using lighter materials, consider attaching the divider to the ceiling or floor with brackets or a tension rod system.
Can I make a room divider that doesn't damage the walls or ceiling?
Yes, you can use freestanding bookshelves, large plants, or furniture as room dividers that don't require any installation. Alternatively, use a tension rod or a freestanding frame to avoid making holes in the walls or ceiling.
How can I customize my room divider to match my decor?
Customizing your room divider is easy! Paint it to match your room's color scheme, hang curtains or fabric with patterns that complement your decor, or attach photos and art to make it personal. You can also add shelves or hooks to make it functional.
What are some simple DIY room divider ideas for beginners?
For beginners, consider using pre-built panels like artist canvases or large picture frames and cover them with fabric or paint. Another simple idea is to hang curtains from a ceiling-mounted track or rod for an easy and adjustable divider.
Final Thoughts:
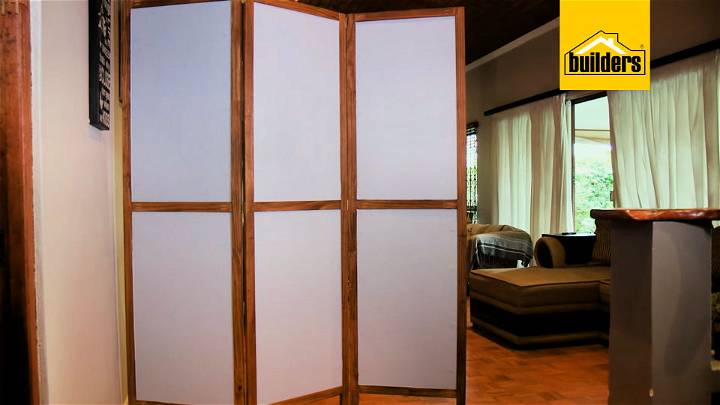
This project not only challenged my DIY skills but also proved to be an incredibly satisfying endeavor. The room divider now not only serves its functional purpose of partitioning space but also stands as a testament to the joy of building something with one's own hands. For anyone looking to embark on this journey, remember the key is patience and creativity. Every step and every material plays its part in bringing your vision to life.


