When it comes to feeding livestock, keeping your hay dry and minimizing waste is crucial. A round bale feeder with a roof is an excellent solution, but commercial options can cost up to $1,000 or more. Fortunately, you can build a DIY round bale feeder with a roof for less than $200. Learn the entire process with this guide, from material selection to final assembly, to create an efficient and economical solution for your farm or ranch.
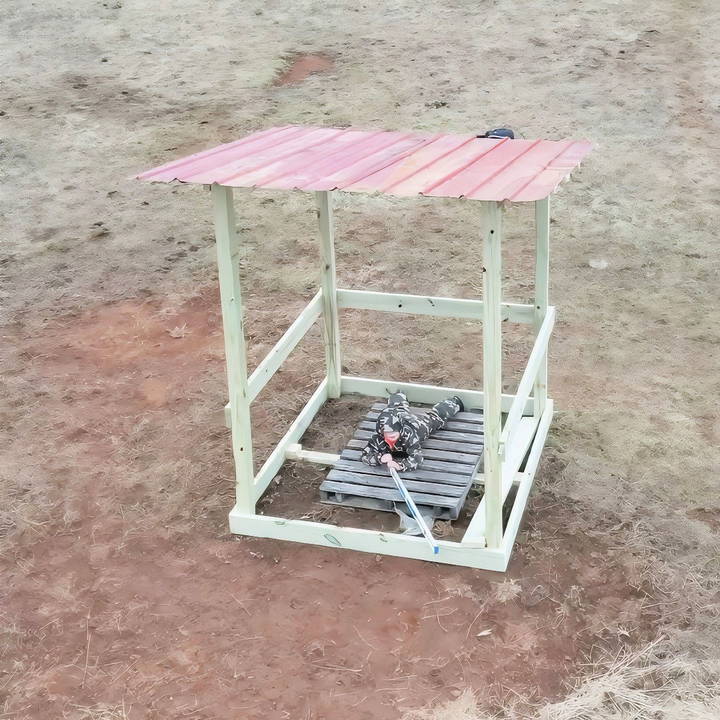
Why Build a Covered Round Bale Feeder?
Hay is a significant expense for livestock owners, and it's essential to protect your investment. Horses, cattle, and other livestock often waste hay by scattering it or using it as bedding, which also leads to contamination with urine or manure. A feeder with a roof helps:
- Keep the hay dry: Protecting the bale from rain and snow reduces spoilage.
- Reduce waste: Animals tend to pull out and trample less hay when it's elevated and contained within a structure.
- Improve hygiene: By keeping hay off the ground and sheltered, there's less risk of contamination, which promotes healthier animals.
Now, let's dive into the process of building your own round bale feeder.
Tools and Materials Needed
Discover essential tools and materials needed for this project, ensuring you're well-prepared for success with the right equipment.
Tools:
Before starting your project, make sure you have the following tools:
- Miter saw or circular saw: For cutting wood to size.
- Drill: To assemble the frame.
- Level: Ensures the structure is balanced and stable.
- Tape measure: For accurate measurements.
- Angle grinder with cutting wheel (if using metal roofing): To trim the roofing panels to size.
Materials:
You'll need to gather the following materials to build a sturdy and weatherproof hay feeder:
- (4) 4x4x8 pressure-treated posts
- (4) 2x6x12 pressure-treated boards
- (7) 2x4x8 boards
- 3-inch deck screws
- (2) roofing panels (ondura, metal, or similar material)
- Roofing nails or screws
Cut List:
Having a precise cut list will make the assembly process much smoother:
- 4x4 posts: Cut 1 foot off of two of the 4x4x8 posts, so you'll have two 7-foot posts and two 8-foot posts.
- 2x6 boards: Cut each 2x6x12 in half, resulting in four 2x6x6 boards.
- 2x4 boards: Cut 4 inches off of five of the 2x4x8 boards.
- Roofing supports: Cut two of the 2x4x8 boards to be 1 inch shorter than the length of the roofing panels.
With your tools and materials ready, you're all set to begin building your feeder.
Step by Step Instructions
Learn how to build a DIY round bale feeder with a roof. Follow our step-by-step instructions for a sturdy feeder that protects your hay.
Step 1: Prepare the Posts and Frame
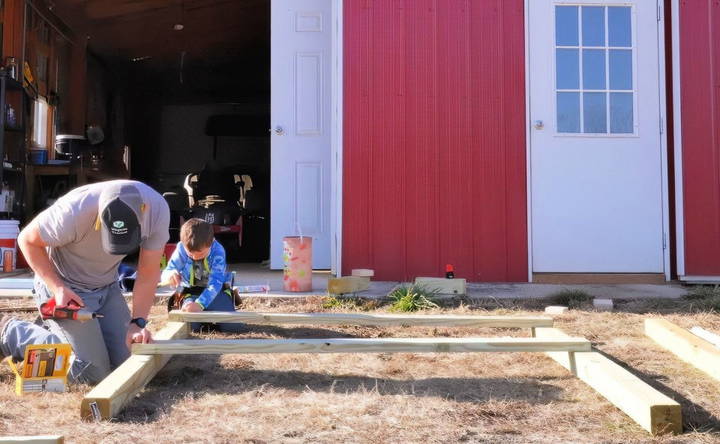
- Layout the base: Begin by laying out two of the 4x4 posts – one 8-foot and one 7-foot – approximately 6 feet apart. The exact distance isn't crucial, as you will adjust it to fit the size of the 2x6 boards that form the base.
- Attach the base supports: Next, take two of the 2x6 boards that you cut in half (now 2x6x6) and fasten them to the bottom of the 4x4 posts. You'll want to secure one 2x6 to the bottom of each pair of posts. These 2x6s will form the bottom frame of your feeder.
- Add support beams: Measure about 3 feet up from the base and attach another 2x6 board to the posts on each side. This provides additional support for the frame.
Step 2: Assemble the Roof Frame
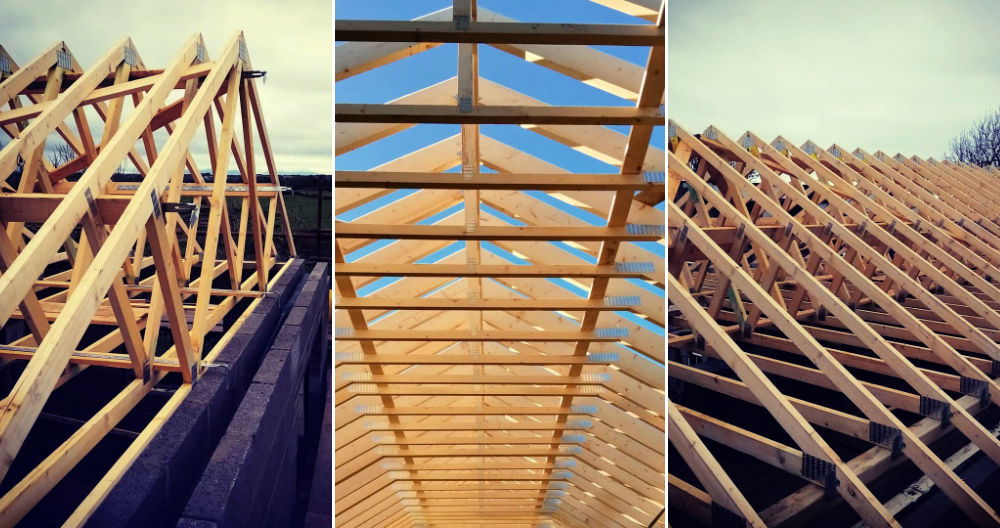
- Build the roof supports: The next step is to install the roof frame. Using the remaining two 2x6x6 boards, attach them horizontally across the top of the posts to form the front and back edges of the roof.
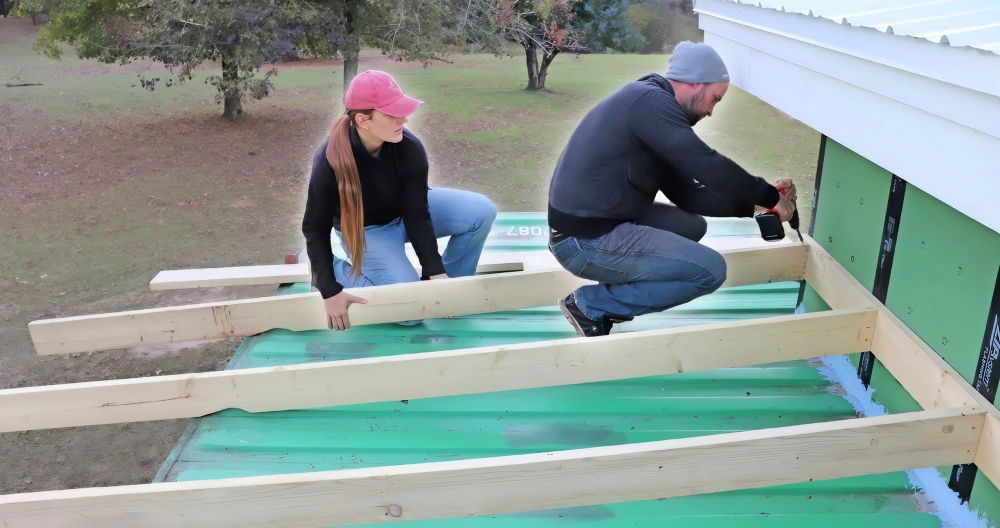
- Install cross beams: To add strength and stability to the roof, use the cut 2x4 boards as cross beams. Attach them between the 2x6 boards, ensuring they are evenly spaced to support the roofing material.
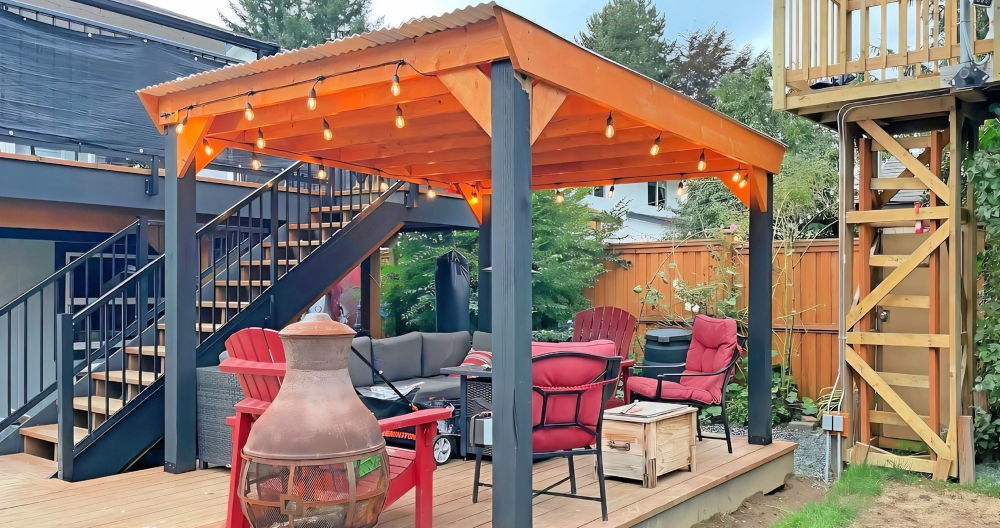
- Secure the roofing panels: Depending on the type of roofing panels you're using (metal or ondura), you may need to trim them to fit. Once cut to size, place the panels on top of the roof frame and secure them using roofing screws or nails. An angle grinder can be useful here if you are working with metal panels.
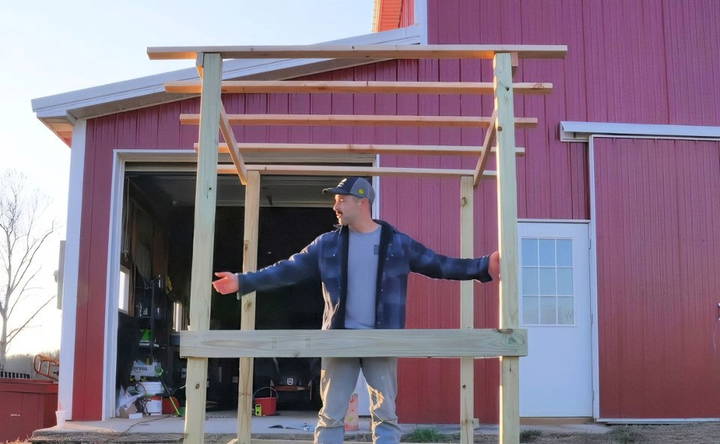
Step 3: Add the Front and Back Walls
- Install front boards: To keep the hay contained within the feeder, install 2x4 boards along the front of the feeder. These boards should be positioned horizontally, with enough space between them to allow animals to access the hay but not large enough for the bale to fall out.
- Build a removable front panel: For easy access when loading bales, you can make one of the front boards removable. Simply attach it with screws on either side, allowing you to unscrew and remove it when necessary.
- Finish the back wall: Similar to the front, install horizontal 2x4 boards along the back of the feeder. These boards will add extra strength to the structure and help contain the hay.
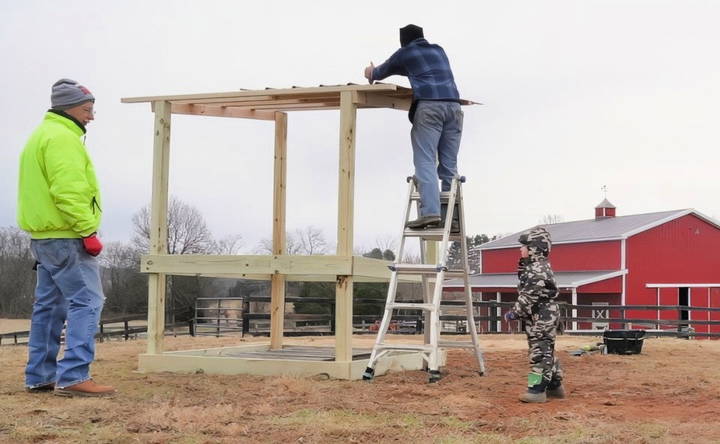
Step 4: Final Assembly and Placement
- Move the feeder to the field: With the frame fully assembled, carefully tip the structure upright and move it to your desired location in the field. If the feeder is heavy, you may need additional help to transport it.
- Secure the feeder: Once positioned, you may want to secure the feeder to the ground, especially if you live in a windy area. You can do this by driving metal stakes through the base or anchoring it with concrete blocks.
- Load the hay bale: With the feeder in place, you can now load your round bale of hay. If you've made the front panel removable, simply unscrew it, place the bale inside, and reattach the board. The roof will help keep the hay dry, and the enclosed sides will reduce waste by preventing the animals from scattering the hay.
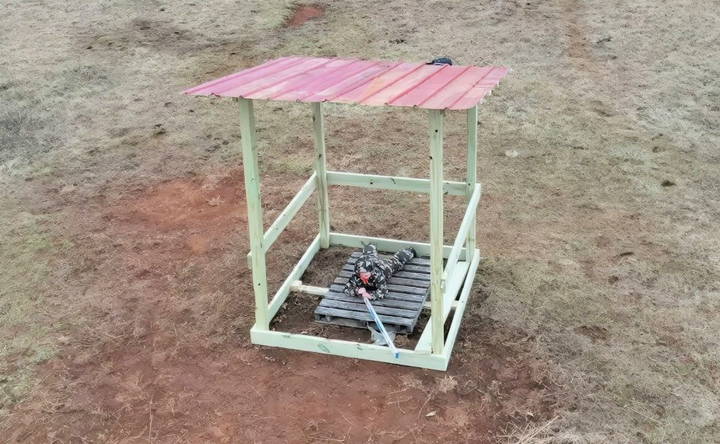
Additional Tips for Success
- Use treated lumber: Since this feeder will be exposed to the elements, using pressure-treated wood will help prevent rot and extend the life of the structure.
- Customize the design: Depending on your needs, you may want to adjust the size of the feeder or add additional features, such as a larger roof or an enclosed back. Don't be afraid to modify the design to suit your livestock and environment.
- Consider your roofing material: Metal roofing is durable and long-lasting, but it may be noisier during rainstorms, which could scare some animals. Ondura or similar materials are quieter, but may not last as long as metal.
Conclusion
Building your own DIY round bale feeder with a roof is an affordable and practical solution for protecting your hay and reducing waste. By following these simple steps and gathering the right materials, you can construct a sturdy and effective feeder for under $200. Not only will this save you money, but it will also help ensure your livestock have access to dry, clean hay throughout the year.
FAQs About DIY Round Bale Feeder with Roof
Get answers to all your questions about the DIY round bale feeder with roof. Learn benefits, materials needed, and building tips.
The feeder is designed to fit standard 4x4 round bales. However, depending on your design adjustments, it may accommodate slightly larger or smaller bales.
While the roof protects against direct rain, if you experience heavy winds and rain, you may want to install side panels or position the feeder strategically to block sideways rain.
Yes, but if you live in a very windy area, you may want to anchor the feeder by securing the legs with stakes or adding weight, such as concrete blocks, at the base.
The feeder has worked very well, keeping hay much drier and reducing waste. The horses seem to prefer it to hay left uncovered on the ground.
Yes, the feeder design can be modified by adjusting the size of the frame and roof to fit different bale sizes.


