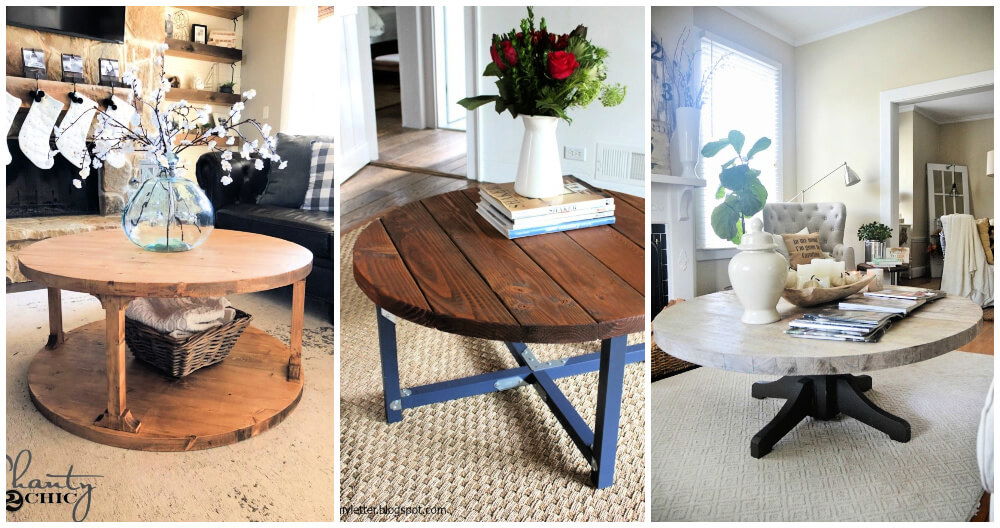
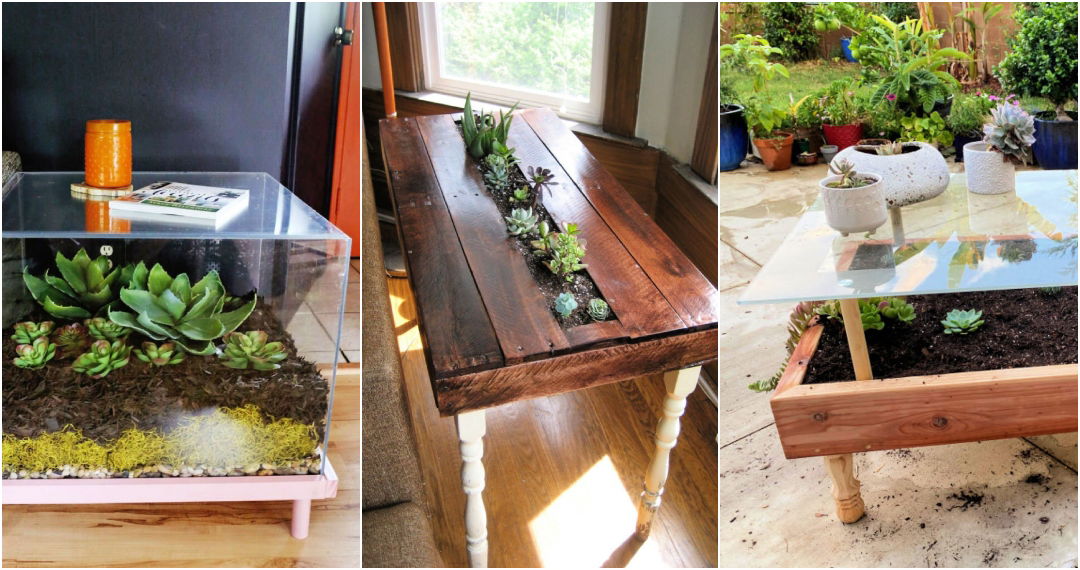
When I first moved into my home, one of the first issues I noticed was how inconvenient the dining area was due to a swinging exterior door. This realization led me to the idea of crafting a huge round dining table, which would provide ample space for six or seven people without obstructing the pathway. As someone who had never taken on such a large woodworking project before, this experience was a journey of discovery, challenges, and ultimately, satisfaction.
Choosing the Material
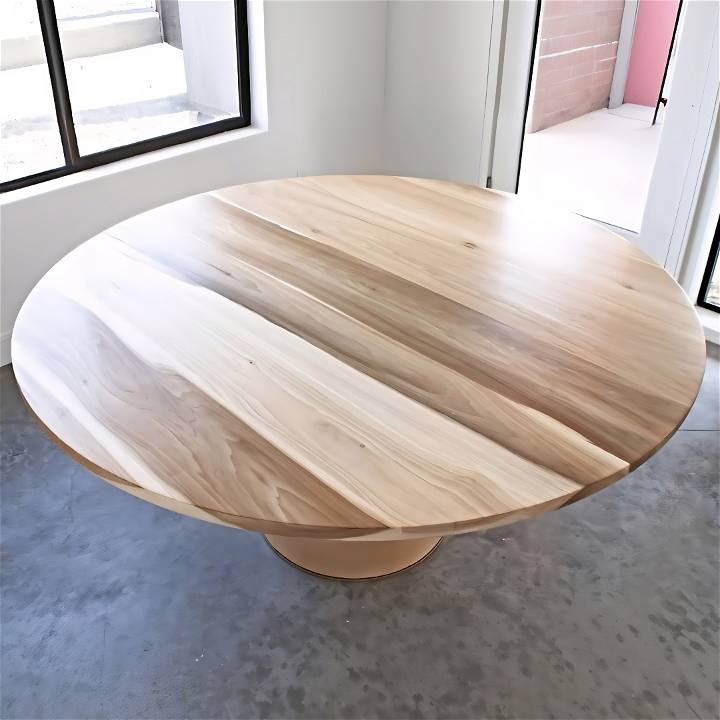
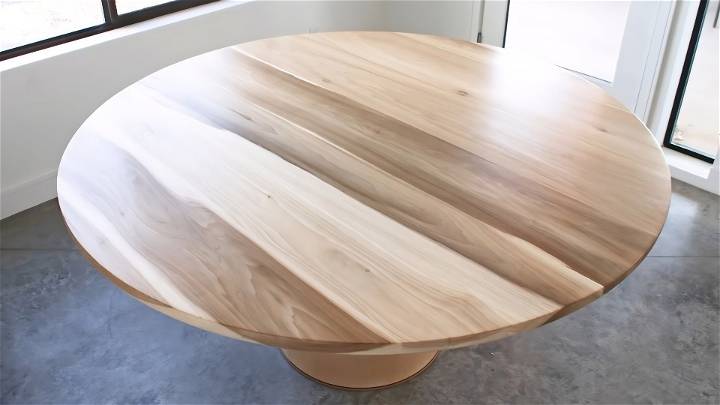
After much deliberation, I decided on using eight-quarter poplar boards for the tabletop. The choice of these boards was due to their thickness and the fact that they matched the floating shelves in my kitchen, ensuring a cohesive look throughout the space. These boards, after milling, provided the sturdy and aesthetic appeal I was looking for in a dining table.
Step by Step Instructions
Build a beautiful DIY round dining table with our easy step-by-step instructions. Save money and personalize your space with this fun project!
Prepping the Wood and Cutting to Size
Having previously milled the rough faces of my boards to a final thickness of about an inch and three-quarters, the next step was cutting them down to rough lengths. I used a large piece of cardboard to draw a 60-inch diameter circle, which served as a guide for arranging and marking my boards for cutting. Although I used a miter saw for this task, a circular saw would work just as well for someone without access to one.
Arrangement and Joinery
The arrangement of the boards was a critical step where I paid close attention to the grain, ensuring that I was alternating the growth rings to prevent the tabletop from warping into what can best be described as a gigantic potato chip. I marked locations for joinery, opting for a more advanced technique using the Bead Lock Pro system. This decision was influenced by the desire for a durable and professionally finished product.
The Big Glue-Up
I meticulously glued the boards together, inserting floating bead lock tenons into the drilled mortises. This process was both nerve-wracking and exciting. Working with such a large panel required creative clamping solutions, including gluing up half the tabletop at a time.
Shaping the Tabletop
The transformation of the large square slab into a round tabletop was possibly the most intimidating stage. Using a router and a DIY circle jig was a learning curve, but taking it slow and removing sawdust as I went along ensured a clean cut. My biggest hiccup came when I realized my router bit wasn't long enough to cut through the entire thickness of the board. The solution? Drilling vertical holes around the circular groove, a method that was both clever and effective.
The Base of the Table
Initially opting for a restaurant-style table base, I quickly discovered it wasn't sturdy enough to support my hefty tabletop. This led me to an innovative solution: using a 55-gallon barrel. After cutting and reinforcing the barrel, I decided to veneer it with poplar to match the tabletop, a process that was both challenging and rewarding.
Finishing Touches
With both the tabletop and base ready, applying finish was crucial for both protection and aesthetics. I opted for a water-based polyurethane for its light color preservation and durability. After sanding between coats, the final product was a smooth, professional-looking surface.
Final Assembly
The assembly of the table was the moment of truth. Adding weight inside the barrel ensured stability, and carefully securing the tabletop to the base was the final step in this months-long project. The result? A sturdy, beautiful round dining table that fits perfectly in my dining area, without any obstruction to the door.
Reflections
Building a round dining table from scratch was a journey filled with challenges, learning, and ultimately, a great deal of satisfaction. This project not only provided a functional piece of furniture for my home but also enriched my woodworking skills. The combination of careful planning, precise execution, and a bit of innovative problem-solving led to a dining table that I'm proud to say I built myself.
For anyone considering taking on such a project, my advice is to not shy away from the challenges. With patience, creativity, and attention to detail, it's possible to build not just furniture, but a piece of art that will be a centerpiece in your home for years to come.
Customization Ideas for Your DIY Round Dining Table
Building a DIY round dining table is not just about following instructions; it's about adding your personal touch to make it uniquely yours. Here are some customization ideas that can help you tailor your table to your taste and needs:
Choose Your Wood Wisely
Selecting the right type of wood can significantly affect the look and feel of your table. Consider woods like oak for durability, pine for a budget-friendly option, or walnut for a rich, dark finish. Each type of wood has its own grain patterns and colors, so pick one that matches your home's decor.
Stain, Paint, or Natural?
Decide on the finish for your table. Do you prefer a natural look that shows off the wood's grain? Or would you rather add a pop of color with paint? Staining your table can also give it a professional, polished appearance. Remember to use products suitable for food contact if you plan to dine directly on the surface.
Add a Personal Touch
Incorporate elements that reflect your personality. This could be anything from engraved initials, a mosaic tile inlay, or even a hand-painted design. These personal touches make your table stand out and tell a story.
Functional Add-Ons
Think about how you can make your table more functional. Adding drawers for storage, foldable extensions for extra guests, or even built-in charging stations can enhance the practicality of your dining table.
Protective Coating
A good protective coating not only preserves the look of your table but also makes it more durable. Consider a polyurethane coat for a glossy finish or a wax seal for a more natural feel. Make sure the coating you choose is appropriate for the level of wear and tear your table will endure.
The Base Matters
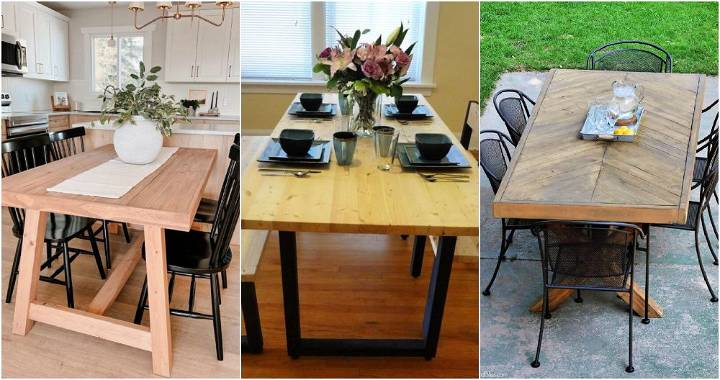
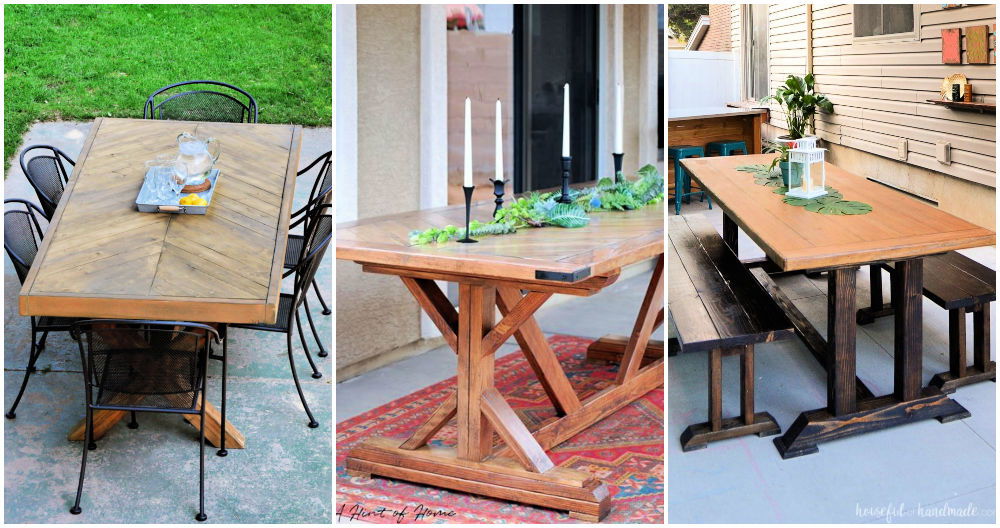
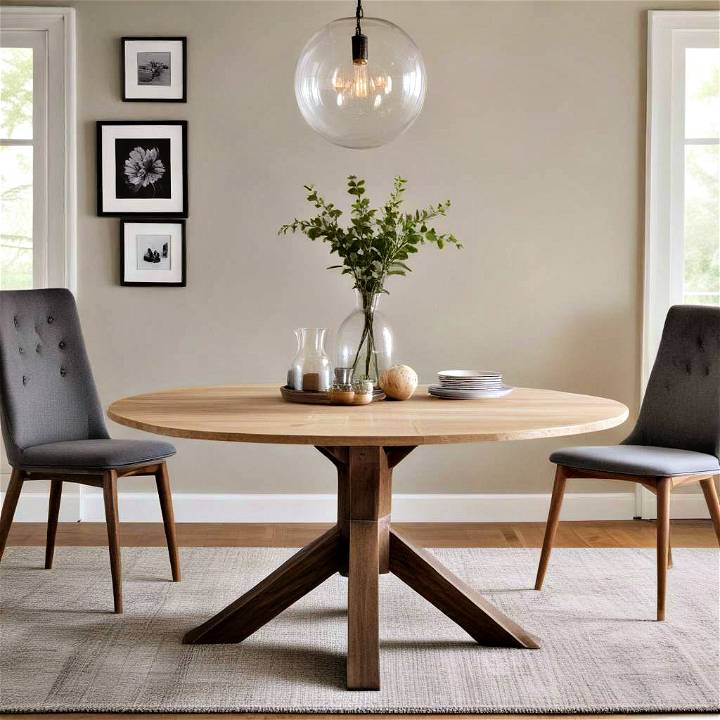
The base of your table can dramatically change its style. A pedestal base gives a classic look, while metal legs can add an industrial vibe. You can also build a rustic feel with a trestle base made from reclaimed wood.
By considering these customization options, you can ensure that your DIY round dining table is not only a functional piece of furniture but also a reflection of your creativity and style. Remember, the key to a successful DIY project is to have fun and let your imagination run wild!
FAQs About DIY Round Dining Tables
Building a round dining table yourself can be a rewarding project. Here are answers to some common questions that might arise during the process:
What is the best wood to use for a DIY round dining table?
The best wood for your table depends on your budget and style preference. Hardwoods like oak, maple, and walnut are durable and have a beautiful grain, making them popular choices. For a more cost-effective option, softwoods like pine can work well but may not be as long-lasting.
How do I choose the right size for my dining table?
To choose the right size, consider the space where the table will go and how many people you want to seat. A good rule of thumb is to allow about 24 inches of space per person. For a family of four, a table with a diameter of 48 inches should be comfortable.
Can I make a round table without advanced woodworking tools?
Yes, you can! While having advanced tools can make the job easier, you can use basic tools like a jigsaw, drill, and router. There are many tutorials available that guide you through the process using these tools.
How do I ensure my table is stable and doesn't wobble?
Stability is key for a good dining table. Make sure the base is heavy and sturdy. You can also add adjustable feet to the bottom of the legs to level out any unevenness on the floor.
What's the best way to finish my DIY table?
The best finish will protect your table and enhance its appearance. For a natural look, you can use a clear wood sealant. If you prefer a colored finish, wood stains come in a variety of shades. Always finish with a protective coat like polyurethane to make the surface durable and easy to clean.
Conclusion:
Wrapping up, making your DIY round dining table can be a fulfilling and budget-friendly project. With simple materials and tools, you can build a custom piece that suits your style and space perfectly.


