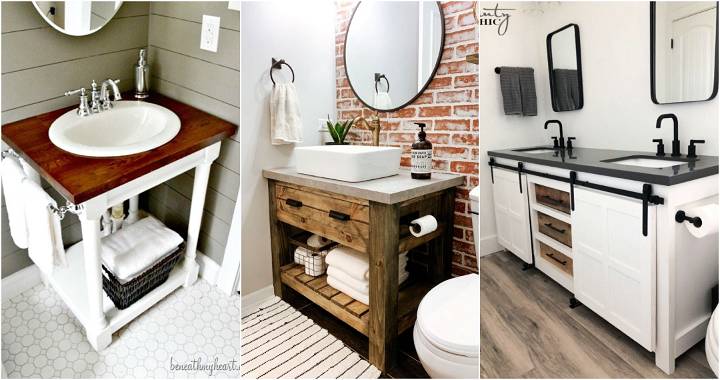
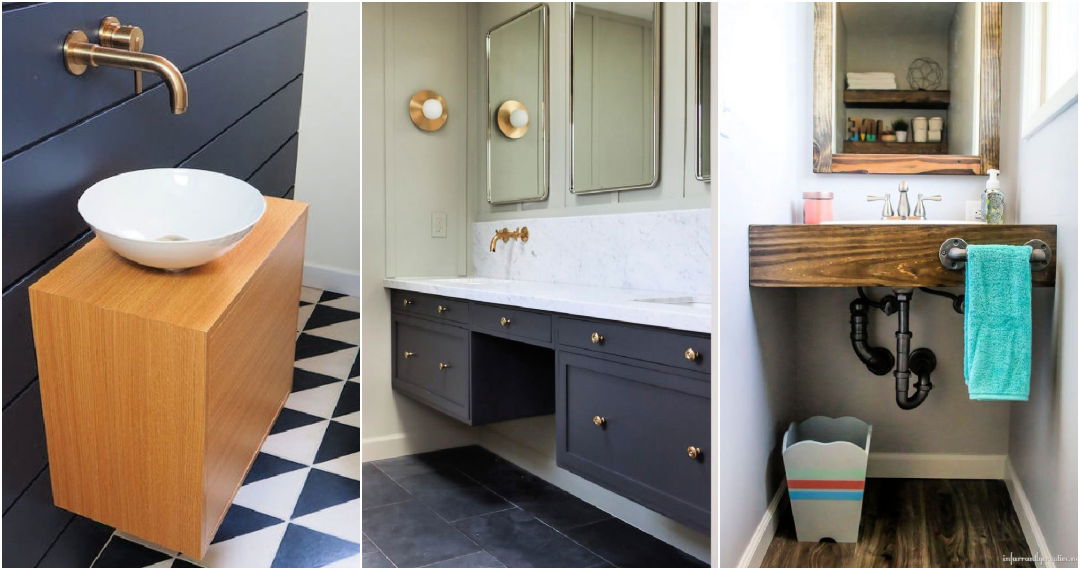
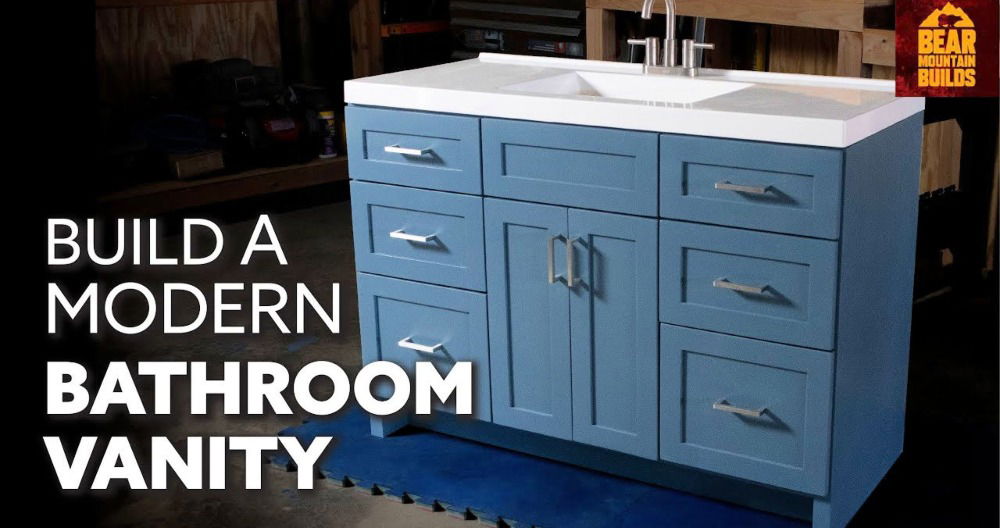
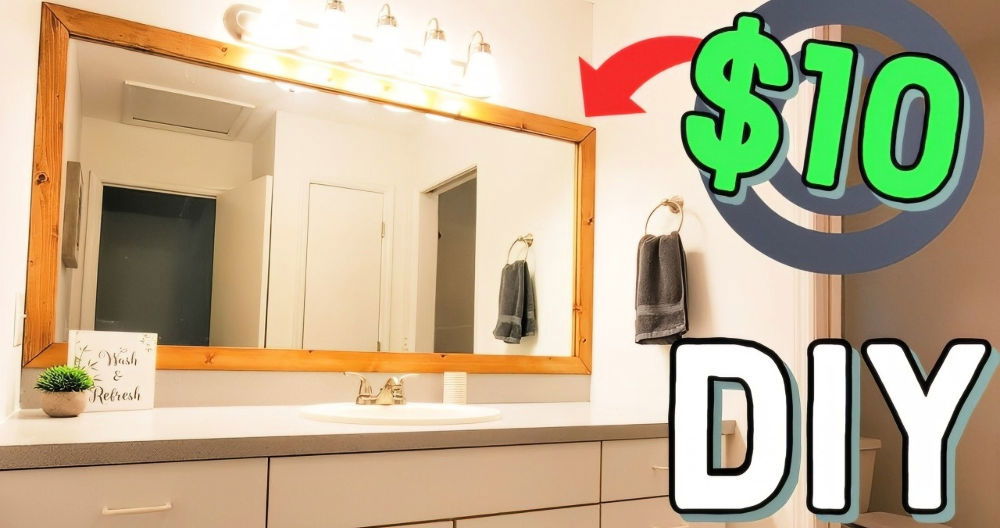
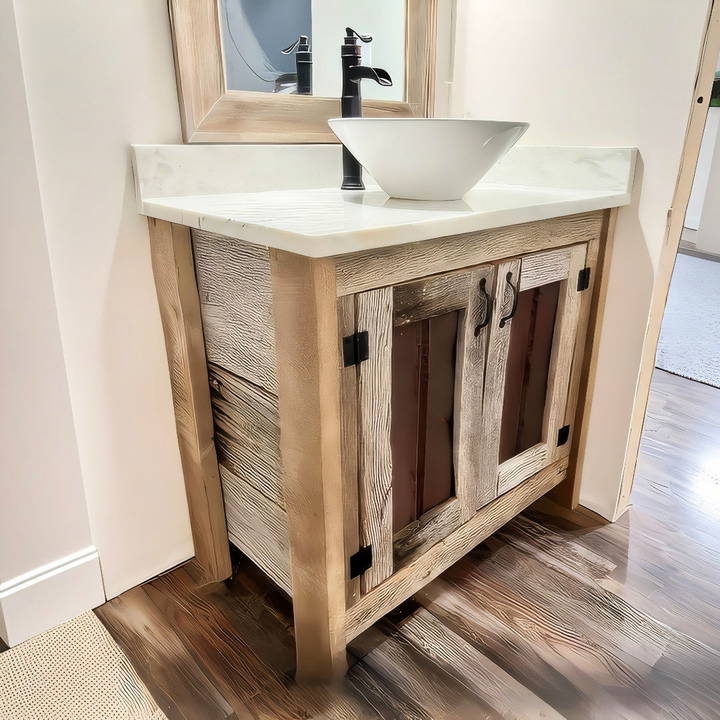
Building a DIY rustic bathroom vanity can add a beautiful and timeless touch to your space, blending vintage charm with modern utility. This tutorial will guide you step-by-step through building a rustic vanity using reclaimed barn wood, achieving a striking and functional piece for your bathroom that's both budget-friendly and eco-friendly. Inspired by Collins Country's project, we'll cover all the essentials—from materials and tools to assembly and finishing touches.
Why Choose a DIY Rustic Vanity?
Constructing a vanity from reclaimed barn wood not only saves money but also adds a unique character to your bathroom. Barn wood has natural variations, aged colors, and imperfections that enhance the rustic, farmhouse aesthetic. Plus, if you have access to salvaged wood or barn materials, this project can be incredibly affordable, and you'll enjoy the satisfaction of upcycling materials that might otherwise go unused.
Tools and Materials Needed
Materials:
- Barn Wood (sides and front): Reclaimed wood with a width of approximately 3 inches for the sides and 2 inches for support pieces.
- Pine Wood (for back support): Pine is sturdy and easy to attach to the main frame.
- Oak Wood: For added structural support.
- Marble Countertop: A durable, sophisticated top for a modern-rustic look.
- Metal Roofing Pieces: Used creatively as cabinet doors to add texture.
- Vessel Sink and Faucet: A farmhouse-style sink with a waterfall faucet.
- Fasteners: Screws, nails, glue, and hinges for the cabinet doors.
Tools:
- Saw: To cut wood to size.
- Drill: For attaching wood pieces securely.
- Sandpaper: To smooth rough wood edges.
- Measuring Tape: Ensure precise cuts and alignments.
- Clamps: Hold wood pieces in place while securing.
- Painter's Spray Paint (Optional): For any metal parts you want to custom color.
Step by Step Instructions
Learn how to make a DIY rustic bathroom vanity with step-by-step instructions. Perfect your project with budget tips and troubleshooting advice.
Step 1: Planning and Preparing the Wood
The first step is gathering and preparing your wood. If you're using reclaimed wood, take the time to clean it thoroughly, removing any nails or debris, and inspect for damage. Here's how to prep:
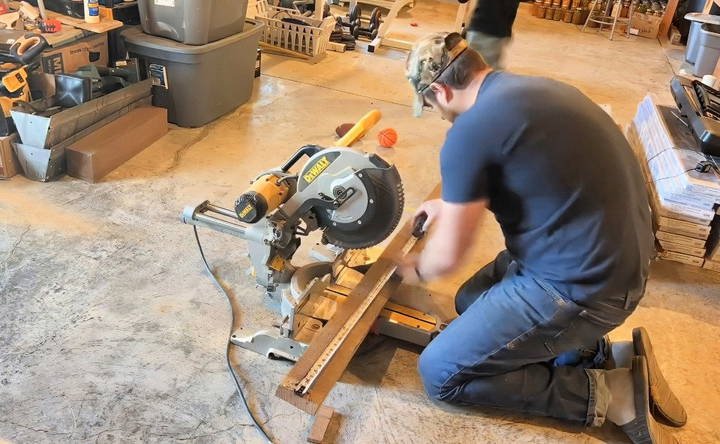
- Measure and Cut: Measure your vanity space to determine the appropriate size. A standard vanity is typically around 36 inches in height and 22 inches in width, but customize it to your needs. Cut barn wood planks to match these measurements.
- Sort and Organize: Arrange the wood so you know where each piece will go. For a rustic look, keep imperfections in the wood for added character.
- Sand Rough Edges: While keeping the rustic charm, use sandpaper to smooth out the edges of each piece to prevent splinters and give it a slightly polished look.
Step 2: Building the Vanity Frame
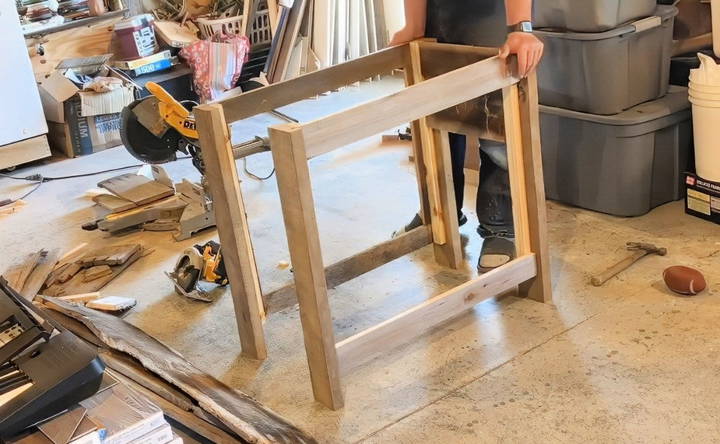
The frame of your vanity will provide structural support, so it's important to build a solid base.
- Construct the Front Frame: Using the 3-inch barn wood planks, build the front section of the vanity. Attach support beams (around 2 inches wide) vertically on each side.
- Attach Pine Wood to the Back: This will reinforce the structure. Secure the pine piece to the back using screws, leaving enough space for plumbing access.
- Add Supports: Attach oak wood pieces across the top to provide additional stability for the countertop. Fasten these supports with screws and ensure they're evenly spaced.
- Leave Room for Plumbing: Ensure you have an open section in the back to run your plumbing pipes.
Step 3: Assembling and Securing the Side Panels
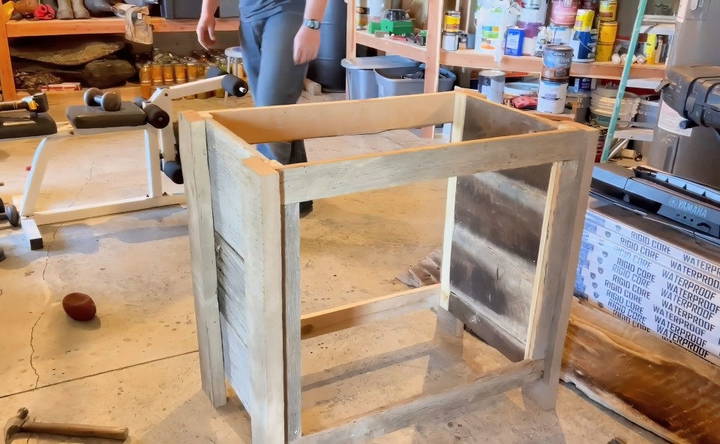
After completing the main frame, it's time to add side panels, which are also made from barn wood.
- Cut and Attach Side Panels: Measure and cut barn wood for the side panels. Attach them to the frame using nails and glue for added durability.
- Check Alignment: Keep everything square and leveled by adjusting as needed. Rustic wood can be uneven, so use clamps to hold the pieces in place while securing.
Step 4: Installing the Cabinet Doors with Reclaimed Metal
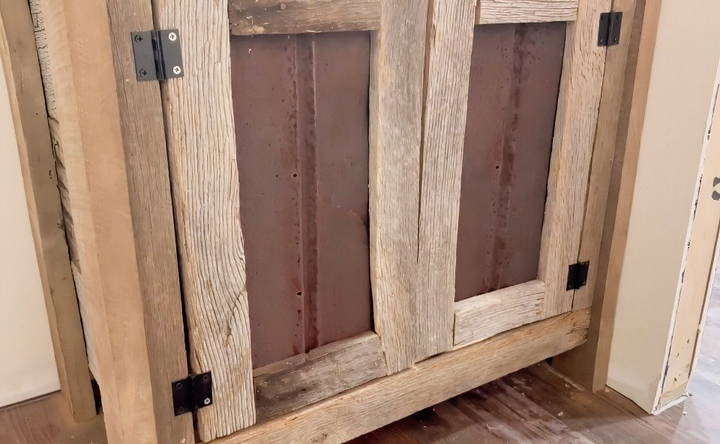
To add a unique twist, the doors of this vanity will be made from old metal roofing panels.
- Cut the Metal to Fit: Use tin snips or a saw designed for metal to cut the roofing material to the size of your cabinet doors.
- Attach Hinges: Drill holes for hinges on the metal doors and attach them to the vanity frame. Choose a hinge style that complements the rustic look. If the hinges don't match your color scheme, consider spray-painting them black for a cohesive look.
- Handle Placement: Attach handles to the doors. Consider using rugged, industrial-style handles to match the rustic theme.
Step 5: Installing the Countertop
A marble countertop pairs beautifully with rustic wood, adding a modern element to the vanity.
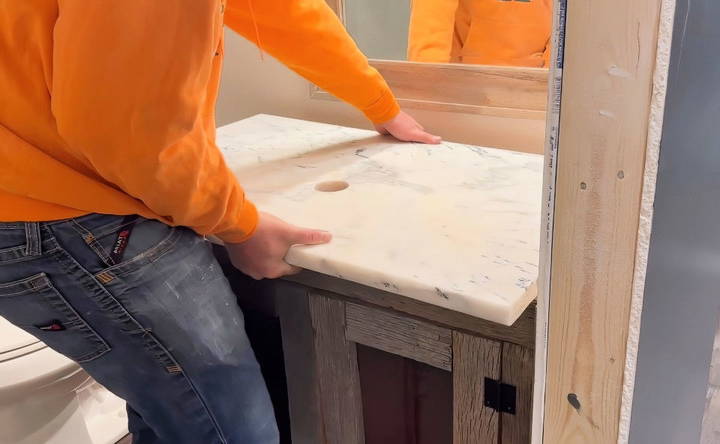
- Position the Marble: Place the marble on top of the vanity and use shims to level it. Marble is heavy, so make sure it's properly supported by the frame.
- Cut to Fit: If adjustments are needed, use a masonry blade to cut the marble. Only cut halfway through initially to avoid cracking.
- Attach the Countertop: Once it fits perfectly, secure it in place with construction adhesive. Let it cure for the recommended time to ensure stability.
Step 6: Installing the Sink and Faucet
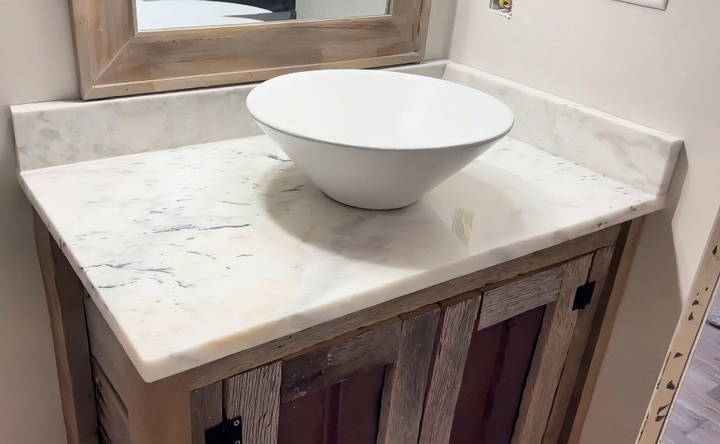
The vessel sink and waterfall faucet add the final touch to your rustic vanity.
- Drill a Hole for the Faucet: Use a 43mm diamond drill bit to drill a hole in the marble for the faucet. Start slowly to avoid cracking.
- Position the Sink: Place the vessel sink in the center of the countertop and secure it as per manufacturer instructions.
- Attach the Faucet: Install the faucet, ensuring the water lines are connected properly and that the faucet is leveled. A waterfall faucet can build a dramatic look, complementing the rustic style.
Step 7: Finishing Touches and Final Assembly
With the main structure in place, it's time to add final touches that will enhance both aesthetics and functionality.
- Apply a Finish: Depending on the wood's condition, you may want to apply a clear sealant or varnish to protect it from moisture. This will help preserve the wood's color and prevent it from warping.
- Inspect Hardware and Fasteners: Make sure all screws and nails are secure. Go over the entire vanity and reinforce any loose areas.
- Mount the Vanity: Position the vanity in your bathroom and secure it to the wall studs for stability.
- Add Decorative Elements: Once everything is in place, consider adding rustic décor items, such as a mirror with a barn wood frame or metal baskets for added storage.
Budget Tips and Cost Breakdown
Building this vanity from reclaimed barn wood is a cost-effective project, especially if you already have some materials on hand. Here's an estimated breakdown:
- Barn Wood: Free (if salvaged)
- Metal Roofing: Salvaged or sourced from old barn material
- Marble Countertop: $50 from a local marketplace or thrift store
- Sink: Repurposed or bought at a discount, around $30-$50
- Faucet: Approximately $40-$50 for a budget-friendly waterfall model
- Hinges and Hardware: $10 for hinges, $5 for handles
Total Estimated Cost: $100-$150 (depending on what materials you can salvage or repurpose)
Benefits of DIYing Your Own Rustic Vanity
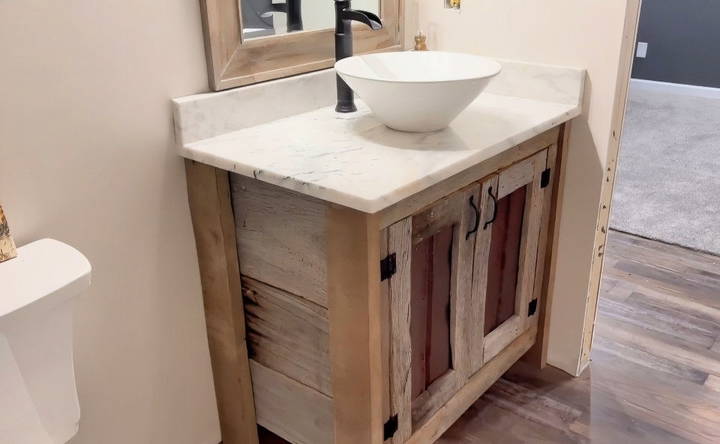
Building a vanity yourself brings numerous advantages beyond just saving money:
- Customization: You have complete control over the size, design, and finish.
- Sustainable Choice: By using reclaimed materials, you're reducing waste and embracing eco-friendly practices.
- Character and Uniqueness: No store-bought vanity can replicate the charm of reclaimed barn wood or the personal touches you add.
- Skills Development: DIY projects help hone your woodworking and design skills.
Troubleshooting and Tips
- Uneven Wood: Barn wood may be uneven or warped. Use a planer to smooth major issues, but embrace imperfections for authenticity.
- Securing Heavy Materials: Marble is heavy, so ensure the vanity frame is solid and well-secured to wall studs.
- Metal Edges: Metal roofing can have sharp edges. Sand these down or use edge protectors to prevent accidental cuts.
Conclusion:
Building a DIY rustic bathroom vanity out of reclaimed barn wood is not only a rewarding project but also a chance to bring a unique, farmhouse-inspired piece into your home. With a little time, patience, and creativity, you can transform salvaged materials into a beautiful, functional centerpiece. Plus, you'll enjoy the satisfaction of knowing that you built it yourself! So, gather your tools, reclaim that barn wood, and start building your dream vanity today.
FAQs About DIY Rustic Bathroom Vanity from Barn Wood
Explore our FAQs about DIY rustic bathroom vanitys from barn wood. Learn how to build, maintain, and customize your own unique vanity today!
We used a simple method: applying silicone to the bottom of the sink before setting it onto the marble. This keeps the sink stable without complicated attachments.
Minor unevenness adds character, but for major warping, use a planer or sand down raised areas. For very uneven edges, align the best surfaces outward for aesthetics, or use filler wood strips to even the structure.
Metal roofing can have sharp edges, so sand down all exposed edges thoroughly. This prevents accidental cuts and gives a smoother look and feel to the cabinet doors.
Yes, applying a clear, waterproof sealant will protect the wood from moisture and extend its lifespan. This step keeps the wood's natural color while preventing warping or mold.
If barn wood isn’t available, look for reclaimed wood from old pallets or lumber yards. Alternatively, new wood can be distressed using staining techniques to mimic a rustic, weathered look.
If black hinges aren’t available, buy silver or other colored hinges and spray-paint them black. Be sure to let them dry completely before attaching to avoid smudging or peeling.
Absolutely. While marble adds a modern touch, you can use materials like butcher block, concrete, or quartz for a similar blend of rustic and modern style. Choose a material that complements your bathroom design and durability needs.
Secure the vanity to wall studs for maximum stability. Use long screws or brackets, especially if you're working with heavier materials like marble or a vessel sink.
A waterfall faucet complements the rustic-modern look well, but any vessel faucet will work. Choose a finish that complements your sink and vanity material for a cohesive look.
Yes, adding extra shelving or even small drawers is possible. Use additional reclaimed wood to build customized storage solutions that fit under the sink or beside it.


