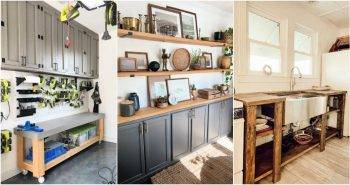
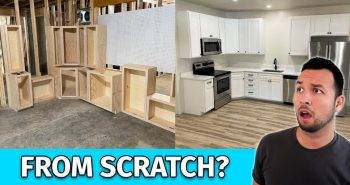
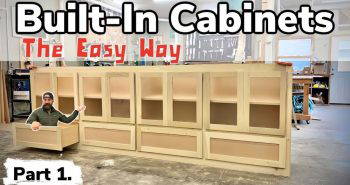
If you're renovating your RV and looking for ways to customize your storage, building lightweight cabinets is an excellent option. Custom cabinetry allows you to maximize space, achieve a modern aesthetic, and ensure your cabinets are sturdy enough for life on the road. This guide covers everything you need to know about constructing lightweight, durable, and stylish DIY RV cabinets, from planning and materials to assembly and installation.
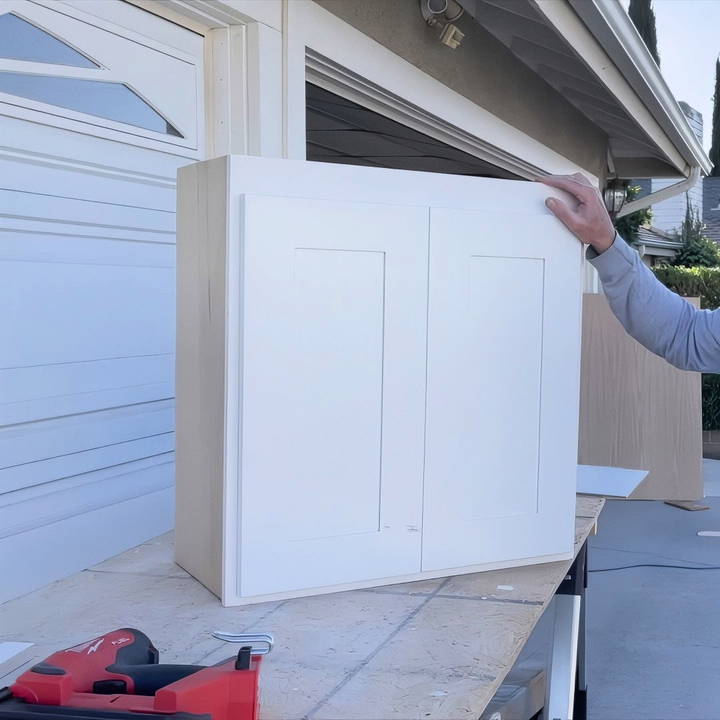
Why Build Your Own RV Cabinets?
Building your own cabinets can seem daunting, but there are some major benefits, especially for RVs:
- Customization: Tailor each cabinet to fit your specific storage needs and the unique layout of your RV.
- Weight Reduction: Use lightweight materials to avoid overloading your RV, which helps with fuel efficiency and handling.
- Improved Aesthetics: Achieve a clean, modern look with hidden hinges and smooth finishes.
- Cost Savings: DIY cabinetry can save a significant amount compared to custom-built or pre-made options.
With careful planning and the right tools, building RV cabinets can be a satisfying DIY project.
Tools and Materials Needed
Before starting, make sure you have the following tools and materials. These are essential to making strong and well-constructed cabinets.
Tools:
- Pocket Hole Jig: This is crucial for making sturdy joints without visible screws on the face.
- Countersink Bit: Allows you to sink screws flush with the wood for a clean finish.
- Drill: Necessary for making pilot holes and driving screws.
- Table Saw or Skill Saw: Used for cutting panels to size.
- Nail Gun: Ideal for securing pieces quickly.
- Hidden Hinge Jig: Specifically used if you're installing European-style hidden hinges, providing a modern, seamless look.
Materials:
- Finger Joint Pine: Lightweight and durable, often pre-primed, and ideal for cabinets that will be painted.
- Plywood Panels: For the sides and back of the cabinets, plywood is lightweight and strong.
- Screws and Nails: Essential for attaching pieces securely.
- Glue: To add extra strength, especially for internal panels.
- European Hidden Hinges: These hinges give the cabinet a clean look with no visible hardware.
Step by Step Instructions
Learn how to build DIY RV cabinets with step-by-step instructions, from planning to installation, plus tips for lightweight designs.
Step 1: Planning Your Cabinets
Planning is the foundation of a successful cabinetry project. Spend time mapping out the cabinet layout, size, and style you want. Consider these factors:
- Repurpose vs. New Doors: Decide if you want to use existing doors or order new ones. Repurposing can save money and time, but if the layout has changed significantly, new doors may be required.
- Cabinet Drawings: Sketch your cabinets with detailed measurements. Draw directly on the walls of your RV if possible to visualize the finished look.
- Measure for Overlay: For hidden hinges, determine the overlay (half-inch or three-quarter-inch) and account for this in your cabinet opening measurements.
- Spacing: Ensure your cabinets will open without interference from lights, speakers, or other ceiling-mounted objects.
Step 2: Building the Face Frame
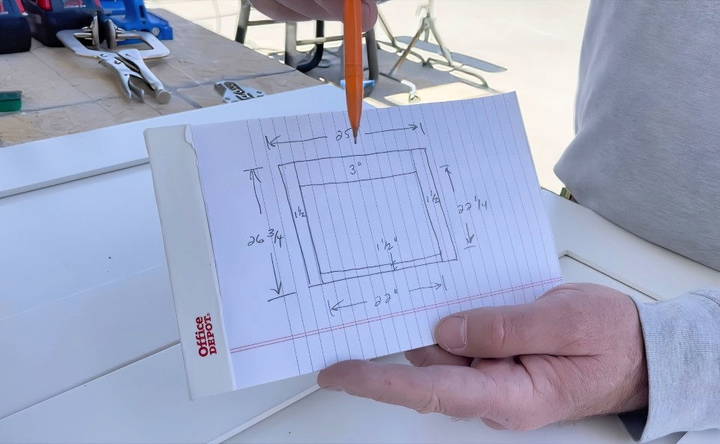
The face frame is the visible front of the cabinet, and it's where the doors attach. Building a sturdy face frame is key to a solid cabinet structure.
- Cut Pieces to Size: Based on your drawings, cut your vertical and horizontal pieces for the face frame. Double-check each piece for accuracy.
- Assemble with Pocket Holes: Use a pocket hole jig to build hidden joints. Mark the back of each piece with an "X" to avoid drilling on the wrong side.
- Secure with Screws: Clamp the frame pieces together, ensuring they are flush. Drill screws to secure each joint, making a strong, square face frame.
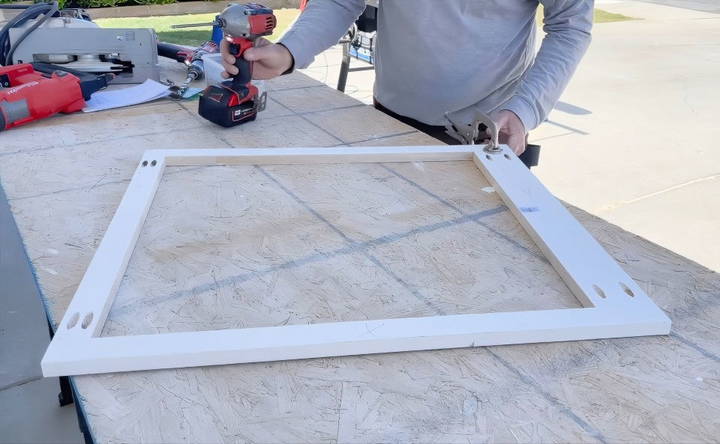
Pro Tip: When designing face frames for European hinges, use narrow frame pieces for a tighter, more seamless look. If using surface-mounted hinges, plan a wider frame to accommodate the extra space needed for hinge hardware.
Step 3: Constructing the Cabinet Box
With the face frame assembled, you can move on to building the sides, bottom, and any interior shelves.
- Cut Panels: Measure and cut plywood panels for the sides and bottom of the cabinet box.
- Attach the Frame to the Panels: Use finish nails to secure the panels to the face frame temporarily. This provides initial structure.
- Reinforce with Screws: Counter-sink and drive screws for added strength. Ensure screws are flush or slightly recessed to avoid interference with assembly.
- Add Shelves: Measure and cut any shelves to fit within the cabinet. Secure them with screws and add additional blocking for extra support if necessary.
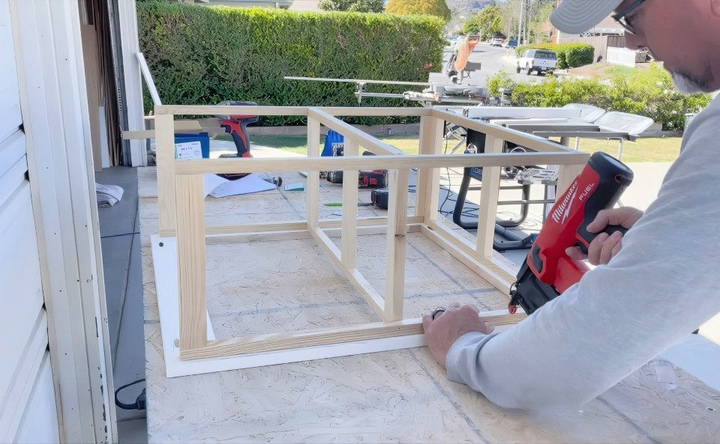
Step 4: Assembling the Cabinet
Now, you'll start putting all the pieces together to build a solid, functional cabinet.
- Attach Side Panels to the Bottom: Using pocket hole screws, secure the side panels to the bottom panel. Ensure everything is square and level.
- Secure the Middle Shelf: Install any middle shelves by screwing or nailing them into place. Position shelves based on your storage needs; for example, you may want a higher shelf to accommodate taller items.
- Install Back Panel: Cut a back panel for additional stability. Attach it with screws or nails, ensuring it's flush with the edges of the frame and side panels.

Optional: If you want adjustable shelves, install shelf pins or tracks to allow for repositioning shelves later.
Step 5: Final Touches and Finishing
To give your cabinet a professional look, complete these finishing touches.
- Apply Edge Banding: For exposed plywood edges, consider using edge banding for a cleaner, polished look.
- Fill and Sand: Fill any gaps or nail holes with wood filler. Sand down rough edges to ensure a smooth finish, especially if you plan to paint.
- Paint or Stain: Choose a color that complements your RV's interior. Use lightweight, durable paint, ideally with a primer for added durability.
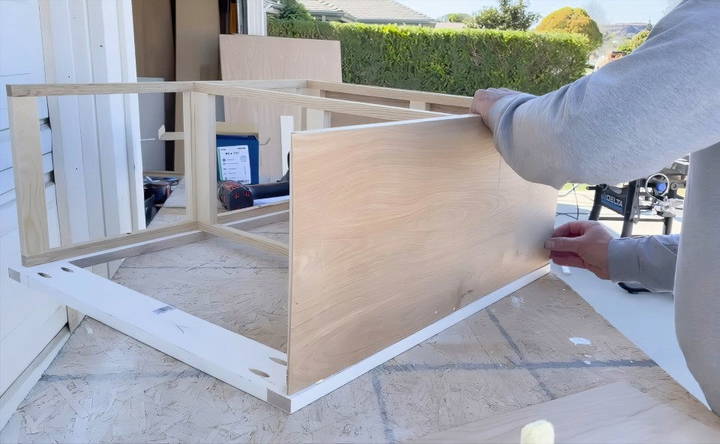
Step 6: Installing Your Cabinet
With the cabinet fully assembled, you're ready to install it in the RV.
- Attach to Walls and Ceiling: Position the cabinet and use the pre-planned attachment points to secure it. Use long screws to anchor into studs or framing within the RV for a stable installation.
- Secure to the Ceiling: For upper cabinets, secure them to the ceiling as well, using the reinforcement you added to the cabinet structure.
- Check Stability: Test the cabinet to ensure it's firmly in place and doesn't wobble.
Step 7: Installing the Doors
Doors are typically installed last, especially if using European hinges.
- Align Hinges: Use the hinge jig to drill holes for the European hinges. Install the hinges on the door and attach to the face frame.
- Adjust Door Alignment: European hinges offer multiple adjustment points to achieve perfect alignment. Adjust as needed for a consistent reveal and smooth operation.
- Install Handles or Knobs: Add the final touch by installing handles or knobs of your choice.
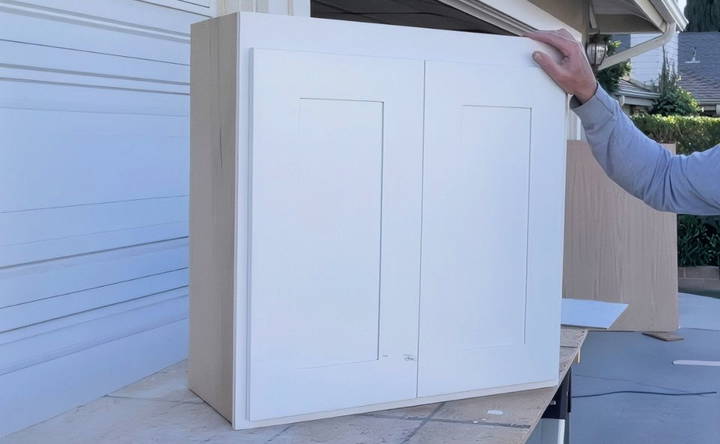
Additional Tips for Lightweight RV Cabinets
- Consider Modular Designs: Build cabinets in sections to make them easier to install and remove if needed.
- Use Pre-Finished Materials for Interiors: Consider pre-finished, lightweight materials for the inside of the cabinet, such as white melamine, which resists scuffs and is easy to clean.
- Incorporate Wire Channels for Lighting: Plan for lighting by leaving channels in the structure to run wires. This is especially helpful for under-cabinet lighting.
Conclusion
Building DIY cabinets for your RV renovation is a rewarding project that allows you to tailor storage to your specific needs and personal style. From planning and design to assembly and installation, each step is manageable with patience, the right tools, and attention to detail. Following this guide, you'll be able to build cabinets that are not only lightweight but also durable and visually appealing—perfect for enhancing both the function and aesthetic of your RV.
With these steps and tips, you're well on your way to building custom RV cabinets that fit perfectly and provide lasting value. Happy building, and enjoy the journey to a beautifully renovated RV interior!
FAQ About DIY RV Cabinets
Explore frequently asked questions about DIY RV cabinets for tips, materials, and step-by-step guides to enhance your RV space efficiently.
The frames are made of lightweight pine, specifically finger-joint pine for painted finishes. The side and bottom panels are generally made from 3/4-inch pine with 1/8-inch panels on both sides, totaling about 1-inch thickness overall.
While glue is optional, it can add stability. The creator doesn’t use glue because screws alone provide sufficient strength, especially with pocket hole joinery. If you’re concerned about loosening from road vibrations, adding glue may help without adding significant weight.
Finish nails are used for the frame assembly. The nail size depends on the thickness of the parts being joined. Inch-and-a-quarter screws are commonly used to assemble the cabinet structure, ensuring a secure and stable build.
Using a stud finder is a reliable way to locate studs in your RV walls. If you’re struggling to find studs, try different stud finder models, as some walls may have non-traditional structures or mixed materials.
The cabinets are lightweight because they use thin, lightweight wood for structural elements and a minimalistic frame design. Choosing pine over heavier woods and limiting material usage ensures the cabinet stays light but strong enough to handle daily use.
The same method and materials are generally used for both upper and lower cabinets. The structure is sturdy enough without needing thicker materials, as the framework with face frames provides adequate support.
You can plan for lighting by leaving channels within the frame to run wiring. Installing a false bottom or adding a removable panel also allows easy access to wires for puck or under-cabinet lighting.
Yes, the same cabinet-building method works for a sink cabinet. Lightweight stainless steel sinks are a great option as they're durable yet light. Be sure to measure carefully to fit your desired sink size.
For extra durability in mobile conditions, you can add glue to the joints or use locking screws designed to withstand vibrations, especially useful for RV travel.


