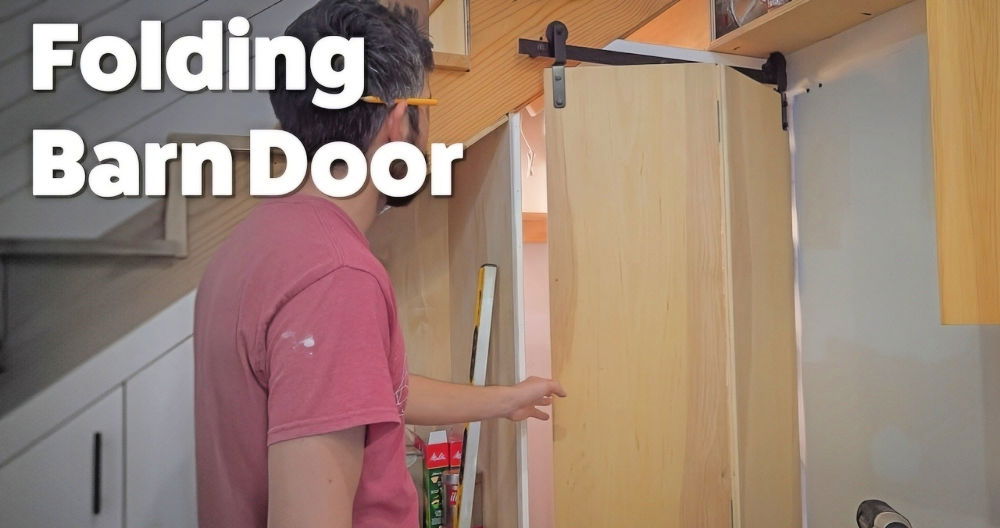
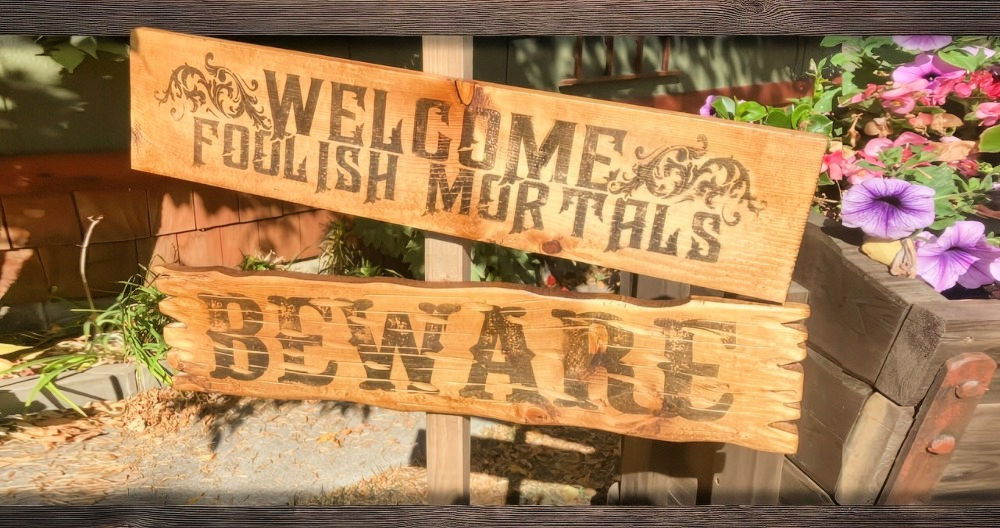
Building saloon doors can be a practical and fun woodworking project that doesn't require a professional background—trust me, I've been there. I'll walk you through my own experience building DIY saloon doors for a specific space in my home, following a few simple steps. The aim? To block off a stairwell so my dog can't get into mischief downstairs.
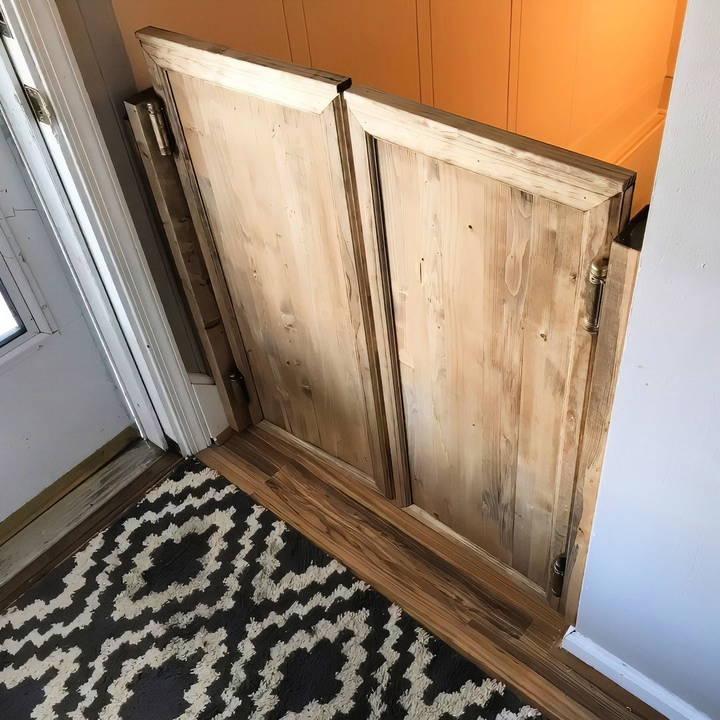
The process was a little trial-and-error, but by the end of it, I had a solid, functional, and attractive set of saloon doors. Here's how I did it, and how you can too.
Materials You'll Need
Before diving in, it's essential to gather your materials. Here's what I used, along with why it was important for this project.
- Project Panel (3/4 inch thick, 16 inches wide, 72 inches long): This will serve as the body of the doors. Since the opening I was working with was 36 inches wide, I cut this panel in half to form the two doors.
- Trim: Adding trim helps dress up the plain edges of the doors. I used 8-foot sections of trim to give the doors a more finished look. It's an affordable way to make your doors look high-end without spending a fortune.
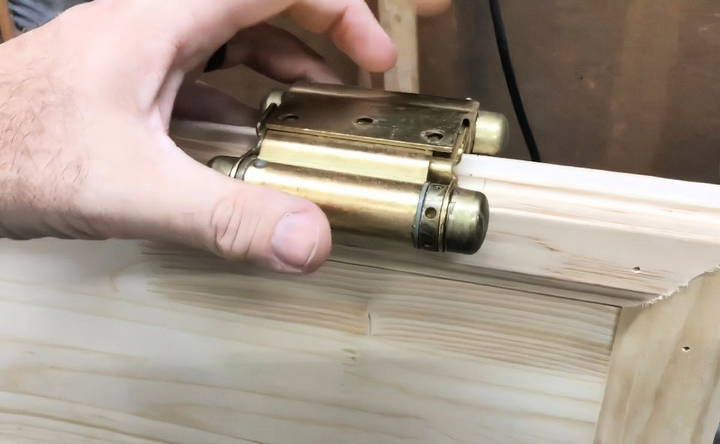
- Hinges: Saloon-style swing hinges are what make these doors unique. I repurposed some old ones, but you can buy them at most hardware stores for around $20 per hinge.
- Wood Glue: Essential for attaching the trim securely.
- Brad Nails (1-inch): These are used to tack the trim in place. They hold well without being overly visible.
- Stain (Special Walnut): While I prefer dark walnut, this was a close second and added a rich finish to the doors.
Step by Step Instructions
Learn how to build DIY saloon doors with our easy step-by-step guide, from measuring and cutting to final adjustments for a stylish finish.
Step 1: Measuring and Cutting the Panels
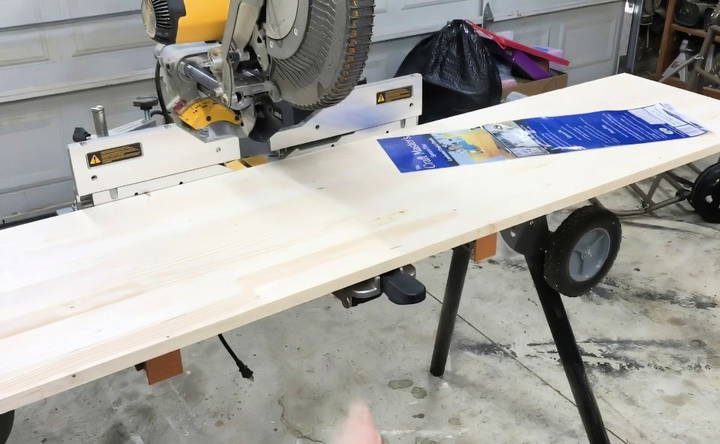
The first thing I did was measure my opening. At 36 inches wide, the project panel needed to be cut in half to build two doors that fit side by side. Using a table saw, I made this cut. Don't worry if it's not perfectly straight—trim work will cover any imperfections later.
- Tip: Accuracy Matters: Make sure to double-check your measurements before cutting. If the doors are too wide or too narrow, it could throw off the entire project. I had to adjust my cuts several times as I went along, so don't get discouraged if you need to tweak things.
Step 2: Adding Trim for a Finished Look
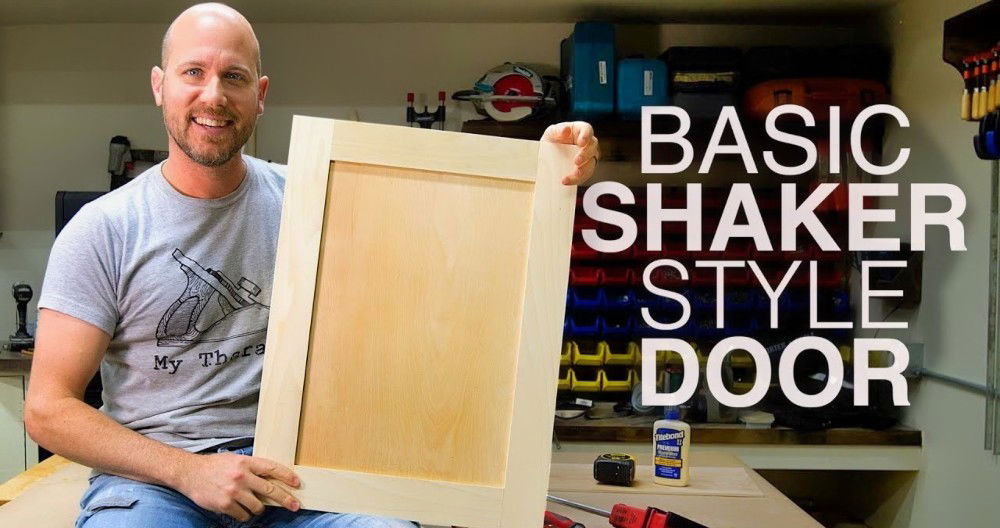
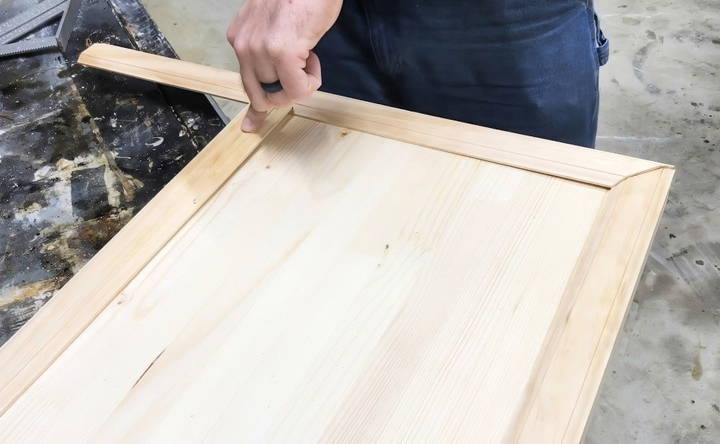
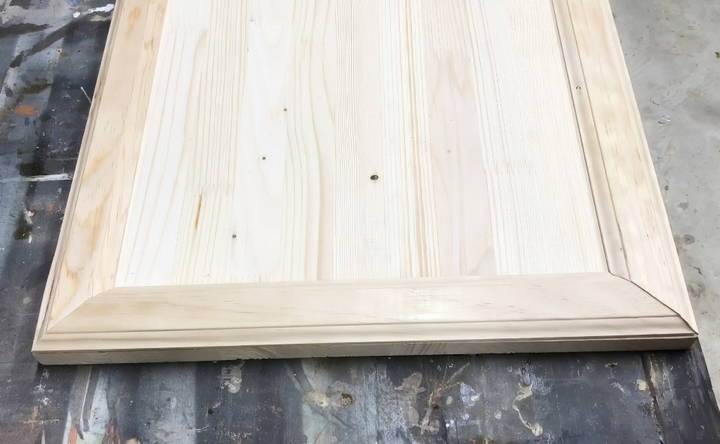
Once the panels were cut, I moved on to trimming the edges. The trim gives the doors more character and depth, making them look far more polished. I used a miter saw to cut 45-degree angles at the corners for a seamless fit.
- Pro Tip: Make a Template: One thing I found super helpful was making a template out of scrap trim. By doing this, I could ensure all my cuts were consistent. This trick saved me a lot of time, and it's something I recommend, especially if you're not used to working with angles.
Step 3: Attaching the Trim
With all my trim pieces cut, it was time to attach them to the doors. I used wood glue and 1-inch brad nails to secure the trim. Don't overdo it with the glue—just enough to keep the pieces in place without causing a mess.
Step 4: Staining the Doors
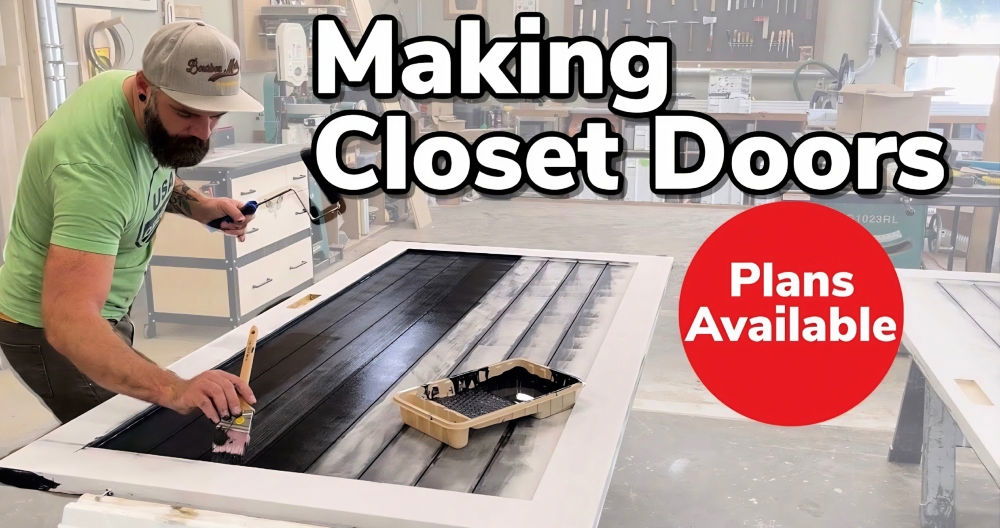
Next, it was time to stain. I went with a special walnut finish, though any wood stain will work, depending on your personal taste. Make sure to apply the stain evenly and wipe off any excess to avoid streaks.
- Personal Experience: Patience with Staining: This is where patience is key. Let the stain dry thoroughly before moving on. I rushed this part once and ended up with sticky doors that didn't look as good as they could have.
Step 5: Installing the Hinges
The swing hinges are what make these doors functional, allowing them to open in both directions. I had to shave down the edges of the doors slightly using a belt sander, as the thickness of the panel was just a tad too wide for the hinges.
- Pro Tip: Adjusting the Hinge Tension: Most swing hinges come with adjustable tension. I found this particularly helpful because I needed the doors to swing freely but not so loose that they felt flimsy. It took a bit of trial and error, but I eventually got the tension just right.
Step 6: Mounting the Doors
After attaching the hinges to the doors, I installed the 2x4 support beams to each side of the stairwell opening. These beams provided a sturdy surface to attach the hinges. Once the beams were in place, it was time to mount the doors.
- Personal Challenge: Wall Trim Adjustments: Here's a little challenge I faced: the existing trim at the base of my stairwell protruded slightly, preventing the doors from sitting flush. To solve this, I cut a 130-degree angle into the bottom trim piece, allowing the 2x4 support beam to sit perfectly flush against the wall.
Step 7: Final Touches and Adjustments
With the doors mounted, I did a final check to make sure everything swung smoothly and looked even. I ended up adding another piece of trim to the back side of the doors because I wanted them to look finished from both the kitchen and the stairs.
Results: Practical and Stylish
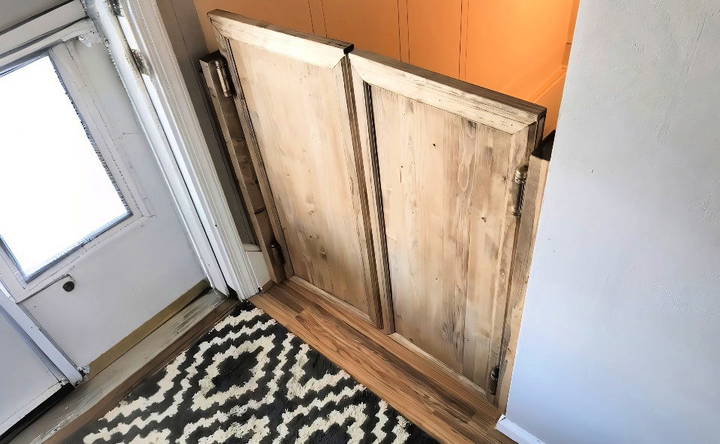
After all the work, the saloon doors turned out great. Not only do they look good, but they're also incredibly practical for keeping my dog from getting downstairs. The double-action hinges make them easy to use, and the trim gives them a custom, professional look.
Lessons Learned
- Plan Ahead (Even if You're "Winging It"): I initially thought I could eyeball most of this project, but it turns out a little planning goes a long way. Measuring carefully and making templates saved me a lot of time.
- Stain in a Warm Area: It was cold in my workshop, which slowed down the drying time of the stain. If you're working in a cooler space, give the stain extra time to set.
- Trim on Both Sides for Consistency: Initially, I planned on trimming only the visible side of the doors, but I ended up doing both sides. It gave the doors a more balanced and polished look.
Customization Ideas
Customizing your DIY saloon doors can add a personal touch and make them stand out. Here are some easy and creative ideas to help you get started:
Decorative Elements
- Trim and Molding: Adding trim or molding can give your saloon doors a polished look. You can use simple wooden strips or more intricate designs, depending on your style.
- Stencils and Paint: Use stencils to build patterns or designs on your doors. This can be a fun way to add a unique touch. Choose paint colors that match your home decor.
- Engravings: If you have the tools, consider engraving designs into the wood. This can be as simple as initials or as complex as detailed patterns.
Finishing Touches
- Paint: A fresh coat of paint can completely change the look of your doors. Choose a color that complements your space. For a rustic look, consider using chalk paint.
- Stain: Staining the wood can enhance its natural beauty. There are many shades available, from light oak to dark walnut. Staining also helps protect the wood.
- Weatherproofing: If your saloon doors will be exposed to the elements, consider adding a weatherproof finish. This will help protect the wood from moisture and sun damage.
Hardware Upgrades
- Hinges: Swap out standard hinges for decorative ones. There are many styles available, from vintage to modern. Make sure they are sturdy enough to support the doors.
- Handles and Knobs: Adding unique handles or knobs can make your doors more functional and stylish. Look for options that match your overall design theme.
- Latches: If you want your doors to stay closed, consider adding a latch. There are many decorative options that can add both function and flair.
Personal Touches
- Photos and Artwork: Attach small frames to the doors and display photos or artwork. This can make your doors a conversation piece.
- Mirrors: Adding mirrors to your doors can make a small space feel larger. It also adds a touch of elegance.
- Fabric Panels: Attach fabric panels to the doors for a soft, cozy look. This can also help with sound insulation.
Lighting
- LED Strips: Add LED strips around the edges of the doors for a modern, illuminated look. This can be especially striking in the evening.
- Sconces: Install wall sconces on either side of the doors. This adds both light and a decorative element.
Seasonal Decorations
- Wreaths: Hang small wreaths on the doors for a festive touch. You can change them out with the seasons.
- Garlands: Drape garlands over the top of the doors. This can add a touch of greenery and make your space feel more inviting.
By incorporating these customization ideas, you can build saloon doors that are not only functional but also a reflection of your personal style.
Common Mistakes and How to Avoid Them
When building and installing DIY saloon doors, there are several common mistakes that can occur. Here's a guide to help you avoid these pitfalls and ensure a smooth project.
Measurement Errors
- Incorrect Measurements: One of the most common mistakes is not measuring accurately. This can lead to doors that don't fit properly.
- How to Avoid: Measure the doorway width and height multiple times. Use a tape measure and write down the measurements. Double-check before cutting any materials.
Poor Material Selection
- Using the Wrong Materials: Choosing the wrong type of wood or hardware can affect the durability and appearance of your doors.
- How to Avoid: Select materials that are suitable for your environment. For example, use treated wood for outdoor doors to prevent rot. Consult with a hardware store expert if you're unsure.
Inaccurate Cutting
- Uneven Cuts: Cutting the wood unevenly can result in doors that don't align properly.
- How to Avoid: Use a straight edge and clamps to guide your saw. Take your time and make sure each cut is precise. If possible, use a miter saw for more accurate cuts.
Improper Assembly
- Weak Joints: Assembling the doors incorrectly can lead to weak joints that may break over time.
- How to Avoid: Follow the assembly instructions carefully. Use wood glue and screws to secure the joints. Allow the glue to dry completely before moving on to the next step.
Incorrect Hinge Placement
- Misaligned Hinges: Placing hinges incorrectly can cause the doors to hang unevenly or not swing properly.
- How to Avoid: Mark the hinge positions on the doors and the door frame. Use a level to ensure they are aligned. Pre-drill holes for the screws to prevent the wood from splitting.
Poor Finishing
- Inadequate Finishing: Skipping the finishing steps can leave your doors looking unfinished and unprotected.
- How to Avoid: Sand the doors thoroughly before applying any finish. Choose a paint or stain that suits your style and provides protection. Apply multiple coats if necessary, allowing each coat to dry completely.
Ignoring Safety
- Neglecting Safety Precautions: Failing to follow safety guidelines can result in injuries.
- How to Avoid: Always wear safety gear, such as goggles and gloves. Work in a well-ventilated area. Keep your workspace clean and organized to prevent accidents.
Installation Issues
- Incorrect Installation: Installing the doors incorrectly can cause them to function poorly.
- How to Avoid: Follow the installation instructions step-by-step. Ensure the doors are level and swing freely. Adjust the hinges if necessary to achieve the perfect fit.
By being aware of these common mistakes and taking steps to avoid them, you can ensure your DIY saloon door project is a success.
FAQs About DIY Saloon Doors
Find answers to all your questions about DIY saloon doors in our comprehensive FAQ guide. Get tips, materials needed, and installation advice.
You can customize your saloon doors in several ways:
Paint or Stain: Choose a color or stain that matches your decor.
Decorative Trim: Add trim or molding for a more ornate look.
Carvings or Panels: Incorporate carvings or glass panels for added style.
Hardware: Select unique handles or hinges to enhance the appearance.
Yes, using reclaimed wood is a great option for saloon doors. It adds a rustic charm and is environmentally friendly. Ensure the wood is sturdy and free from pests. Sand and treat the wood to remove any old paint or finishes before use.
Saloon doors come in various styles to match different decors:
Classic Western: Features a curved top and bottom.
Cafe Style: Often shorter and more decorative.
Rustic: Made from reclaimed or distressed wood.
Modern: Sleek designs with clean lines and sometimes glass panels.
Saloon doors offer several benefits:
Space Division: They help divide spaces without completely closing them off.
Aesthetic Appeal: They add a unique and stylish element to your home.
Easy Access: They allow for easy passage between rooms, especially in high-traffic areas.
While saloon doors are typically not designed for privacy, you can add locks if needed:
Slide Bolts: Install slide bolts at the top or bottom of the doors.
Hook and Eye Latches: These can be added for a simple locking mechanism.
Consult a Professional: For more secure options, consider consulting a professional.
Wrapping It Up
Building your own DIY saloon doors might seem like a challenging project, but with the right tools and some patience, it's entirely doable—even for beginners. Whether you're looking to add a fun, rustic element to your home or need a practical solution to block off a space, these doors can work in a variety of settings. Plus, they're a great conversation starter.


