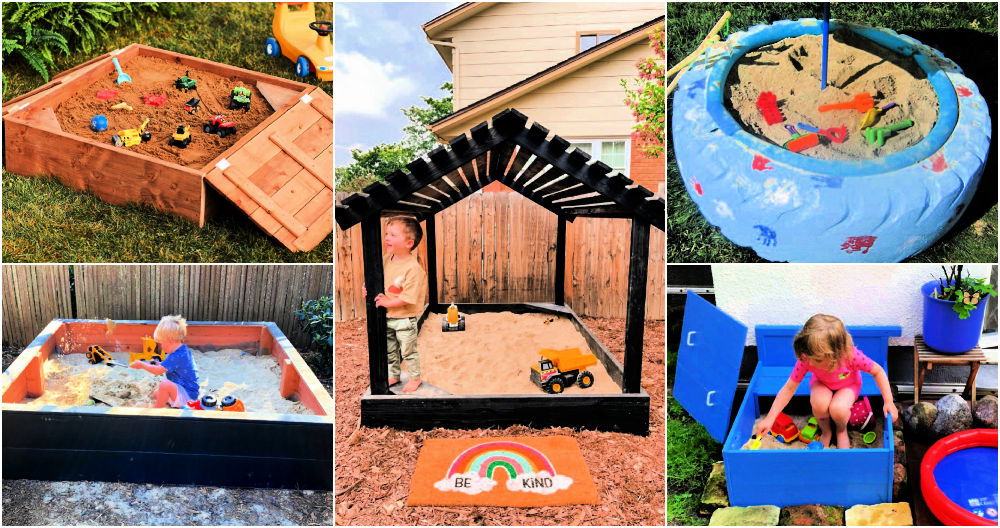
Setting up a DIY sandbox was one of the best decisions I made for my kids. It provided them with hours of creative play right in our backyard. Building the sandbox was much simpler than I expected, and it turned into a fun family project. This guide will help you understand the steps involved, ensuring your kids have a safe and fun play area.
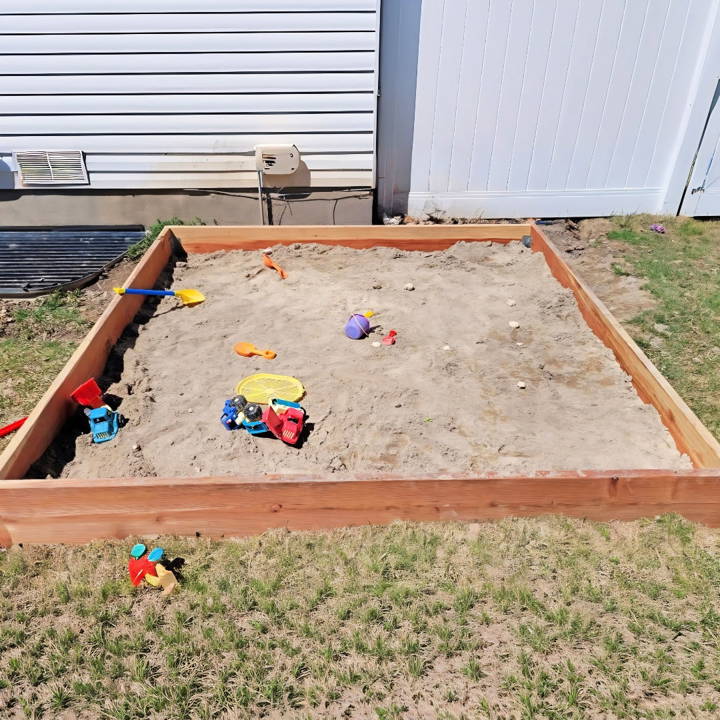
Building a sandbox involves a few steps, but with some basic tools and materials, it's straightforward. You'll need wooden planks, screws, a tarp, and plenty of sand. By following these instructions, you can easily make a sandbox that your kids will love.
I'm helping with this to ensure that your DIY sandbox project is as enjoyable and rewarding as mine was.
Materials You'll Need and Why
- 2x12 boards (8 feet long): These serve as the sandbox's perimeter. We opted for Redwood due to its durability and resistance to rot, ensuring our sandbox would withstand the elements over the years.
- Landscaping fabric: This underlayer prevents weeds from growing into the sandbox while still allowing for drainage. It's essential for keeping the sand clean and maintenance-free.
- Play sand (40 50-pound bags): Safe for children and perfect for building, this sand forms the main play area. We initially added 30 bags but topped up with 10 more to achieve the ideal depth.
- 3-inch screws and 1 and a quarter inch screws: Needed for securing the boards and brackets respectively, ensuring a stable and sturdy sandbox frame.
- 6-inch steel brackets: These reinforce the corners of your sandbox, making the structure solid and durable.
- Staple gun and staples: For securing the landscaping fabric to the wooden frame, ensuring it doesn't shift with movement or wind.
Step by Step Instructions
Learn how to make a DIY sandbox with step-by-step instructions to build the perfect play space. Easy, fun, and budget-friendly guide for every parent.
Step 1: Constructing the Frame
Start by laying out your 2x12 boards to form an 8x8 square. Butting the boards against each other, I ensured they were flush on the top edges before fastening them together with three 3-inch screws on each side for a tight fit.
Corner Reinforcement
For added stability, I attached 6-inch steel brackets inside each corner using the 1-and-a-quarter-inch screws. This extra step made the frame feel incredibly solid and ready for the outdoors.
Step 2: Preparing the Foundation
We chose a flat area in our backyard where we wanted the sandbox to go, removed the top layer of grass, and dug a shallow hole to set the frame in. Making sure the frame sat level was crucial, so I made adjustments by adding or removing dirt until it was perfectly flat. This ensures a uniform depth of sand across the sandbox.
Step 3: Laying the Fabric
Once the frame was in place, we got rid of any rocks or debris inside it and started with our landscaping fabric. Laying down the fabric in overlapping rows both horizontally and vertically not only prevents weeds but also secures against any critters burrowing up. I made sure to staple the edges securely against the wood so it wouldn't move when we added the sand.
Step 4: Filling with Sand
With our foundation ready, it was time for the most satisfying part—pouring in the play sand. We evenly distributed the sand across the sandbox until we reached our desired depth of about 4 inches. Raking it out, we made sure it was level and free of any lumps or bumps.
Step 5: The Final Touches
After spreading the sand, we stood back to admire our work. The sandbox was immediately a hit with the kids, drawing them into a world of imagination and play. Observing them, I considered future upgrades, like adding a simple wooden roof to provide shade or corner seats for comfort.
This project, while straightforward, taught me a lot about planning and executing a larger DIY project. Here are a few tips for those embarking on this journey:
- Always measure twice: This old adage is a lifesaver. Ensuring everything is level and flush from the get-go avoids headaches later.
- Quality materials matter: Opting for rot-resistant wood like Redwood may be pricier, but its longevity makes it worth the investment.
- Ask for help: Don't shy away from asking for advice at your local hardware store or from friends and family with DIY experience.
Creative Play Ideas
When it comes to sandbox play, the possibilities are as limitless as a child's imagination. However, to spark that creativity and offer structured playtime, here are some engaging and simple ideas that parents and children can enjoy together:
- Treasure Burial and Discovery: Hide small toys or faux gems in the sandbox and build a treasure map for children to follow. This activity not only ignites the thrill of discovery but also helps develop problem-solving skills and understanding of maps.
- Sandbox Bakery: Encourage children to use sandbox molds to ‘bake' sand cakes and cookies. Provide them with old kitchen utensils to make the experience more realistic. This pretend play is great for fine motor skill development.
- Dinosaur Excavation Site: Bury dinosaur figures or bones in the sand and let the little paleontologists dig them out with brushes. It's a fun way to learn about dinosaurs and fosters a love for history and science.
- Sand Art: With some colored sand and a few bottles or jars, kids can layer sand to build beautiful patterns. This activity is not only visually appealing but also teaches about colors and patterns.
- Construction Zone: Bring in small trucks, diggers, and construction toys. Set up a mini construction site where kids can build roads, tunnels, and buildings. This kind of play promotes teamwork and an understanding of cause and effect.
- Waterways and Dams: Introduce water to the sandbox to build rivers, lakes, and dams. Kids can learn basic principles of physics like water flow and gravity in a hands-on way.
- Nature Integration: Use leaves, twigs, rocks, and flowers to decorate sandcastles or build nature art. This encourages appreciation for nature and creativity.
- Storytelling in the Sand: Build scenes in the sand and use them as backdrops for storytelling. This activity enhances language skills and imagination.
Sandbox play thrives on the freedom to explore, build, and learn in a safe, playful environment. Keep activities simple, supervise for safety, and have fun!
Sandbox Maintenance
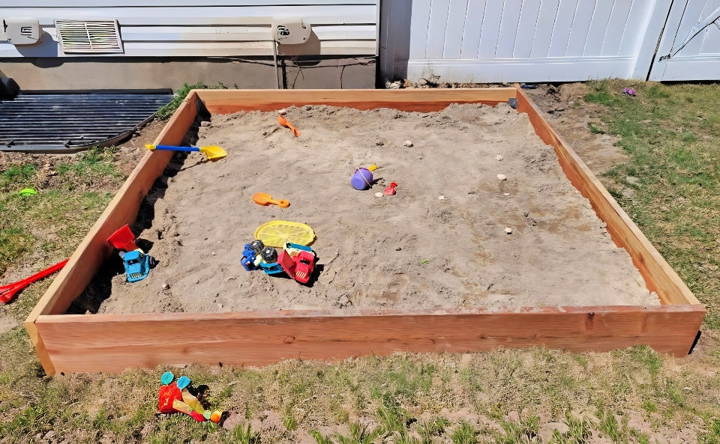
Maintaining a sandbox is key to ensuring it remains a fun and safe play space for children. Here's a straightforward guide to keeping your sandbox in top condition:
- Regular Cleaning: Make it a habit to clean the sandbox regularly. Remove leaves, twigs, and any debris. This prevents contamination and keeps the sand clean for children to play in.
- Keep It Dry: Ensure that the sandbox has proper drainage to avoid water accumulation. Wet sand can be a breeding ground for bacteria and mold.
- Refresh the Sand: Sand can become compacted and dirty over time. Replace the top layer of sand periodically to keep the sandbox fresh and inviting.
- Use a Cover: When the sandbox is not in use, cover it with a tight-fitting cover. This protects it from animals, insects, and weather elements.
- Check for Pests: Inspect the sandbox for insects or other pests. If you find any, treat the area with child-safe pest control methods.
- Smooth Edges: Periodically check the sandbox for any sharp edges or splinters, especially if it's made of wood. Sand down any rough areas to prevent injuries.
- Monitor for Weeds: Weeds can sometimes grow in sandboxes. Pull them out regularly to keep the sandbox clean and clear.
- Educate Children: Teach children to keep the sandbox clean. Encourage them to put toys away after playing and to keep food out of the sandbox.
By following these simple steps, you can ensure that your sandbox remains a safe and enjoyable place for children to play and explore.
Safety Guidelines
Ensuring the safety of children is paramount when they are playing in a sandbox. Here are some straightforward guidelines to help you maintain a secure play environment:
- Choose the Right Sand: Opt for natural river sand or beach sand, which are typically free from harmful substances. Avoid fine dust-like sand, which can be easily inhaled and may contain crystalline silica, a potential health hazard.
- Check for Foreign Objects: Before playtime, inspect the sand for any foreign objects that may have found their way into the sandbox. Remove any sharp items or debris.
- Supervise Play: Always supervise children while they play in the sandbox to prevent accidental ingestion of sand and to ensure they are playing safely.
- Prevent Contamination: Keep pets away from the sandbox to prevent contamination. It's also a good idea to install a mesh layer at the bottom of the sandbox to deter insects and weeds.
- Use Non-Toxic Toys: Provide children with toys made from non-toxic materials. This is especially important since toys will be in contact with the sand and the children's hands.
- Sun Protection: If the sandbox is outdoors, ensure it's positioned in a shaded area or has a canopy to protect children from prolonged sun exposure.
- Hygiene Practices: Teach children to wash their hands after playing in the sandbox to prevent the spread of germs.
- Regularly Replace Sand: Over time, sand can become dirty and compacted. Replace it annually, or more frequently if it's heavily used or becomes soiled.
By following these simple yet effective safety guidelines, you can build a fun and worry-free sandbox experience for all children to enjoy.
FAQs About DIY Sandbox
Discover answers to common questions about DIY sandboxes, including building tips, safety, materials, and maintenance. Everything you need to know!
A DIY sandbox can be a fun and creative addition to your backyard. It provides a safe and controlled environment for children to play and explore their imagination. Building it yourself allows for customization to fit your space and preferences.
Make sure to sand down any rough edges on the wood to prevent splinters. Use non-toxic, child-safe sand and ensure the sandbox is located in a visible area. Consider adding a cover to protect it from animals and debris.
Absolutely! Consider adding interactive elements like buried treasure for digging games, or a pulley system for moving toys. Water features or a sandbox table can also enhance the play experience.
Regularly check for and remove debris. Replace the sand every couple of years, or as needed. Keep the sandbox covered when not in use to maintain cleanliness and dryness.
Select a spot that's level and well-drained to prevent water accumulation. Ensure it's visible from your house for easy supervision. Consider proximity to shade for comfort during sunny days, and avoid placing it under trees where leaves and sap might fall into the sand.
Conclusion
I hope these steps make your DIY sandbox project easy and fun. Building a play area for your kids can be a delightful experience. Give it a try and see the joy it brings to your family.


