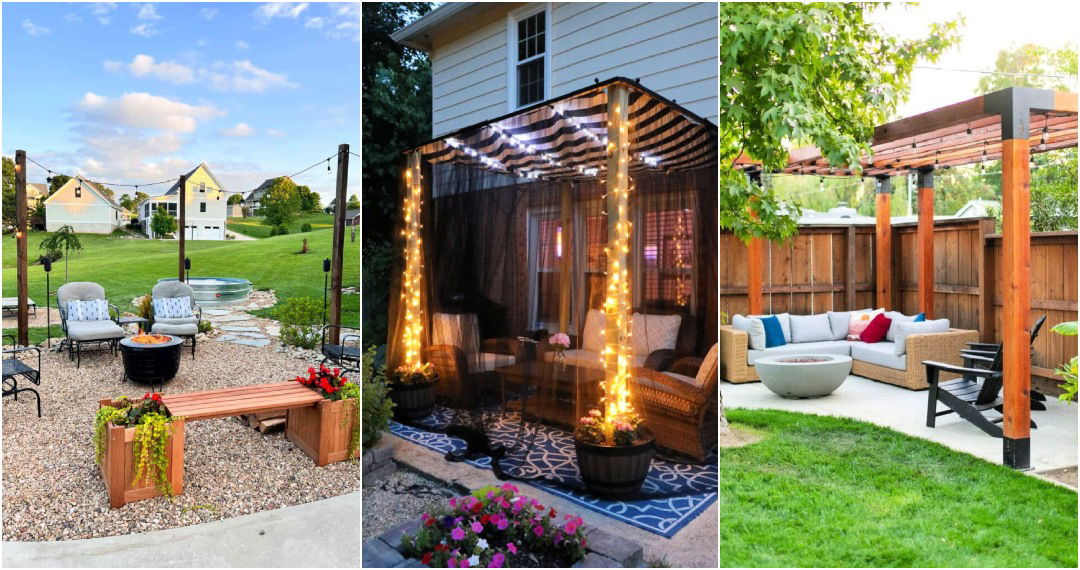
Building a DIY screened-in porch can transform your outdoor space into a cozy and functional area without breaking the bank. Whether it’s a small patio or a larger deck, the process is straightforward. You can start by gathering basic materials like wooden frames, screening fabric, and some tools. A cheap DIY screened-in porch not only enhances your home’s appeal but also provides a bug-free environment to enjoy nature.
Follow simple steps to screen in a porch effectively. Begin with measuring your porch area, and then construct the frame. Attach the screening fabric securely to keep out insects and debris. This project is great for those wanting to maximize their outdoor living space on a budget.
Explore the next section for detailed instructions and tips to make your DIY screened-in porch a success!
Materials You'll Need and Why
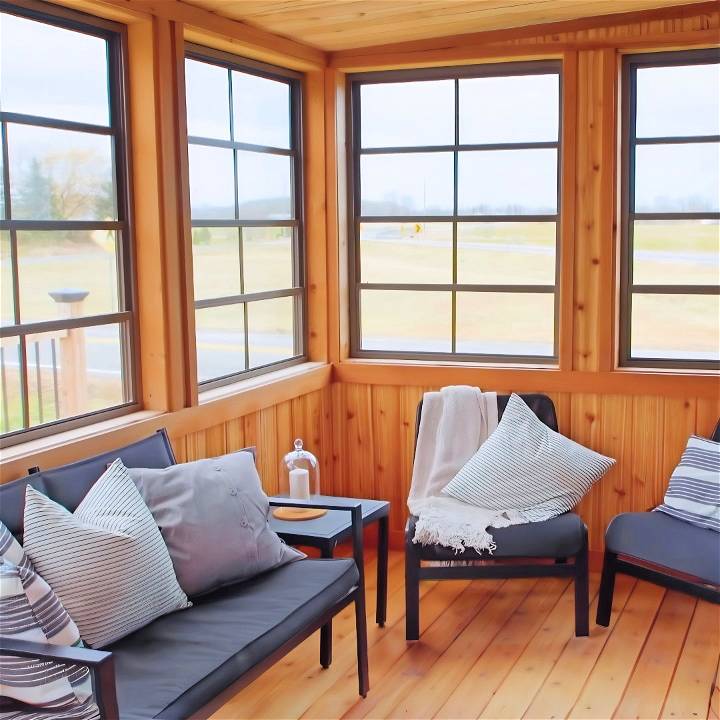
- Cedar Planks for Flooring: Chosen for their durability and natural resistance to pests, these planks ensure a solid and inviting floor for your screened-in porch.
- Vinyl Windows: Essential for enclosing the space while still allowing light and views of the outdoors. They also significantly reduce outdoor noise.
- Exterior Door: Adds an extra layer of protection and enhances the aesthetic appeal of your porch.
- Pressure-Treated Lumber: For framing, offering long-lasting support and resilience against moisture and decay.
- Hardware (Screws, Nails, Hinges): For assembling and securing all components of your porch. Quality hardware ensures stability and longevity.
- Tools (Saw, Drill, Level, Square): Crucial for accurate cutting, assembling, and ensuring everything is perfectly aligned and level.
- Protective Finishes (Oil, Paint): To protect the wood from the elements and add a personal touch to your porch’s appearance.
Step by Step Instructions
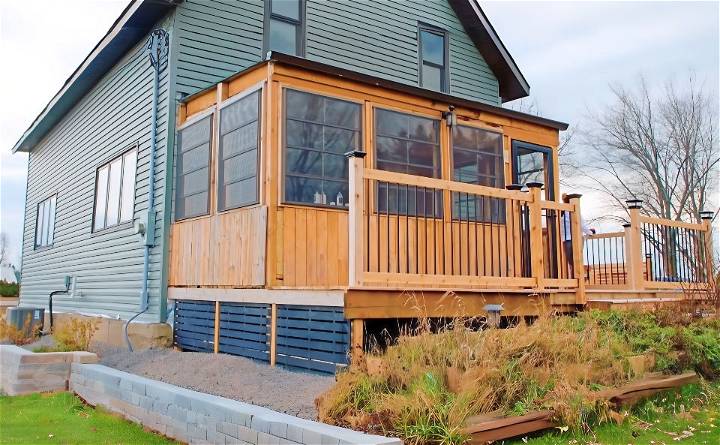
Learn to build a screened-in porch with these step-by-step instructions: planning, framing, flooring, installing windows and doors, screening, and sealing.
Step 1: Planning and Preparing the Deck
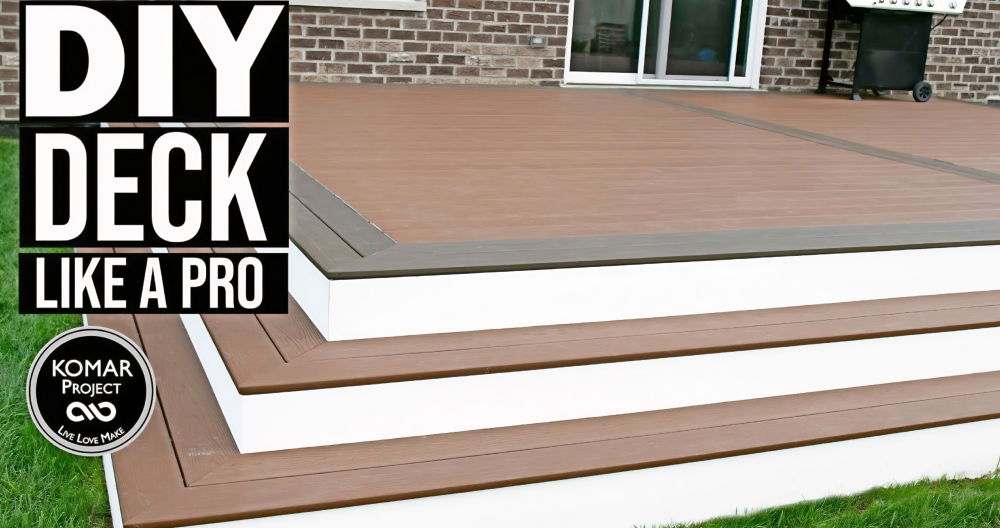
Inspect your existing deck to ensure it can support the addition. Remove any unnecessary elements, such as old railings or planks, that won't fit in with the new design. It's also a good time to reinforce your deck if needed.
Step 2: Framing Your Screened-in Porch
Using pressure-treated lumber, begin framing the outline of your porch. This includes the walls where the screens and door will be installed. Use a level and square to ensure everything is perfectly aligned. Consider the dimensions of your vinyl windows during this process, as accurate framing is key to a seamless installation later on.
Step 3: Flooring
Remove old flooring if necessary and replace it with tongue-and-groove cedar planks for a tight, seamless fit. This not only eliminates gaps for bugs to crawl through but also adds a cozy, warm aesthetic to your porch. Make sure the flooring is level and securely attached to the deck structure.
Step 4: Installing Windows and Door
Before installing the vinyl windows, double-check your frame measurements to ensure a snug fit. These windows screw in from the front, so precision is crucial. For the door, ensure it hangs correctly and seals tightly when closed. This will protect your porch from the elements and provide an additional layer of security.
Step 5: Screening
Carefully measure and cut your screen material to fit each framed section. Use a staple gun or similar tool to secure the screens in place, ensuring there are no loose areas where pests can enter.
Step 6: Finishings and Sealing
With the structure in place, focus on sealing any gaps with appropriate caulks or sealants. This step is critical in keeping your porch weatherproof. Next, move on to installing trim around the windows, door, and baseboards for a polished look. Apply protective finishes (such as oil or paint) to all wooden surfaces to protect against weathering and to add your personal touch.
Maintenance Tips
- Regularly inspect your screens and windows for any damage and repair them promptly to keep bugs out.
- Clean your porch regularly to prevent dirt build-up, which can attract pests and cause wear over time.
- Reapply a protective finish to the wood every few years to maintain its appearance and durability.
Customization Ideas for Your DIY Screened-In Porch
Building a screened-in porch that reflects your personal style doesn’t have to be expensive. Here are some budget-friendly customization ideas that can make your porch feel like a cozy extension of your home:
- Choose a Theme: Start by deciding on a theme that resonates with you. Whether it’s coastal, rustic, modern, or tropical, a theme will guide your choices and give your porch a cohesive look.
- DIY Furniture: Instead of buying new furniture, consider repurposing old pieces. A fresh coat of paint on an old chair or a new cushion cover can work wonders. You can also build simple furniture like benches or side tables using reclaimed wood.
- Add Color with Textiles: Brighten up your porch with colorful rugs, throw pillows, and curtains. These can add warmth and comfort to the space and are easy to change with the seasons or as your tastes evolve.
- Lighting: String lights or lanterns can build a warm ambiance in the evenings. Solar-powered lights are a great option as they are cost-effective and environmentally friendly.
- Planters and Greenery: Incorporate planters with herbs, flowers, or small shrubs. They not only add life to your porch but can also provide privacy and a pleasant aroma.
- Art and Decor: Display art that can withstand the outdoor elements. You can build your own art pieces or decorate them with items like wind chimes, a weather vane, or a birdhouse.
- Functional Add-Ons: Think about adding features like a small bar area for entertaining, hooks for hanging plants or lanterns, and storage boxes for cushions and throws.
Plan carefully, be creative, and have fun. Make your screened-in porch a relaxing place you love. Keep it simple and personal, and enjoy making your unique space.
Maintenance and Upkeep
Keeping your DIY screened-in porch in great shape is key to enjoying it for years to come. Here’s a straightforward guide to maintaining your porch:
- Regular Cleaning: Sweep the floors weekly to prevent dirt buildup. Wipe down the screens with a soft cloth and mild, soapy water to keep them clear and bug-free.
- Inspect Screens Annually: Check the screens for tears or holes at least once a year. Small holes can be patched with a screen repair kit, while larger damage may require replacing sections of the screen.
- Check the Structure: Look over the wooden frames for signs of rot or insect damage. Apply a fresh coat of paint or sealant every few years to protect the wood from the elements.
- Furniture Care: Clean porch furniture regularly and store cushions inside when not in use to extend their life.
- Winter Preparation: If you live in a colder climate, remove any accumulated snow from the porch roof to prevent structural damage.
- Pest Control: To deter pests, keep the area clean and consider natural repellents like citronella candles or essential oils.
By following these simple steps, you can ensure your screened-in porch remains a comfortable, inviting space. Regular upkeep not only preserves the porch’s appearance but also its functionality and safety.
FAQs About Cheap DIY Screened-In Porch
Explore faqs about cheap DIY screened-in porch projects. Find budget-friendly tips, materials, and step-by-step guidance for your perfect outdoor space.
Yes, you can build a screened-in porch around an existing patio or deck. This approach can save you money on structural foundations and flooring. The cost of a new screened porch can range between $25 and $120 per square foot, so using an existing structure can offer significant savings.
To build a screened-in porch on a budget, consider:
Building during the winter or fall to save on labor and materials.
Keeping the design simple and downsizing on extra features.
Choosing affordable materials and planning ahead to take advantage of fluctuating prices.
Yes, DIY screened-in porch kits are available and can save time and money. These kits typically include all the necessary materials and can start at around $2,000. They are a good middle ground between building from scratch and hiring professionals.
To personalize your screened-in porch without spending a lot, consider:
Buying secondhand furniture and décor to save money.
DIYing your own screen panels and attaching them to the porch.
Focusing on adding comfortable seating and functional items rather than expensive features.
Maintaining your screened-in porch involves regular cleaning and inspections. Here are some steps to follow:
Clean the screens gently with a soft brush or cloth to remove dust and cobwebs.
Inspect the frames for any signs of damage or wear, especially before and after harsh weather.
Check for holes or tears in the screens and repair them promptly to prevent bugs from entering.
Reapply sealant or paint as needed to protect wood or metal frames from the elements.
Keep the floor clean and consider using outdoor rugs to protect the surface and add comfort.
Conclusion
Wrapping up, making a DIY screened-in porch is an excellent way to enjoy the outdoors on a budget. By following simple steps and using affordable materials, you can transform your porch into a comfortable, bug-free space. Start your journey with our cheap DIY screened-in porch guide, and relish your cozy, new outdoor haven. Thanks for reading about how to screen in a porch—happy building!


