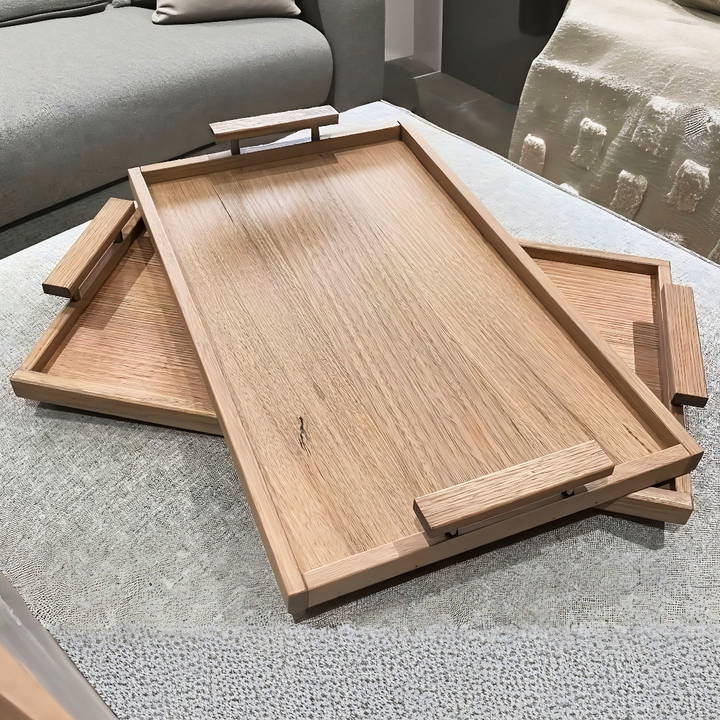
Building your own DIY serving tray is a satisfying project that gives you the chance to display your creativity and woodworking talents while making a practical and attractive piece for your home. Whether you're crafting a tray as a thoughtful gift or for your personal use, this guide will take you through the entire process from material selection to the finishing touches. Based on an actual woodworking project, this guide includes tips, methods, and tools needed to achieve a professional result.
Materials and Tools You'll Need
Before diving into the step-by-step process, let's gather all the materials and tools you'll need to build a DIY serving tray.
Materials:
- Timber (for tray surface and border)
- Wood glue
- Nails (for thinner trays)
- 6mm dowels (for thicker trays)
- Stain (color of your choice, e.g., cashew)
- Beeswax (for finishing)
- Clear Polyurethane (optional for base protection)
- CA glue and activator (for filling nail holes)
- Stainless steel tubing (for handles)
- Screws
Tools:
- Block plane (for prepping edges)
- Clamps
- Belt grinder (for shaping handles)
- Dow Max doweling jig
- Router (optional for additional grooves)
- Drill and Brad-point bits
- Sander
Step by Step Instructions
Learn how to make a DIY serving tray with step-by-step instructions. From selecting wood to adding handles, master every step for a perfect homemade tray.
Step 1: Selecting and Preparing the Wood
Find expert tips for selecting and preparing the wood, including how to choose your timber, sorting and matching, and thickness planing techniques.
Choose Your Timber
The first step is choosing the right timber for your serving tray. In this project, the wood had already been milled for a previous task, which saved time. If you're starting from scratch, ensure the timber pieces are straight and relatively even in thickness.
Sorting and Matching
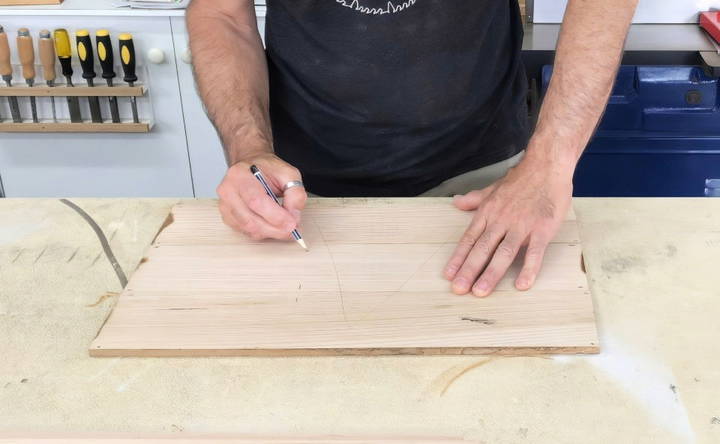
If you have boards of different thicknesses, as was the case in the referenced project, sort and match them to get the best visual appeal. This step ensures the tray has a uniform and attractive grain pattern.
Thickness Planing
The boards used for this project were 11 millimeters thick for one tray and about 15 millimeters for the other. You may need to plane down thicker boards to achieve your desired thickness. Aim for consistency across all boards that will form the tray surface.
Step 2: Preparing and Gluing the Panels
Preparing and gluing the panels involves edge preparation and seamlessly gluing the panels together for a strong bond.
Preparing the Edges
Once you have your wood panels, the next step is preparing the mating edges for glue-up. Using a block plane, smooth the edges so that the panels fit together perfectly, ensuring a strong glue bond.
Gluing the Panels Together
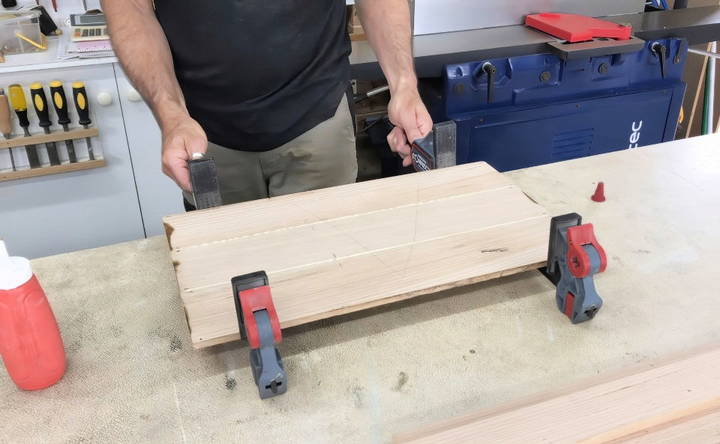
After prepping the edges, apply wood glue and clamp the boards together to form a single tray panel. Ensure the boards are well-aligned and leave them in the clamps long enough for the glue to set properly (typically a few hours or overnight).
Step 3: Trimming and Shaping the Tray
Discover how to expertly trim, shape, and add a raised border to your tray, with tips on simple butt joints vs. mitered corners and border attachment methods.
Flattening and Trimming
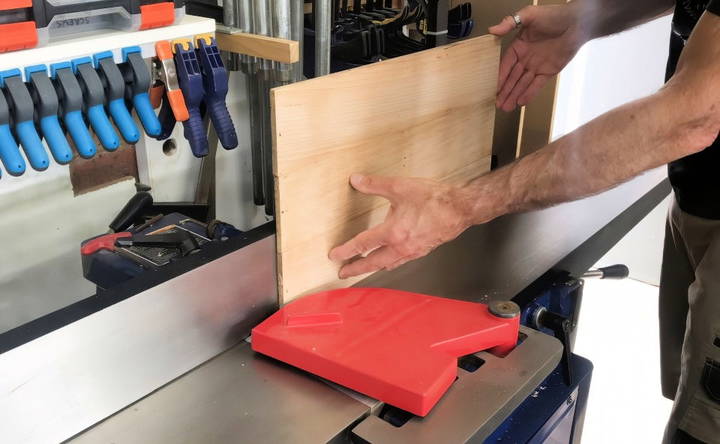
Once the glue has dried and the panels are solid, flatten and trim the outside edges of the tray. Use a sander to smooth the edges, ensuring the tray is square and free from rough surfaces.
Adding a Raised Border
For an added aesthetic and functional touch, you'll want to add a raised border around the edge of the tray. To do this, rip down pieces of the same timber into strips that will serve as the border.
Simple Butt Joints vs. Mitered Corners
For this project, the builder chose to use simple butt joints rather than mitering the corners, which is a great time-saver if you're working under a deadline. While mitered corners provide a more refined finish, butt joints can still look clean and professional when done right.
Attaching the Border
Depending on the thickness of your tray, you have two options for attaching the border:
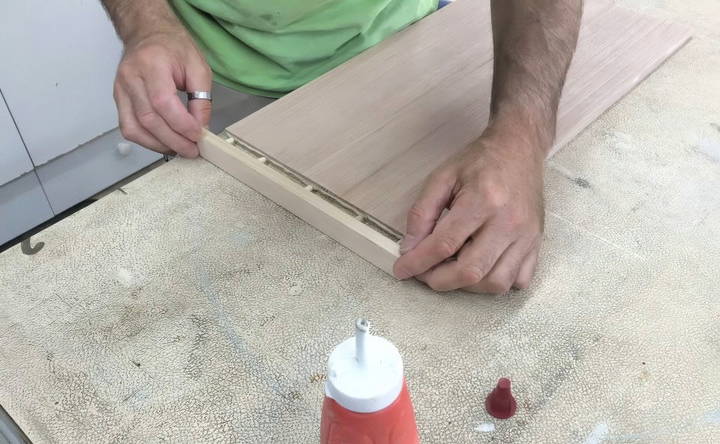
- Thinner Tray: Use nails to attach the border. To prevent the nails from skewing, drill pilot holes first. This ensures straight and precise nail placement.
- Thicker Tray: For thicker trays, use dowels to attach the edge pieces. A doweling jig, like the Dow Max, ensures accuracy when drilling dowel holes, making this step much easier.
Step 4: Staining and Finishing the Wood
Learn how to stain and finish wood, focusing on pre-staining, sanding, and filling holes for a professional and polished look.
Pre-staining
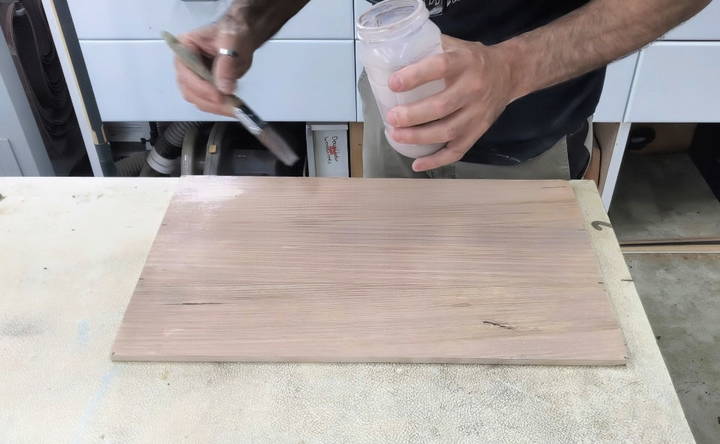
Staining your tray enhances the natural beauty of the wood grain while adding a protective layer. In this project, the builder stained the tray base before attaching the border to make the process easier. The timber used was stained with a "cashew" colored stain, but you can choose any shade that complements your home décor or the recipient's style if it's a gift.
Sanding and Filling Holes
Once the border is attached, sand the wood again, paying special attention to any holes or imperfections. In the case of nail holes, sand the area to build sawdust, which can be mixed with CA glue to fill the holes. Once filled, the holes will be nearly invisible after sanding and staining.
Step 5: Adding Handles for Functionality
Handles are an essential feature of any serving tray, providing both style and functionality.
Building the Handles
For this project, the handles were buildd using 3/8-inch stainless steel tubes, cut to 25-millimeter lengths. A belt grinder was used to flatten the cut ends of the tubes, ensuring a clean, professional finish.
Attaching the Handles
The handles are raised off the tray using the stainless steel tubes, which were attached with screws from underneath. Here's how to install them:
- Drill Holes: First, drill clearance holes in the ends of the tray where the handles will go.
- Add Guide Holes: To ensure the tubes are positioned correctly, drill shallow guide holes with a brad-point bit. If you've already drilled clearance holes, use a guide block to keep your drill bit centered.
- Fix the Handles: Once your holes are ready, countersink the holes on the tray's bottom to accommodate the screw heads, and then attach the handles.
Step 6: Adding Optional Decorative Features
One of the trays had a minor imperfection—a black stain along the glue line caused by a clamp. To fix this, a shallow V-groove was routed along the glue line, not only removing the blemish but also adding a decorative touch to the tray. This is a great example of how quick thinking can turn a mistake into an enhancement.
Step 7: Finishing the Tray
Learn the best techniques for applying a protective finish to your project for a durable and stunning result. Expert tips for finishing the tray.
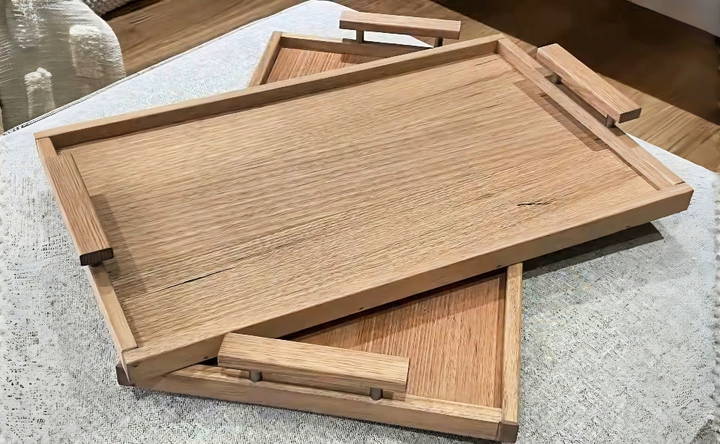
Applying a Protective Finish
To protect your tray from wear and tear, especially if it will be used to serve food or drinks, apply a protective finish. For this project, beeswax was used on most surfaces due to its food-safe properties. The builder generously applied beeswax, let it sit for a few hours, and then buffed it to a smooth, shiny finish.
For added durability, especially on the tray's base, you can apply a layer of clear polyurethane, which offers better protection against spills and stains.
Conclusion
Making a DIY serving tray is a satisfying project that allows you to express your creativity while making a functional item that can be used for years. Whether you're new to woodworking or have some experience, this step-by-step guide provides all the instructions you need to complete your own beautiful serving tray. With just a few tools and materials, you can craft a custom piece that reflects your style and craftsmanship.
So why wait? Gather your materials, follow these steps, and start building your own DIY serving tray today! It's the perfect project for a gift, holiday preparation, or simply adding a personal touch to your home.
FAQs About DIY Serving Tray
Discover answers to your faqs about DIY serving trays. Learn materials, steps, tips, and designs for crafting the perfect tray at home!
You can substitute stainless steel tubes with wooden dowels or even metal rods available at most hardware stores. Bamboo seedling stakes, for example, are a great alternative as suggested by another woodworker.
No, a belt grinder is not essential. If you don't have one, you can use a hand file or sandpaper to smooth the edges of the stainless steel tubes or any material you choose for the handles.
If a doweling jig is unavailable, you can use a simpler alternative like a brad nailer or screws. Just ensure you drill pilot holes first to prevent the wood from splitting, especially in thinner trays.
Wood movement depends on climate. In regions like Australia, wood expansion and contraction are less problematic indoors. To further reduce the risk, try using plywood for the tray bottom, which is more stable than solid wood.
Yes, 12mm plywood is an excellent alternative for the tray base. It's stable, easy to work with, and makes the tray more solid.


