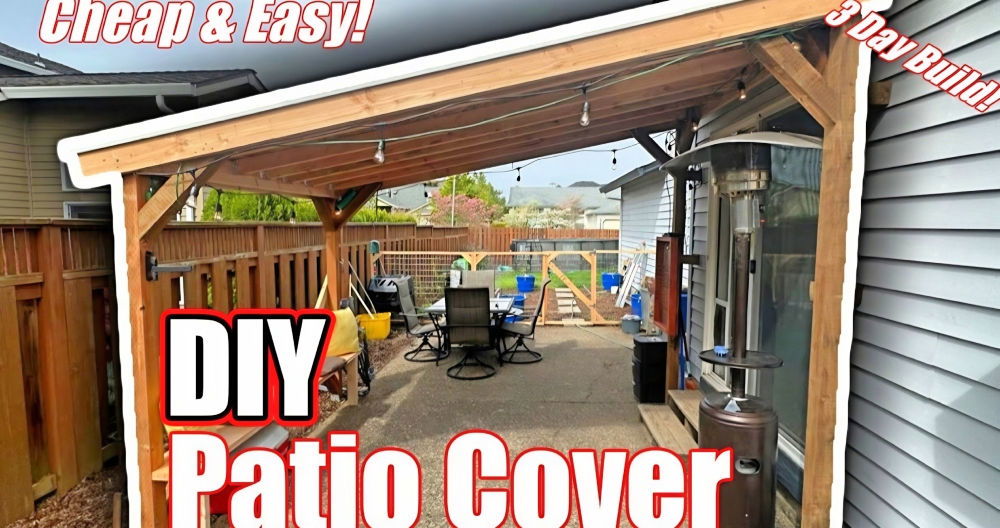
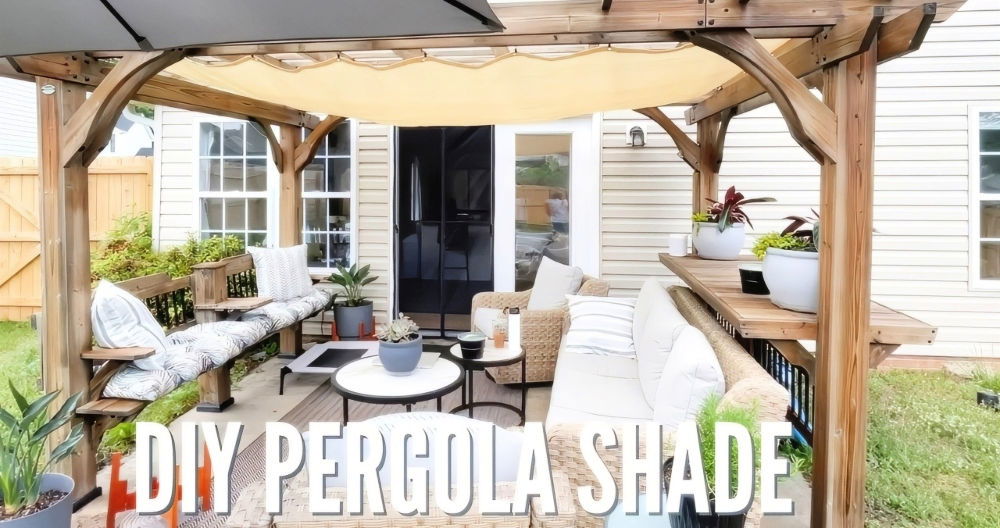
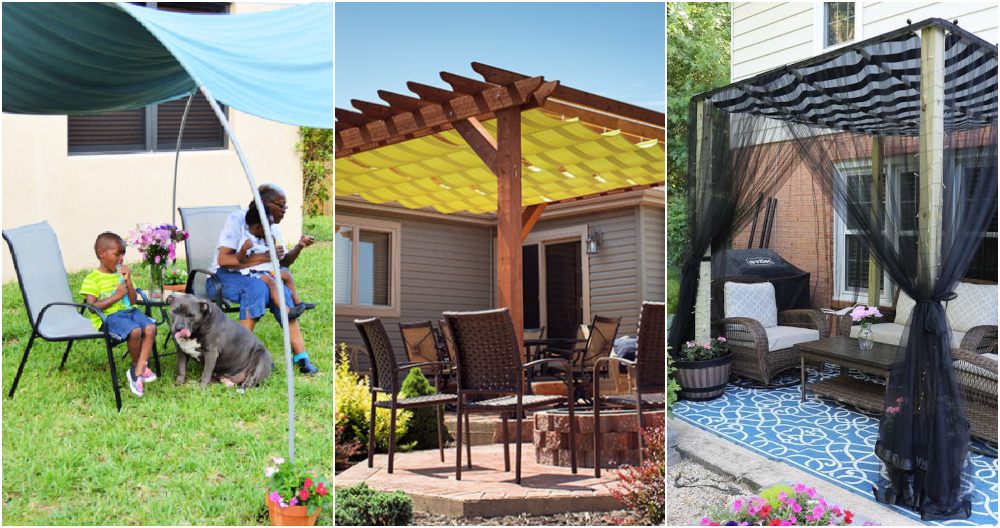
Making your own shade canopy with a mosquito net for your patio can turn a basic outdoor area into a cozy and bug-free oasis. Whether you're looking to relax, entertain, or work outside without being bitten by pesky mosquitoes, this DIY project offers a simple yet functional solution. In this guide, we'll walk you through everything you need to know to build a DIY shade canopy for your patio, including the tools, materials, and steps involved in making this stunning setup. Let's dive in!
Why Build a DIY Shade Canopy?
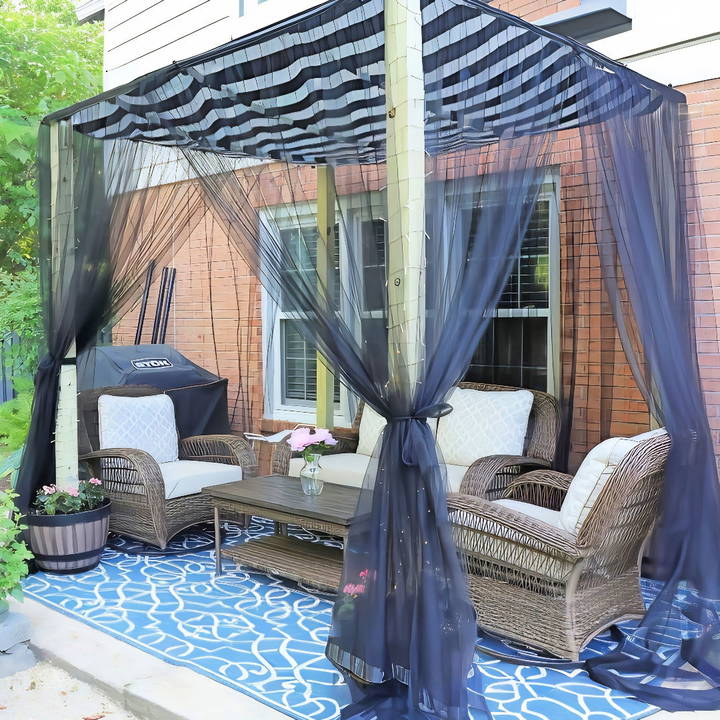
A shade canopy provides much-needed shelter from the sun, offering a comfortable space to enjoy the outdoors. Adding a mosquito netting ensures that you can relax without worrying about bugs, making the space even more enjoyable. This project also allows for customization to fit your personal style and the unique dimensions of your outdoor area. Best of all, it's budget-friendly and can be done with simple tools and materials.
Tools and Materials You'll Need
Before diving into the construction process, it's important to gather all the necessary tools and materials. Here's a list of what you'll need:
- 4x4 Wooden Posts: These will serve as the main supports for the canopy.
- Concrete Mix: To set the posts in place, ensuring stability.
- Plastic Planters: To hold the posts and allow for mobility.
- Post Level: Ensures your posts are perfectly vertical.
- Fabric (for canopy): Choose a sturdy, weather-resistant material.
- Hot Knife: To cut synthetic fabrics cleanly and prevent fraying.
- Sewing Machine: For sewing seams and securing the edges of the canopy.
- Grommet Kit: To build holes in the fabric for attaching the canopy.
- Wire Rope or Bungee Cords: To secure the canopy fabric to the structure.
- Mosquito Netting: For bug protection.
- Velcro: To easily attach and remove the mosquito net.
- Staple Gun: For securing lights or wires to the posts.
- Decorative Lighting: Optional, but adds a lovely ambiance at night.
Step by Step Instructions
Learn how to build a DIY shade canopy with our step-by-step guide, from cleaning the patio to adding lighting and decorations. Perfect outdoor solution!
Step 1: Clean the Patio Area
Before beginning construction, start by cleaning the space where the canopy will be installed. A clean patio will make the process smoother and ensure that nothing gets in the way as you set up the structure. If there's mold or mildew on your patio, consider using a mold and algae remover, as a pressure washer could damage certain surfaces.
Step 2: Set the Posts
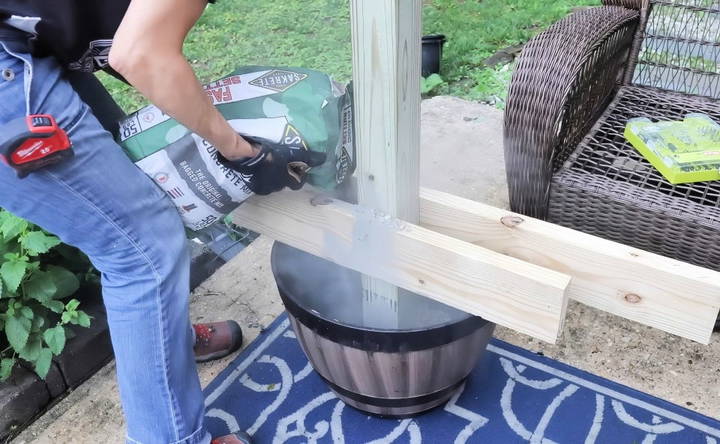
Once the patio is prepped, it's time to install the 4x4 posts that will support the canopy. To build a mobile and flexible structure, place the posts in large plastic planters filled with concrete. Here's how to do it:
- Position the Planters: Arrange the planters in the desired locations for your canopy. Make sure they are spaced evenly to build a balanced and sturdy structure.
- Insert the Posts: Using scrap wood to stabilize the posts, place each 4x4 post into the planter.
- Level the Posts: Use a post level to ensure each post is perfectly plumb (vertical). This step is crucial for the stability of the canopy.
- Pour the Concrete: Add fast-setting concrete into the planter around the post. This type of concrete requires no mixing; simply pour it in and add water. Follow the instructions on the bag for the correct water-to-concrete ratio.
- Let the Concrete Set: Allow the concrete to dry. While fast-setting concrete begins to set in about 30 minutes, it's best to leave the posts overnight to fully cure.
Step 3: Install the Canopy Fabric
With the posts securely in place, it's time to move on to the canopy fabric. Choosing the right fabric is important—it should be durable, UV-resistant, and able to withstand outdoor elements. Follow these steps to install the fabric:
- Measure and Cut the Fabric: Measure the area between the posts to determine the size of your canopy. Add extra fabric for seams. Cut the fabric using a hot knife to prevent fraying.
- Sew the Seams: Sew about a 1-inch seam along each side of the fabric. If you're planning to install grommets for attaching the canopy, this is the time to prepare the edges with reinforced stitching.
- Install Grommets: Using a grommet kit, punch holes and install grommets along the edges of the fabric. These holes will be used to attach the canopy to the posts.
- Attach the Canopy: Use wire ropes or bungee cords to attach the canopy to the posts. Bungee cords work well because they allow the fabric to move slightly in the wind without tearing.
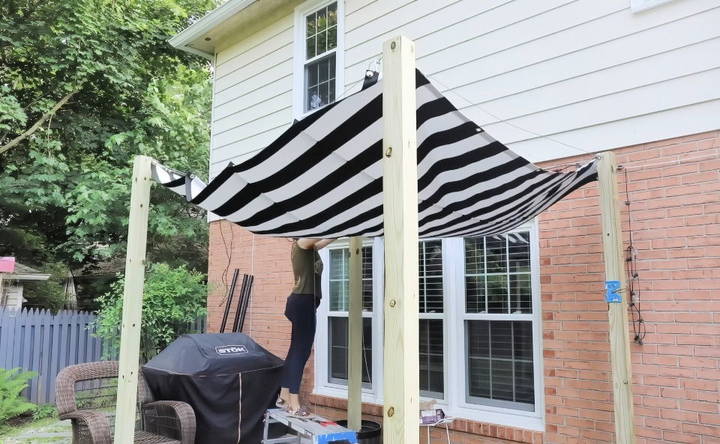
Step 4: Adding Structure to the Canopy
If you find that the fabric sags or doesn't stay taut, you may need to add additional structure to the top of the canopy. A common solution is to add crossbeams between the posts using pressure-treated 2x2 boards. Secure these beams to the posts for extra support, helping the fabric remain stretched and stable.
Step 5: Installing the Mosquito Netting
To make the canopy more functional and protect against insects, it's time to install the mosquito netting. Here's how to do it:
- Prepare the Netting: Cut the mosquito netting to the correct size. The netting should be large enough to cover the sides of the canopy and extend to the ground.
- Attach Velcro: Sew strips of Velcro along the top edge of the netting. Attach corresponding Velcro strips along the canopy's edge, allowing the netting to be easily attached and removed.
- Weigh Down the Bottom: Since mosquito netting is lightweight, it may blow around in the wind. Sew curtain weights into the bottom of the netting or use heavy-duty tape along the edge to prevent it from moving.
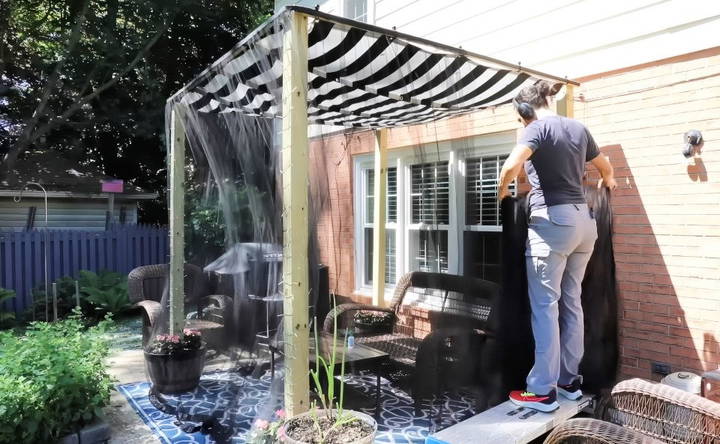
Step 6: Add Lighting and Decorations
To make the space even more inviting, consider adding string lights or fairy lights to your canopy. Wrap the lights around the posts or suspend them along the edges of the canopy for a soft, glowing effect. Use a staple gun with round staples to secure the lights without damaging the wiring.
Step 7: Final Adjustments and Finishing Touches
Now that the main components of your canopy are complete, it's time to fine-tune the details:
- Test for Stability: Give the canopy a gentle shake to ensure that everything is securely attached. Adjust any bungee cords or ropes if necessary.
- Test for Water Drainage: If you live in an area that experiences heavy rain, check to see if water collects in the middle of the canopy. You may need to adjust the tension of the fabric or add additional drainage holes to prevent water buildup.
- Decorate Your Space: Bring in outdoor furniture, cushions, and accessories to complete the look of your new outdoor oasis. Planters with flowers can add beauty and charm while soft outdoor pillows provide extra comfort.
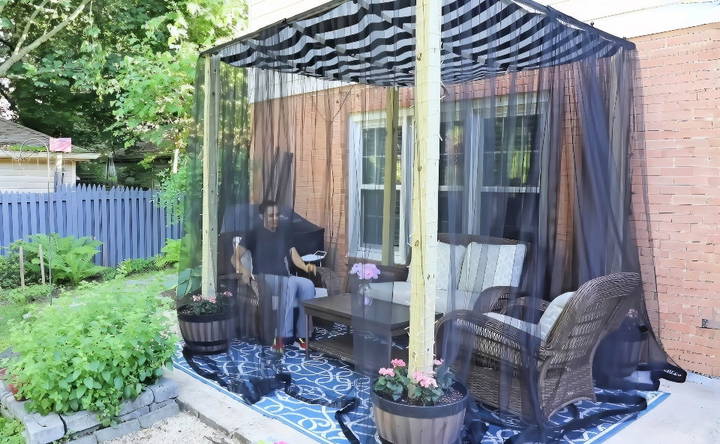
Troubleshooting Common Issues
Even with careful planning, DIY projects can sometimes encounter unexpected challenges. Here are a few common issues you might face and how to solve them:
- Sagging Canopy: If the fabric sags, consider tightening the bungee cords or adding additional crossbeams for support. You can also try using thicker or stiffer fabric that holds its shape better.
- Mosquito Netting Blowing in the Wind: If the netting continues to blow out of place, try adding more weights along the bottom or securing the netting to the ground using stakes.
- Water Pooling on Canopy: If water collects on the canopy during rain, adjust the angle of the fabric so that water can run off the sides.
Conclusion: Enjoy Your New Outdoor Space
Congratulations! You've successfully buildd a beautiful and functional DIY shade canopy with mosquito netting. Not only does this project offer protection from the sun and bugs, but it also enhances the overall aesthetic of your outdoor space, making it the perfect spot to relax or entertain.
Remember, this project is highly customizable, so feel free to adapt the materials, colors, and decorations to suit your personal taste and patio size. Now that you've transformed your outdoor space, sit back, relax, and enjoy the great outdoors—bug-free!
FAQs About DIY Shade Canopy
Get answers to the most common FAQs about DIY shade canopy, from materials to installation tips, to build your perfect outdoor retreat.
You can avoid rain pooling by slightly sloping the canopy. Make the back posts taller than the front ones to create a natural incline for water runoff. Alternatively, you can remove the canopy during heavy rain or install additional supports, like an X-shaped structure, to improve water drainage.
Yes, you can use sail shades from hardware stores like Lowe's for this project. However, ensure they fit the size of your frame and are properly secured to avoid sagging.
To keep the mosquito netting in place, you can sew or attach curtain weights at the bottom or use heavy-duty fabric. Weights such as washers or curtain beads can help keep it steady in the wind.
To handle strong winds, ensure that your posts are firmly secured in concrete planters. You may also use bungee cords, which offer flexibility and are easy to detach in case you need to take the canopy down quickly.
Treating the wood is highly recommended to protect it from weathering. Use weather-resistant sealants or paints, but be sure to wait until the pressure-treated wood has dried completely before applying any treatments.
If you prefer not to sew, you can use alternatives like iron-on adhesives or strong double-sided fabric tape to secure the edges of the mosquito netting. Pre-made mosquito net curtains are also a good option.
Ensure the netting overlaps properly at entry points. You can use Velcro to secure sections where you enter or exit, making it easier to close the gaps when the netting is not in use.
You can drill holes on the sides of the planters, above the concrete level, to allow excess water to drain. This prevents water from accumulating at the bottom and affecting your plants.
No, pressure-treated wood often requires some time to dry before it can be stained or painted. Test the wood with water; if it beads, it's not ready for staining. Otherwise, apply a sealant or paint to extend its lifespan.
If you anticipate relocating the canopy, build it using planters with concrete and attach wheels to the bottom. This way, you can roll the structure without dismantling it.


