Making DIY Sharpie mugs at home is a fun and easy way to make personalized gifts. One day, I decided to try it for myself. I gathered a plain white mug, a few colorful Sharpies, and an oven. I sat at my kitchen table and started drawing my favorite designs on the mug. It felt satisfying to see my ideas come to life so easily.

Once I was done drawing, I placed the mug in the oven and baked it to set the design. After it cooled down, I was thrilled to see how well it turned out. Now, I enjoy my morning coffee from that special mug. Simple DIY projects like these help you make something unique and personal.
Give DIY Sharpie mugs a try and see how fun it can be to make your own custom items.
Materials Needed and Their Purpose
Before diving into the creative process, it's essential to gather all the necessary materials. Here's a quick rundown:
- Blank Mug: The canvas for your creativity.
- Oil-based Marker: Ideal for durability and vividness on ceramic surfaces.
- Printed Quote Template: To transfer your desired design or quote onto the mug. The reason I chose a template was to bypass the need for freehand drawing, making the project accessible to everyone, regardless of artistic skill.
Step by Step Instructions
Learn how to make a DIY sharpie mug with our easy step-by-step instructions, from preparing the template to baking the mug for a lasting design.
Step 1: Preparing the Template
The first step involved visiting a specific link to download and print out quotes. I opted for a motivational quote because it brightened my day every morning. After printing, I trimmed the paper close to the text to easily position it on the mug later.
Step 2: Making a Carbon Copy
Using a regular pencil, I colored the back of the printed quote. This process felt like preparing a makeshift carbon paper, intending to transfer the quote to the mug. The more thoroughly I shaded, the easier it would be to trace the design onto the mug.
Step 3: Transferring the Quote
Positioning the quote on the mug was a pivotal moment. I had to ensure it wasn't too high or too close to the rim for comfort. Once satisfied with the positioning, I secured the paper with tape. Then, using a firm hand, I traced over the letters. Peeling the paper back revealed a faint outline of the quote, ready for the next step.
Step 4: Bringing Design to Life
Now came the fun part: tracing over the outline with an oil-based marker. This marker choice was crucial due to its longevity and brightness on ceramic surfaces. Slowly and carefully, I went over each letter, allowing my creativity to flourish.
Step 5: The Waiting Game
After completing the design, I faced the challenge of patience. The mug needed to sit untouched for 72 hours. This drying period was vital to ensure the ink would set properly and not smear during the baking process.
Step 6: Baking the Mug
With the waiting over, it was baking time. Placing the mug in a cold oven, I then set it to 400 degrees Fahrenheit. The gradual temperature increase prevented the mug from cracking. After an hour at 400 degrees, I turned off the oven and allowed the mug to cool down inside. This cooling process was just as crucial as the heating.
Once cooled, I had in my hands a personalized mug that was not only a testament to my creativity but also a durable item for daily use. Handwashing it gently ensured the design stayed intact.
Personalization Ideas for Your DIY Sharpie Mug
Making a personalized Sharpie mug can be a delightful and meaningful activity. Whether you're crafting a gift or making something special for yourself, here are some ideas to infuse your mug with personality and charm:
- Monograms and Names: Start with something simple yet classic. Write the first letter of your name or a loved one's name in a bold font. You can also write out full names in a cursive script for an elegant touch.
- Memorable Dates: Commemorate a special date, such as an anniversary or a birthday, by writing it on the mug. Pair it with a small graphic, like a heart or a balloon, to mark the occasion.
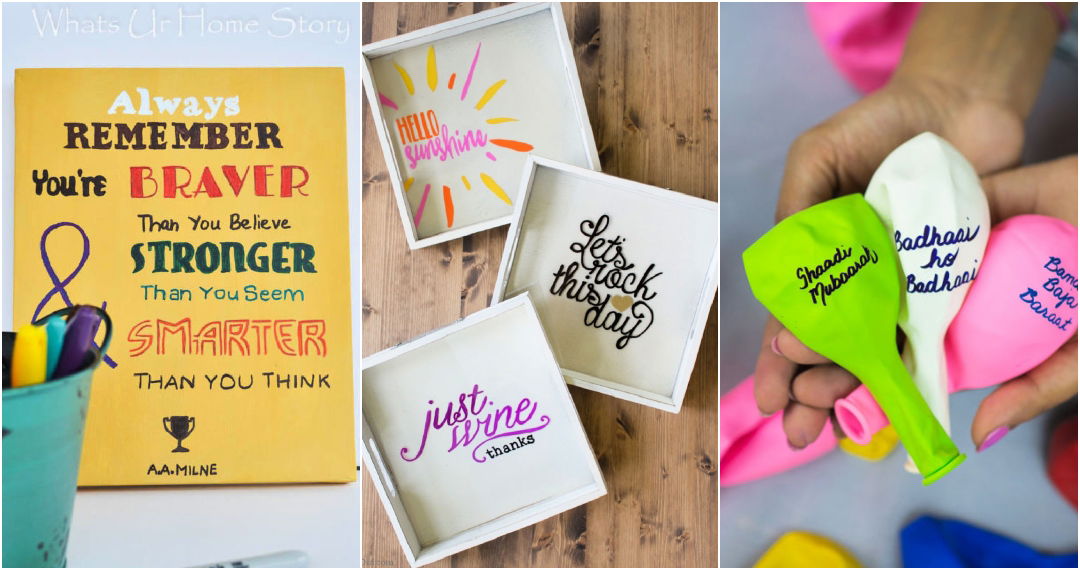
- Inspirational Quotes: Choose a quote that resonates with you or the mug recipient. It could be a line from a favorite book, a motivational saying, or a funny quip that brings a smile.
- Personal Artwork: If you have a knack for drawing, sketch a small piece of artwork that represents a hobby or interest. It could be a musical note for music lovers or a paw print for pet owners.
- Custom Messages: Write a message that has a personal significance. It could be an inside joke, a term of endearment, or a word that holds a special meaning.
- Themed Designs: Tailor your mug design to a theme, such as nature, with flowers and leaves, or space, with stars and planets. This adds a fun element to your creation.
- Color Coding: Use different colored Sharpies to add vibrancy to your mug. Color coding can also be used to represent someone's favorite colors or to signify something important.
- Handprints or Footprints: For a family keepsake, use handprints or footprints. This is especially touching for parents or grandparents who want to preserve a moment in time.
- Seasonal Decor: Decorate your mug according to the seasons. Draw snowflakes for winter, suns for summer, leaves for fall, and flowers for spring.
- Collaborative Art: Get friends or family members to each contribute a small design or signature to the mug. This makes a collective piece that's full of memories.
The best part about a DIY sharpie mug is the personal touch you bring to it. keep your designs simple or go as intricate as you like. The key is to make it meaningful to you or the person you're gifting it to.

Troubleshooting Common Issues with DIY Sharpie Mugs
When making your own Sharpie mugs, you might encounter a few hiccups along the way. Here's a helpful guide to troubleshoot common issues, ensuring your mug turns out just as you envisioned:
- Smudging Designs: If your Sharpie design smudges, it's often due to handling the mug before the ink dries. To prevent this, allow your design to dry completely before touching it. If smudging occurs, gently wipe it off with rubbing alcohol and a cotton swab, then redraw your design.
- Fading After Washing: Sharpie ink can fade after washing, even if you've baked the mug. To combat this, use oil-based Sharpie markers, which are more resistant to washing. Always hand-wash your mug gently instead of using a dishwasher.
- Uneven Baking: Sometimes, the heat in the oven can be uneven, causing your design to bake inconsistently. To ensure even baking, place the mug in the oven before preheating and leave it inside until the oven cools after baking. This gradual heating and cooling process helps prevent uneven baking.
- Color Changes After Baking: Sharpie colors might change after baking due to the high heat. To minimize this, bake at a lower temperature for a longer time. Test your Sharpie colors on the bottom of the mug first to see how they will turn out after baking.
- Sharpie Ink Not Sticking: If the Sharpie ink isn't sticking to the mug, the surface might be too glossy or oily. Clean your mug with rubbing alcohol before drawing to ensure the ink adheres properly.
- Design Complexity: If you're struggling with complex designs, start with simpler patterns and gradually work your way up as you become more comfortable with the process.
- Accidental Erasing: Avoid using your fingers to correct mistakes, as this can smudge the ink. Instead, use a damp cotton swab to carefully erase errors.
By keeping these tips in mind, you'll be better equipped to handle any issues that arise during your DIY Sharpie mug project.
Care and Maintenance Tips for Your DIY Sharpie Mug
After making your personalized Sharpie mug, it's important to know how to care for it to ensure the design lasts as long as possible. Here are some straightforward tips to help you maintain your mug:
- Let the Ink Set: Before using your mug, make sure the Sharpie ink has fully set. After drawing your design, allow the mug to sit for at least 24 hours. This will help the ink cure and adhere better to the ceramic surface.
- Baking the Mug: Bake your mug to set the ink. Place it in a cold oven, set the temperature to 350°F (about 175°C), and let it bake for 30 minutes. Turn off the oven and let the mug cool down inside. This gradual heating and cooling will help prevent cracking.
- Hand Wash Only: To preserve your design, always hand wash your mug with a soft sponge and mild dish soap. Avoid using abrasive materials or harsh chemicals that can wear off the design.
- Avoid the Dishwasher: Dishwashers can be too harsh for your Sharpie mug. The high temperatures and strong detergents can cause the design to fade or peel. Stick to hand washing to keep your design intact.
- Gentle Use: Treat your mug gently. Avoid stacking it with other dishes or exposing it to hard knocks. This can chip the ceramic and damage your design.
- Avoid Microwave Use: Microwaving your Sharpie mug can cause the design to fade over time due to the heat. It's best to keep your mug out of the microwave to maintain the design's vibrancy.
- Regular Checks: Inspect your mug regularly for any signs of wear or fading. If you notice any issues, you can touch up the design with a Sharpie and rebake the mug if necessary.
- Storage: When not in use, store your mug in a safe place where it won't get bumped or scratched. A cabinet or a shelf away from heavy kitchen traffic is ideal.
By following these simple care and maintenance tips, you'll be able to enjoy your DIY Sharpie mug for many cups of coffee or tea to come.
FAQs About DIY Sharpie Mug
Get quick answers to common questions about DIY Sharpie mugs. Learn tips, techniques, and troubleshooting for your creative projects.
A DIY Sharpie Mug is a personalized coffee mug maked using oil-based Sharpie markers. You draw your design on a plain ceramic mug and then bake it to make the design permanent. This craft is popular for making unique gifts and customizing mugs for personal use.
Select a mug with a matte finish rather than a glossy one. Mugs with less glaze allow the Sharpie ink to adhere better and prevent bubbling or cracking during the baking process.
It’s essential to use an oil-based Sharpie paint marker for your mug. Regular Sharpie markers, which are water-based, will wash off even after baking. Oil-based markers are designed to be more durable and are less likely to be affected by water once baked.
Clean the mug thoroughly with rubbing alcohol and cotton balls to remove any oils or dirt. This step ensures that the Sharpie ink can adhere properly to the mug’s surface.
It's best to hand wash your DIY Sharpie mug to maintain the integrity of the design. While the oil-based Sharpie ink is more durable than regular ink, frequent washing in a dishwasher may cause the design to fade or peel over time. To keep your mug looking great, wash it gently with water and soap and let it air dry.
Conclusion: Lessons Learned
Wrapping up, making DIY sharpie mugs at home is a simple and enjoyable project. You get to make unique, personalized mugs without much effort. This activity is perfect for gifts or adding a personal touch to your own kitchenware. Try DIY sharpie mugs and see how creative you can be. These mugs are not only practical but also fun to design. Enjoy your new crafting adventure!


