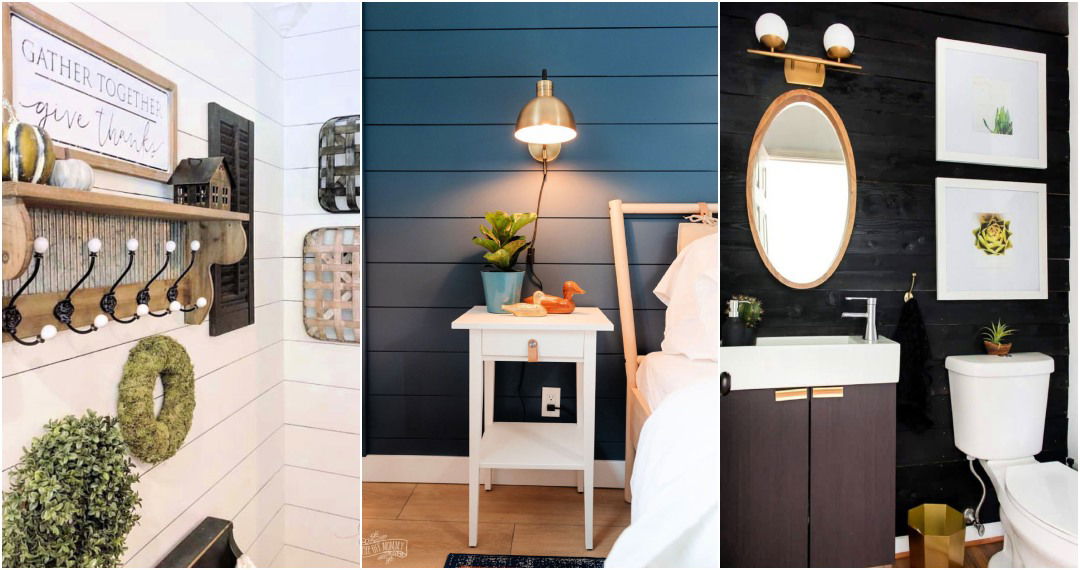
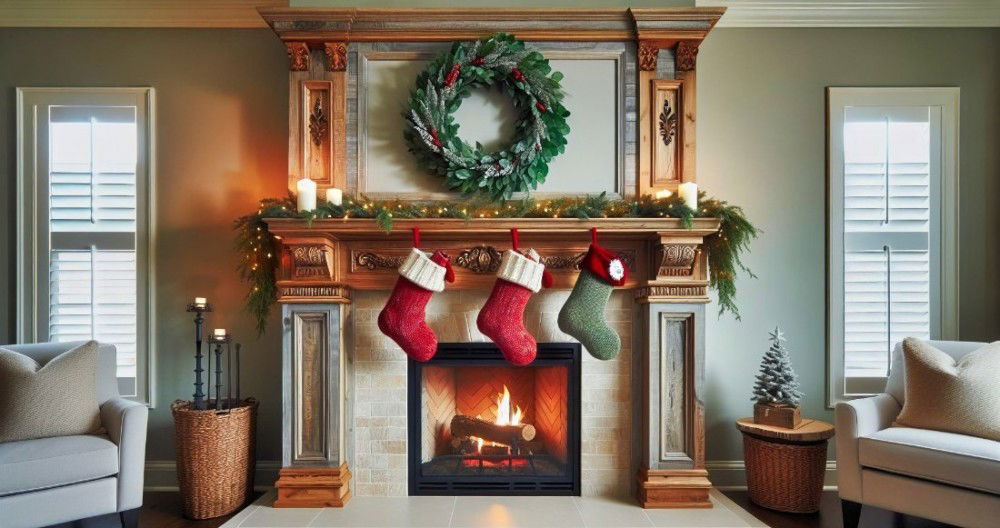
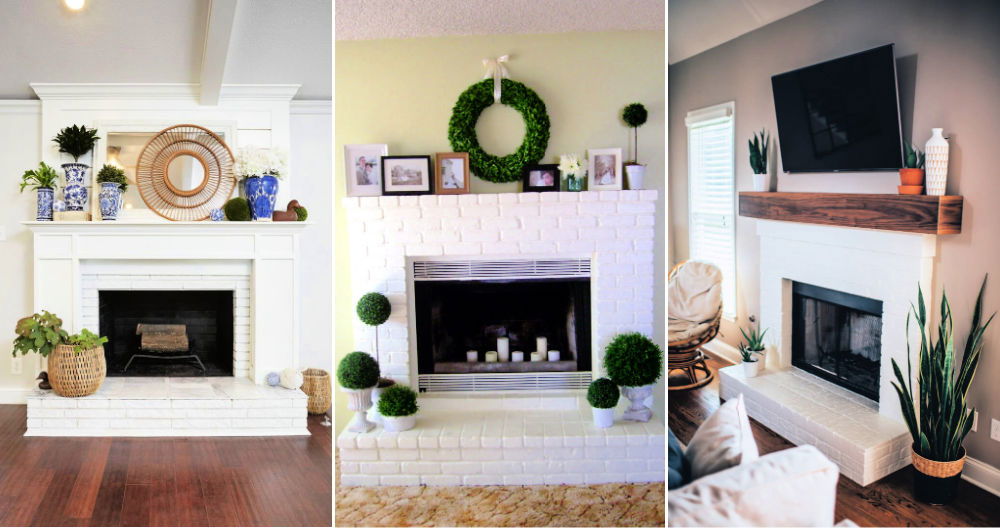
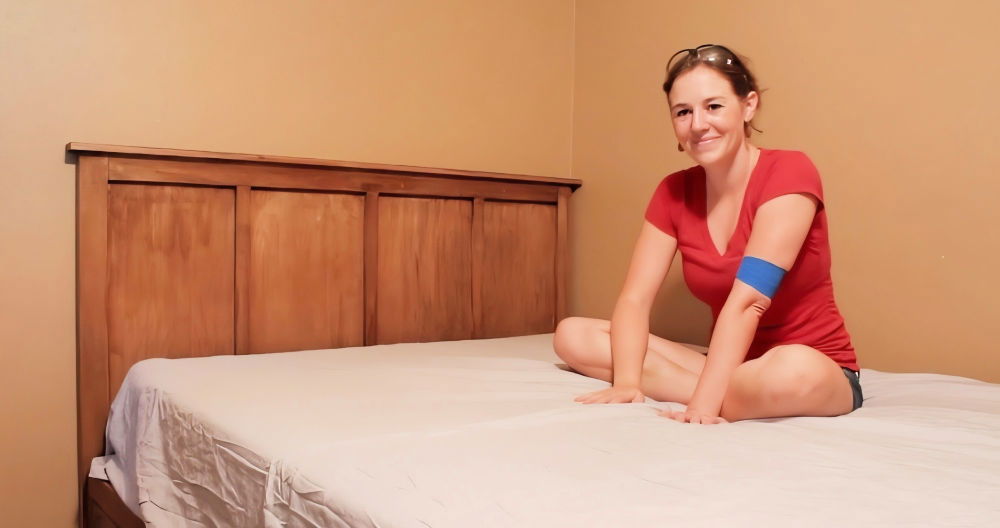
Transforming my living room with a DIY shiplap fireplace was one of the best decisions I've made. Initially, my fireplace looked outdated and bland, but I wanted a cozy, farmhouse feel without spending a fortune. After some research and a trip to the hardware store, I gathered all the materials needed for a shiplap fireplace wall at a fraction of the cost.
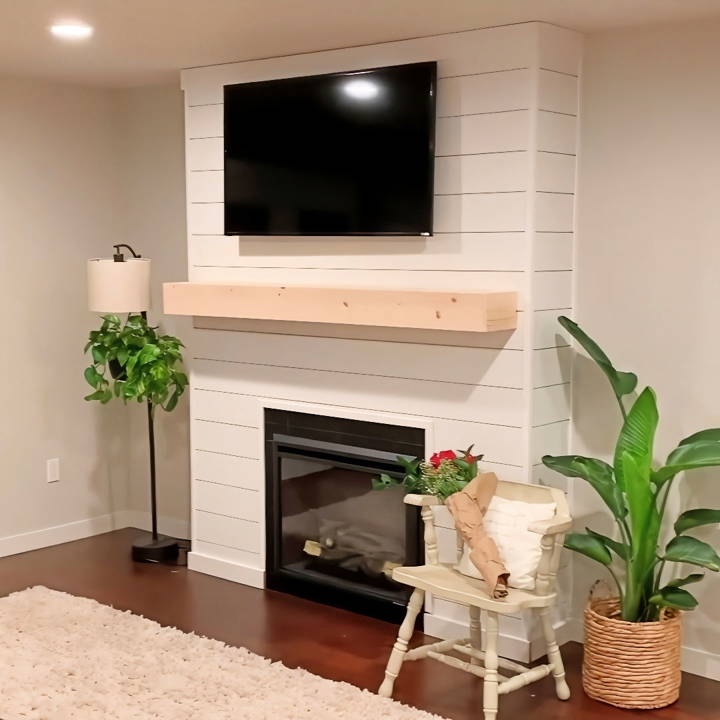
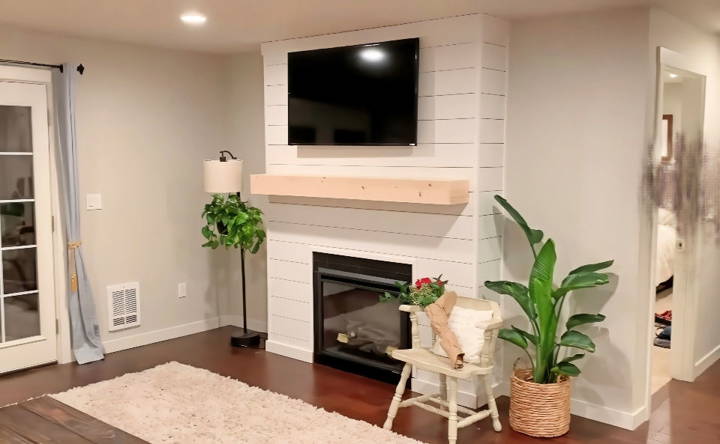
The process was straightforward and quite enjoyable. By carefully measuring and cutting the shiplap boards, I covered the existing fireplace structure, making a fresh, modern look. The final result was stunning and gave my living room the warmth and charm I desired. If you've been dreaming of a beautiful, budget-friendly shiplap fireplace, this guide will help you get started.
I'm thrilled to share this experience with you because making a farmhouse shiplap fireplace transformed my home. These steps will help you achieve the same cozy and inviting space.
Gathering Materials: Why Each Is Essential
Before diving into the project, understanding and gathering the right materials is key. Here's what you'll need:
- Two by Fours: These form the skeleton of your fireplace. They must be sturdy to ensure the structure can support itself and the aesthetic elements.
- One by Eights: These boards frame your fireplace and support the shiplap.
- Nail Gun & Impact Driver: For securely attaching boards and assembling the structure.
- Skill Saw: Essential for cutting boards to the precise dimensions you need.
- Electric Fireplace Insert: The heart of your project, choose one that fits the vibes you're aiming for.
- Shiplap Boards: These will cover your structure, giving it that cozy, sophisticated look.
- Matte Black Tile: Surrounds your fireplace insert, enhancing the design and tying it into your room's color scheme.
- Stud Finder, Level, & Measuring Tape: For precision and making sure everything is secure and balanced.
Step by Step Instructions
Learn how to make a pretty DIY shiplap fireplace with step-by-step instructions. Perfect for adding charm and warmth to your home decor!
Step 1: Planning and Framing
First, visualize where you want your fireplace. Use painter's tape to outline the area on your wall and floor, ensuring it fits your space perfectly. After mapping out, start building the frame directly on the wall where the fireplace will sit. This involves securing two by fours as anchors to your wall studs. The importance of locating studs cannot be overstressed; they're the backbone of your structure's stability.
Step 2: Crafting the Skeleton
Cut more two by fours to build the vertical supports that will form the sides and center of your fireplace structure. These should be measured from floor to ceiling, minus a small gap to ensure a snug fit without pressing against your ceiling. Assemble the frame on the ground first—it's easier to manage and less error-prone this way. After assembling, secure it to your anchored boards.
Step 3: Adding the Electric Insert and Shiplap
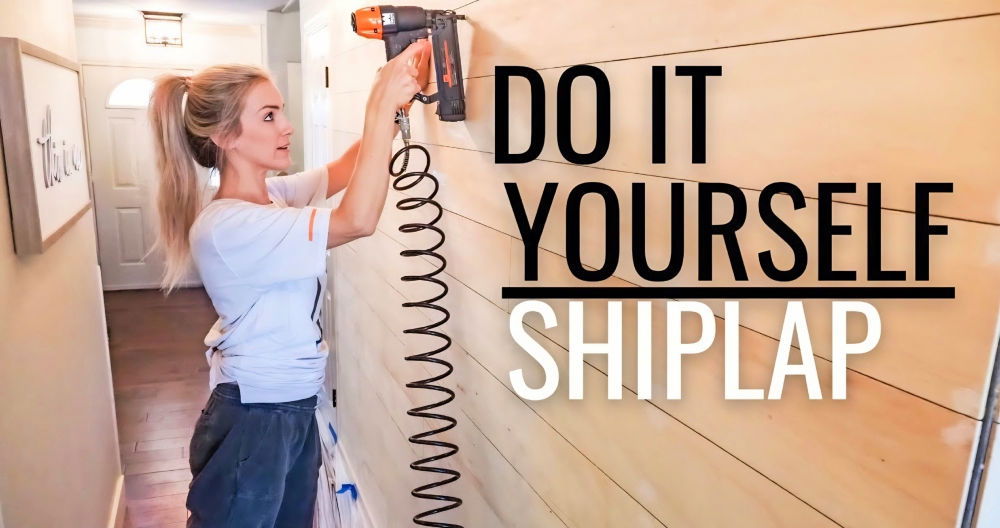
Before covering the structure with shiplap, place your electric fireplace insert into the frame to ensure it fits. If adjustments are needed, it's easier to do now. Once satisfied, begin the satisfying task of attaching shiplap boards, starting from the bottom and working your way up. A nail gun makes this process a breeze.
Step 4: The Finishing Touches
The final steps include surrounding the fireplace insert with matte black tile, enhancing its appearance and ensuring it complements your room's decor. Installing the fireplace's mantel, which serves as a charming shelf or decorative feature, comes next. The design of the mantel is entirely up to you, offering a wide range of creative possibilities.
Customization Ideas for Your DIY Shiplap Fireplace
Making a shiplap fireplace that reflects your personal style and complements your home's decor can be a rewarding DIY project. Here are some customization ideas to help you design a fireplace that's both unique and inviting:
Choose Your Style
- Modern Chic: For a sleek, modern look, opt for clean lines and a minimalist design. Paint your shiplap in monochromatic hues like white, black, or gray.
- Rustic Charm: If you prefer a cozy, rustic feel, use distressed wood and natural tones. Staining the wood can enhance its natural beauty and warmth.
Play with Patterns
- Horizontal Layout: The classic horizontal shiplap pattern builds a sense of width and space, making it ideal for smaller rooms.
- Vertical Arrangement: Installing the shiplap vertically can draw the eye upward, giving the illusion of higher ceilings.
- Herringbone Pattern: For a touch of sophistication, arrange the shiplap in a herringbone pattern. This intricate design can become a focal point in the room.
Mantel Makeover
- Floating Mantel: A floating mantel provides a modern touch and a place to display decor without being too bulky.
- Reclaimed Wood Mantel: Use reclaimed wood for your mantel to add history and character to your fireplace.
Accentuate with Accessories
- Decorative Tiles: Add a row of decorative tiles above or below the shiplap for a pop of color and pattern.
- Metal Accents: Incorporate metal straps or brackets for an industrial edge.
Personal Touches
- Family Photos: Display family photos or cherished mementos on the mantel to personalize the space.
- Seasonal Decor: Change the decor around your fireplace with the seasons to keep the look fresh and festive.
Light It Up
- LED Strips: Install LED strips under the mantel or within the shiplap grooves for subtle, ambient lighting.
- Sconces: Mount wall sconces on either side of the fireplace to add warmth and elegance.
For a successful DIY project, personalize it. Try different materials and designs until it suits you. Your shiplap fireplace should be warm, creative, and stylish.
Troubleshooting Common Issues with DIY Shiplap Fireplaces
When you embark on a DIY shiplap fireplace project, you might encounter a few hiccups along the way. Here's a helpful guide to troubleshoot common issues, ensuring your fireplace is both safe and stunning.
Uneven Walls
- Problem: Your walls may not be perfectly straight, which can make aligning shiplap boards challenging.
- Solution: Use a level to find the high and low points. Shim behind the boards as needed to achieve a straight, even appearance.
Soot or Charring
- Problem: If you notice soot accumulation or charring on your shiplap, it's a sign of potential fire hazards.
- Solution: Ensure there's adequate clearance between the shiplap and the fireplace insert. Consider using non-combustible materials like metal trim for added safety.
Difficulty with Installation
- Problem: Installing shiplap can be tricky, especially around corners and edges.
- Solution: Measure twice, cut once. Use a miter saw for precise cuts and an angle finder for tricky corners.
Fireplace Insert Fit
- Problem: The fireplace insert may not fit snugly within the shiplap frame.
- Solution: Adjust the frame dimensions before installing the shiplap. Use trim or molding to cover any gaps.
Maintaining a Fire
- Problem: Difficulty in starting or maintaining a fire, excessive smoke, or strange odors are performance issues.
- Solution: Regularly clean the fireplace insert and check for obstructions in the chimney or vent.
Paint Peeling
- Problem: High temperatures can cause paint to peel or discolor.
- Solution: Use high-temperature paint designed for use around fireplaces.
Structural Integrity
- Problem: The shiplap may not feel secure on the wall.
- Solution: Ensure all boards are securely nailed into studs. Use construction adhesive for extra stability.
Cost Overruns
- Problem: DIY projects can sometimes become more expensive than anticipated.
- Solution: Set a clear budget and track expenses. Opt for cost-effective materials without compromising on quality.
Fixing these common issues sets you on the path to a beautiful, functional shiplap fireplace.
Maintenance and Upkeep of Your DIY Shiplap Fireplace
Keeping your DIY shiplap fireplace in top condition is essential for both its appearance and longevity. Here's a straightforward guide to maintaining your shiplap fireplace, ensuring it remains a beautiful focal point in your home.
Regular Cleaning
- Dusting: Gently dust the shiplap panels regularly to prevent buildup. Use a soft brush or microfiber cloth to avoid scratching the surface.
- Washing: Mix a solution of 1 cup vinegar and 2 cups warm water for a natural cleaning agent. Wipe the shiplap with a soft cloth dampened in the solution, following the grain of the wood.
- Deep Cleaning: For tougher stains or dirt, a mild soap solution can be effective. Apply with a cloth and rinse with clean water.
Paint Maintenance
- Touch-Ups: Check for any chips or peeling in the paint. Use a small brush to apply touch-up paint as needed.
- Heat-Resistant Paint: If the fireplace is used often, consider using heat-resistant paint to prevent discoloration and peeling.
Inspection and Repair
- Check for Damage: Inspect the shiplap for any signs of warping, cracking, or loose boards. Secure any loose panels with nails or adhesive.
- Sealant Application: Apply a sealant to protect the wood from moisture and heat, especially if the shiplap is close to the fireplace insert.
Fireplace Insert Care
- Cleaning the Insert: Keep the fireplace insert clean by wiping it down with a damp cloth. Ensure it's cool before cleaning.
- Obstruction Check: Regularly check for any obstructions in the chimney or vent to prevent smoke and odor issues.
Seasonal Considerations
- Summer: During warmer months, dust more frequently as windows are often open, leading to more dust accumulation.
- Winter: Before the cold season, ensure your fireplace is ready for use. Check the insert and perform any necessary maintenance.
Follow these steps to keep your DIY shiplap fireplace fresh and efficient. Regular upkeep enhances beauty and ensures safety and warmth.
FAQs About DIY Shiplap Fireplace
Get answers to your FAQs about DIY shiplap fireplace projects. Learn materials needed, installation tips, and design ideas to enhance your space.
A shiplap fireplace is a decorative element that uses horizontal boards, known as shiplap, to create a rustic or farmhouse-style look around a fireplace. It’s a popular DIY project because it can transform the appearance of a room and add character to a plain wall.
Yes, you can install shiplap around most types of fireplaces, including wood-burning and gas fireplaces. However, the shiplap must not overlap the actual fireplace opening. The area immediately around the opening should be covered with fire-resistant materials like brick, tile, or concrete.
No, making a DIY shiplap fireplace is a project that many average DIY enthusiasts can handle. It requires basic tools and materials, and there are plenty of step-by-step guides available that provide detailed instructions.
The cost of building a shiplap fireplace can vary, but many projects can be completed for under $600, not including the fireplace insert. The final cost will depend on the size of the fireplace, the materials chosen, and whether you need to purchase tools.
A shiplap fireplace can add value to your home and is a great way to incorporate an architectural feature that builds interesting spaces. It also offers practical benefits, such as hiding TV cords and requiring less cleaning since it's attached to the wall.
Reflections and Advice
In conclusion, a DIY shiplap fireplace makeover on a budget can transform your living space with a fresh, modern look without breaking the bank. By tackling a DIY shiplap fireplace project, you can build a stunning shiplap fireplace wall that adds character and charm to your home. Enjoy the satisfaction of completing a beautiful and affordable home improvement project.


