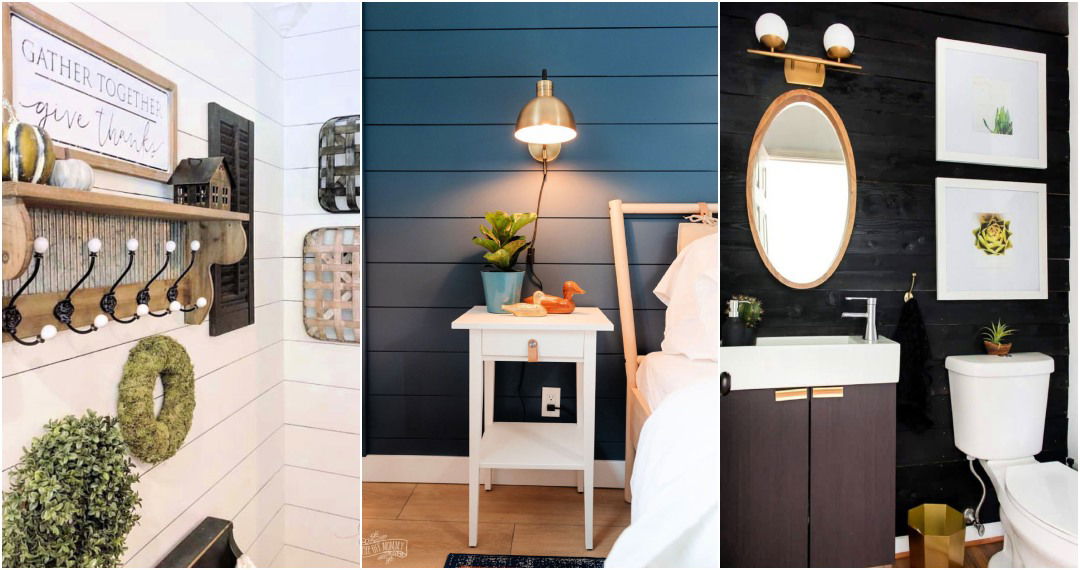
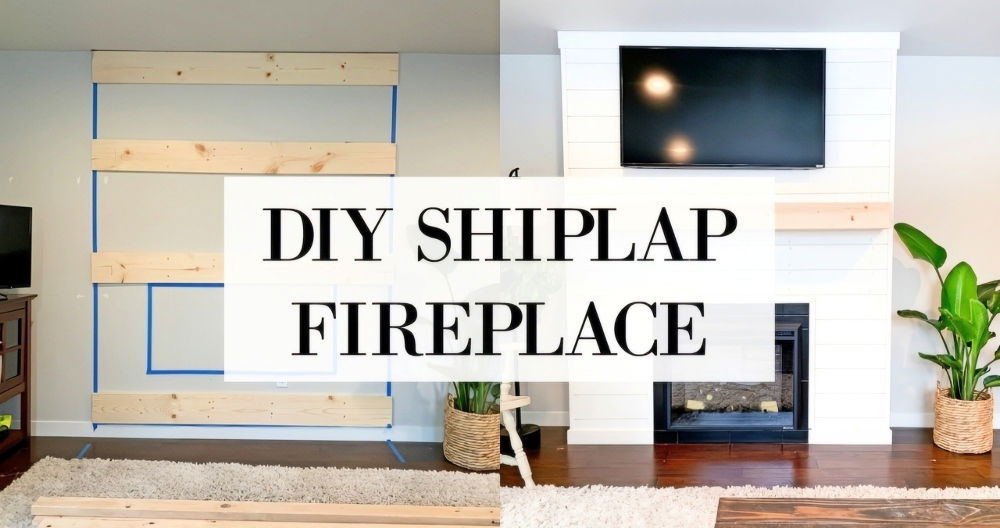
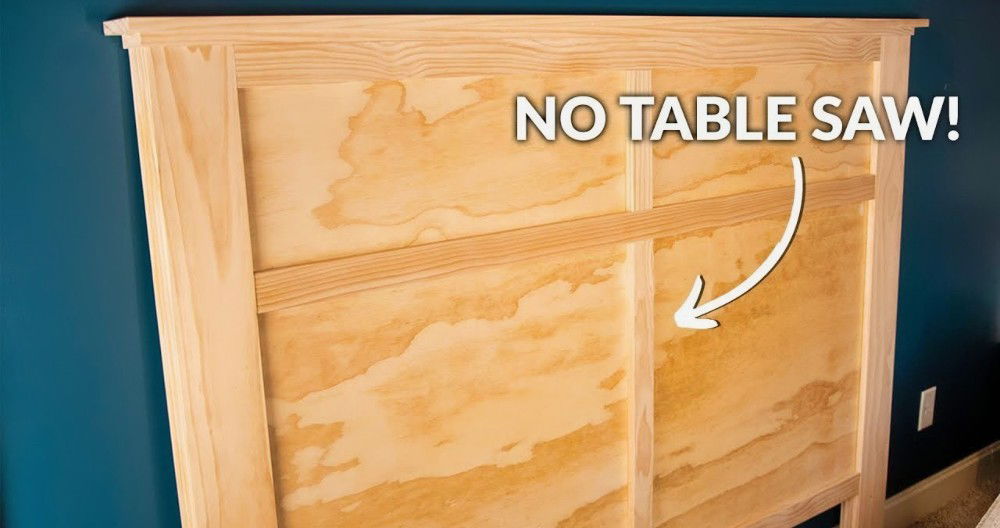
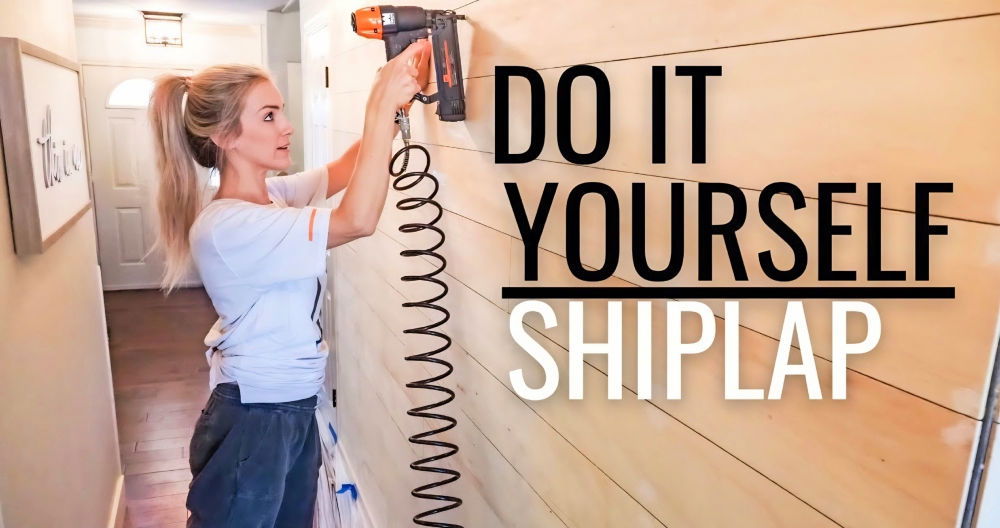
Are you looking to upgrade your bedroom with a custom headboard but have limited space? A DIY shiplap headboard could be the perfect solution. It's not only stylish and budget-friendly but also space-saving, making it ideal for small rooms. In this guide, we'll show you how to build a gorgeous shiplap headboard, with every step rooted in real-world expertise.
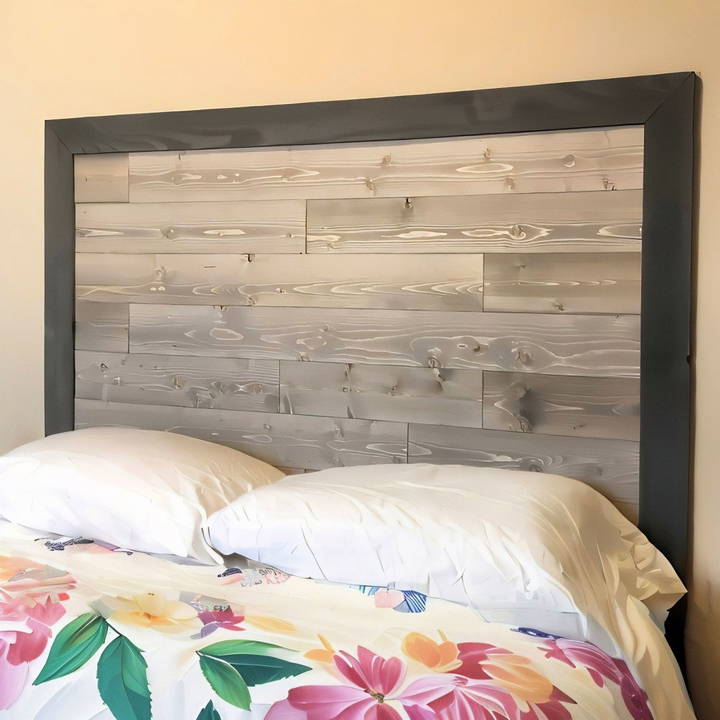
Why Choose a Shiplap Headboard?
A shiplap headboard offers several benefits, especially for small rooms:
- Space-Saving: Because it's mounted directly to the wall, it takes up no floor space and is secured in place.
- Stylish and Trendy: Shiplap has become a popular design element in many homes due to its clean lines and classic appearance.
- Affordable: Shiplap boards are relatively inexpensive and available at most hardware stores.
- Easy to Build: With minimal tools and a straightforward process, you can complete this project in just a few hours.
Tools and Materials You'll Need
Before we dive into the steps, make sure you have the following tools and materials:
- Shiplap Planking: Thin shiplap boards that typically come pre-cut and pre-finished, so you won't need to stain or paint.
- Gorilla Construction Adhesive: This is used to secure the boards to the wall.
- 2” and 1 1/4” Brad Nails: For securing the boards and frames.
- Milwaukee 18ga Cordless Brad Nailer: Or any brad nailer, cordless or otherwise.
- Cordless Miter Saw: For cutting the boards to fit.
- Hand Saw or Jigsaw: Useful for cutting around outlets or tight spaces.
- Husky Folding Utility Knife: For smaller cuts and adjustments.
- 72” Level: To ensure everything is aligned properly.
- Pencil and Tape Measure: Essential for marking your cuts and measuring space.
Step by Step Instructions
Make a stunning DIY shiplap headboard with our step-by-step guide. Perfect for small rooms, complete the project on a budget and in no time.
Step 1: Measure and Plan the Space
Start by measuring the wall space where you want your headboard to go. Decide on the height and width of the headboard, taking into account the placement of your bed and any electrical outlets you'll need to work around. Use your level to mark where the top of the headboard will be, and make sure everything is aligned.
- Tip: In a small room, you'll want the headboard to be proportional to the space. Opt for a height that enhances the room without overwhelming it.
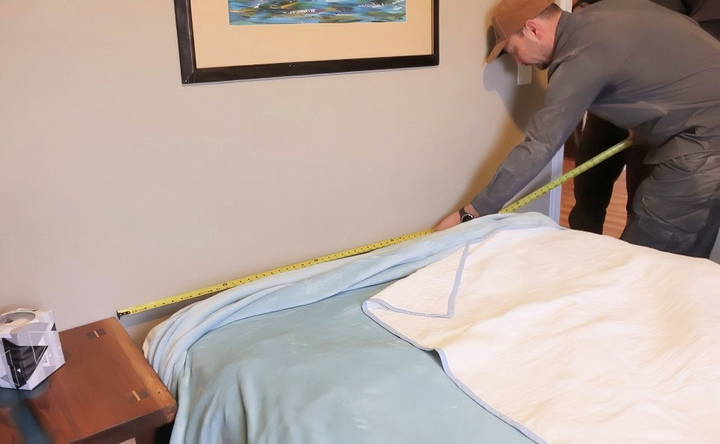
Step 2: Cut the Shiplap Boards
Using your miter saw, cut the shiplap boards to the desired lengths. Most shiplap boards come with a tongue and groove system, which allows the boards to interlock easily, making a seamless finish. You'll want to start cutting the boards for the outer frame first, as this will serve as the base for the rest of the design.
For any boards that need to be fitted around outlets, use a jigsaw or hand saw to carefully cut out the required sections.
- Pro Tip: Stagger the lengths of the boards to build a random pattern. This adds visual interest and breaks up the monotony of uniform lengths.
Step 3: Build the Frame
Start by constructing the outer frame of your headboard using the shiplap planks. This frame will serve as a guide for the rest of your work, so take extra care to ensure it's straight and level.
To build the frame:
- Position the boards where the outer edges of your headboard will go.
- Use construction adhesive and a few brad nails to secure the boards temporarily.
- Ensure that the frame is level before you start attaching the inner pieces.
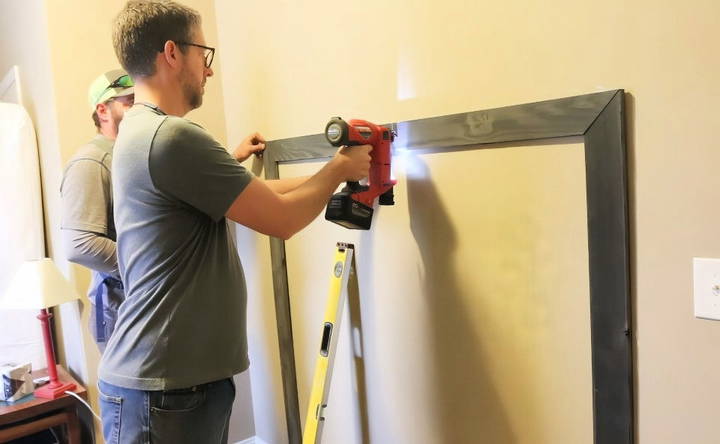
Pro Tip: Secure the vertical boards in the middle first, allowing you to pivot them slightly to adjust the top miters. This ensures a tight fit even if your boards aren't perfectly straight (which they often aren't).
Step 4: Install the Shiplap Boards
Once the frame is secure, it's time to start placing the inner shiplap boards. Begin at the top and work your way down:
- Fit the first board into the top of the frame, securing it with construction adhesive and nails. Be sure to align it carefully.
- As you work down, interlock the tongue and groove of each successive board with the one above it. This builds a clean and seamless look.
- If desired, you can leave small gaps between the boards by using spacers like nickels for a more rustic, ship-lap-inspired look. However, you can also butt the boards up tightly against each other for a cleaner appearance.
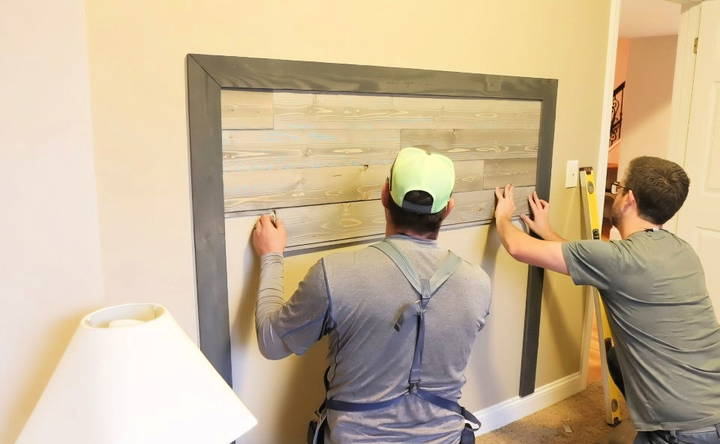
Pro Tip: Nail through the tongue-and-groove sections to hide the nail holes and ensure a strong hold.
Step 5: Cut Around Outlets
If you have outlets on the wall, you'll need to cut the shiplap to fit around them. Use a jigsaw or utility knife to make precise cuts where the outlet needs to fit. This step requires some careful measuring, but with patience, you can build a snug fit.
Once the shiplap boards are cut and installed, you can replace the outlet cover for a polished finish.
Step 6: Finishing Touches
After all the boards are secured to the wall, step back and admire your work. Ensure everything is securely fastened, and if needed, add a few more nails or apply some extra adhesive for stability.
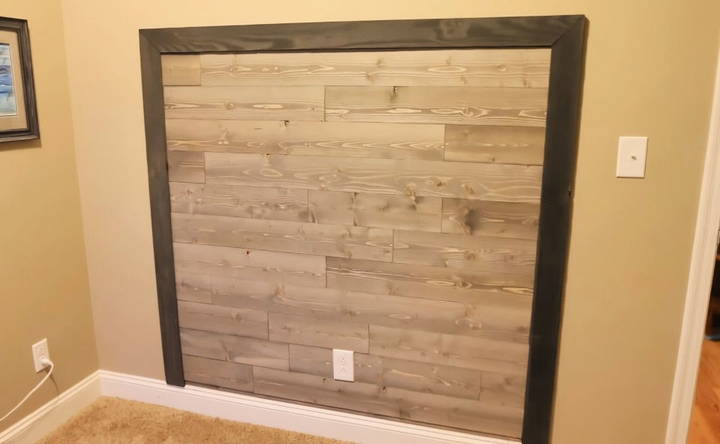
At this point, you may have expected to paint or touch up the boards, especially where cuts were made. However, if you're using pre-finished shiplap, this step might not be necessary. The beauty of this project is how quickly it comes together without the need for painting or staining.
Why a Shiplap Headboard is Ideal for Small Rooms
The shiplap headboard's wall-mounted design solves two major problems in small rooms:
- No Wasted Floor Space: Since it's attached directly to the wall, it doesn't take up any precious floor space like a traditional freestanding headboard would.
- Stability: Wall-mounted headboards are fixed in place, so there's no movement or wobbling, unlike headboards that attach to the bed frame.
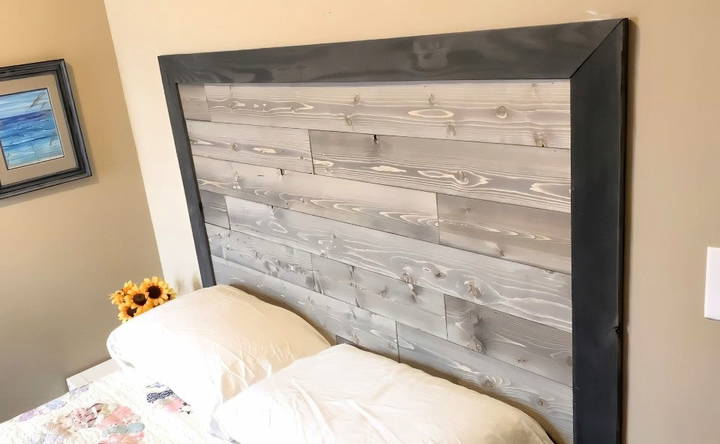
The visual appeal of shiplap also adds depth and texture to your room without overwhelming it, making it a perfect design solution for smaller bedrooms.
Project Duration and Budget
You can complete this DIY shiplap headboard project in just a couple of hours. The project was accomplished within two hours in a real-life setting with minimal fuss.
In terms of cost, the materials are affordable. Shiplap boards are available at most home improvement stores, and you can find them in different finishes to match your room's style. The other materials—such as adhesive, nails, and tools—are also easily accessible and budget-friendly.
Conclusion
A DIY shiplap headboard is a quick, affordable, and stylish way to upgrade your bedroom, especially in small spaces. With minimal tools and a few hours of work, you can transform your room with a trendy, space-saving design. Whether you're a seasoned DIYer or just starting, this project is approachable and delivers stunning results.
Ready to get started? Gather your tools, pick up some shiplap, and enjoy your new headboard!
FAQs About DIY Shiplap Headboard
Get answers to all your DIY shiplap headboard questions with our comprehensive FAQs. Perfect for your next creative bedroom project!
Yes, you can install the shiplap on a thin plywood backing. This allows you to secure the headboard with a few screws into the studs. This method makes it easier to remove later without damaging the wall.
Yes, construction adhesive is used to ensure the boards stay securely attached to the wall. Nails are added for extra hold until the adhesive dries.
Using adhesive can damage the drywall when removed. If you want to avoid this, consider the plywood backing method for a less permanent installation.
Absolutely! Shiplap can be used to create accent walls behind reading chairs, in bathrooms, or anywhere else for a unique decorative touch.
No, most shiplap boards come pre-finished in various colors and styles. This saves time and effort, as you won't need to apply additional paint or stain.
Cut the boards carefully using a jigsaw to build openings for outlets. Once installed, you can replace the outlet covers for a seamless look.
This installation method is easier due to the tongue-and-groove system of the shiplap, which requires working from the top down to fit the boards properly.
If you plan to adjust the headboard or move it, mounting it on plywood backing would allow you to slide or reposition it more easily.
We used 2-inch nails for the main shiplap boards and 1 1/4-inch nails for securing smaller sections like the frame.
The entire headboard project was completed in under two hours, making it a quick and efficient DIY project.


