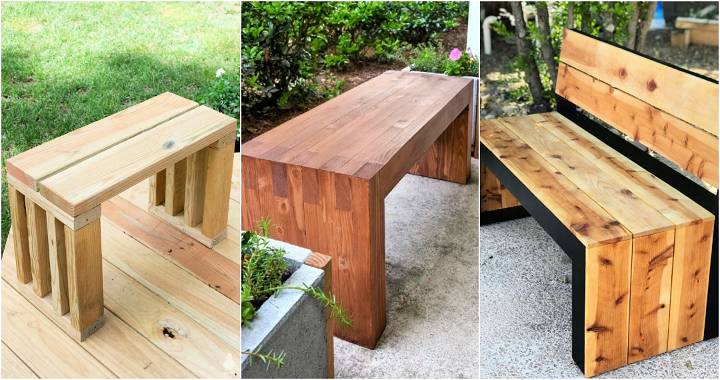
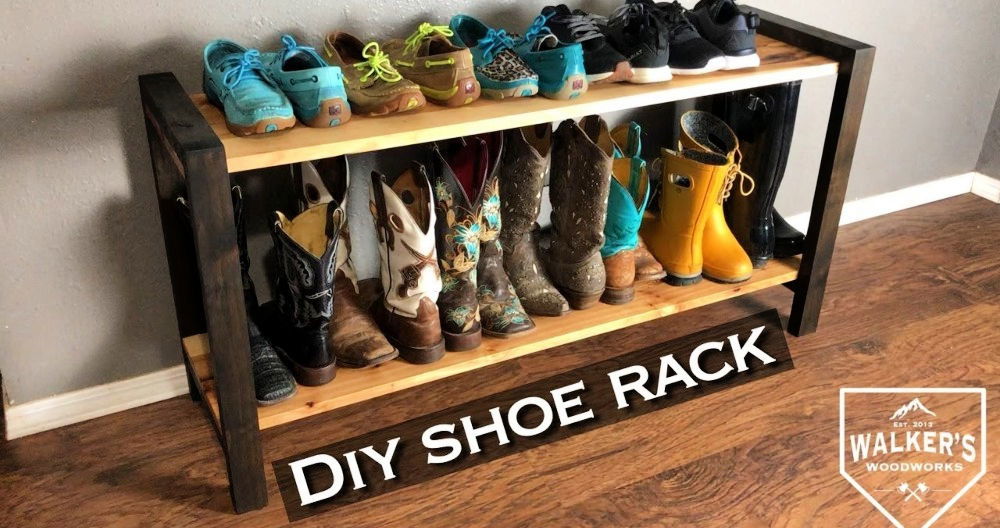
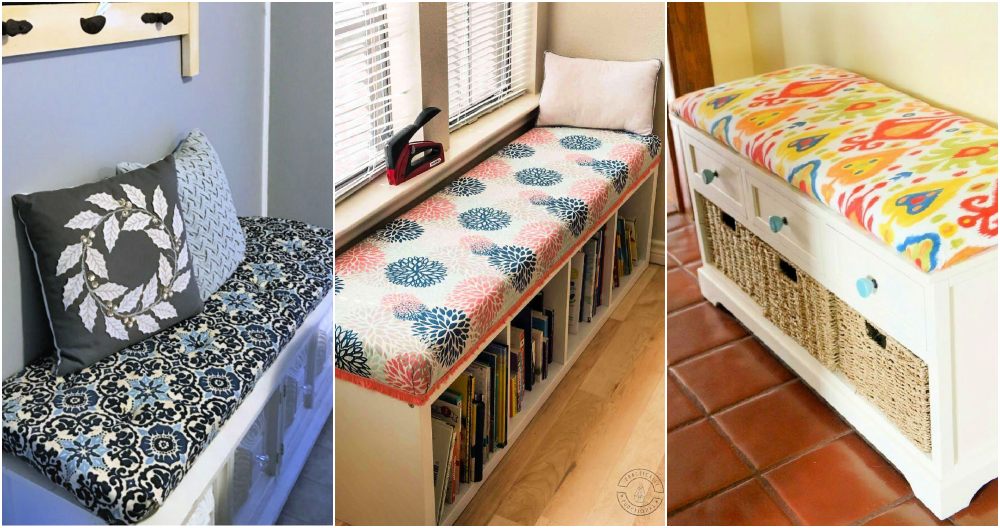
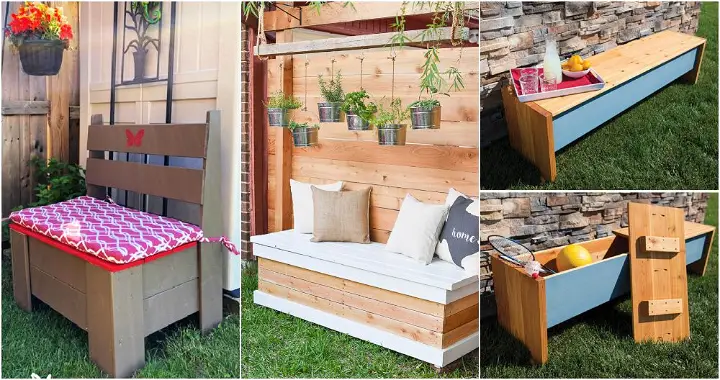
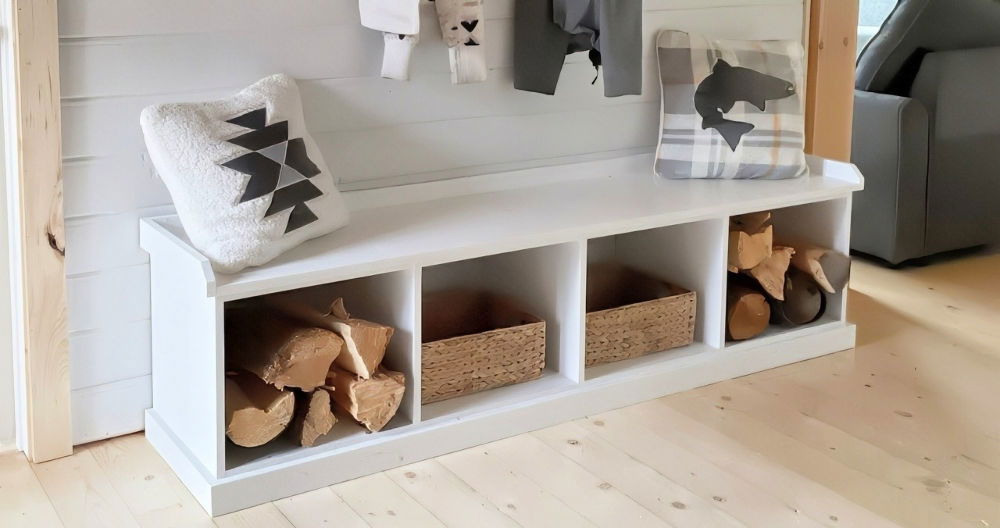
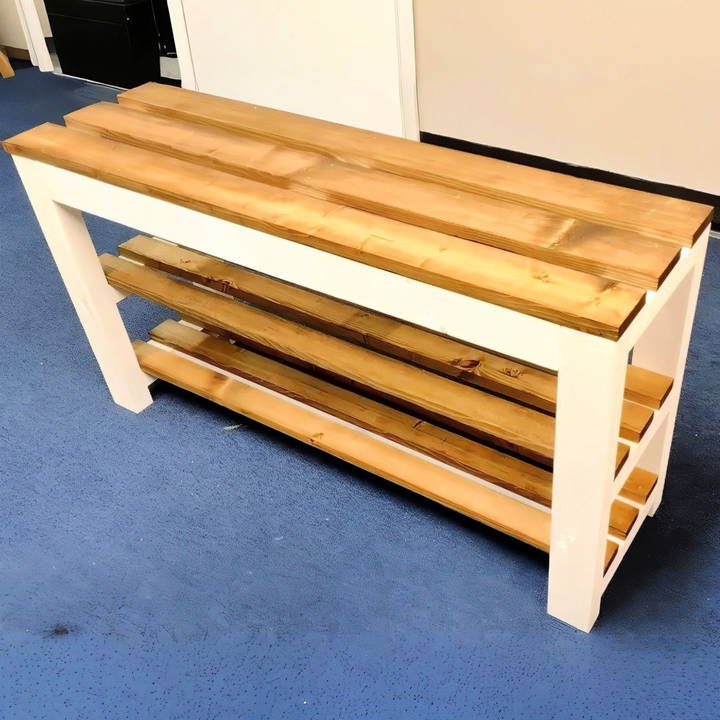
Are you tired of tripping over shoes at the entryway of your home? A DIY wooden shoe bench might be the perfect solution to keep your space organized while also adding a touch of rustic charm. This complete guide provides step-by-step instructions for building your own DIY shoe storage bench, modeled after a project by Bryan and Cecelia from Wood Songs by Russell. Let's dive into the step-by-step process and build a sturdy and stylish bench for your home.
Why Build a Shoe Bench?
Building your own shoe bench has several benefits:
- Customization: You can tailor the size, color, and style of the bench to fit your home perfectly.
- Affordability: A DIY bench is often cheaper than purchasing one of similar quality. For instance, a homemade bench costs around $35-$40 in materials, while similar designs on retail sites like Etsy and Wayfair can range between $150-$400.
- Satisfaction: There's something special about building your own furniture. You'll have a sense of accomplishment every time you see or use it.
Materials You'll Need
To get started on your shoe bench, you will need the following materials:
- 1x 2x6 board, 8 feet long
- 1x 1x10 board, 10 feet long
- Additional 2x6 scraps (optional)
- Wood glue
- 2.5-inch pocket hole screws
- 2-inch brad nails
- Pocket hole jig
- 120-grit sandpaper
- Stain or paint of your choice
Tools Required
- Miter saw
- Circular saw (or table saw)
- Orbital sander
- Drill and drill bits
- Right-angle drill attachment (for tight spaces)
- Brad nailer
- Clamps
- Measuring tape
- Pencil
Step by Step Instructions
Learn how to build a DIY shoe bench with easy step-by-step instructions. Perfect your skills from cutting wood to final assembly for a stylish home.
Step 1: Cutting the Wood for the Frame
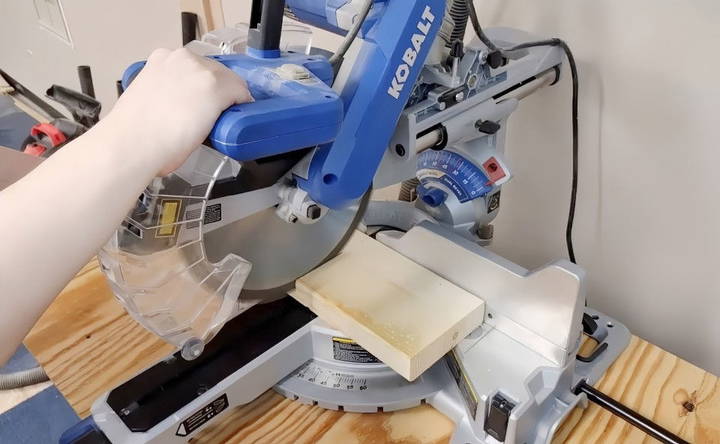
Start by cutting the wood for the frame of the bench. For this project, Bryan and Cecelia used 2x6 boards that they already had in their shop, but you can easily purchase these from a local hardware store.
- Cut the boards for the legs and frame: Cut two boards to 34 inches (for the legs).
- Cut two boards to 20 inches (for the shorter sides of the frame).
- Cut several 8-inch pieces for internal supports.
- Rip the edges of the boards: Use a circular saw to rip the 2x6 boards to 2.5 inches wide, except for one 34-inch piece, which will be 2 inches wide.
- Sand the boards: Sand all of the pieces using 120-grit sandpaper to smooth the edges and surfaces.
Step 2: Drilling Pocket Holes
To make the frame sturdy without visible screws, you'll use a pocket hole jig.
- Drill pocket holes: Drill two pocket holes on each end of the 8-inch and 34-inch boards.
- This allows you to attach the frame together with screws while hiding the hardware.
- Pre-drill for screws: Pre-drilling ensures that the wood doesn't split when you insert the screws.
Step 3: Assembling the Frame
Now it's time to bring the frame together. Here's how to do it:
- Apply wood glue: Before attaching the boards, apply wood glue at the joints where the pieces will meet. This adds extra strength to the frame.
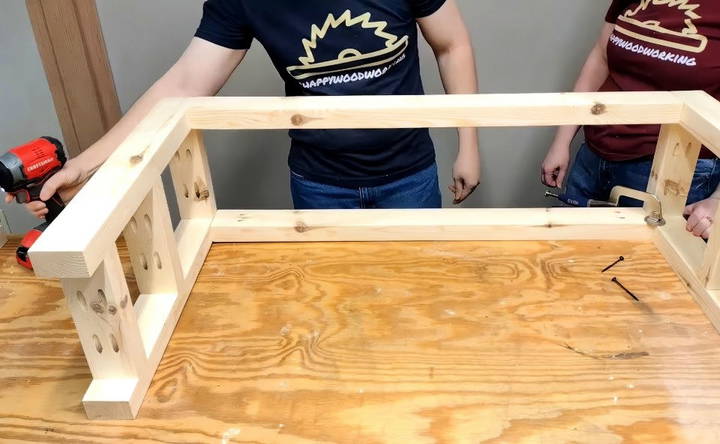
- Attach the boards: Using 2.5-inch pocket hole screws, attach the 34-inch pieces to the shorter 20-inch pieces. These will form the sides of your shoe bench. Make sure everything is square and flush.
- Make shelf support: The internal 8-inch pieces will be placed horizontally as shelf supports. These will hold the slats that will eventually form the shoe racks.
Step 4: Cutting the Seat and Shoe Shelves
Now that the frame is assembled, it's time to cut the boards for the seat and shelves:
- Cut the 1x10 into three 39-inch pieces: These will be ripped down into smaller strips to form the seat and shelves.
- Rip the pieces into strips: Rip six strips at 2 inches wide for the shelves.
- Rip three strips at 3 inches wide for the seat.
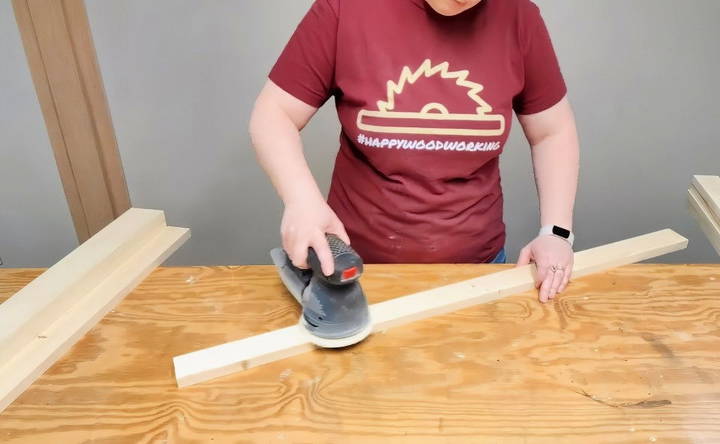
- Sand the slats: Sand all the strips to smooth out any rough edges.
Step 5: Staining and Finishing the Wood
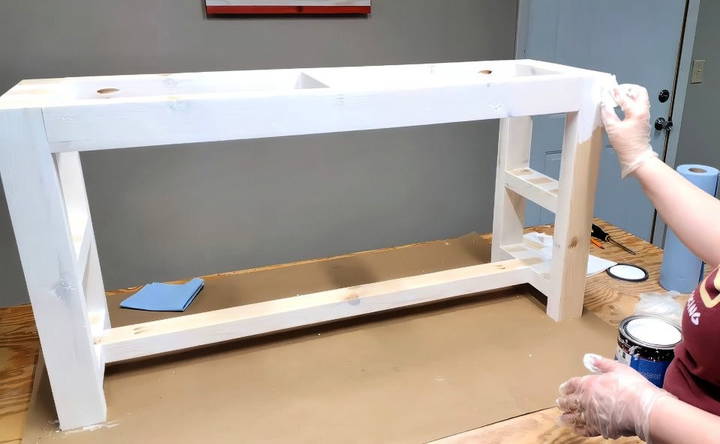
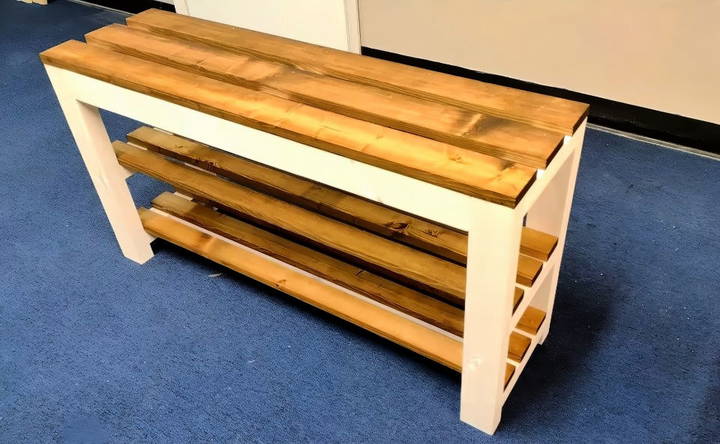
Before assembling everything, you'll want to apply a finish to your bench. Bryan and Cecelia chose a two-tone finish for a clean and stylish look.
- Apply the stain: For the frame, use a white solid color stain.
- For the seat and slats, use a Mission Oak polyshade, which combines stain and polyurethane in one step. This makes the finishing process faster and easier.
- Let the stain dry: Allow the stain to dry fully overnight before assembling the final pieces.
Step 6: Assembling the Shoe Bench
Once all the pieces are stained and dried, it's time for final assembly:
- Attach the shelves: Lay the slats across the shelf supports inside the frame. Use wood glue and 2-inch brad nails to secure them in place. The 2-inch-wide strips will be for the shoe shelves.
- Attach the seat: The three 3-inch-wide strips will form the seat. Secure them with wood glue and brad nails across the top of the frame.
- Check for stability: Ensure that everything is securely fastened and that the bench is sturdy before moving it to its final location.
Step 7: Final Touches and Placement
With the construction complete, all that's left is to place your new shoe bench in your entryway:
- Test it out: Sit on the bench and check that it's comfortable and stable.
- Organize your shoes: The shelves should have ample space for several pairs of shoes. You can place boots or larger items on the floor beneath the lowest shelf.
- Admire your work: Your entryway has just received a major upgrade, and you've saved hundreds of dollars by building the bench yourself!
Conclusion
A DIY wooden shoe bench is a great addition to any home, providing both storage and seating while keeping your entryway neat and organized. By following these step-by-step instructions, you can build a functional and beautiful piece of furniture for a fraction of the cost of buying one. Whether you're a woodworking novice or a seasoned pro, this project is achievable with basic tools and materials. Plus, the satisfaction of completing it yourself makes the effort worthwhile.
Now that you have a new shoe bench, your entryway will be clutter-free, and you'll have a stylish piece of furniture that complements your home décor. Happy woodworking!
FAQs About DIY Shoe Bench
Discover answers to your common queries about building a DIY shoe bench with our comprehensive FAQs for efficient home organization.
The bench was made using pine wood. Pine is a softwood that is easy to work with and cost-effective, making it a great choice for DIY projects like this one.
The frame of the bench was stained with Minwax solid white, water-based stain, and the slats were finished with Minwax PolyShades in the color Mission Oak. This combination offers a two-tone look with added durability from the PolyShades finish.
The spacing between the shelves is 9 inches, which provides ample room to store shoes of various sizes, from sneakers to boots.
Yes, you can use other types of wood depending on your preference and budget. Hardwoods like oak or maple will add durability, while softer woods like cedar or fir can offer a unique look.
Unfortunately, there are no formal plans or blueprints available for this specific project. However, you can follow along with the step-by-step video to recreate the design.
If you don't have pocket hole screws, you can use wood screws and countersink them to hide the hardware. Another option is using dowels or wood biscuits to build strong joints without visible screws.
The materials cost around $35 to $40. This makes it a budget-friendly project compared to similar benches that can cost upwards of $150-$400 when purchased from retailers.
Yes, the bench dimensions can be adjusted to fit your specific space. You can shorten or lengthen the frame, or change the number of shelves depending on how much shoe storage you need.
The key tools needed include a miter saw, drill, circular saw, pocket hole jig, and an orbital sander. A brad nailer is optional but helpful for assembling the shelves and seat.
If the stain appears uneven, lightly sand the affected area with fine-grit sandpaper, and reapply the stain in thin, even coats. Make sure to let it dry fully before adding additional coats or a finish.


