Building a DIY shuffleboard table is a delightful and satisfying project. This game, often found in bars, brings excitement and competition to any gathering, making it an excellent addition to your home. The tutorial below will guide you through crafting your own shuffleboard table, covering materials, step-by-step construction, and finishing touches. Let's get started on building a quality shuffleboard table that will last for years!
Materials Needed
Before starting, gather the following essential materials to build a robust and long-lasting shuffleboard table:
- 14 ft butcher block countertops (preferably maple or oak)
- Two-by-four lumber (for the legs and frame support)
- Square tube steel (1-inch) for added stability
- Epoxy resin (for the playing surface)
- Rubber flooring or exercise mat (for sound-dampening gutters)
- Leather or carpet (optional for the gutter lining)
- Polyurethane or shellac (for wood protection)
- Painter's tape and dowel plugs
- Leveling feet (to adjust the table's balance)
- Screws, bolts, and T-nuts
Having all materials on hand will streamline the build process and prevent unnecessary interruptions.
Step by Step Instructions
Learn how to build a DIY shuffleboard table with easy, step-by-step instructions from constructing the base to adding finishing touches.
Step 1: Building the Base and Legs
The base of the shuffleboard table provides structure and stability. Here's how to assemble it:
Prepare the Legs:
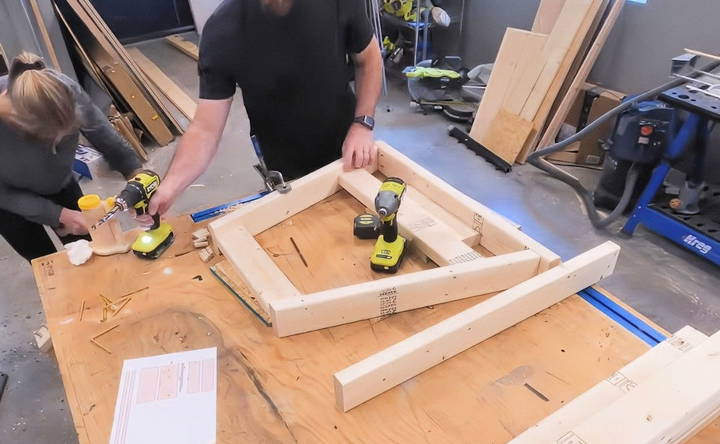
- Start by cutting two-by-fours to build the legs. Each leg should have a 15-degree angle cut to give the table a unique, angled stance.
- Assemble each leg with two upper and two lower pieces to reinforce their strength.
- Drill counterbore holes to allow screws to sink slightly beneath the wood's surface.
- Once assembled, use dowel plugs to cover screw holes, enhancing aesthetics and stability.
Construct the Frame:
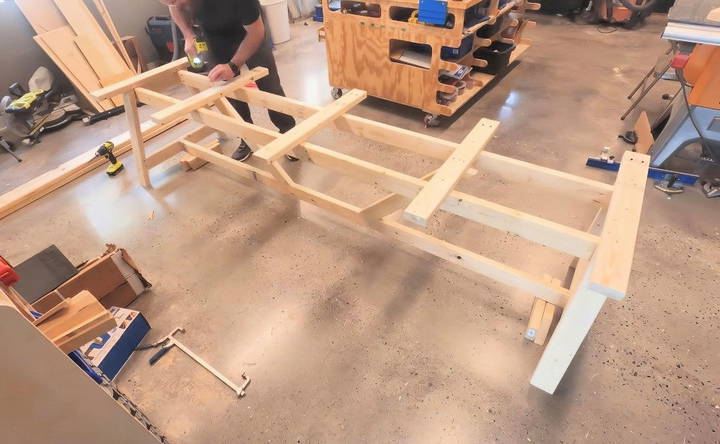
- The frame will hold the shuffleboard top. Attach a horizontal bottom piece 3.5 inches from the base of each leg.
- Use half-inch OSB sheets to ensure consistency in height from the ground. Secure the frame and legs using screws.
Add Leveling Feet:
- Install leveling feet on each leg. These will help adjust the balance of your shuffleboard table to prevent the puck from drifting unintentionally.
Tip: Assemble the base frame and legs in the space where you plan to use the table, as moving the fully assembled table could be challenging due to its size and weight.
Step 2: Preparing the Shuffleboard Top
The shuffleboard top is the most crucial part of the table as it directly affects gameplay. Butcher block countertops make an excellent choice due to their durability and smooth surface.
Select the Butcher Block:
- Use 14-foot-long butcher block countertops. For a 14-foot table, you may need two 8-foot slabs.
- Cut the countertops down to 20 inches in width using a track saw for precision.
Reinforce with Steel:
- Since the shuffleboard is long, reinforcing the center with steel is essential to prevent sagging.
- Use 1-inch square tube steel to bridge the gap. Drill holes every six inches along the steel bars, then attach them to the underside of the butcher block with screws.
- For added support, position additional steel beams beneath the middle of the table, ensuring stability.
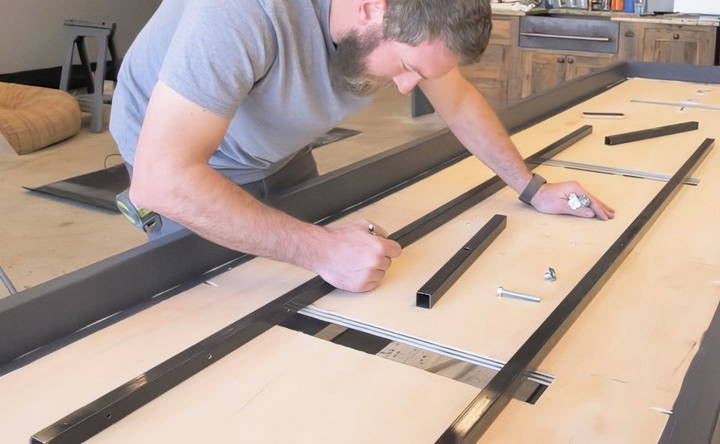
Adjustable Leveling Mechanism:
- Drill larger holes 12 inches from the center to install T-nuts, allowing adjustments to keep the playing surface level.
- Insert bolts through the steel supports to fine-tune the board's height, ensuring that the shuffleboard stays level across the entire playing surface.
Step 3: Constructing the Gutter
The gutter serves two purposes: it catches stray pucks and helps dampen sound.
Build the Gutter Frame:
- Construct a secondary frame around the playing surface to act as the gutter.
- Ensure this frame is deep enough to allow stray pucks to fall without bouncing back onto the playing surface.
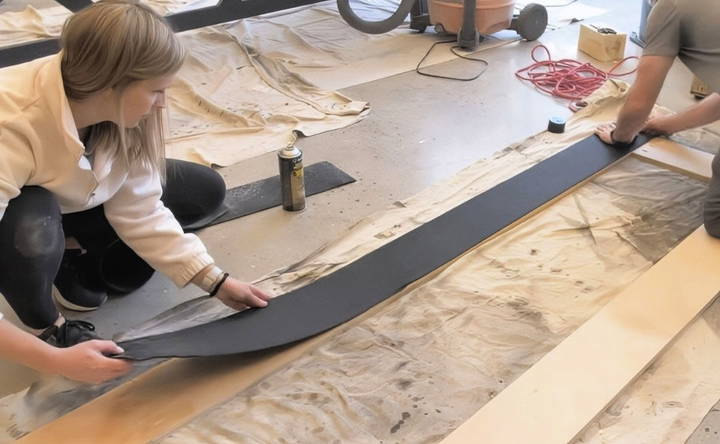
Sound Dampening:
- Use rubber flooring or an exercise mat as the gutter's base to reduce noise when pucks land. Cut the rubber mat to fit the frame and glue it in place with spray adhesive.
Optional Wrapping:
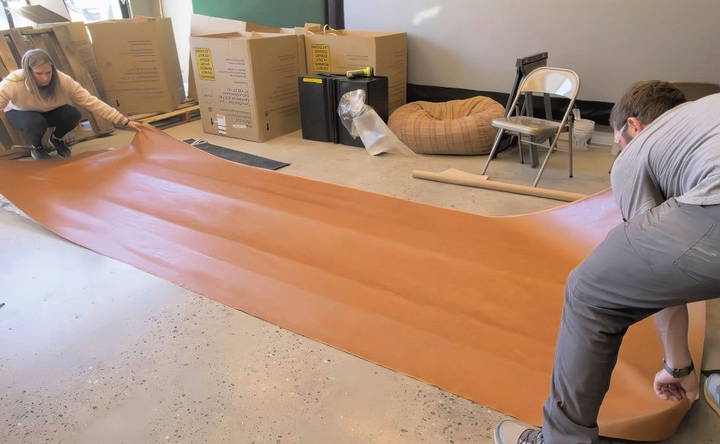
- Cover the gutter's sides with leather or carpet for added cushioning and aesthetics. Leather gives a sleek, professional look, while carpet is a budget-friendly, durable option.
Step 4: Joining the Top and Base
After the main components are complete, it's time to attach the top to the base.
Align the Top and Base:
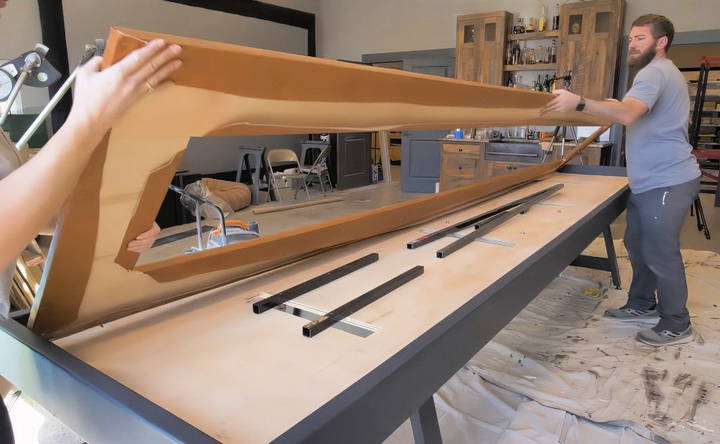
- Move the base to its final position, as the assembled table will be heavy and challenging to relocate. Carefully set the butcher block top on the frame, ensuring the gutters are evenly spaced.
Secure the Top to the Base:
- To keep the top from shifting, drill holes through the base and into the bottom of the butcher block. Insert screws and bolts to fasten the top securely.
- Tighten each bolt to minimize any "floating" of the board, ensuring a solid fit.
Step 5: Finishing Touches
Finishing the surface is essential for both functionality and aesthetics.
Apply Epoxy Finish:
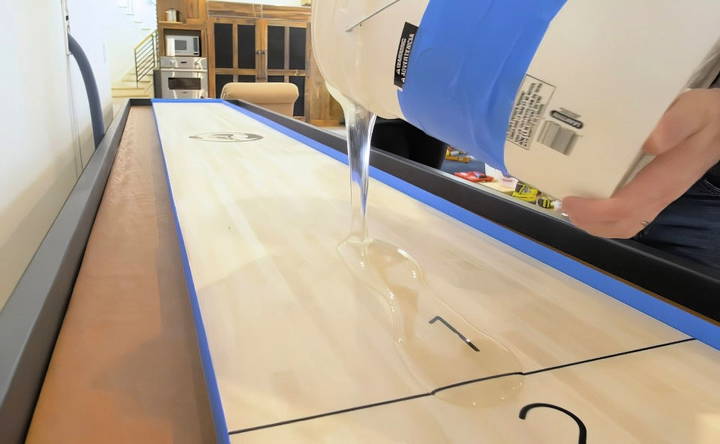
- An epoxy finish will give the shuffleboard a glossy, durable surface, providing the ideal slide for pucks.
- Start by taping off the edges of the board with painter's tape to prevent epoxy from dripping down.
- Mix and pour the epoxy resin onto the playing surface, spreading it evenly with a putty knife or squeegee.
- Allow the epoxy to cure as per the manufacturer's instructions before removing the painter's tape.
Apply Polyurethane on the Sides:
For the sides of the table, use a polyurethane or shellac finish to protect the wood from wear and tear while avoiding the excess weight of epoxy.
Add Scoring Zones and Numbers:
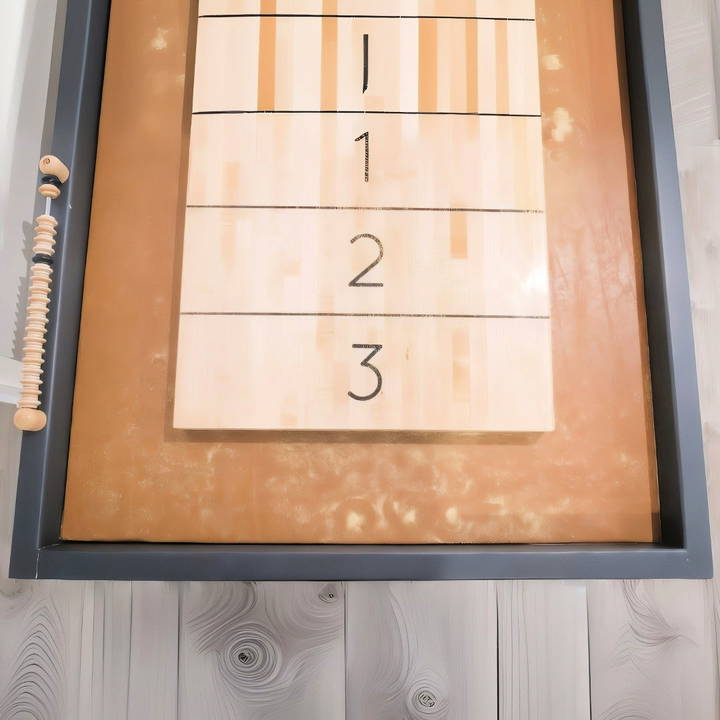
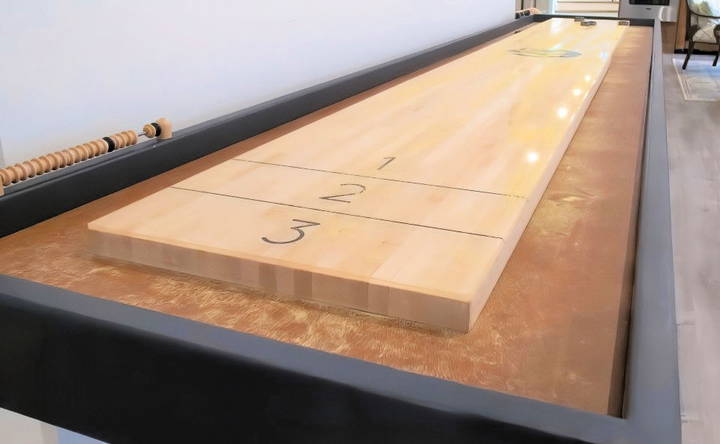
Mark scoring zones using paint or vinyl stickers, with a centerline and scoring lines on either end of the playing surface. You can also add numbers to the scoring zones, building a professional look.
Install Scorekeepers:
Attach scorekeepers on both sides of the table to keep track of each player's score. This adds functionality and enhances the game's experience.
Step 6: Final Assembly and Adjustment
The last few steps involve final tweaks and setting up the table for gameplay.
Remove Tape and Round Edges:
- Once the epoxy has cured, remove any remaining painter's tape around the playing surface.
- Sand down and round off the edges to ensure a smooth transition for the pucks.
Check the Leveling:
- Make sure the table is perfectly level using the bolts and leveling feet.
- Test the middle of the board to verify if any adjustments are needed, ensuring the pucks slide evenly.
Maintenance Tips for Your Shuffleboard Table
Now that your shuffleboard table is ready, here's how to keep it in excellent condition:
- Regular Cleaning: Wipe down the surface with a soft, dry cloth after each game to remove dust and maintain the slickness of the epoxy.
- Epoxy Care: Avoid using abrasive cleaners, as they can dull the finish. If scratches or cloudiness appear, a light sanding followed by a new coat of epoxy can restore the finish.
- Wax the Surface: Applying shuffleboard wax or powder will help maintain the slide and protect the surface from excessive wear.
- Check Leveling Feet Periodically: Floors can shift slightly over time, so it's essential to check the leveling feet every few months to keep the playing surface balanced.
Benefits of Having a DIY Shuffleboard Table
A shuffleboard table brings enjoyment and quality family time. Building one yourself adds a sense of pride, as you build a piece that will last for years. Here are some benefits of making your own shuffleboard table:
- Customizable: Tailor the table's size, materials, and finishes to suit your personal style and home decor.
- Cost-Effective: Building your own shuffleboard table is significantly cheaper than buying a ready-made one.
- Long-Lasting: Using high-quality materials like butcher block countertops and epoxy ensures a durable and attractive finish.
Conclusion
Constructing a shuffleboard table is a fulfilling DIY project that combines woodworking skills with creativity. By following the steps outlined in this guide, you'll build a quality shuffleboard table that can become the centerpiece of any gathering. From building the sturdy base to applying the slick epoxy surface, every step contributes to a fun and interactive experience for family and friends. So, gather your tools and materials, and start building your very own shuffleboard table today!
FAQs About DIY Shuffleboard Table
Get answers to common questions about building a DIY shuffleboard table, including materials, dimensions, and step-by-step guidance.
To maintain a level surface, use the adjustable bolts inserted through the steel supports beneath the butcher block. T-nuts in the center allow fine adjustments, ensuring a consistent surface. Adjust these bolts periodically to account for any shifts over time.
Yes, birch or other hardwood butcher blocks are suitable alternatives since the epoxy creates the primary playing surface. Ensure the material is durable and consistent to avoid warping over time.
A two-part epoxy, like TotalBoat, works well for durability and smoothness. Most projects require around 2-3 gallons, depending on the thickness. Apply painter's tape along the edges to create a dam during application.
The epoxy should ideally be thick enough to cover the entire playing surface, creating a slick finish without bubbles. Aim for about 1/8 to 1/4 inch in thickness. Avoid over-thickening to prevent excessive weight and curing time.
For a slight concave effect, the bolts in the center of the board pull down on the surface slightly, building a dip that helps guide the puck inward. This setup mimics professional tables and can be adjusted based on personal preference.
Adding rubber flooring or gym mats in the gutter area can significantly reduce sound. For a more customized look, consider wrapping it with leather or carpet, which also absorbs impact noise from pucks.
Scoring lines are typically painted or marked on each end, with a center line for reference. Adjust the placement based on your table length (usually around 8-9 feet for standard scoring zones). Vinyl or painted markers help add durability.
Yes, but this depends on the materials chosen and any adjustments to the design. Using plywood layers instead of a full butcher block or sourcing alternative finishes can reduce costs while maintaining quality.
Many DIYers find standard store lumber inconsistent. To get high-quality pieces, carefully inspect each board and be prepared to dig through available stock to find straight and clean cuts.
While epoxy provides the best slide and finish, you can use multiple coats of polyurethane or a blend of oil and wax. These alternatives offer a durable finish, though they may not be as slick as epoxy.


