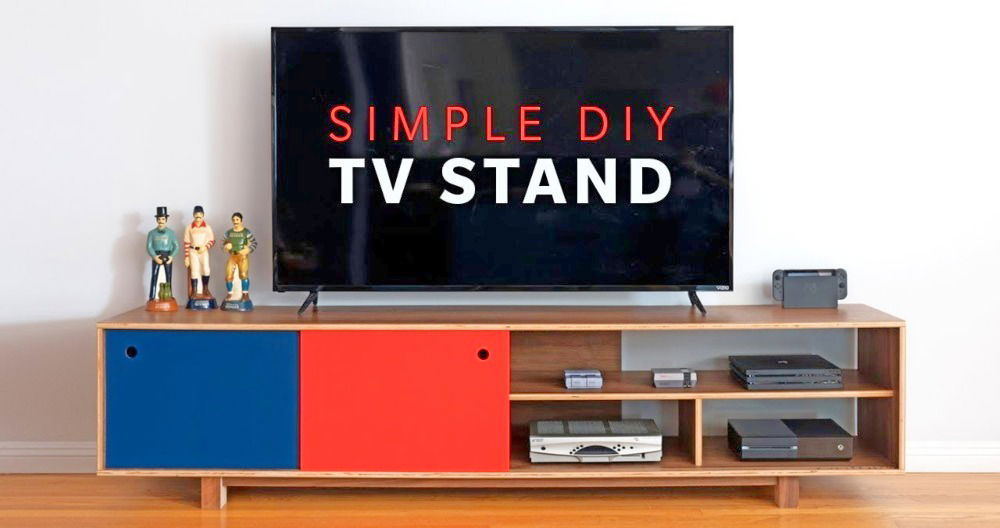
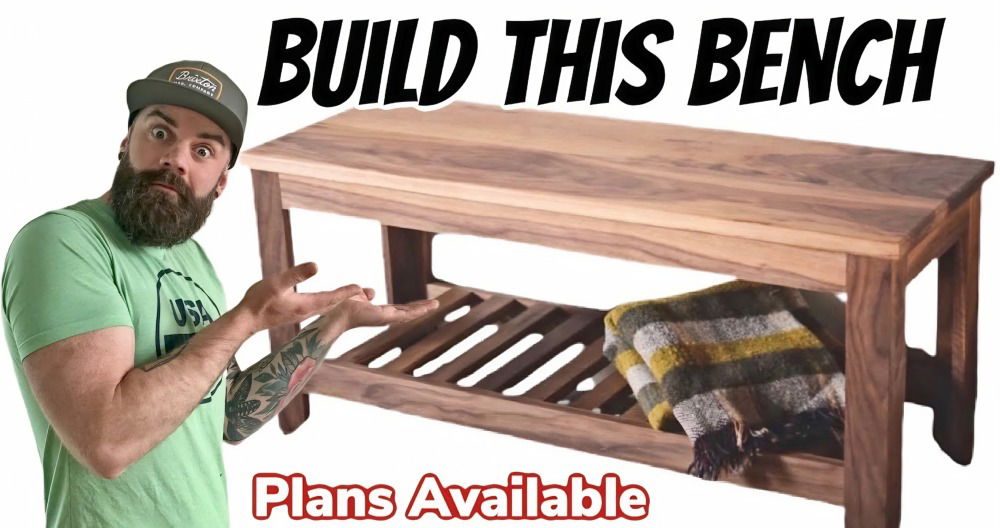
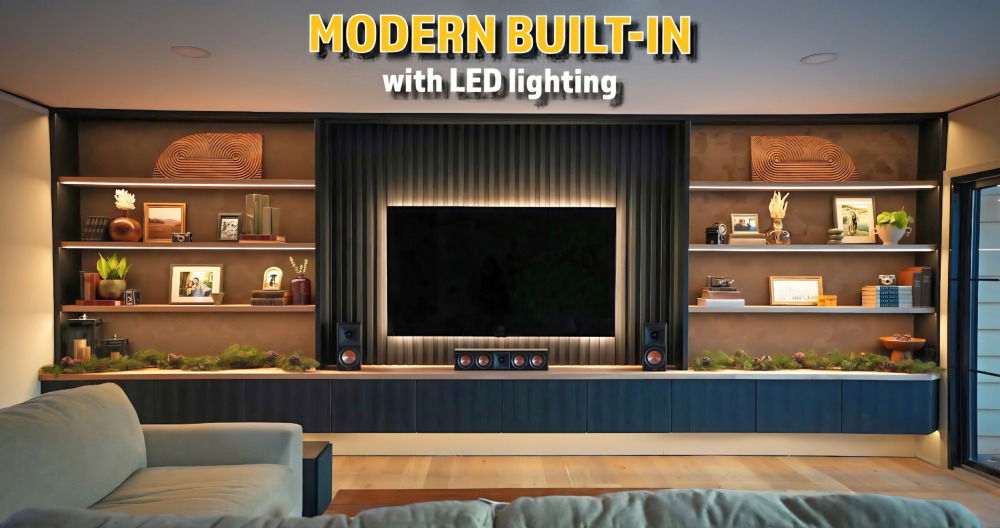
Building my first DIY sideboard was an exciting project that brought both joy and challenges. With easy instructions, I managed to build a beautiful and functional piece for my living room. It amazed me how straightforward the process was, following sideboard plans step-by-step. I learned so much about woodworking and gained confidence with each completed step.
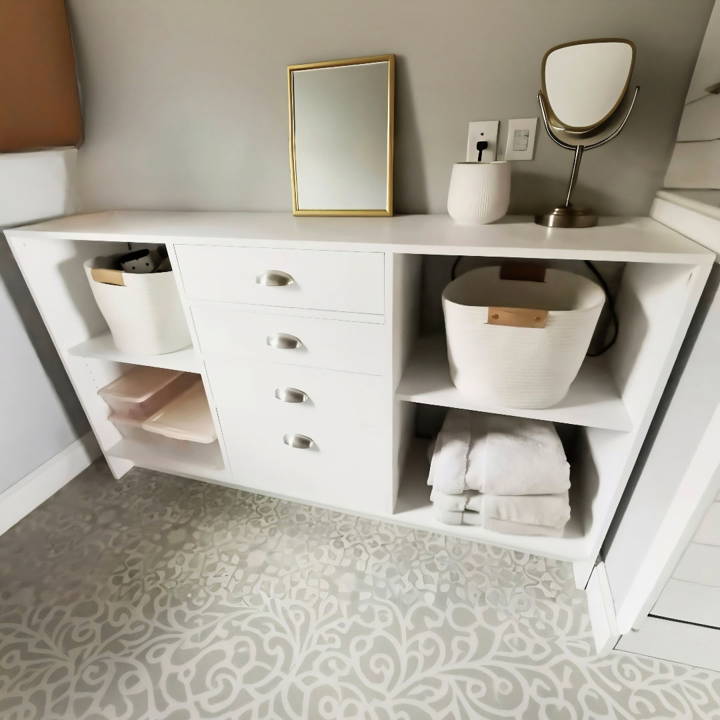
Completing this DIY sideboard showed me the beauty of crafting something with my own hands. The instructions were clear, and materials were easily accessible. It felt rewarding to assemble the pieces and see the sideboard come to life.
Now, I'm thrilled to share my experience and confidence. These resources will help you build your own stylish DIY sideboard. I'm here to assist you along the way.
Getting Started: Materials and Tools
To up the utility ante in any room, a custom-built sideboard with drawers can be a game-changer. Here are the materials and tools you'll require and why:
- Plywood Sheets: For the main structure. We opted for pre-finished plywood sheets to avoid the additional step of edge banding.
- 1x3 and 1x2 Lumber: These are for the base supports and drawer spacers, adding crucial structural integrity and guide for drawer spacing.
- Pocket Hole Jig: Essential for joining pieces with strength and ease.
- Drawer Slides: To ensure smooth operation of the drawers. Choose quality slides for longevity.
- Circular Saw, Drill, and Brad Nailer: Basic woodworking power tools for cutting plywood and assembling parts.
- Craig Shelf Pin Jig: For adjustable shelving, allowing customization based on what you intend to store.
- Paint or Stain: Depending on your finish preference. We went with a primer and paint for a clean, modern look.
Step by Step Instructions
Make a stunning DIY sideboard with our step-by-step instructions. Simple, clear guidance for a beautiful, custom piece in no time!
Assembling the Carcass
- Cutting the Plywood: Be precise. Measure twice, cut once. Remember, the top, sides, and bottom all must align perfectly.
- Drilling Pocket Holes: Laying the top piece down and drilling three pocket holes on each end facilitates a hidden but sturdy assembly.
- Orienting Plywood: Before you assemble, ensure the best face of your plywood is facing outward. This gives the finished piece a professional look.
- Building the Frame: Attach the top, bottom, and sides using pocket holes. This builds your basic box, or carcass, onto which everything else will attach.
Adding Internal Supports
- Securing 1x3 Base Supports: Positioned at the bottom for lateral support. Remember, these base supports prevent the structure from swaying side-to-side.
- Building a Toe Kick: A recessed bottom base support offers room for your feet, enabling you to stand closer to the sideboard without discomfort.
Constructing and Installing Drawers
- Planning Drawer Dimensions: Use standard size lumber for the faces (we used 1x6s) and plan your drawer sizes around them, leaving an 1/8 inch gap around the edges for a snug fit.
- Installing Drawer Slides: Marking clear, perpendicular lines where the slides will go ensures they are perfectly aligned, making the drawers operate smoothly.
- Building Drawer Boxes: Cut the sides of your drawers to match the length of your drawer slides, then determine the front and back dimensions by measuring the distance between side panels once installed. No complex calculations required.
Finishing Touches
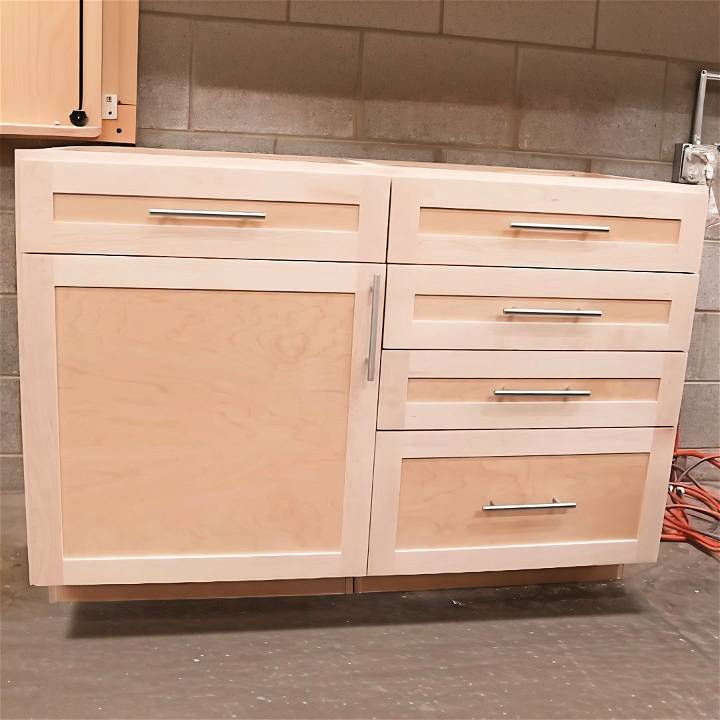
- Drawer Faces and Hardware: Inserting and securing the drawer faces with a brad nailer, then adding stylish hardware can dramatically change the look. We chose larger knobs for a bold statement.
- Adjustable Shelves: Utilizing a Craig shelf pin jig, drill holes for adjustable shelf pins. This flexibility is great for accommodating various storage needs.
- Painting: A fresh coat of paint unites the piece, offering a custom look that can match or accent your existing decor.
Design Customization Tips
Building a DIY sideboard gives you the freedom to tailor it to your personal style and the specific needs of your space. Here are some tips to help you customize your design:
- Choose Your Style: Think about the overall look you want for your sideboard. Do you prefer a modern, sleek design or a rustic farmhouse feel? Your style choice will guide the materials and finishes you select.
- Selecting Materials: Wood is the most common material for sideboards, but within wood, there are many choices. Pine is affordable and easy to work with, whereas hardwoods like oak or walnut offer durability and a rich finish. Consider using reclaimed wood for an eco-friendly option with a unique character.
- Color and Finish: Stain can enhance the natural beauty of the wood, while paint can provide a pop of color or a clean, crisp look. Don't forget to seal your sideboard with a clear coat to protect it from wear and tear.
- Hardware Selection: The hardware on your sideboard, such as knobs and pulls, can be a small detail that makes a big impact. Choose hardware that complements your style and adds functionality.
- Functional Additions: Think about what you'll store in your sideboard and add features that meet those needs. For example, wine racks for a dining room sideboard or cable management systems for an entertainment center.
- Top It Off: The top of your sideboard isn't just functional; it's also a design element. Consider a contrasting material, like a stone or marble top, for a luxurious touch.
- Legs or No Legs: Adding legs can elevate your sideboard, both literally and stylistically. Choose from a variety of leg styles to match your design or opt for a floating installation for a modern look.
The beauty of a DIY project is that it reflects your taste and meets your unique needs. Take your time to plan and enjoy the process of making something that's truly your own.
Troubleshooting Common Issues
When embarking on a DIY sideboard project, you might encounter a few hiccups along the way. Here's how to tackle some common issues with practical solutions:
- Warped Wood: If your wood isn't flat, it can lead to a wobbly sideboard. To fix this, lay the wood on a flat surface and apply weight or clamps for a few days to straighten it out.
- Sticky Drawers: Drawers that don't slide smoothly can be frustrating. Rub the runners with a candle or soap to reduce friction. If they're still sticky, check for misalignment and adjust the screws.
- Loose Joints: Over time, joints can become loose. Tighten any screws or bolts. For dowel or mortise-and-tenon joints, apply wood glue and clamp the joint until it's dry.
- Finish Flaws: Bubbles or streaks in the finish can detract from your sideboard's appearance. Sand the area lightly and reapply the finish. Always work in a dust-free environment and follow the product's instructions for the best results.
- Mismatched Stain: If the stain is uneven, it's often due to different wood grains absorbing the stain at different rates. Apply a pre-stain conditioner to help ensure an even finish.
- Hardware Issues: If handles or knobs are loose, tighten them with a screwdriver. If they're damaged, replace them with new hardware that matches the existing holes.
- Alignment Problems: Doors that don't line up can usually be fixed by adjusting the hinges. Loosen the screws, align the doors, and then retighten the screws.
Addressing these issues will make your DIY sideboard beautiful and functional. Patience and detail are crucial. Take your time and seek advice if needed.
Safety Precautions
When making a DIY sideboard, safety is paramount. Here are key precautions to ensure your project is completed without injury:
- Wear Protective Gear: Always wear safety glasses to protect your eyes from dust and debris. Use gloves to shield your hands from splinters and cuts and ear protection when using loud power tools.
- Read Manuals: Before using any new tool, read the manual thoroughly. Understand its functions and safety features to prevent misuse.
- Ventilation: Work in a well-ventilated area, especially when sanding or applying finishes, to avoid inhaling dust or fumes.
- Tool Maintenance: Keep your tools in good condition. Sharp blades make cleaner cuts and are safer to use.
- Secure Materials: Ensure wood and other materials are clamped down firmly before cutting or drilling to prevent slipping.
- Electrical Safety: Use grounded outlets for power tools and keep cords away from cutting paths to prevent accidents.
- First Aid: Keep a first aid kit nearby in case of minor injuries. Know basic first aid procedures.
- Fire Safety: Have a fire extinguisher on hand, especially when working with flammable materials or in areas where sparks could ignite.
- Know Your Limits: If a task feels unsafe or beyond your skill level, seek professional help rather than risk injury.
By following these safety precautions, you can enjoy the process of building your sideboard while keeping yourself and others safe.
FAQs About DIY Sideboard
Discover answers to common questions on DIY sideboards, including materials, tools, and step-by-step guidance for your own project.
A DIY sideboard is a custom piece of furniture that you can build to suit your specific storage and style needs. It's a versatile item that can be used in various rooms for different purposes, such as serving dishes in the dining room or storing linens in the hallway. Building your own sideboard allows you to save money, personalize the design, and gain a sense of accomplishment from making something functional and beautiful for your home.
Absolutely! Building a sideboard can be a great project for beginners. Start with a simple design and make sure you have a clear plan and all the necessary tools. There are many step-by-step guides available that can take you through the process. Just remember to measure twice, cut once, and take your time to ensure a successful build.
To ensure your sideboard is sturdy, use quality materials and join them securely. Use L-brackets to reinforce the corners and screws to fasten the pieces together firmly. If you’re not confident in your building skills, consider using stock cabinets as a base for your sideboard, which can provide a solid structure to work with.
Consider the overall style of the room where the sideboard will be placed. If you prefer a rustic look, choose a wood stain that highlights the natural grain. For a modern touch, paint the sideboard in a bold color or add unique hardware. Think about the functionality as well—adding shelves or drawers can increase storage space, while a longer top provides more surface area for display or serving.
Personalizing your DIY sideboard is all about choosing the right colors, textures, and hardware that complement your home's decor. If your home has a contemporary style, consider a sleek design with minimal hardware and a neutral color palette. For a more traditional look, you might opt for ornate knobs and a rich wood stain. Adding unique touches like patterned drawer liners or decorative trim can also make your sideboard one-of-a-kind. Don't be afraid to mix and match styles to build a piece that truly reflects your personality and taste.
Lessons Learned and Final Thoughts
I encourage you to dive into the process of building your own DIY sideboard. The step-by-step instructions make it simple and satisfying. Enjoy crafting and take pride in making your own beautiful piece.


