Building a DIY sliding door gives you a fun project and a practical addition to your home. I remember feeling a mix of excitement and nervousness when I started mine. I didn't have prior experience, but I was eager to learn. Making a sliding door involves some basic tools and materials, which are easy to find at local hardware stores.
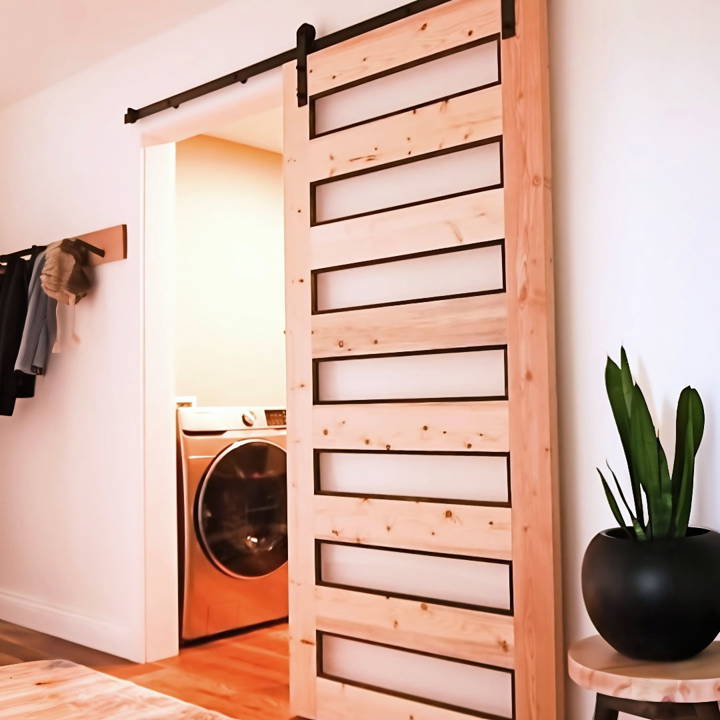
I researched how to make a sliding door and gathered all I needed: wood, a track system, screws, and some paint. Following a step-by-step guide made the process smooth. It was satisfying watching it come together and knowing I did it myself. If I can do it, so can you. Give it a shot; this guide will help you every step of the way.
So, grab your tools and get started on building your very own sliding door at home. It's simpler than it seems and incredibly rewarding.
Materials You'll Need and Why
- Two by sixes for the frame: They're sturdy and give the door a solid foundation.
- Dowels: These are used to join the frame pieces securely.
- Plexiglass sheets: A lightweight alternative to glass, easier to handle and safer.
- Frosted glass spray paint: To give the plexiglass a frosted, semi-opaque finish for privacy.
- Half-inch square dowels: To frame the plexiglass panels neatly into the door.
- Sliding door hardware kit: It includes everything you need to hang the door smoothly.
- Wood glue, screws, and other usual suspects: For assembling and securing all parts together.
Step by Step Instructions
Learn how to build a DIY sliding door at home with step-by-step instructions. Includes frame building, panel installation, hanging, and finishing touches.
1. Building the Frame
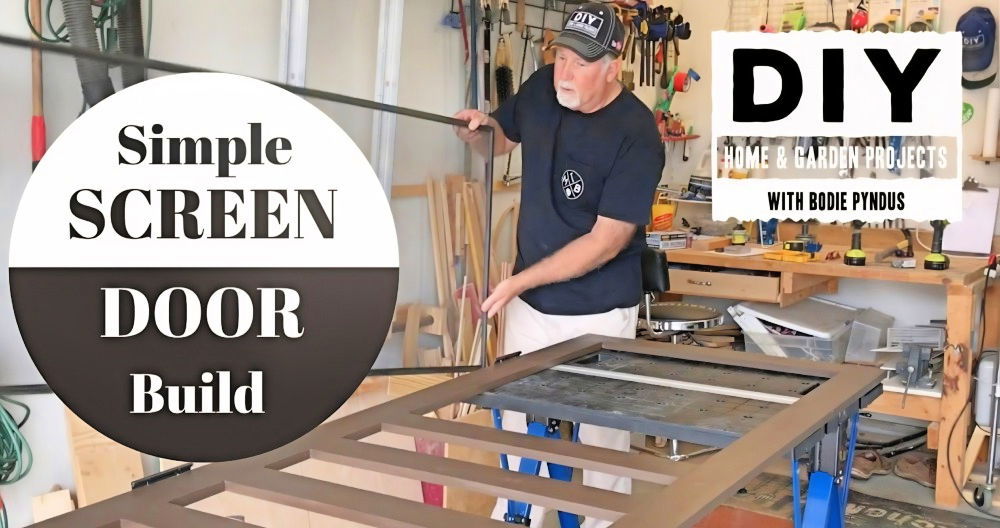
First off, I built the main frame using two-by-sixes. I wanted the door to slightly overhang the opening on all sides, so I added four inches to the width and two inches to the height of the door opening. This ended up making my door 40 inches wide and 82 inches tall. A table saw came in handy to give the lumber sharp, clean edges, but it's not a make-or-break step.
2. Assembling the Frame
I spaced the rails evenly and marked out where the dowels would go. After drilling the dowel holes, the most dramatic part began: gluing and clamping everything together. This step was a bit chaotic but utterly essential for a strong frame.
3. Adding the Frosted Panels
After sanding the frame (trust me, it's easier to do it now), I cut the plexiglass to size with a circular saw fitted with a finish blade. I applied several coats of frosted glass spray paint to each panel – aiming for a non-see-through finish required about four coats.
4. Installing the Panels
I framed the panels using half-inch square dowels. These were glued inside the door openings, set back a bit from the front edge. The frosted plexiglass panels settled in next, held snugly by another layer of dowels on the other side. For a contrasting look, I stained the dowels framing one side of the panels ebony while leaving the other side natural.
5. Hanging the Door
I was lucky to have a sliding door rail kit from a previous project. After some new trim to account for the rail's clearance and thorough drilling, the rail was up. Making sure it was securely attached to the wall studs was crucial. The old door then said its goodbye, building an instantly more spacious feel.
6. Fine-Tuning and Decor Decisions
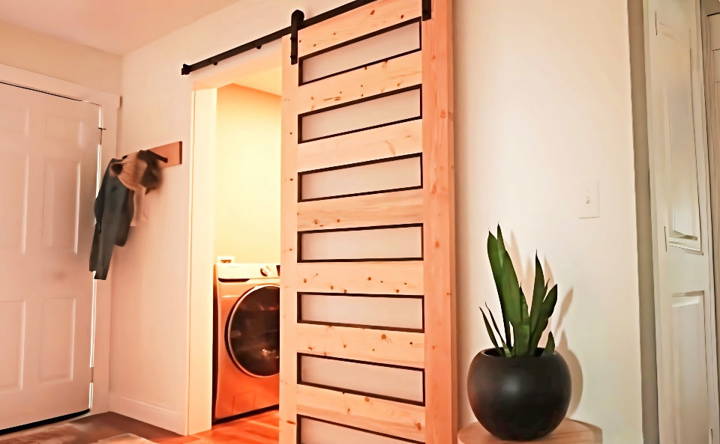
The moment of truth was affixing the door to the rail and seeing it slide perfectly. A couple of stoppers at each end of the rail kept the door from sliding off its track. However, I didn't install the bottom guide stops right away – that's a little task for future me.
As for the door's color, it's still up for debate. The natural wood currently has its charm, but a dash of black isn't off the table either. The beauty of DIY? You can always change things up later.
Customization Ideas for Your DIY Sliding Door
Building a sliding door that reflects your personal style and meets your specific needs can be a rewarding DIY project. Here are some customization ideas to inspire you:
Choose Your Material Wisely
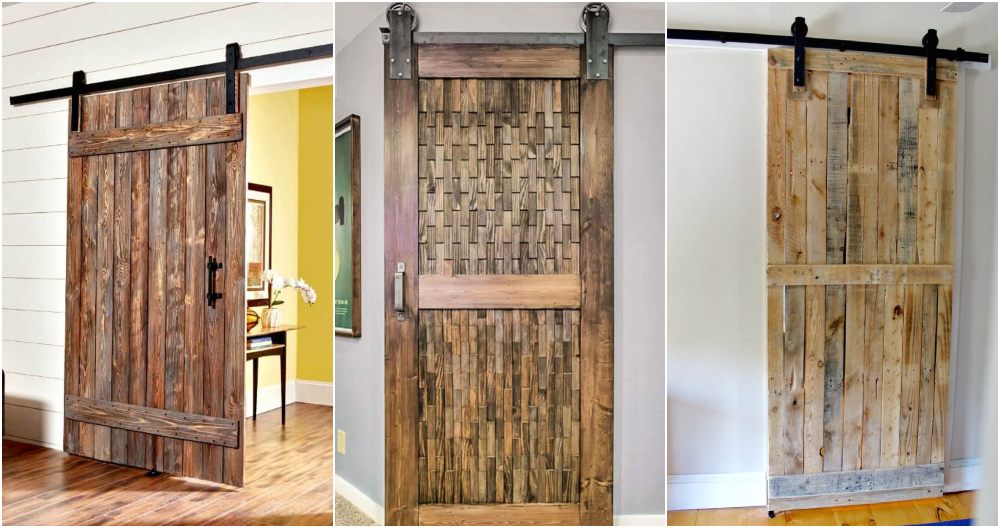
Start by selecting a material that suits your home's decor and your personal taste. Wood offers a classic look and can be painted or stained to match any color scheme. Glass doors can make a space feel more open and bright, while metal can give an industrial or modern vibe.
Paint It Perfect
A fresh coat of paint can transform your sliding door. Choose a color that complements the room or go bold with a contrasting hue for a statement piece. Use painter's tape to build patterns or designs for an artistic touch.
Hardware Highlights
The right hardware can add both style and functionality to your sliding door. Consider unique handles or pulls that are not only easy to use but also enhance the door's appearance. Soft-close mechanisms can add a touch of luxury and prevent slamming.
Incorporate Art
If you're artistically inclined, use your sliding door as a canvas. Paint a mural, attach stencils, or use decals to build a visual focal point in the room. This is a great way to personalize your space and make it truly unique.
Add Texture
Textures can add depth and interest to your sliding door. Consider adding frosted glass for privacy, using reclaimed wood for a rustic feel, or attaching a mirror to serve a dual purpose.
Smart Integration
For those who love technology, consider integrating smart features into your sliding door. Install a smart lock for keyless entry or set up sensors that automatically open the door as you approach.
Think Eco-Friendly
Choose materials and paints that are eco-friendly and sustainable. Look for reclaimed wood, recycled glass, or low-VOC paints to minimize your environmental impact.
Consider these customization ideas to build a sliding door that is functional and reflects your style. Plan carefully, take your time, and enjoy making something uniquely yours.
Technological Integration in DIY Sliding Doors
Incorporating technology into your DIY sliding door project can add convenience, security, and a touch of modernity to your home. Here's how you can integrate smart technology into your sliding doors:
Smart Locks for Enhanced Security
Smart locks are a great starting point for technological integration. They allow you to lock and unlock your doors remotely using your smartphone. Some models even offer features like fingerprint recognition and temporary access codes for guests.
Motion-Sensing Lights for Safety and Convenience
Consider installing motion-sensing LED lights that activate as you approach the door. This not only improves safety during nighttime but also adds a welcoming ambiance to your entryway.
Automated Sliding Mechanisms for Accessibility
Automated sliding mechanisms can make your doors open and close with the push of a button or a simple voice command. This is especially helpful for individuals with mobility issues or when their hands are full.
Integration with Home Assistants
Connect your sliding door to a home assistant like Alexa or Google Home. This allows you to control the door with voice commands, making your DIY project not just practical but also impressively high-tech.
Smart Home Apps for Remote Monitoring
Use smart home apps to monitor your door's status from anywhere. You can check if the door is open or closed and receive alerts if it's left unlocked.
Energy Efficiency Features
Some smart devices can help you track the energy efficiency of your sliding door. For example, smart thermostats can adjust the temperature based on whether the door is open or closed, saving on heating and cooling costs.
Integrate these technologies, and your DIY sliding door will be functional and smart. Ensure device compatibility with each other and your smartphone for a seamless experience.
Troubleshooting Common Issues with DIY Sliding Doors
When you're working on a DIY sliding door, you might run into a few snags along the way. Here's a straightforward guide to help you solve some of the most common issues:
Door Sticking or Not Sliding Smoothly
If your door isn't sliding as it should, the problem is often with the track or rollers. Dirt and debris can accumulate in the track, causing friction. Give the track a good clean with a brush and soapy water. Check the rollers for damage or wear and tear. If they're worn out, it's time to replace them.
Misaligned Door
A door that's not properly aligned can be a real headache. This usually happens when the tracks aren't level or parallel. Use a spirit level to check the alignment and adjust the position of the tracks. Sometimes, tightening or loosening the screws that hold the track in place can fix the issue.
Noisy Operation
Squeaky or noisy doors can be annoying. This is often due to lack of lubrication. Apply a silicone-based lubricant to the track and rollers. Avoid oil-based products as they can attract more dirt.
Door Comes Off the Track
If your door keeps coming off the track, check the rollers and track for damage. Bent tracks can be straightened with pliers. If the rollers are broken or too loose, they'll need replacing. Make sure the door is hung at the correct height and the rollers are seated properly on the track.
Broken Handles or Locks
Handles and locks can break with use. If this happens, you'll need to replace them. Choose a handle or lock that matches the door's design and pre-drilled holes to make installation easier.
Foggy Glass Panels
If your sliding door has glass panels that get foggy, it's usually because of a broken seal. This is a bit trickier to fix, as it often requires replacing the entire glass panel. However, for a temporary fix, you can use a dehumidifier to reduce moisture levels in the room.
When working on your DIY sliding door, always prioritize safety. Use the right tools and take your time to ensure a job well done. With these tips, you'll have your sliding door working smoothly in no time.
FAQs About DIY Sliding Door
Discover the answers to common questions about DIY sliding door installation, maintenance, and troubleshooting in our comprehensive FAQs guide.
For smooth operation, make sure the track is clean and free of debris. Use plastic bearings or wheels made from a caulking tube to reduce friction. Ensure that the door is properly balanced and that the wheels are securely attached to the door. Regular maintenance, such as lubricating the track and wheels, will also help.
Yes, you can! The process involves measuring your space, cutting the lumber and plywood to size, assembling the frame with metal braces, mounting the casters, and attaching the plywood to the frame. There are many step-by-step guides available that can walk you through the process, making it accessible even for beginners.
You can customize your sliding door with paint, stain, or varnish to match your room's decor. Consider adding decorative handles or hitch rings for a unique touch. You can also use different types of wood or finishes to build a modern, rustic, or industrial look.
Maintaining your sliding door involves regular cleaning of the track and lubrication of the wheels. Check the alignment periodically to ensure it hasn't shifted. Tighten any loose screws and inspect the wood for signs of wear or damage. If you've painted or stained your door, you may need to reapply the finish every few years to keep it looking fresh.
To secure your DIY sliding door, you can install a lock on the door or the track. For a simple solution, use a barrel bolt or a hook and eye latch. If you prefer a more integrated system, consider installing a flush bolt that can be embedded into the door itself. Additionally, ensure that the track is firmly attached to the wall and that the door is properly aligned to prevent it from being lifted off the track. For enhanced security, you might also install a track blocker, which is a small piece that fits into the track and prevents the door from being opened when it is in place.
Final Thoughts
In conclusion, building a DIY sliding door at home can be an immensely rewarding project. Not only does it provide functional benefits, but it also adds a stylish touch to your living space. With the right tools and a straightforward guide, anyone can build a beautiful and efficient sliding door.


