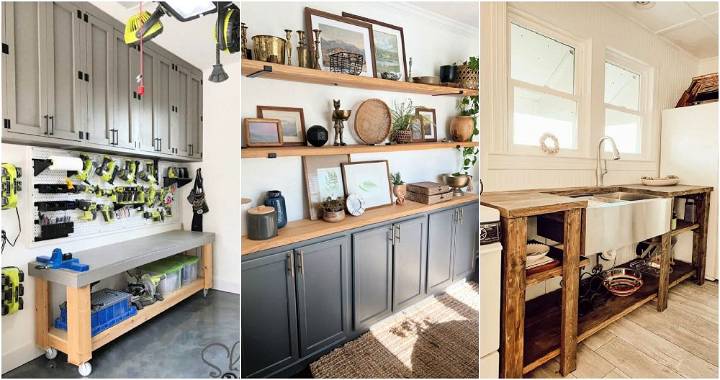
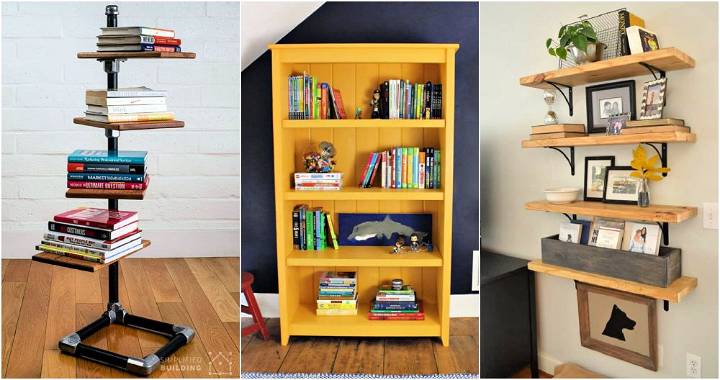
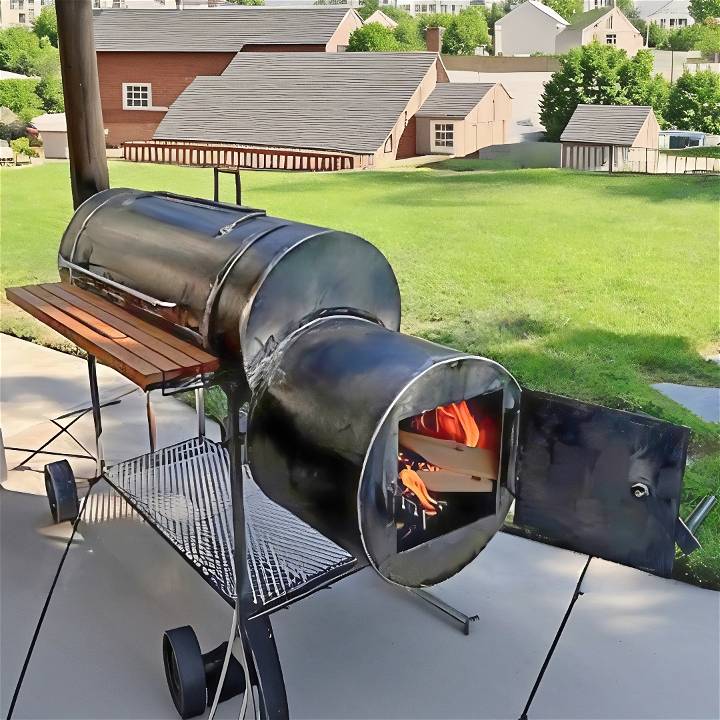
It was a project born out of passion and necessity—the need for a perfect backyard smoker. My son Steve and I embarked on this DIY journey, turning a bunch of metal into an offset smoker, one that eventually found a new home. Here's the step-by-step process based on our experience. I hope it inspires and guides you in building your own.
Materials Needed and Why
- One-inch square tubing: For the base and framing, providing sturdy support.
- Eight-inch pipe and flat stock: These were for the custom-built wheels, ensuring smooth mobility.
- Band saw and chop saw: Essential for cutting metal with precision.
- Welding equipment: The backbone of our project, used to connect all pieces securely.
- Angle grinder and circular saw: For cutting and shaping various metals.
- Expanded steel: Used for the grates and smoke chamber, chosen for its durability and heat resistance.
- Thermometer: A tell-true thermometer was included to facilitate precise temperature control.
Steps to Building Your Backyard Smoker
Learn how to build your own backyard smoker in 8 simple steps: from making the base to final touches. Start smoking delicious meats today!
Making the Base
We started with the one-inch square tubing, cutting it into 27-inch lengths for the legs. Each end was beveled to build a weld gap. Assembly was straightforward but required careful attention to ensure strength and stability.
Building the Wheels
Using the eight-inch pipe, we cut three-inch sections for the wheels. Spokes were crafted from three-inch flat stock, centered with a piece of one-inch pipe. This custom approach was time-consuming but resulted in unique, durable wheels.
Assembling the Frame
With the wheels ready, we attached them to the base using the square tubing for axles. One set of wheels was made movable for easier navigation, requiring a drilled hole for the pivot.
Attaching the Tank
Positioned atop the frame, the tank was the centerpiece. We ensured it was securely welded, taking extra care with the smoke chamber end to seamlessly connect it to the rest of the structure.
Crafting the Firebox
The firebox side was next, using additional metal for insulation and efficiency. It was critical to have a snug fit between the firebox and the tank to ensure efficient smoke flow and heat distribution.
Making the Grates
For the grates, we used expanded steel, framed with angle iron for support. These were made to be removable for easy cleaning and versatility in cooking.
Constructing the Smoke Chamber
The smoke chamber was designed for optimal airflow. We cut a corresponding hole in the tank and welded the chamber in place, adding a six-inch smoke stack fitted with a regulator for temperature control.
Final Touches
The creation of a wooden shelf for barbecue essentials, a wagon handle for mobility, and a drip system for cleanliness were the final touches to our smoker. Each added functionality and style.
The Burning Test
Before declaring the project complete, we ran a burning test to ensure everything worked seamlessly—temperature control, airflow, and stability were all under scrutiny.
Proper Ventilation Design
Building an effective ventilation system in your DIY smoker is crucial for several reasons. It not only helps control the temperature but also influences the smoke density and, ultimately, the flavor of the food. Here's how you can design a ventilation system that enhances your smoking experience.
Understanding Airflow
Airflow is the lifeblood of a smoker. It feeds the fire, controls the heat, and distributes the smoke that flavors your food. To manage airflow:
- Start with the Intake Vents: These are located near the firebox. They allow you to control the amount of oxygen feeding the fire. More oxygen means a hotter fire.
- Adjust the Exhaust Vents: Situated opposite the intake vents, usually at the top of the smoker, they let you control the smoke's exit. Proper adjustment ensures a steady flow of smoke and prevents it from becoming stale inside the smoker.
Designing for Efficiency
When designing your smoker's ventilation:
- Keep It Simple: Use sliding or rotating vents that are easy to adjust.
- Ensure Accessibility: Place vents in positions that are easy to reach during the smoking process.
- Aim for Precision: Small adjustments should be possible to fine-tune the temperature and smoke flow.
Balancing the Flow
The key to a well-ventilated smoker is balance. You want enough air to maintain the fire but not so much that it burns too quickly or too hot. Similarly, you want enough smoke to flavor the food without overwhelming it. To achieve this balance:
- Monitor and Adjust: Keep an eye on the temperature gauge and the smoke quality. Adjust the vents as needed.
- Learn from Experience: Every smoker is different. What works for one may not work for another. Take notes on what vent positions work best for your setup.
Safety Considerations
Proper ventilation isn't just about flavor and temperature control; it's also about safety. Ensure that:
- Vents are Clear: Regularly check that your vents are not obstructed by ash or grease.
- Smoke is Directed Away: Position your smoker so that the exhaust is directed away from any gathering areas to avoid smoke inhalation.
By following these guidelines, you'll be able to design a ventilation system that makes your DIY smoker efficient, safe, and capable of producing deliciously smoked foods. Happy smoking! 🍖🔥
Temperature Control Techniques
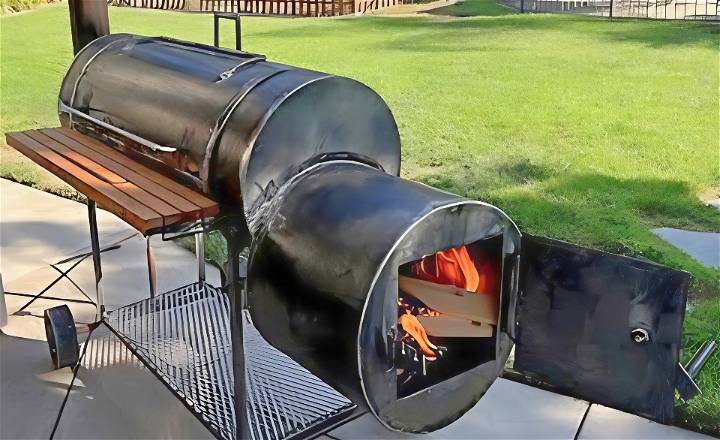
Maintaining a consistent temperature is essential for the perfect smoke. It's the difference between tough, undercooked meat and a tender, flavorful feast. Here's how to master temperature control in your DIY smoker.
The Basics of Heat Management
The heart of temperature control lies in managing your heat source. Whether you're using charcoal, wood, or a gas burner, the principles are the same:
- Start with a Good Fire: Use a chimney starter for charcoal to ensure an even burn.
- Go Slow and Steady: Add fuel gradually to avoid sudden temperature spikes.
- Use the Right Amount: Too much fuel can overheat your smoker, while too little can extinguish the fire.
Using Water Pans
Water pans are your secret weapon for stable temperatures. They:
- Add Moisture: This helps regulate the heat and keeps your meat juicy.
- Absorb Heat: Acting as a heat sink, they prevent temperatures from rising too fast.
Insulation Matters
Insulation is key, especially in colder climates or windy conditions. To insulate your smoker:
- Seal Gaps: Use high-temperature gaskets or seals to prevent heat from escaping.
- Wrap It Up: Consider a smoker blanket or welding blankets for extra insulation.
The Art of Airflow
Airflow is a delicate balance:
- Open Vents Gradually: Small adjustments can have a big impact on temperature.
- Maintain Consistency: Avoid frequent changes which can cause temperature swings.
Monitoring Made Easy
You can't manage what you don't measure. So:
- Invest in Good Thermometers: Place them at grate level for accurate readings.
- Consider Digital: Digital thermometers with alarms can alert you to temperature changes.
Quick Tips for Troubleshooting
If you encounter issues:
- Too Hot?: Open the smoker to let some heat out and adjust your vents.
- Too Cold?: Check your fuel supply and consider adding more.
By following these tips, you'll be well on your way to maintaining the perfect temperature in your DIY smoker.
FAQs About DIY Smoker
Get answers to all your burning questions about DIY Smokers in our comprehensive FAQ guide. Find tips, tricks, and recommendations for building your own smoker at home.
What materials do I need to build a DIY smoker?
To build a DIY smoker, you'll need a sturdy container like a steel drum or box, heat-resistant materials for insulation, grates for the food, and a heat source such as charcoal, wood, or a gas burner. Tools like drills, screws, and hammers are also essential for assembly.
How do I ensure my DIY smoker is safe to use?
Safety is paramount when building a DIY smoker. Use materials that are non-toxic and heat-resistant. Make sure all parts are securely attached, and the smoker is stable. Always place your smoker on a non-flammable surface and keep a fire extinguisher nearby.
Can I use any wood for smoking in my DIY smoker?
Not all woods are suitable for smoking. Use hardwoods like hickory, oak, apple, or cherry for the best flavor. Avoid softwoods like pine or cedar, as they can impart a bitter taste and contain harmful resins.
How do I control the temperature in my DIY smoker?
Control the temperature by adjusting the airflow with vents. Open the vents to increase the temperature and close them to lower it. Use a thermometer to monitor the temperature and make adjustments as needed.
How often should I clean my DIY smoker?
Clean your smoker after each use to prevent buildup of grease and ash, which can affect the taste of your food and build a fire hazard. Regular maintenance also extends the life of your smoker.
What is the best way to add flavor to the food in my DIY smoker?
For the best flavor, experiment with different types of wood chips or chunks. You can also try adding herbs or spices to the fire or using marinades and rubs on the food before smoking.
Conclusion
The journey from a stack of metal to a fully functional smoker was filled with challenges, learning, and bonding between a father and son. This DIY project not only gave us a perfect backyard smoker but also taught us patience, precision, and the joy of making something with our own hands. It cost us roughly $750, but the experience was priceless.
Our backyard smoker, capable of smoking four briskets simultaneously, found a new home after just two days on the marketplace. This journey has left us eager for more projects, and we hope our experience inspires you to build your dream smoker. Remember, the key is not just the smoker itself but the memories and skills you gain through the process. Happy building, and may your BBQs be ever flavorful!


