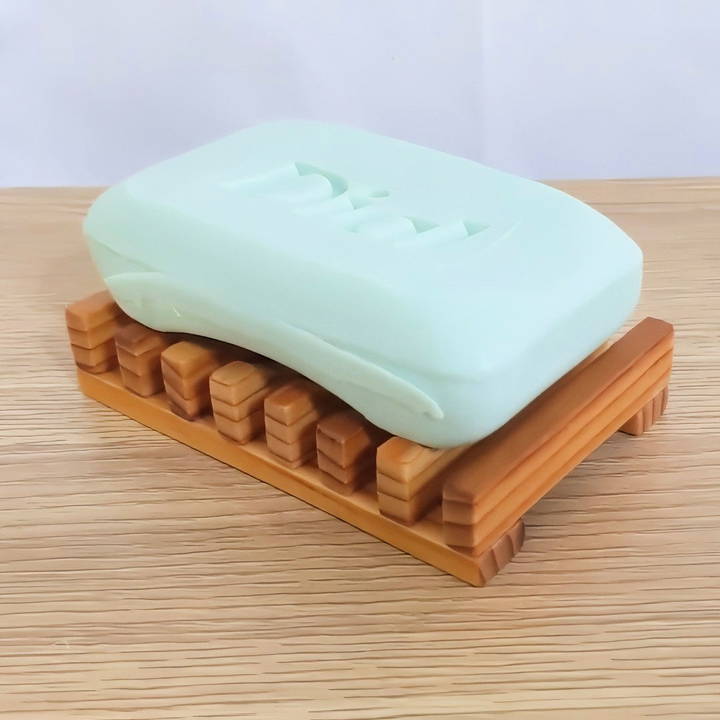
If you're looking for a simple and satisfying woodworking project, building your own DIY soap dish can be a great way to use up leftover scraps and add a touch of handmade charm to your home. This project is approachable even for beginners, as it requires only basic tools and materials. Follow this comprehensive guide to make your own DIY wooden soap dish from start to finish.
Materials and Tools Needed
Before diving into the project, it's essential to gather the necessary tools and materials. Here's what you'll need:
Materials:
- Scrap wood piece (hardwood is preferred for durability)
- Waterproof wood glue
- Wood oil or finish (e.g., mineral oil, tung oil) for protection
Tools:
- Table saw
- Bandsaw
- Scroll saw
- Sandpaper (various grits)
- Measuring tape or ruler
- Pencil
- Plastic lid (for curve marking)
- Flathead screwdriver (for removing excess glue)
Step by Step Instructions
Learn how to make a DIY soap dish with easy step-by-step instructions, from preparing the wood to final assembly and finishing touches.
Step 1: Prepare the Wood
Begin by selecting a suitable piece of scrap wood. A hardwood piece works best, as it will better withstand moisture and daily use in the bathroom. Oak, maple, or walnut are excellent choices, but any dense, durable wood will work.
- Sanding the Wood: Start by sanding the entire piece of wood. Sanding smooths out rough surfaces and prepares the wood for cutting. Focus on achieving an even finish without deep scratches or uneven spots.
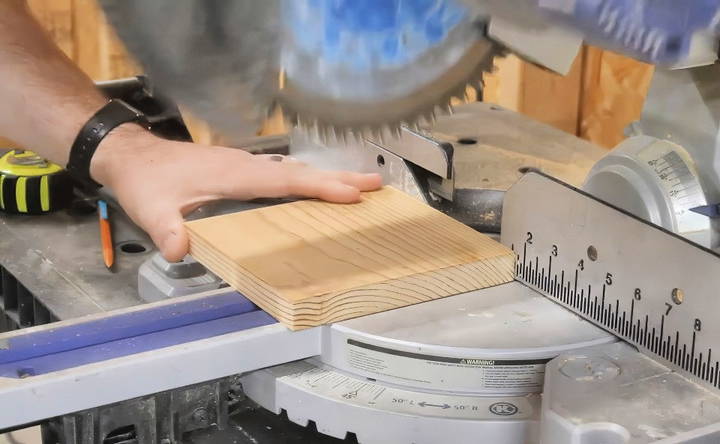
- Cutting to Size: Use a table saw to cut the wood to the size of the longest board needed for your soap dish. A typical size for soap dishes might be around 4 to 5 inches in length and 3 to 4 inches in width, but this can be adjusted to suit your preference or the size of your soap bars.
Step 2: Cut Smaller Boards
After preparing the wood, the next step is to cut it down into smaller pieces. This will form the structure of your soap dish.
- Cutting Smaller Pieces: Using the table saw, cut the wood into ten smaller boards. This number allows for eight slats for the top of the soap dish and two longer boards that will serve as the base.
- Trim to Final Height: Over on the bandsaw, cut the pieces to their final height. For a standard soap dish, around 0.5 to 0.75 inches in height is typical, but you can adjust this based on your design.
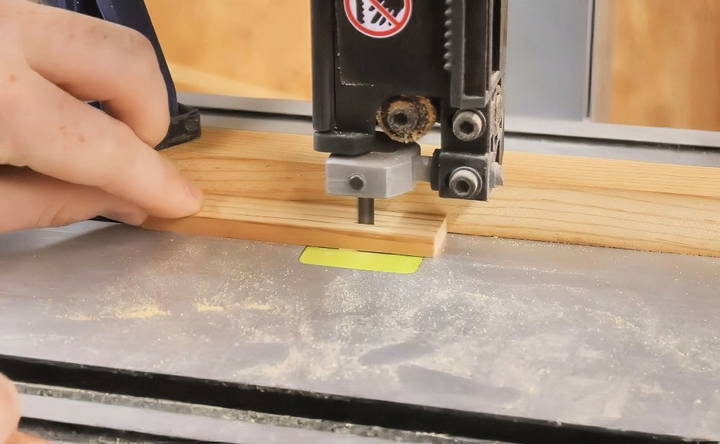
Step 3: Shape the Grooves
Grooves in the slats help prevent soap from sitting in water, allowing it to dry between uses and extending the soap's life. Here's how to make these grooves:
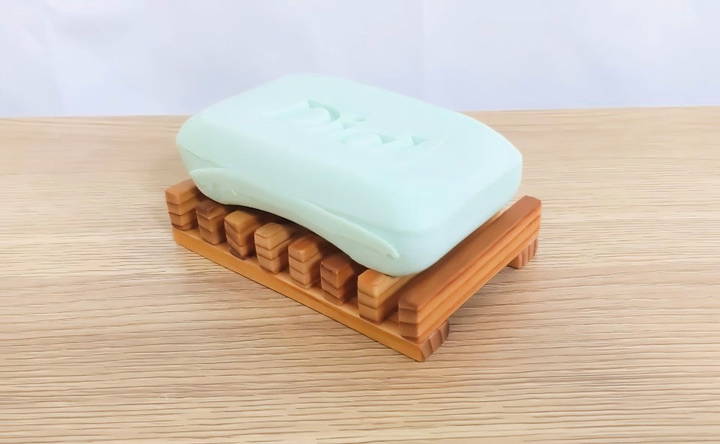
- Marking the Grooves: Take six of the eight smaller boards (which will form the top of the dish) and mark a quarter-inch from each edge. These marks will serve as guides for making the curve that matches the soap bar's contour.
- Drawing the Curve: Use a plastic lid to connect the marks with a smooth curve. This step ensures that each groove is consistent and evenly rounded.
- Cutting the Grooves: With the curves marked, use a scroll saw to cut out the grooves. This tool allows for precise and curved cuts, making it ideal for this task.
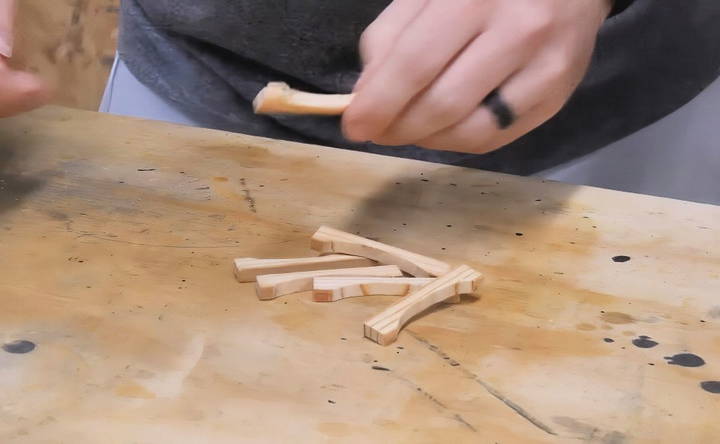
Step 4: Final Sanding
Now that all pieces are cut to size and shape, it's time to finish sanding. Sanding smooths out any rough edges left from the saw and ensures the wood is safe to handle.
- Hand Sanding: Use fine-grit sandpaper to round off all edges. Pay special attention to the grooves to ensure they are smooth and won't snag the soap.
- Smoothing the Surfaces: Sand the surfaces of each piece to remove any saw marks and achieve a uniform finish. This step is crucial for both appearance and comfort when handling the soap dish.
Step 5: Assembly
With all pieces cut, shaped, and sanded, it's time to assemble the soap dish.
- Prepare the Base: Lay the two longer boards flat on a table. These will form the base of your soap dish, providing support for the slats.
- Attach the Side Pieces: Apply waterproof glue to the edges of two side pieces without grooves and attach them to the ends of the base boards. These pieces help frame the dish and provide stability.
- Glue the Slats: Next, attach the six grooved slats across the base, ensuring equal spacing between each slat. This spacing allows water to drain and air to circulate, keeping the soap dry.
- Check Alignment: Ensure that all pieces are aligned properly before the glue sets. This helps maintain the dish's structure and prevents wobbling or uneven surfaces.
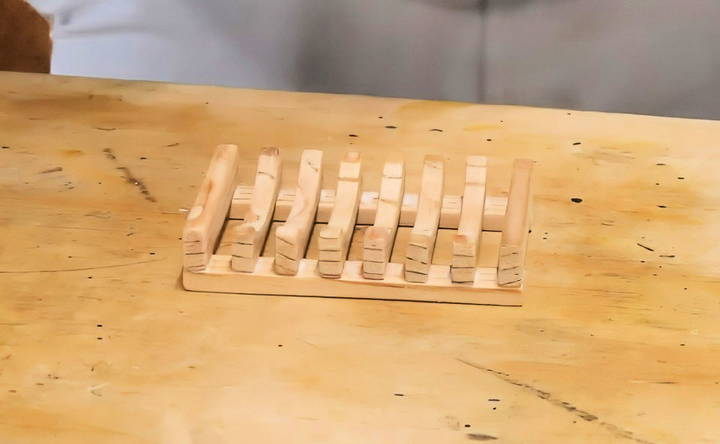
Step 6: Clean Up Excess Glue
After the initial assembly, it's essential to remove any excess glue before it hardens completely.
- Removing Glue: Let the glue cure for a few minutes, then use a flathead screwdriver to gently scrape away any excess glue between the pieces. This prevents the glue from hardening into visible spots that could affect the finish.
Step 7: Finishing Touches
The final step is to apply a protective finish to the soap dish. A good finish helps to seal the wood and protects it from water damage.
- Applying the Finish: Pour a small amount of wood oil or your preferred finish onto the surface. Rub it in with a cloth, ensuring that all surfaces and edges are covered. Let it sit for a few minutes to absorb.
- Wipe Off Excess: After allowing the oil to soak in, wipe off any excess with a clean cloth. This helps achieve a smooth, even finish.
- Apply a Second Coat: For added durability, apply a second coat of finish. This is especially important for a soap dish, as it will frequently come into contact with water.
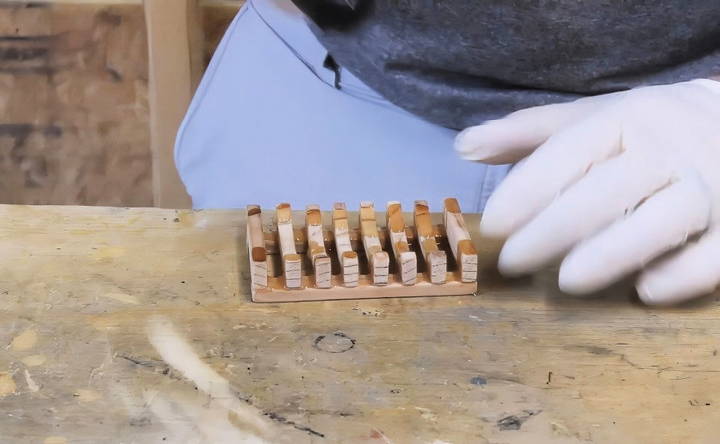
Step 8: Let It Cure
Allow the finished soap dish to cure for 24 to 48 hours. This gives the glue and finish time to fully set and ensures that the dish is ready for use.
Tips for Success
- Use Hardwoods: Hardwoods like oak, maple, and walnut are more resistant to moisture and wear, making them ideal for a soap dish that will be exposed to water.
- Ensure Proper Spacing: When gluing the slats, maintaining consistent spacing is crucial for proper drainage. This prevents water from pooling and helps keep the soap dry.
- Sanding Between Coats: Lightly sanding between coats of finish can help achieve a smoother surface and better seal.
Variations and Customization
Building your own wooden soap dish offers plenty of room for customization:
- Vary the Dimensions: Adjust the size and shape of the soap dish to fit larger or smaller bars of soap.
- Customize the Grooves: Try experimenting with different groove shapes or patterns for a unique look.
- Add a Personal Touch: Consider carving initials or designs into the sides for a personalized touch.
Conclusion
Building a DIY wooden soap dish is a rewarding and practical project that allows you to use up scrap wood and practice essential woodworking skills. From sanding and cutting to assembling and finishing, this guide walks you through every step of the process. The result is a functional and attractive soap dish that will serve you well and add a touch of handmade charm to your bathroom. Happy crafting!
FAQs About DIY Wooden Soap Dish
Discover answers to common questions about DIY wooden soap dishes, including materials, maintenance, and step-by-step instructions.
Hardwoods like oak, maple, or walnut are ideal for making a soap dish. They are more resistant to moisture and wear, making them perfect for a project that will frequently come into contact with water.
Yes, you can use a Dremel with a carving attachment or a small router to cut the grooves. These tools can be easier to control if you're new to scroll saws.
To prolong the life of the soap dish, keep it dry between uses. Wipe it down occasionally and reapply wood oil every few months to maintain its water resistance.
Use a flathead screwdriver to scrape off excess glue before it dries completely. This will ensure a clean finish without hardened glue spots.
Yes, you can use natural beeswax or a mix of beeswax and mineral oil for a food-safe finish. These options provide a protective coating and are easy to reapply.
Use small spacers or a ruler while gluing the slats in place. This will help you maintain consistent gaps for better water drainage.
Yes, you can stain the wood before applying a waterproof finish. Just ensure that the stain is fully dry before adding any protective coatings like oil or beeswax.
If the soap dish warps, lightly sand the uneven areas and reapply a protective finish. Ensuring the soap dish is kept in a dry area when not in use will also help prevent warping.


