Solar screens are an excellent investment for homeowners looking to reduce heat inside their homes, minimize energy costs, and protect furniture from harmful UV rays. If you're exploring options for installing solar screens, doing it yourself (DIY) with a solar screen kit is a cost-effective and rewarding approach. Here, you'll learn everything about DIY solar screens—from their benefits to the step-by-step tools and techniques for installing them like a pro.
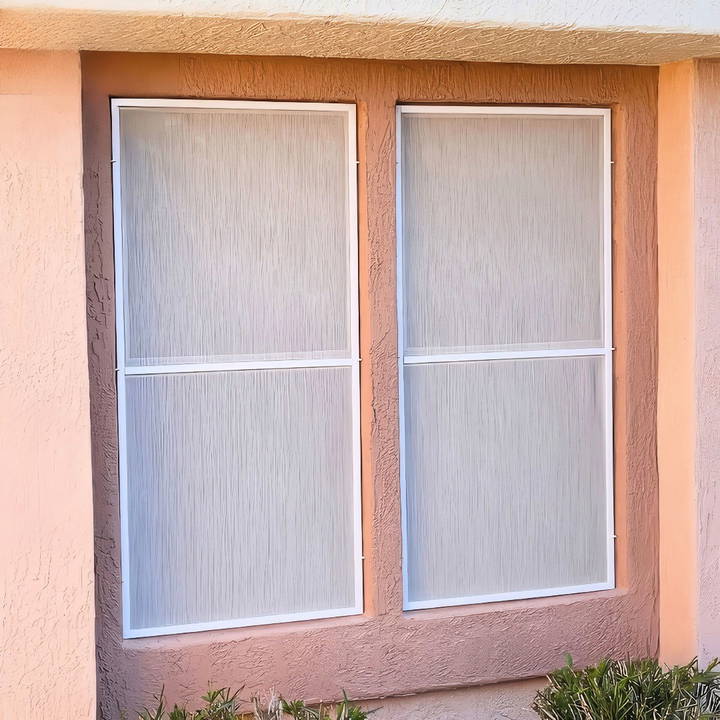
Why Choose Solar Screens?
Before we dive into the installation process, let's discuss why solar screens are beneficial:
- Heat Reduction: Solar screens block up to 90% of the sun's heat before it even reaches your windows, keeping your home cooler during the hottest months.
- UV Protection: They protect your interior furniture, carpets, and artwork from fading due to harmful ultraviolet rays.
- Energy Savings: Reducing the heat entering your home means less strain on your air conditioning, which results in lower energy bills.
- Glare Reduction: Solar screens help reduce glare on TV screens and electronic devices, improving comfort inside your home.
- Privacy: While solar screens allow you to see outside, they provide additional privacy by making it difficult for people outside to see into your home during daylight hours.
What Are Solar Screen Kits?
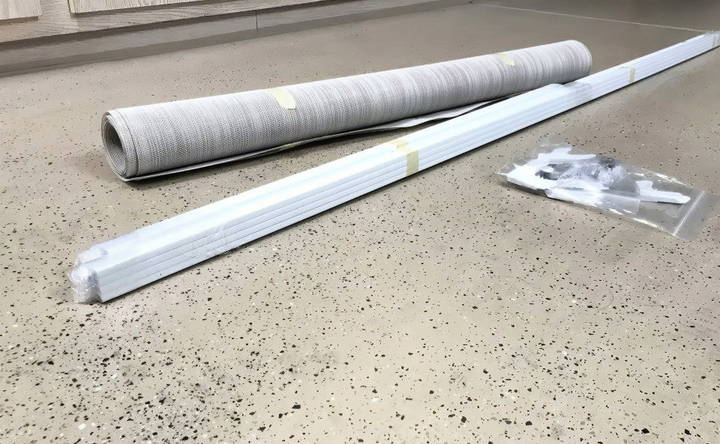
DIY solar screen kits are a fantastic solution for homeowners who want to save money and enjoy the satisfaction of completing a home improvement project. These kits come with all the materials you need to build custom solar screens that fit your windows perfectly. A typical kit includes:
- Frame pieces (often aluminum)
- Solar screen fabric (in different colors and levels of solar blockage)
- Spline (a rubber material used to secure the fabric to the frame)
- Corner pieces for assembling the frame
- Tools like a spline roller and casement clips for installation
Many companies, such as Solar Screen Outlet, offer DIY solar screen kits that are customizable in terms of fabric colors, frame finishes, and additional features like crossbars for extra support.
Cost Comparison: Professional vs. DIY
Hiring a professional to install solar screens can be expensive. For example, one homeowner received a quote of $580 to cover four windows with solar screens. After doing some research, they discovered that they could purchase DIY kits from a company like Solar Screen Outlet for less than half the price. By choosing the DIY route, the homeowner was able to install solar screens on six windows for less than the original quote for just four windows.
The DIY approach not only saves money but also allows you to customize the screens to your exact preferences and window sizes.
Tools and Materials You Will Need
Before starting your DIY solar screen project, it's essential to gather all the necessary tools and materials. While many items come in the kit, you may need a few additional tools from your garage or local hardware store:
- DIY solar screen kit (includes frame, screen fabric, spline, and corner pieces)
- Spline roller (often included in the kit if your order exceeds a certain amount)
- Measuring tape
- Sharp utility knife or razor blade
- Screwdriver (for securing the screens with casement clips)
- Knee pads (optional, but useful if you're working on the ground)
- Flat surface or large table (for easier assembly)
Step by Step Instructions
Learn how to make DIY solar screens with our step-by-step instructions. From measuring to installation, enjoy energy savings and comfort at home.
Step 1: Measure Your Windows
The first step in making custom solar screens is to accurately measure your windows. Measure the width and height of the area you want the screens to cover. It's essential to be precise with your measurements to ensure the screens fit correctly.
When ordering a DIY kit from a company like Solar Screen Outlet, you can input your window dimensions to receive pre-cut frame pieces that fit your specific windows.
Step 2: Lay Out the Frame
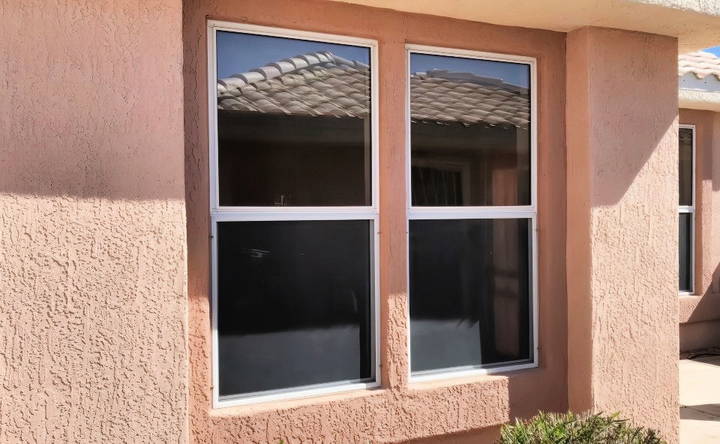
Once your kit arrives, begin by laying out the frame pieces. These aluminum frames come pre-cut according to your specified dimensions. Ensure that the spline grooves (the channels where the screen fabric will be secured) are all facing the same direction.
Assemble the frame by inserting the plastic corner pieces into the ends of the frame sections. You'll need to push the corner pieces in firmly to ensure a snug fit. Once the frame is fully assembled, double-check the dimensions against your original measurements.
Step 3: Add the Crossbar (Optional)
If you ordered a crossbar for extra support, you can install it at this stage. The crossbar helps prevent the sides of the screen from bowing out, especially if you have tall windows.
Insert the crossbar clips into the ends of the crossbar, ensuring that the spline groove faces the correct direction. Then, press the crossbar into place within the frame. You can adjust the height of the crossbar based on your preference.
Step 4: Test Fit the Frame
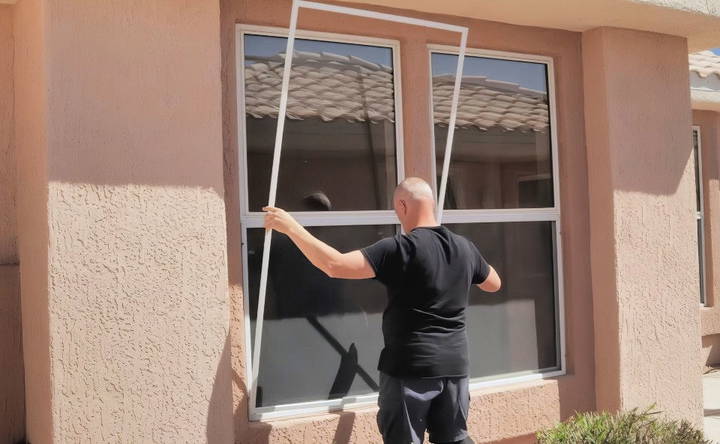
Before adding the screen material, take the frame to your window and test fit it. Ensure that it fits snugly within the window frame without being too tight. This step helps avoid any issues later when the screen material is in place.
Step 5: Install the Solar Screen Fabric
With the frame assembled and fitted, it's time to install the solar screen fabric. Follow these steps:
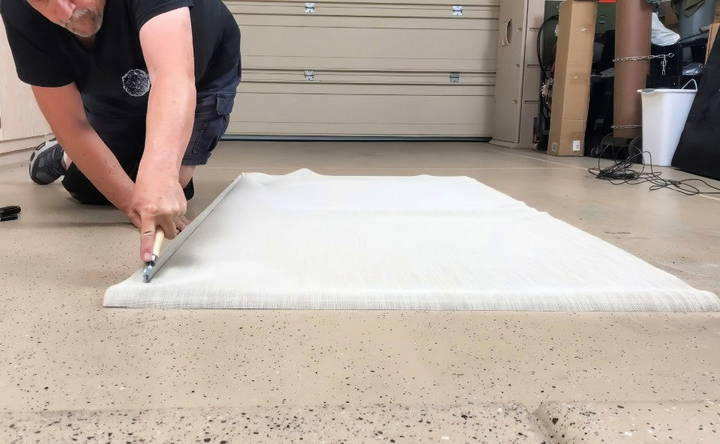
- Roll out the solar screen fabric on a flat surface.
- Lay the frame on top of the fabric, ensuring there is enough screen material extending beyond the edges of the frame.
- Use a spline roller to press the screen fabric into the spline groove on one side of the frame. Insert the spline into the groove, securing the screen material in place.
- Continue rolling the spline into all sides of the frame, pulling the screen fabric taut as you go. Be sure to keep the fabric straight and wrinkle-free.
- Once all four sides are secured, use a sharp utility knife or razor blade to carefully trim the excess screen material from the edges of the frame.
Step 6: Secure the Screen with Casement Clips
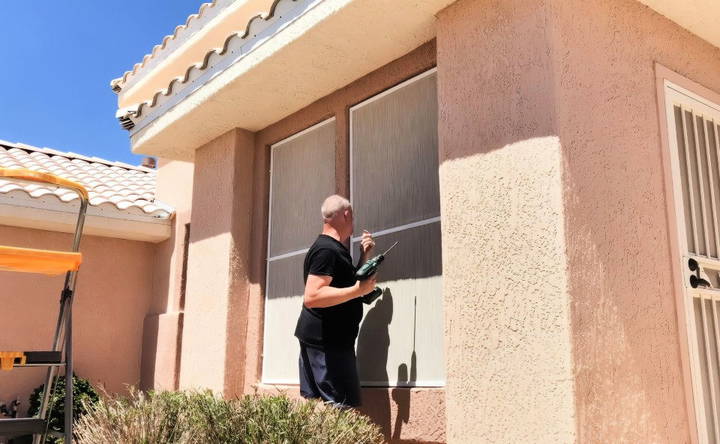
The final step is to install the completed solar screens onto your windows. Most DIY solar screen kits include casement clips and self-tapping screws that allow you to secure the screens to the exterior window frame.
Simply attach the casement clips to the frame and use a screwdriver to secure them in place on your window frame. This method ensures that the screens stay securely in place, even in windy conditions.
Step 7: Enjoy the Benefits
Once your solar screens are installed, you'll immediately notice a reduction in the amount of heat and glare entering your home. Not only do these screens enhance the comfort of your living space, but they also help protect your furnishings and lower your energy bills.
Additional Tips for Success
- Patience is Key: Installing solar screens requires a bit of practice, especially when it comes to rolling the spline into the grooves. Don't rush the process—taking your time ensures a cleaner, more professional finish.
- Use Proper Tools: While you can complete the installation on the ground, having a large table at waist height will make the process much easier on your back and knees.
- Customize Your Look: Solar screen kits come in a variety of colors and styles. Take advantage of sample packs offered by companies like Solar Screen Outlet to see how different colors look against your home before committing to a choice.
- Learn from the Experts: Many solar screen suppliers offer online tutorials and learning centers with videos that guide you through the installation process. These resources are invaluable, especially for first-time DIYers.
Conclusion
Installing DIY solar screens is a fantastic way to improve the energy efficiency and comfort of your home while saving money compared to professional installation services. With a bit of patience and the right tools, you'll be able to build custom solar screens that not only block heat and UV rays but also enhance the overall appearance of your home.
By following the steps outlined in this guide and using a high-quality DIY solar screen kit, you'll enjoy the satisfaction of completing a home improvement project that delivers lasting benefits for years to come.
FAQs About DIY Solar Screens
Get answers to all your FAQs about DIY solar screens, including installation tips, benefits, and cost-saving advantages for your home.
Solar screens slightly reduce visibility, particularly with higher blockage percentages like 80% or 90%. However, many users find this reduction minimal and believe it's worth the trade-off for the energy savings and UV protection. For detailed visuals, check the supplier's website for example photos.
Yes, solar screens can slightly darken the interior of your home, especially if you opt for higher heat and UV blocking percentages. However, many homeowners find that the benefits of keeping their home cooler outweigh the reduction in natural light.
Yes, solar screens provide added privacy. During the day, it's harder to see inside from the outside while maintaining good visibility from within. This feature makes solar screens ideal for windows facing busy streets or neighbors.
To ensure a proper fit, test the frame in your window before installing the screen fabric. The frame should sit snugly without being too tight. Once the screen fabric is installed and the spline is in place, the frame should remain sturdy.
Yes, DIY solar screen kits are beginner-friendly. Follow the step-by-step instructions provided in the kit, and be patient. While installing the screen and spline requires some practice, most users get the hang of it after completing a few windows.
Solar screens can be customized to fit most standard windows. If you have unique or irregular window shapes, many kits offer flexible frame sizes and options to ensure a proper fit.
Yes, crossbars are available to provide additional support for taller or wider windows. This prevents the frame from bowing or warping over time.
Most DIY kits include the essential components like frames, fabric, and spline. You'll also need a measuring tape, spline roller, utility knife, and screwdriver. Some users find knee pads helpful if they're assembling the screens on the ground.
Yes, solar screens come in various colors for both the screen fabric and frames. You can choose a color that matches your home's exterior for a cohesive look. Many suppliers offer sample packs to help you select the right color.
Solar screens are made from durable materials designed to withstand outdoor elements like sunlight, wind, and rain. When installed correctly, they can last for several years without needing replacement.


