Imagine coming back from a long day of hiking, mountain biking, or camping in the wilderness, covered in dirt and sweat, with no access to a hot shower. While commercial solar showers can be expensive, you can build your own pressurized, solar-heated shower for under $150! This DIY shower is perfect for campers, van-lifers, or anyone who loves off-grid adventures.
This guide provides all the steps needed to build a DIY solar shower, harnessing sunlight for heat and a bike pump for pressure. With a few materials, some basic tools, and a bit of elbow grease, you can have your own outdoor shower that requires no electricity.
What is a DIY Solar Shower?
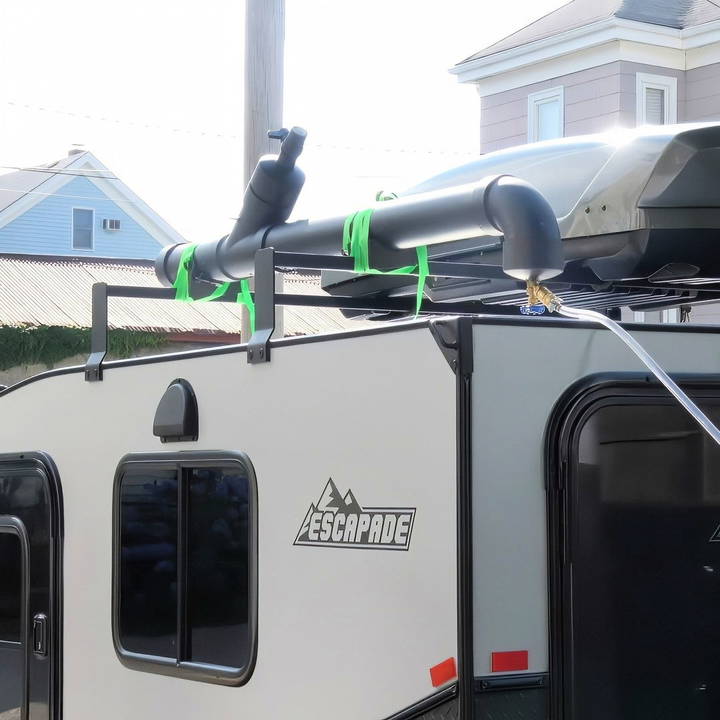
A DIY solar shower is a portable shower unit that heats water using the sun's rays. This type of shower is ideal for camping, off-grid living, or boondocking, where you may not have access to electricity or traditional facilities. The design we will be using involves a PVC pipe that serves as the water tank, which is painted black to absorb heat from the sun. The pressure is buildd using a bike pump, which forces water out of the hose for a pressurized shower.
Why Build Your Own Solar Shower?
Building your own solar shower comes with several benefits:
- Cost Savings: Commercial camping showers can cost $400 or more, but a DIY version costs under $150.
- Customization: You can adjust the size, pressure, and capacity of the shower to meet your specific needs.
- Sustainability: This shower runs solely on solar power and doesn't require electricity.
- Portability: It's lightweight and easy to mount on your vehicle for on-the-go showers.
Materials Needed
To build this solar shower, you'll need the following materials and tools. Most of these can be found at your local hardware store or ordered online. You may already have some of these items on hand:
Materials:
- 5-foot PVC pipe: (4-inch diameter): Serves as the water tank.
- 4-inch PVC end cap: To seal one end of the pipe.
- PVC elbow joint: Helps route the pipe for water flow.
- Drain valve: Used to release water.
- Brass bushing adapter: For connecting the valve to the PVC pipe.
- 1-inch PVC ball valve: For controlling the water flow.
- Presta valve: This allows for air pressure input (like those used on bike tires).
- Maid-O-Mist air vent: To release excess air and prevent over-pressurization.
- Hose and fittings: ¾-inch garden hose adapter and hose for directing water.
- Stainless steel clamps: To secure the hose.
- PVC cement: For securing all the joints and connections.
- Waterproof sealant: To ensure there are no leaks at the connections.
- Black paint: Used to coat the pipe for heat absorption.
Tools:
- PVC cutter or saw
- Sandpaper or a file (to smooth the edges of the pipe)
- Bike pump (compatible with Presta valves)
- Adjustable wrench
- Drill with a bit set
Step by Step Instructions
Learn how to build a DIY solar shower with our step-by-step guide. Perfect for outdoor enthusiasts and eco-friendly adventurers.
Step 1: Cutting the PVC Pipe
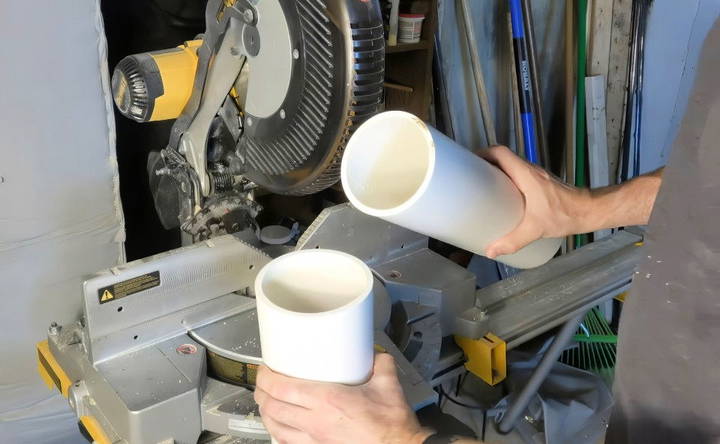
Start by cutting the 4-inch PVC pipe to your desired length. For most people, a 5-foot pipe is sufficient for a few minutes of shower time. Use a PVC cutter or a saw to make a clean cut. After cutting, use sandpaper or a file to smooth the edges of the pipe to avoid any rough surfaces that could affect the assembly.
Step 2: Attach the End Cap
Once your pipe is cut, it's time to seal one end. Apply PVC cement around the inside of the 4-inch PVC end cap, then slide it onto one end of the pipe. Hold it in place for about 30 seconds to ensure a strong bond. This cap will seal the bottom of the water tank.
Step 3: Drill Holes for Valves and Fittings
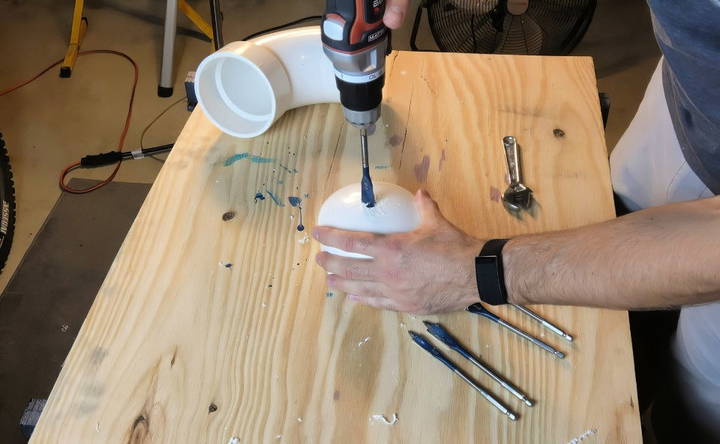
Next, you need to drill holes into the pipe to attach the necessary valves and fittings. Using your drill, make the following holes:
- Air inlet (Presta valve): This will be your point of air pressure input. Drill a small hole to fit the Presta valve and attach it securely.
- Air vent (Maid-O-Mist): Drill a second small hole for the air vent to prevent over-pressurization.
- Drain valve: Drill a larger hole at the bottom (opposite the end cap) to fit the drain valve, which will release the water.
Step 4: Install the Ball Valve and Elbow Joint
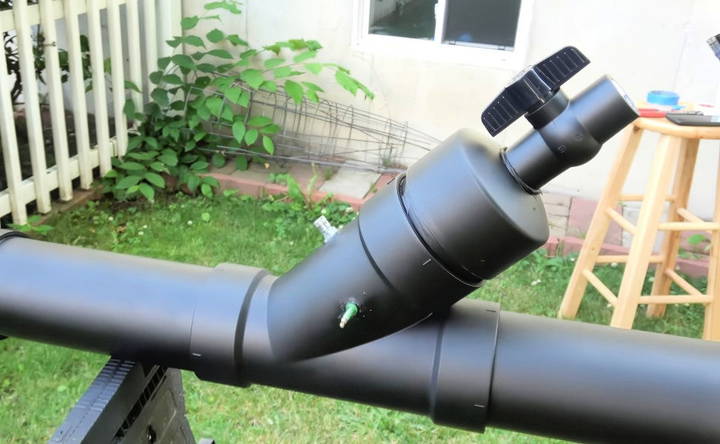
On the top end of the pipe, attach the 1-inch ball valve using PVC cement. This valve will serve as the on/off switch for your shower. The ball valve will control the water flow out of the tank.
To direct the water, connect the PVC elbow joint to the ball valve. This will allow the water to flow downward into the hose when you're ready to shower.
Step 5: Attach the Hose and Clamps
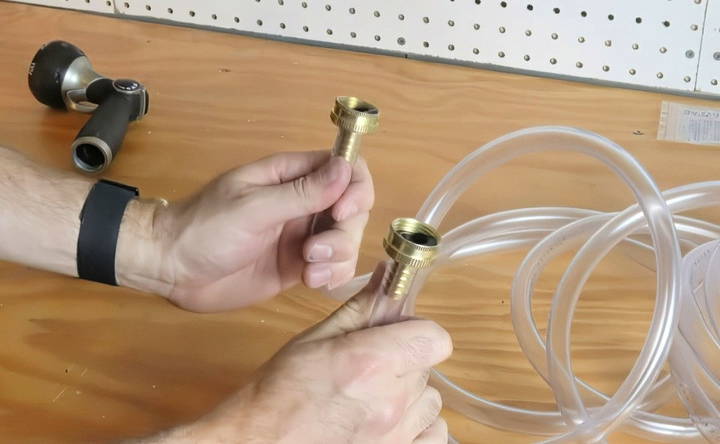
Now it's time to attach your garden hose. Use a ¾-inch adapter to connect the hose to the ball valve. Secure the hose in place using stainless steel clamps. This will ensure that there's no leakage when the water is pressurized.
Step 6: Apply Waterproof Sealant
After all the components are in place, apply waterproof sealant around all the connections. This includes the area where the ball valve, drain valve, Presta valve, and air vent are attached. Allow the sealant to dry completely before moving to the next step.
Step 7: Paint the PVC Pipe Black
Since the shower relies on solar energy to heat the water, you need to paint the PVC pipe black. The dark color will absorb heat more effectively than a lighter color. Use a spray can of black paint designed for outdoor use and apply an even coat to the entire length of the pipe.
Step 8: Mount the Shower on Your Vehicle
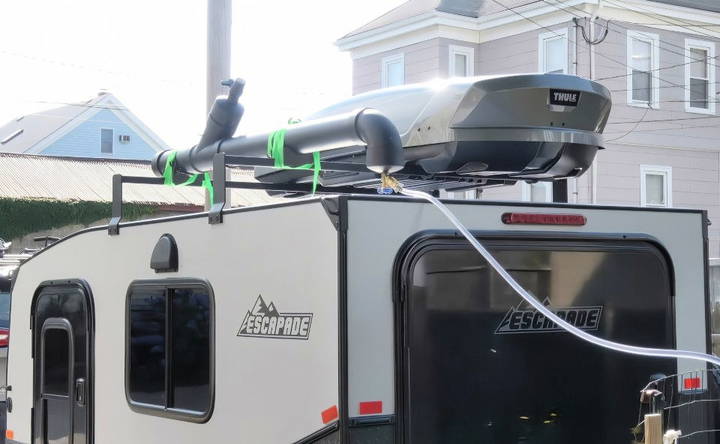
Once the paint has dried, you're ready to mount the solar shower onto your vehicle's roof rack. Use mounting brackets or bungee cords to secure it in place. Make sure it is stable and won't move around while you're driving.
Step 9: Pressurize the System
Before using the shower, you'll need to fill it with water and pressurize the system. To do this, remove the ball valve and pour water into the pipe until it's full. Once the tank is filled, close the valve and use your bike pump to pressurize the system via the Presta valve. Pump the air until the pressure reaches about 30 psi. This will give you enough pressure for a solid three-minute shower.
Step 10: Test the Shower
Now that everything is set up, it's time to test your DIY solar shower. Open the ball valve, and water should flow out of the hose with decent pressure. If you experience any leaks, check the fittings and apply more sealant if necessary.
Maintenance and Tips for Use
- Water Heating: On a sunny day, the water in your solar shower should heat up within a few hours. If you're camping in colder conditions, you may want to fill the pipe with warm water manually.
- Cleaning: Over time, sediment or algae may build up inside the pipe. Be sure to drain the system completely and clean it out regularly.
- Storage: In cold climates, make sure to drain the water when not in use to prevent freezing and cracking of the PVC pipe.
Final Thoughts
Building your own solar shower is an affordable and eco-friendly way to stay clean while enjoying off-grid adventures. By following these steps, you can build a functional, pressurized shower for under $150, using readily available materials. This DIY project not only saves you money but also provides the satisfaction of building something useful with your own hands.
Now you're ready to hit the road with your new solar shower! Whether you're camping, hiking, or mountain biking, you can enjoy a warm, refreshing shower wherever your adventures take you.
FAQs About DIY Solar Shower
Explore our faqs about DIY solar showers to learn about installation, maintenance, and tips for efficient solar heating. Get answers now!
Consider using a foot pump instead of a bike pump. A foot pump allows you to maintain pressure continuously while showering, so you won’t run out of pressure mid-shower.
You can fill the tank through the spigot rather than removing the cap. By using a garden hose with double-female connectors, you can backfill the tank, which is quicker and easier than top-filling.
Yes, if you’re concerned about water moving around while driving. Baffles or slosh limiters can be installed inside the pipe to minimize water movement and reduce strain on the shower’s mounting.
While schedule 40 PVC is commonly used for DIY showers, it’s not rated for high pressure. It’s safe to keep the pressure around 30 PSI, which provides sufficient water flow without risking damage to the pipe.
The best way to clean the inside of the pipe is to use a PVC-safe cleaning solution. Fill the pipe, shake it, and let it sit before thoroughly rinsing it. Regular cleaning is important to prevent buildup and algae.
This design is not suitable for cold climates. Freezing temperatures can cause PVC to become brittle, and water expansion could crack the pipe. Always drain the water if you expect freezing conditions.
If leaks occur at the valve seals, ensure that you’ve used enough sealant or consider using O-rings and Teflon tape for additional security. Regularly check connections to maintain a good seal.
A typical 5-foot PVC pipe holds approximately 3.5 to 4 gallons of water, providing about 2-3 minutes of pressurized shower time.
Ensure there’s enough air space in the tank when filling. Keeping a balance between water and air allows for better compression and sustained pressure throughout the shower.
To prevent damage, place the Presta valve or other air inlets in a location where they're less likely to be bumped or knocked while driving. Mounting it alongside other protected areas like the pressure relief valve is a good option.


