If you're a beekeeper or someone interested in sustainable ways to recycle beeswax, a DIY solar wax melter is a simple, eco-friendly solution. A solar wax melter uses the sun's energy to melt and purify wax, saving time, effort, and energy compared to traditional methods. Follow this guide to build an affordable and efficient solar wax melter using items you likely already have or can easily find.
Why Use a Solar Wax Melter?
A solar wax melter is ideal for small-scale beekeepers or hobbyists who want a convenient, cost-effective way to melt down beeswax. Unlike electric or stovetop melters, solar wax melters don't require electricity or fuel. They work efficiently on warm, sunny days, harnessing natural energy to liquefy the wax. Additionally, they're easy to construct and maintain, making them a practical solution for beginners and seasoned beekeepers alike.
Materials You'll Need
To construct a simple and effective solar wax melter, you'll need the following materials:
- Two medium or one deep beekeeping box: These boxes serve as the frame for your melter. Either two medium supers or one deep super will work, depending on your setup and available resources.
- Four bricks (or any stable item to elevate the pan): Bricks or similar items will raise the melting pan slightly, allowing for proper airflow and stability.
- Wax-catching container (a 12-inch drywall mud pan or any suitable container): This container catches the melted wax. It should be sturdy, heat-resistant, and sized to fit within the box frame.
- Aluminum cake pan: The cake pan serves as the melting surface for the wax. Aluminum is preferred because it's lightweight, doesn't rust, and is inexpensive.
- Paper towel: This will filter out impurities, leaving clean wax for further use.
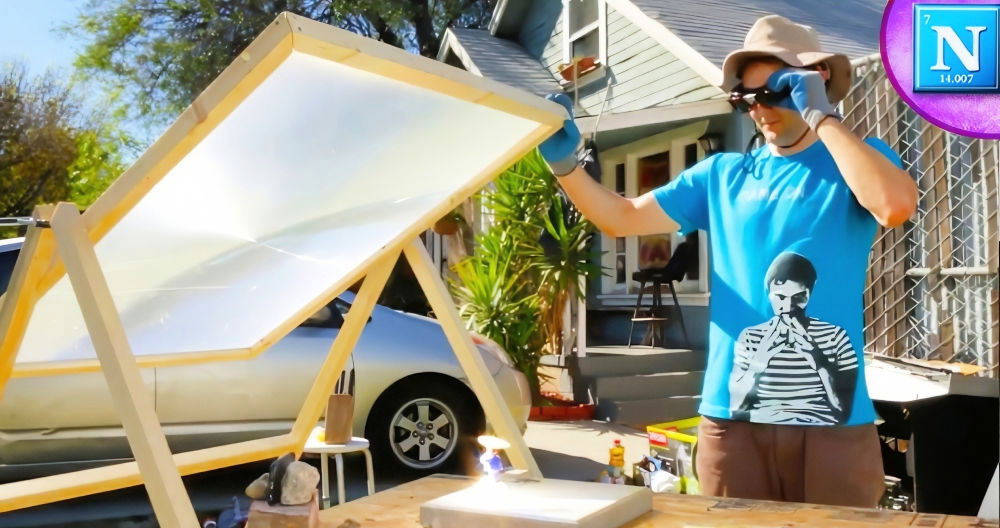
- Piece of glass to cover the setup: A clear glass sheet will trap solar energy inside, making a greenhouse effect. If you don't have glass, a clear inner cover from beekeeping suppliers can be a good alternative.
- Old beeswax: Gather the wax you want to melt, whether it's from combs, cappings, or previously used wax.
Step by Step Instructions
Learn to build a DIY solar wax melter with step-by-step instructions for an eco-friendly project. Perfect home solution for wax processing!
Step 1: Set Up the Box Frame
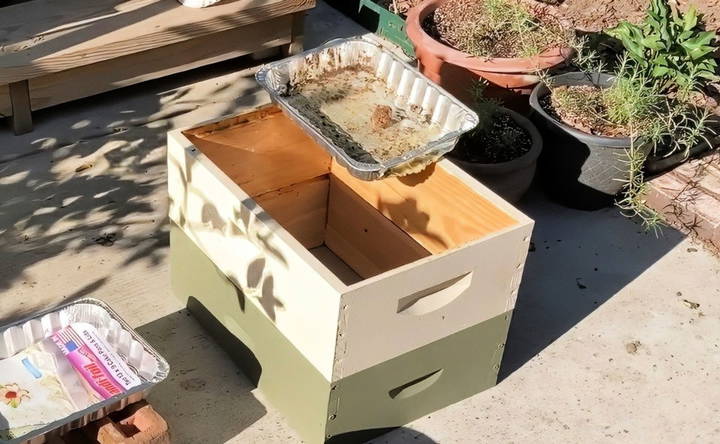
Start by setting up your box frame using the two medium supers or one deep super. Place them in a sunny location with direct sunlight, as this will be the primary heat source. Ensure the boxes are stable and secure to avoid any shifting or tipping during use.
Step 2: Place Bricks or Supports Inside the Box
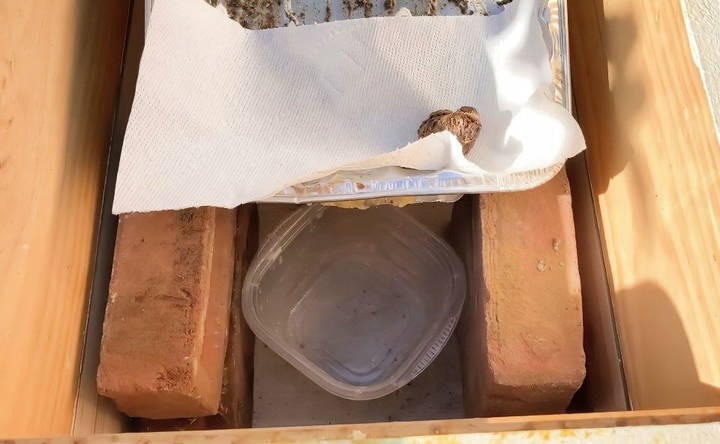
Next, place the four bricks or any stable support within the box frame. The bricks should be positioned so they can hold up the melting pan. These bricks elevate the pan, allowing melted wax to flow smoothly into the collection container below.
Step 3: Prepare the Aluminum Cake Pan
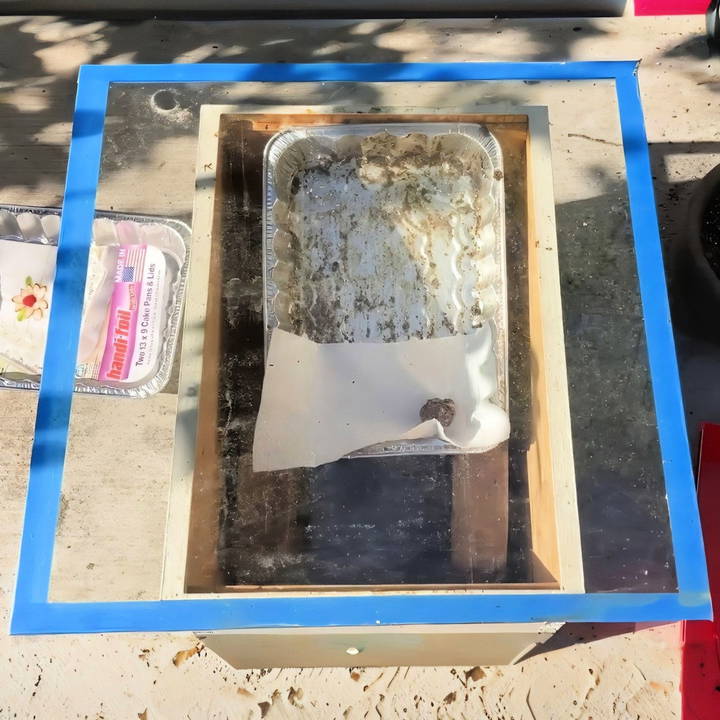
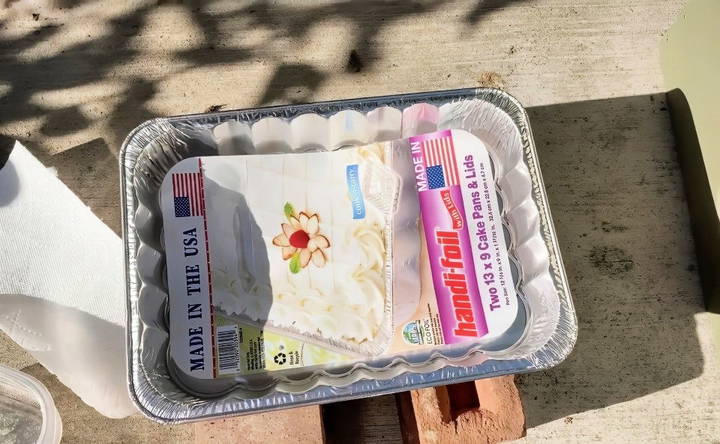
Prepare your aluminum cake pan by cutting one edge to fit it within the frame. Make sure the pan is slightly angled so the melted wax can flow naturally into the wax-catching container. Ensure this container is positioned directly beneath the open edge of the pan, allowing for seamless wax collection.
Step 4: Place the Wax-Catching Container
Position your wax-catching container (like a drywall mud pan) at the bottom of the box, below the aluminum pan's angled edge. The container should be heat-resistant and fit securely within the setup. A 12-inch drywall mud pan works well in a 10-frame box, with about half an inch of clearance on each side.
Step 5: Add the Paper Towel
Place a paper towel on the aluminum pan's surface. This paper towel acts as a filter, capturing impurities as the wax melts. Lay it flat and cover the pan's entire surface to ensure thorough filtration.
Step 6: Cover the Setup with Glass
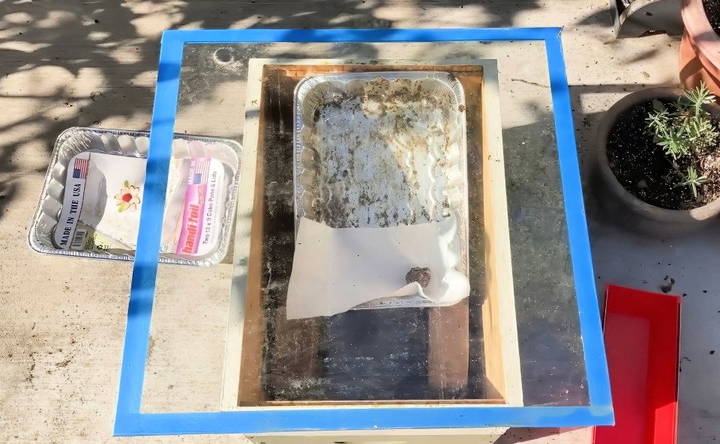
Finally, cover the entire box with a glass sheet. The glass will trap heat inside, making a greenhouse effect that helps melt the wax efficiently. For safety, you can tape the glass edges to prevent sharp edges from causing injury and to make the edges more visible. Position the glass securely to avoid shifting in the wind or due to other environmental factors.
Operating Your DIY Solar Wax Melter
- Load Wax into the Pan: Place your old wax onto the paper towel in the aluminum pan. This wax will melt down as the sun heats up the interior of the melter.
- Rotate with the Sun: If you have the time, rotate the melter to follow the sun's movement. This will ensure consistent heating. However, even without rotating, you'll see effective results if the melter has a clear, unobstructed view of the sun.
- Monitor for Pests: Occasionally check for ants or bees attracted by any residual honey in the wax. These pests may enter the melter, especially if left out overnight. Filter the wax again if needed before using it for candles or balms.
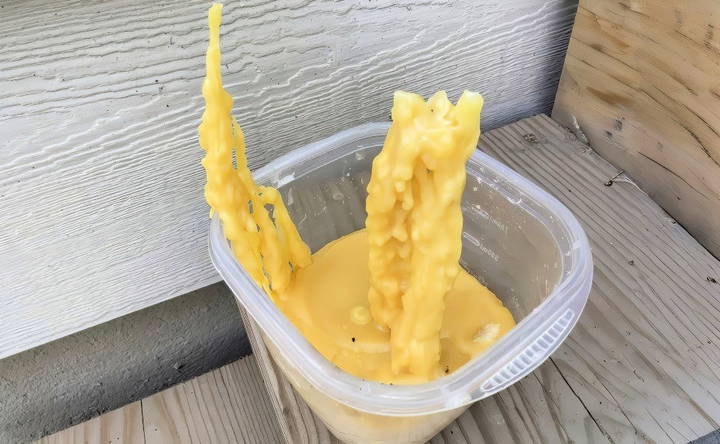
- Inspect the Results After 24 Hours: After one day of sun exposure, most of the wax should have melted. The filtered, clean wax will collect in the container below, leaving behind casings or other impurities on the paper towel.
- Scrape and Clean: The best time to clean the aluminum pan is while it's still warm. Use a hive tool, paint scraper, or flat spatula to scrape off any remaining wax. This process will keep your melter clean for future use and prevent wax build-up.
Maintenance and Troubleshooting
- Avoiding Rust: If you plan to reuse materials like old paint cans or metal containers, remember that they may rust over time, which can discolor your wax. Using aluminum pans minimizes this risk since aluminum doesn't rust, making it ideal for wax melters.
- Filtering for High-Quality Wax: For making products like lip balms and candles, opt for high-quality wax, such as cappings wax. Cappings wax is generally lighter in color and free from contaminants found in older comb wax. This wax can be filtered easily through the paper towel, leaving a clean, high-grade product.
- Seasonal Considerations: The melter's effectiveness will vary with the season and angle of the sun. It works best during warmer months when the sun is higher in the sky, maximizing the temperature inside the box. During colder months, it may take longer for the wax to melt completely.
- Keeping the Wax Clean: To prevent dust and debris from contaminating the wax, keep the glass cover clean and well-sealed. If the wax isn't completely melted after a day, leaving it in the melter another day can help, as long as it's warm enough outside.
Advantages of a DIY Solar Wax Melter
- Cost-Effective: Building a solar wax melter costs significantly less than purchasing a pre-made model, which can be expensive.
- Eco-Friendly: By harnessing solar energy, this method reduces the need for electricity or gas, lowering your carbon footprint.
- Simple to Build: With basic materials and a straightforward design, this DIY melter is accessible even for beginners.
- Low Maintenance: With no moving parts or complicated mechanisms, a solar wax melter is easy to maintain. Occasional cleaning is all that's required to keep it functional.
Step by Step Video Tutorial
Final Thoughts
A DIY solar wax melter is an excellent tool for anyone looking to recycle beeswax sustainably and efficiently. Whether you're a beekeeper wanting to repurpose wax for new hives, or a crafter interested in making beeswax products, this melter is versatile, affordable, and effective.
Remember that the solar wax melter's success largely depends on sunny weather, so plan accordingly. With proper setup and a little patience, you'll have a supply of clean, melted wax ready for your next project. This DIY solution not only saves money but also makes use of environmentally friendly methods to achieve fantastic results.
FAQs About DIY Solar Wax Melter
Discover answers to common questions about DIY solar wax melters and learn how to build and use one efficiently for sustainable wax melting.
Sprinkle baby powder around the base of your setup. Ants dislike baby powder, and it can be easily washed away afterward.
To prevent wax from seeping underneath, place wax near the lower edge of the paper towel as it melts, which seals the towel to the pan. Residual honey can be removed during final filtering if necessary.
No. The solar wax melter typically purifies the wax in one melting cycle. For extra refinement, you can pour the wax through a paper towel or cheesecloth when re-melting it for candles or lip balms.
Adding water often makes small wax beads due to the temperature difference. If honey residue remains, washing the wax afterward is more effective than using water during the melting process.
If you cut off any leaks and ensure the wax melts into a level layer, your results will be cleaner. Additionally, rinsing cappings thoroughly before melting removes excess honey that may cause cloudiness.
If wax drops into water, it can cool quickly and form balls. Keeping the lower chamber at a steady 160°F can help form flat, solid blocks without water pockets or voids.
Yes, aluminum cake pans are preferred for their resistance to rust. Some users opt for reused cake pans for sustainability. Make sure the pan fits snugly to avoid leakage.
Solar wax melters work best in warmer months when the sun's angle is higher. This allows for consistent heating and quicker melting times.


