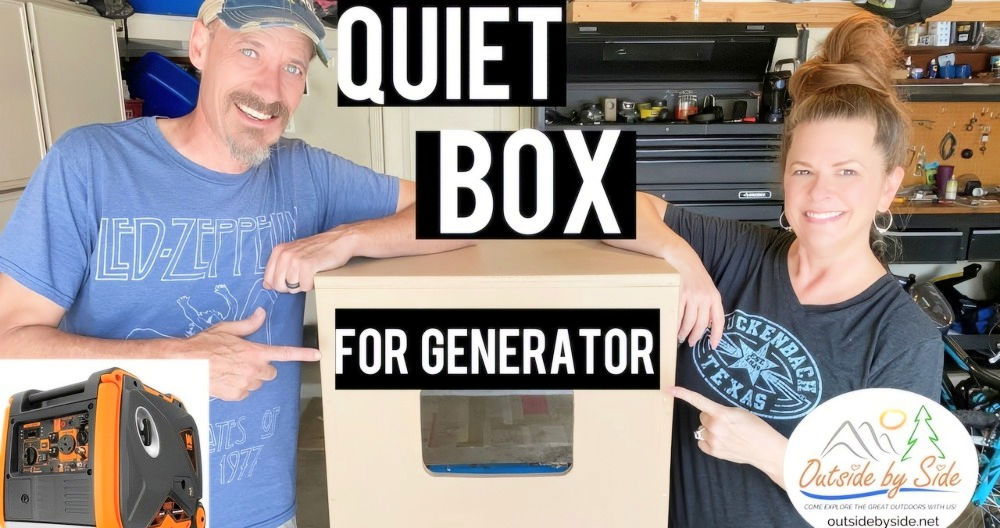
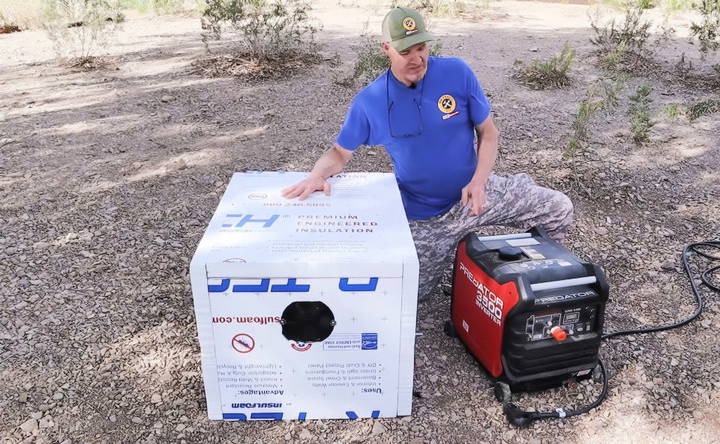
Ever found yourself camping or working outdoors and wishing your generator was just a bit quieter? I certainly have. The constant hum can be a real nuisance, not just for me but for anyone nearby. That's why I decided to build my own DIY soundproof generator box—a lightweight, portable solution that significantly reduces generator noise.
In this guide, I'll walk you through how I built my styrofoam sound box, share the materials I used, and provide insights from my own experience. We'll also delve into some sound testing results to see just how effective this DIY project can be.
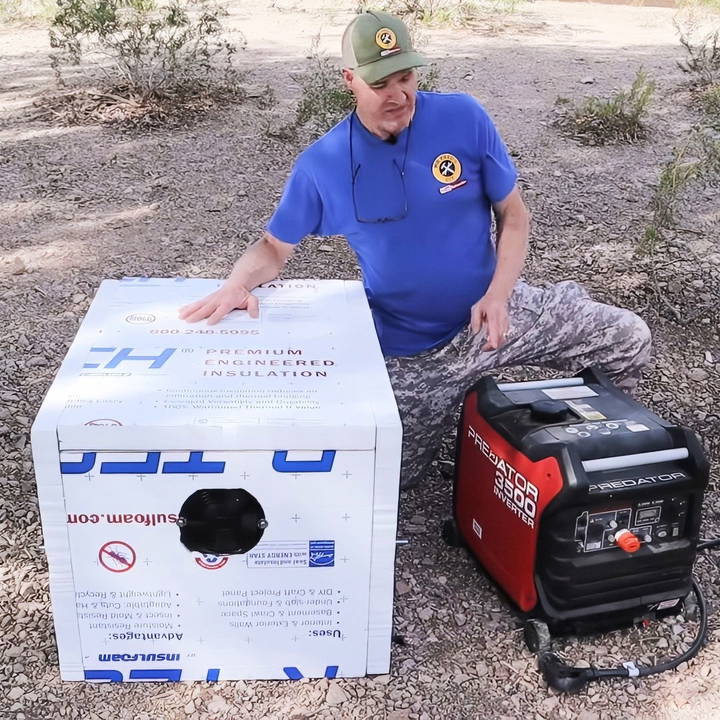
Why Build a Styrofoam Noise Reduction Box?
Before diving into the build process, let's talk about why you might want to create a noise-reduction box out of styrofoam.
The Need for a Quieter Generator
Generators are incredibly useful but notoriously loud. Whether you're camping, hosting an outdoor event, or using one during a power outage at home, the noise can be disruptive.
Advantages of Styrofoam Over Plywood
I previously built a noise reduction box out of plywood, which worked well but was heavy and less portable. Styrofoam offers:
- Lightweight Portability: At only about 12 pounds, it's easy to move around.
- Ease of Construction: Styrofoam is simpler to cut and shape, especially with hot wire technology.
- Cost-Effectiveness: At around $25 per sheet, it's affordable to build and replace if needed.
Materials and Tools You'll Need
Let's gather everything required for this project.
Materials List
- 2-inch Thick Styrofoam Sheets: You'll need enough to cut into the necessary panels.
- Nichrome Wire: For the hot wire cutter.
- All-Thread Rods: To assemble the box in a collapsible manner.
- Great Stuff Expanding Foam: Acts as an adhesive for styrofoam pieces.
- Dryer Vent: Used for directing exhaust and airflow.
- Exhaust Fan: Helps move air through the sound box.
- Foil Tape (Optional): For additional heat resistance.
Tools Required
- Hot Wire Styrofoam Cutter: I'll explain how to make one if you don't have it.
- Drill and Drill Bits: For creating holes for the all-thread rods.
- Measuring Tape: Precision is key.
- Utility Knife: For any manual cutting or trimming.
Step by Step Instructions
Build a DIY soundproof generator box with our easy guide. Learn how to reduce noise and create a quiet space step-by-step today!
Building Your Own Hot Wire Styrofoam Cutter
Before cutting the styrofoam, you'll need an effective way to make clean cuts.
Understanding Nichrome Hot Wire Technology
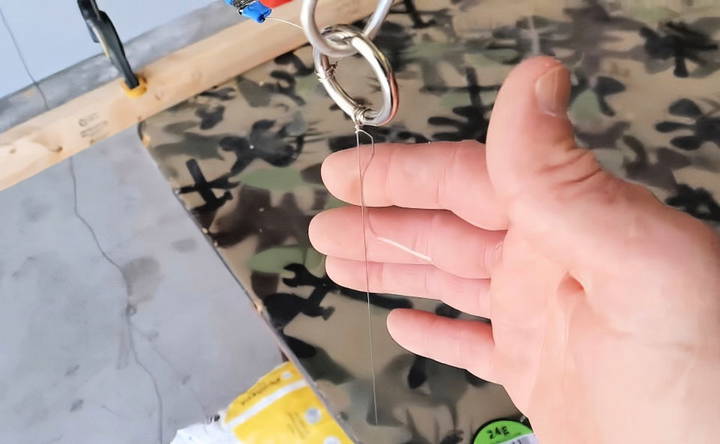
Nichrome wire heats up when electricity passes through it, allowing it to cut through styrofoam smoothly.
- Setup: Attach electrodes to both ends of the nichrome wire.
- Power Source: I used a 12-volt battery, but a suitable power supply works too.
- Safety First: Always be cautious when working with heated wires.
Constructing the Hot Wire Table Saw
I built a hot wire table saw capable of handling 4x8-foot styrofoam sheets.
- Frame Construction: Built a sturdy frame to hold the styrofoam sheets.
- Installing the Nichrome Wire: Mounted securely and connected to the power source.
- Adding a Fence: Ensures straight, consistent cuts.
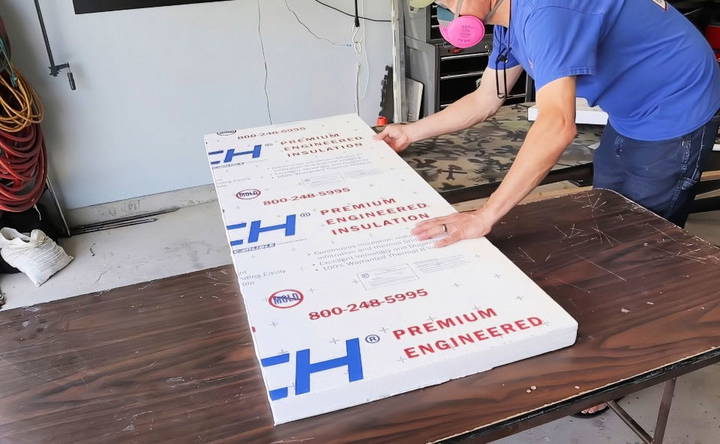
Cutting the Styrofoam Panels
With the hot wire cutter ready, it's time to cut the styrofoam into panels.
Dimensions for the Panels
- Sides and Top: 24 inches wide by 36 inches long.
- Front and Back: 24 inches wide by 22 inches long.
Cutting Process
- Measure and Mark: Accuracy ensures the box fits together properly.
- Cut the Panels: Use the hot wire cutter to slice through the styrofoam smoothly.
- Safety Tips: Work in a well-ventilated area and wear protective gear.
Constructing the Sound Chamber
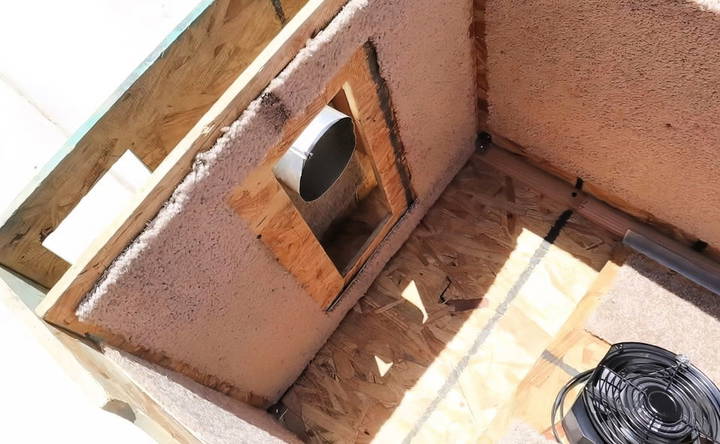
The sound chamber is a crucial component that helps dissipate noise.
Design of the Sound Chamber
- Inner Piece: Has a rectangular opening.
- Outer Piece: Features two rectangular openings.
- Spacers: Created from waste styrofoam to separate the inner and outer pieces.
Assembly Steps
- Prepare the Pieces: Remove any foil or plastic that could interfere with adhesion.
- Apply Expanding Foam: Acts as glue between the layers.
- Position the Spacers: Ensure even spacing for consistent sound dampening.
- Clamp and Let Dry: Allow a few hours for the foam to set.
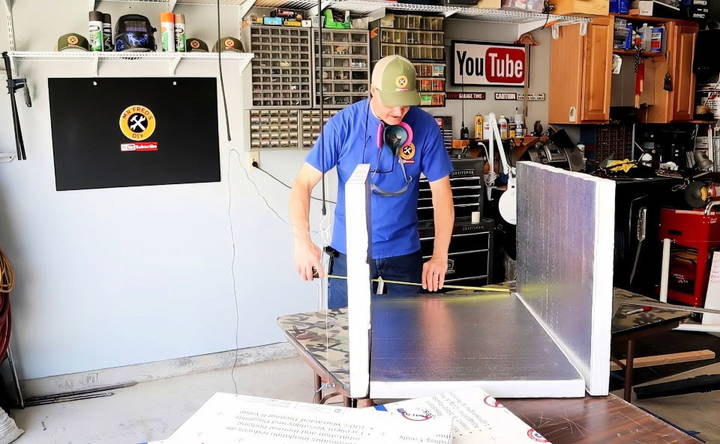
Assembling the Noise Reduction Box
With all pieces prepared, we can assemble the box.
Making It Collapsible
I wanted the box to be easy to disassemble and transport.
- Using All-Thread Rods: Drilled holes in the panels and used rods with nuts to hold everything together.
- Ease of Assembly: Can be put together or taken apart in minutes.
Adding the Dryer Vent and Air Vents
- Dryer Vent Installation: Cut an opening and secured the vent, which helps direct exhaust away.
- Air Vents: Cut at the bottom of the box to allow air intake, ensuring the generator doesn't overheat.
Installing the Exhaust Fan
- Purpose: Helps circulate air and prevent heat buildup.
- Installation: Cut a hole and mounted the fan securely.
- Powering the Fan: Connected to a power source compatible with the generator's output.
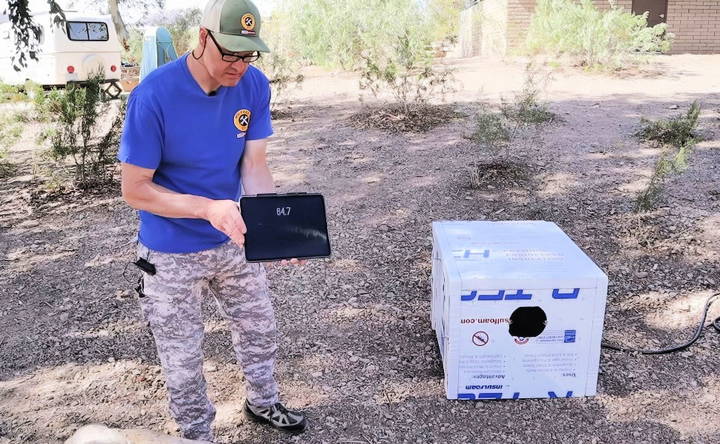
Conducting Sound Tests
Now for the moment of truth—does the noise reduction box actually work?
Testing Conditions
- Locations: Directly next to the generator and at 25 feet away.
- Generator States: At idle and under a full load (21 amps).
- Tools Used: A decibel meter to measure sound levels accurately.
Results Without the Box
- At Idle, Next to Generator: Average of 60 decibels.
- Under Load, Next to Generator: Average of 62 decibels.
- At 25 Feet, Under Load: Average of 52 decibels.
Results With the Box
- At Idle, Next to Generator: Average of 55 decibels.
- Under Load, Next to Generator: Average of 51 decibels.
- At 25 Feet, Under Load: Average of 49 decibels.
Interpreting the Results
- Noise Reduction: Approximately 3-5 decibels decrease.
- Perceived Difference: While numbers seem small, the reduction is noticeable.
- Sound Direction: The box helps push sound away from the immediate area.
Pros and Cons of the Styrofoam Noise Reduction Box
After using the box, here are some observations.
Pros
- Lightweight: At only 12 pounds, it's easy to move around.
- Portable and Collapsible: Disassembles for convenient transport and storage.
- Effective: Provides a noticeable reduction in noise levels.
- Cost-Effective: Styrofoam sheets are affordable.
Cons
- Fragility: Styrofoam can be more delicate compared to plywood.
- Heat Sensitivity: Requires careful monitoring to prevent overheating.
Tips and Considerations
Based on my experience, here are some additional pointers.
Safety Precautions
- Ventilation: Ensure adequate airflow to prevent the generator from overheating.
- Fire Safety: Styrofoam is flammable; keep it away from direct exhaust.
- Monitoring: Regularly check the temperature inside the box during use.
Enhancements
- Foil Lining: Consider adding foil tape inside for extra heat resistance.
- Soundproofing Material: Add layers of sound-absorbing foam for better noise reduction.
- Handle Installation: For easier carrying when assembled.
Taking Your Soundproofing to the Next Level
Want to make your generator box even quieter? Here are some advanced techniques to achieve superior soundproofing:
- Mass Loaded Vinyl (MLV): This dense, flexible material is excellent for blocking sound waves. Line the inside of your box with MLV to create a strong barrier against noise escaping.
- Soundproofing Foams: These come in various shapes and sizes. They work by absorbing sound waves, reducing echoes and reverberations inside the box. Use them to cover any gaps or openings in your box.
- Decoupling: This means separating the generator from the box itself to minimize vibrations. You can do this by placing the generator on rubber mounts or using anti-vibration pads.
- Sound Baffles: These are strategically placed barriers that disrupt the path of sound waves, further reducing noise. You can create simple baffles using wood or other sound-absorbing materials.
- Seal All Gaps: Even the smallest openings can let sound escape. Use acoustic caulk or weatherstripping to seal any gaps around the edges of the box, ventilation holes, or where cables enter.
The more layers of soundproofing you add, the quieter your generator box will be. Experiment with different techniques to find what works best for your situation.
Pro Tip: Measure Sound Levels
To track your progress and ensure your soundproofing efforts are working, use a sound level meter (decibel meter). This will help you identify areas that need more attention and fine-tune your soundproofing strategy.
Being Kind to the Environment
While building a soundproof generator box, it's important to keep the environment in mind. Here are some ways you can reduce your impact:
- Sustainable Materials: Whenever possible, opt for eco-friendly materials like recycled wood, reclaimed insulation, or natural soundproofing materials like wool or hemp.
- Fuel Efficiency: Choose a fuel-efficient generator to minimize emissions and reduce your carbon footprint. Look for models with lower fuel consumption and cleaner-burning technology.
- Noise Pollution: Be considerate of your neighbors and the surrounding environment. Even with a soundproof box, try to position your generator away from sensitive areas like bedrooms or wildlife habitats.
- Regulations: Check local regulations regarding noise levels and generator placement. Some areas might have restrictions on generator use, especially in residential areas or during certain times of day.
- Recycling and Disposal: When it's time to replace your generator or soundproofing materials, dispose of them responsibly. Recycle any metal or plastic components, and avoid sending materials to landfills whenever possible.
By taking these steps, you can create a soundproof generator box that's both effective and environmentally responsible. Even small changes can make a big difference for our planet.
FAQs About DIY Soundproof Generator Box
Get quick answers to FAQs about DIY soundproof generator boxes! Learn how to soundproof, the materials needed, and step-by-step guides.
While regular insulation can provide some sound dampening, it's not as effective as dedicated soundproofing materials. For optimal noise reduction, consider using materials specifically designed for soundproofing, like mass-loaded vinyl or acoustic foam. These materials are denser and better at blocking sound waves.
Proper ventilation is crucial to prevent overheating. Ensure your box has adequate intake and exhaust vents. You might also consider installing a small fan to help circulate air. Additionally, avoid placing heat-generating materials like insulation directly against the generator.
Generator exhausts can be particularly noisy. To reduce exhaust noise, consider using a flexible exhaust extension hose to direct the exhaust away from the box. You can also wrap the hose with soundproofing materials like fiberglass or rockwool.
Vibrations can cause unwanted noise and even structural damage. To minimize vibrations, use anti-vibration mounts or pads between the generator and the box's base. Ensure the generator is securely fastened to the mounts to prevent it from shifting during operation.
Regulations can vary depending on your location. It's advisable to check with your local authorities or homeowners' association for any specific rules regarding generator noise levels, placement, and safety requirements. This will ensure your DIY project complies with all applicable codes and regulations.
Conclusion
Building a DIY soundproof generator box for your generator is a rewarding DIY project that can enhance your outdoor experiences. Not only does it make your generator quieter, but it's also lightweight, portable, and relatively easy to construct.
I've found this box to be an invaluable addition to my camping gear, and I hope this guide inspires you to build one of your own. Feel free to customize it to suit your specific generator model and needs.
Thank you for joining me on this DIY journey. If you're interested in making your own hot wire styrofoam cutter, check out my detailed guide on that process.


