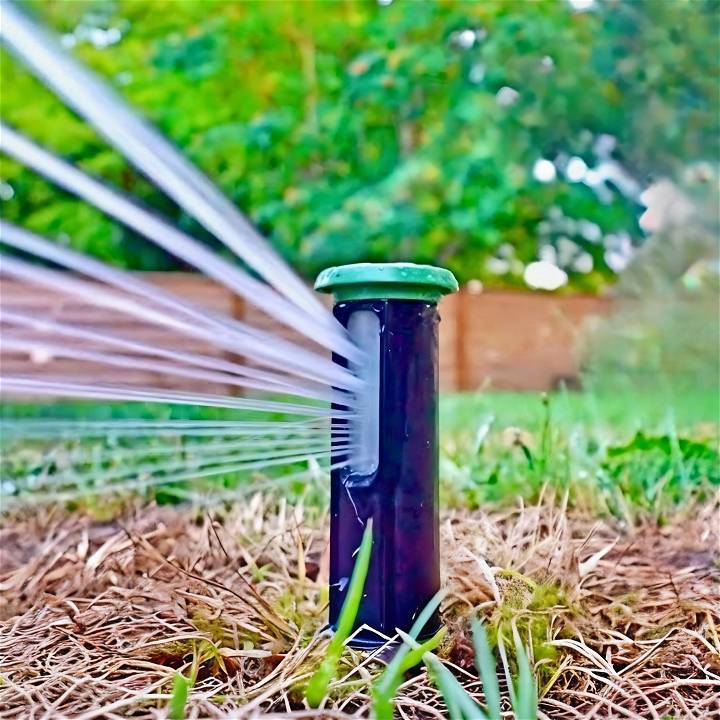
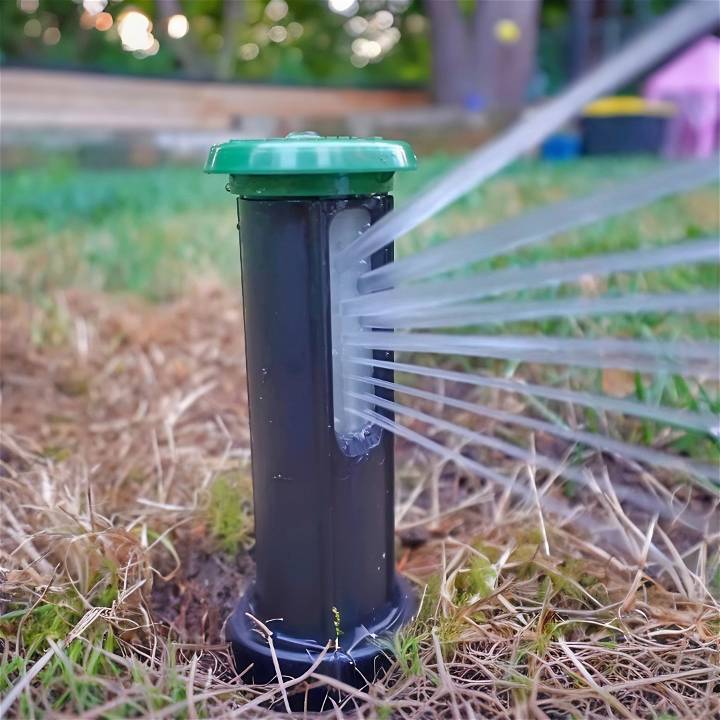
As someone deeply passionate about my garden's wellbeing, the journey to fully automate its irrigation was nothing short of transformational. The catalyst for this shift? The addition of a smart digital sprinkler system that not only promises efficiency but also a significant reduction in water waste. Below is a step-by-step guide drawn from my firsthand experience, infused with insights that might ease your path towards a greener, happier garden.

Deciding on the Need
My garden, once vibrant and full of life, had gradually succumbed to neglect, particularly after our family dog, Kona, unwittingly destroyed our old sprinkler system. With children now spending more time outdoors and Kona still very much an active presence, a durable, cost-effective irrigation solution became imperative. Enter the digital sprinkler system from Erogreen.
Understanding the Importance of Water Pressure
The initial step was determining if my garden's water pressure was sufficient for a new, advanced sprinkler system. After conducting a simple test (filling a 5-gallon bucket within 45 seconds), it was clear we had the green light. This confirmed we had both the necessary PSI and a compatible hose outlet, crucial for moving forward.
Mapping the Garden
Arguably the most critical phase, mapping involves plotting out the precise placement of sprinkler heads to ensure complete coverage without overspray or dead zones. After measuring the garden dimensions (pro tip: involve family for a fun day outdoors), I consulted Erogreen's online tool. It worked wonders, predicting exactly how many sprinkler heads my yard required. Despite initially hoping to squeak by with one, two were deemed necessary for optimal coverage.
Trenching and Installation
Then came the hefty part—trenching. Aimed at minimizing lawn disruption, I carefully extracted grass sections before digging. Remember, while the main water line might require deep burial beyond the frost line, this project necessitated trenches only 8-12 inches deep, simplifying the process significantly.
Armed with a PVC pipe cutter and a commitment to preserving as much of my lawn as possible, installation began. Each step, from laying out the PVC pipes to ensuring water-tight connections with primer and adhesive, was taken with precision. The Erogreen system's design for a seamless transition from PVC to flexible pipe connectors made assembly relatively straightforward.
The Big Leap: Digitization
The heart of this green endeavor was undoubtedly the digital aspect—the Erogreen smart sprinkler heads. These marvels of modern irrigation technology promised to dynamically adapt watering patterns based on the exact shape and needs of my garden, factoring in live weather data to minimize waste.
Setting them up felt like stepping into the future. Instead of traditional sprinkler heads that mindlessly spray water, these smart heads required alignment with my phone via Wi-Fi. The setup process involved connecting the sprinkler heads to the internet-enabled Erogreen controller, which then allowed me to digitally map out my garden's contours and obstructions, ensuring precise water distribution.
Calibration and Testing
With everything connected, the system's calibration was surprisingly intuitive. The app guided me through customizing each sprinkler head's range and rotation, ensuring that not a single drop of water would go to waste. After a thorough system flush to clear out any debris, it was time for the moment of truth.
Activating the system was a revelatory experience. Watching as each sprinkler head adjusted its spray pattern in real-time, avoiding paths, patios, and play areas, was nothing short of miraculous. It became abundantly clear; this wasn't just about water efficiency but nurturing my garden in a way that was previously unimaginable.
Reflections and Looking Ahead
Reflecting on this journey, the transition to a digital sprinkler system has been more than just a technical upgrade. It represents a fundamental shift in how we engage with and steward our outdoor spaces. The peace of mind that comes from knowing my garden receives exactly what it needs, no more, no less, is invaluable.
For those considering a similar path, my advice is simple: embrace the opportunity. While the initial setup might seem daunting, the long-term benefits for your garden's health, your water bill, and the environment are undeniable. Plus, with each sprinkler head autonomously caring for its designated zone, you're free to enjoy your lush, thriving garden, all thanks to a bit of modern ingenuity.
Maintenance and Troubleshooting
Maintaining your DIY sprinkler system is crucial for ensuring it operates efficiently and lasts for many years. Here's a guide to help you keep your system in top shape and troubleshoot common problems:
Regular Maintenance Tasks
- Inspect Sprinkler Heads: Check for any signs of damage or blockage. Clean the filters and nozzles regularly to prevent clogs.
- Check for Leaks: Walk around your lawn to look for any wet spots or pooling water, which could indicate a leak in the system.
- Adjust Sprinkler Heads: Make sure they are correctly aligned to provide even coverage and avoid watering non-target areas like sidewalks or driveways.
- Test the Pressure: Low or high water pressure can affect the sprinkler's performance. Use a pressure gauge to ensure the system is operating at the manufacturer's recommended pressure.
- Winterize Your System: If you live in a region with freezing temperatures, it's important to drain the system to prevent pipe bursts.
Troubleshooting Common Issues
- Clogged Nozzles: If a sprinkler head isn't spraying water properly, it might be clogged. Turn off the system, remove the nozzle, and clean it with water.
- Leaky Valves: A valve that doesn't close all the way can cause leaks. Check for debris in the valve box and clean or replace the valve diaphragm if necessary.
- Erratic Sprinkler Heads: Sprinkler heads that don't pop up or rotate properly may have worn-out gears or springs. Consider replacing the sprinkler head.
- Controller Problems: If your sprinklers aren't turning on, the issue might be with the controller. Ensure it's plugged in and programmed correctly. Resetting the controller can sometimes fix the issue.
When to Seek Professional Help
While many issues can be resolved with DIY fixes, some problems may require professional assistance, especially if they involve electrical components or underground piping.
Remember, regular maintenance not only extends the life of your sprinkler system but also helps conserve water and save money on your water bill. By following these tips, you can enjoy a lush, green lawn without the worry of system malfunctions. Keep this guide handy, and don't hesitate to reach out to a professional if you encounter a problem beyond your expertise.

Upgrading and Expanding Your System
Enhancing your DIY sprinkler system can lead to better efficiency and coverage. Here's how you can upgrade and expand your system effectively:
Upgrading Your Sprinkler System
- Switch to Smart Controllers: Upgrade to a smart controller that adjusts watering based on weather conditions.
- Install High-Efficiency Nozzles: These nozzles distribute water more evenly and reduce waste.
- Add Soil Moisture Sensors: These sensors help prevent overwatering by measuring soil moisture levels.
Expanding Your Sprinkler System
- Plan the Extension: Map out the new areas that need coverage and consider the existing system's capacity.
- Choose Compatible Components: Ensure new parts are compatible with your current system to maintain efficiency.
- Hire a Professional for Complex Additions: If the expansion is complex, consider hiring a professional to ensure proper integration.
Remember: Always check local regulations before making changes to your system. Upgrades and expansions can provide significant benefits, but they should be done thoughtfully to ensure the best results for your lawn. Keep it simple, and don't hesitate to seek help for more complicated tasks.
Conclusion:
In the end, this project not only saved my garden but redefined my relationship with it. Through the integration of advanced technology and a bit of DIY spirit, I've ensured a greener, more sustainable future for my backyard oasis. And truthfully, there's no turning back.


