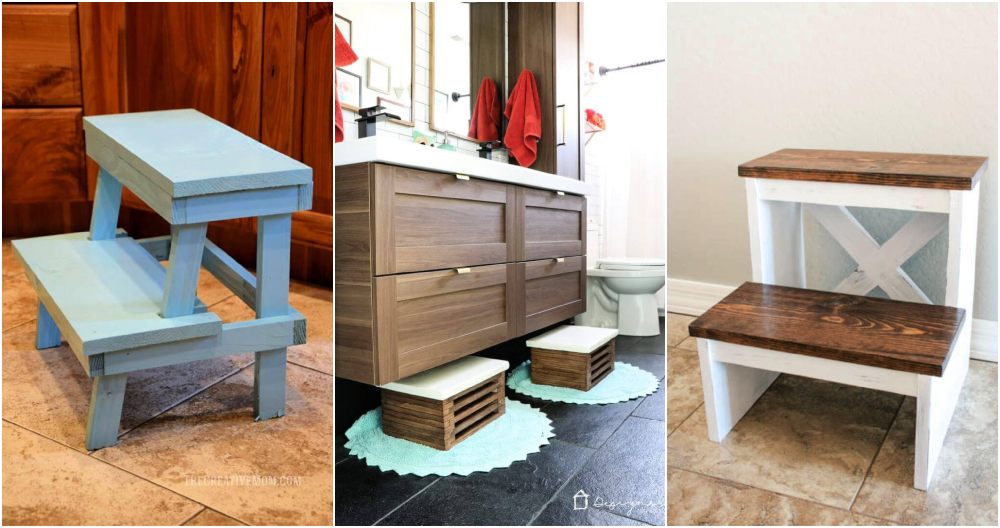
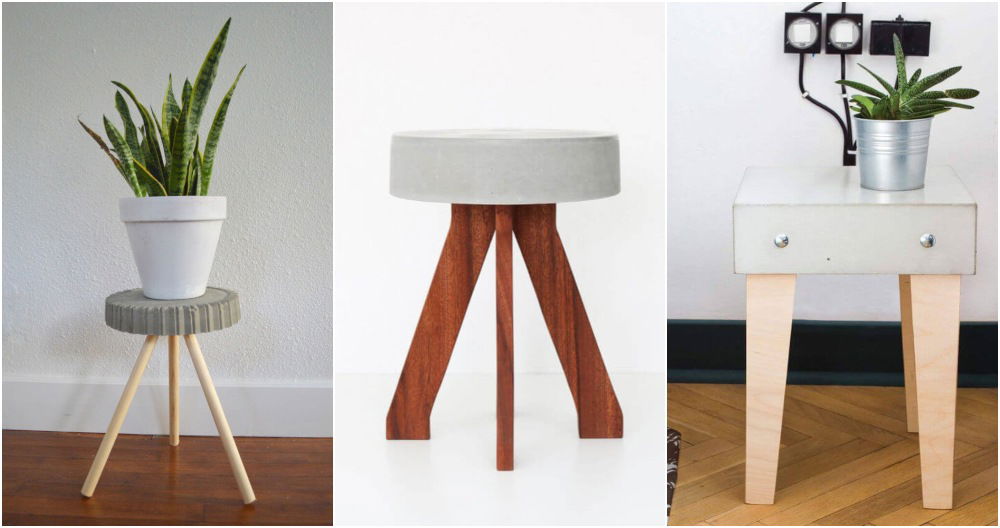
Building a DIY step stool was a fun and rewarding project. I wanted something simple to help reach higher shelves in my kitchen. With a few basic tools and some wood, I was ready to start. I followed step stool plans I found online, which guided me through each step. It felt good to work with my hands and build something useful.
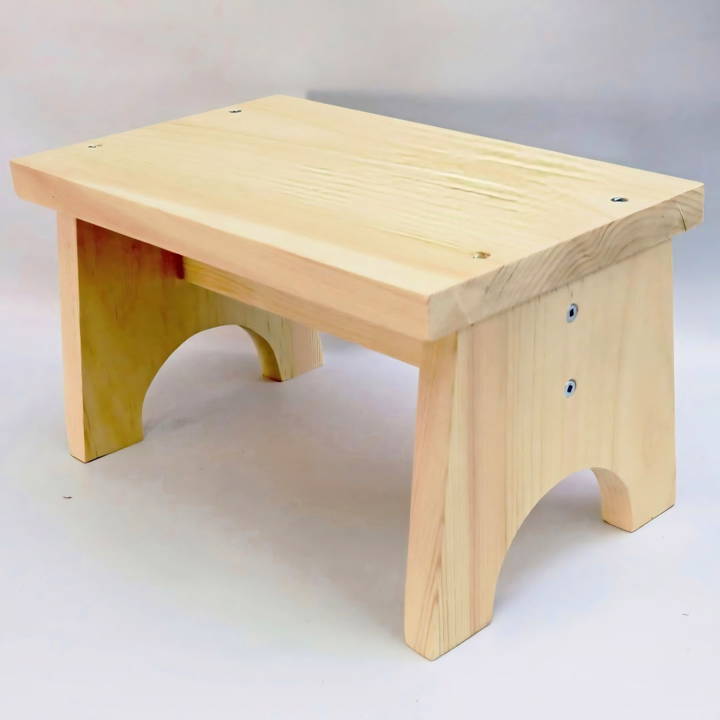
The process was straightforward, and I learned a lot along the way. Measuring the wood pieces and screwing them together was satisfying. The step stool turned out sturdy and perfect for my needs. Now, I use it daily and feel accomplished every time I do.
I'm helping with this: these steps will make your DIY step stool project smooth and enjoyable.
Materials and Tools: What You'll Need and Why
To embark on this woodworking journey, you'll need a single one-by-ten lumber, easily available at any local hardware store. This dimension of wood ensures you have enough material for the top, legs, and support of the stool without any waste. Here's a concise list of tools and materials you'll need and their purpose:
- One by Ten Lumber: The bedrock of your step stool.
- Table Saw and Miter Saw: Vital for cutting your lumber accurately to size.
- Sander or Sandpaper: To smooth out all the surfaces and edges, ensuring the stool is safe to handle.
- Router or Sanding Block: For rounding edges to build a softer, more finished look.
- Drill with Drill Bits: Essential for making pilot holes for screws and for the dowels.
- Wood Glue and CA Glue: These are used to bond the pieces together securely.
- Screws and Dowels: For fastening the components together, ensuring the stool's integrity.
Step by Step Instructions
Learn to build your own sturdy DIY step stool with our easy, step-by-step instructions. Perfect for any home project!
Step 1: Cutting Your Lumber to Size
Begin by cutting your one by ten lumber into the pieces you'll need for the top, legs, and support. I cut the top first, then, using both the table saw and miter saw, I resized the remainder for the legs and the support piece.
Step 2: Shaping the Legs
For an aesthetic touch, I decided to taper the legs. Setting the miter saw to a 10-degree angle, I cut both ends of each leg. This not only adds to the stool's visual appeal but also contributes to its stability.
Step 3: Crafting the Support Pieces
Using the leftover lumber from the legs, I cut a two-inch wide piece for additional stool support. Remember, this piece will also need those 10-degree angles at the ends to match the legs' taper.
Step 4: Adding a Decorative Touch
To personalize the stool, I opted to cut a half-circle at the bottom of each leg. I used a simple lid as a template for the curve and cut it out with a bandsaw. You can use a jigsaw if a bandsaw isn't within reach, though it might require a bit more sanding to smooth out.
Step 5: Sanding Everything Smooth
Once all pieces were cut, I sanded every surface and edge to make sure there were no sharp edges or splinters. This is also a great moment to get kids involved - mine loved the sanding part!
Step 6: Assembling the Stool
Assembly began with attaching the support piece to the legs. I placed it exactly where I wanted, used a bit of CA glue to hold it temporarily, and then reinforced it with wood glue and screws, followed by dowels to conceal the screw heads for a cleaner look.
Step 7: Attaching the Top
The top piece was next, using the same method as the support piece - first securing it with CA glue, then adding wood glue, screws, and dowels for a seamless appearance.
Final touches: Sanding the Dowels and Testing the Stool
After letting the glue dry overnight, I trimmed the excess dowel material with a flush-cut saw and gave everything a final sand. The last step was to ensure the stool stood flat; a little sanding on the legs made it perfectly level.
Wrapping Up: The Ultimate Test
Once completed, the true test was letting my children use the stool. It held up splendidly, proving the step stool was not only a triumph in simplicity and functionality, but also a testament to the joy and fulfillment DIY woodworking projects bring.
Customization Ideas for Your DIY Step Stool
When it comes to personalizing your DIY step stool, the possibilities are as vast as your imagination. Here's a guide to help you transform a simple step stool into a piece that's uniquely yours.
- Choose Your Color Scheme: Start by selecting colors that speak to you. Whether you prefer a natural wood finish or vibrant hues, your choice of color can make your step stool stand out. Consider using non-toxic, water-based paints if you're aiming for a family-friendly project.
- Add Patterns and Textures: For a more dynamic look, incorporate patterns or textures. You could stencil in your favorite designs, use a wood burner for intricate details, or add a tactile element with fabric or rope.
- Personalize with Names or Initials: Make the step stool special by adding names, initials, or meaningful dates. This can be done through painting, carving, or even with decals.
- Functional Additions: Think about adding hooks on the side for hanging towels or tools or a storage compartment under the top step for extra functionality.
- Protective Finishes: Once you're happy with the design, apply a protective finish to ensure your step stool withstands the test of time. An oil-based wiping varnish can provide a durable and professional-looking finish.
- Eco-Friendly Options: If sustainability is important to you, consider using reclaimed wood or eco-friendly paints and finishes. This not only reduces environmental impact but also adds a story to your project.
Plan your design, gather materials, and take your time. Your step stool is not just functional but also a reflection of your creativity and style.
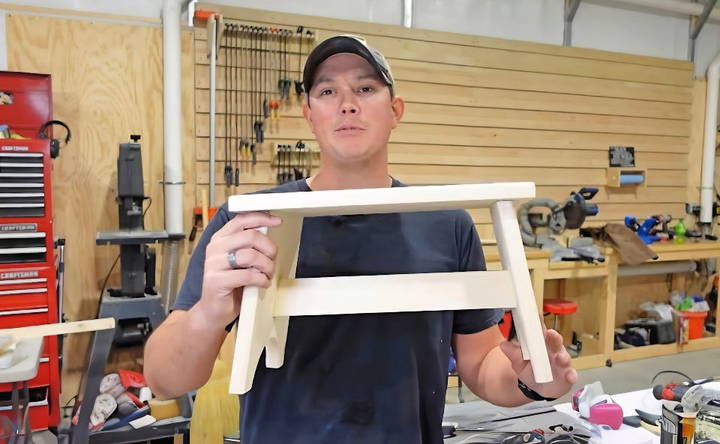
Advanced Techniques for Your DIY Step Stool
Elevating your DIY step stool project with advanced techniques can transform a simple piece into a work of art. Here's how you can apply some sophisticated woodworking methods to your project.
- Joinery Techniques: The strength of your step stool lies in its joints. Dovetail and mortise-and-tenon joints are not only strong but also visually appealing. They require precision but offer a satisfying challenge for those looking to improve their skills.
- Wood Finishing: A fine finish will protect your step stool and bring out the natural beauty of the wood. Learn about different types of finishes, such as shellac, lacquer, and polyurethane. Each has its own application method and ideal conditions for use.
- Decorative Carving: Adding decorative carvings can give your step stool a personalized touch. Start with simple patterns, and as you gain confidence, move on to more intricate designs. Remember to use sharp chisels and take your time.
- Adding Inlays: Inlays are a great way to add color and design to your step stool. You can use different materials like wood, veneer, metal, or even stone. It's a delicate process that involves cutting a recess into the wood and then fitting the inlay material snugly within it.
- Advanced Sanding Techniques: Sanding is not just about making the wood smooth; it's also about preparing the surface for finishing. Learn about using different grits of sandpaper and the importance of sanding in the direction of the grain.
- Using Hand Tools: Power tools are helpful, but they offer precision and a connection to your work that power tools cannot match. Chisels, planes, and hand saws can be used to achieve details that machines often cannot.
Using these advanced techniques, your step stool will be more durable and functional and showcase your woodworking skills. Master each technique, and you'll find the process rewarding.
FAQs About DIY Step Stool
Discover answers to common questions about DIY step stools, from materials to building tips, to build a sturdy and stylish step stool yourself.
Stability is key for a safe step stool. Use high-quality wood and ensure all joints are securely fastened. Consider adding a brace between the legs for extra support. If you’re a beginner, simple designs with a wider base can offer more stability.
Yes, you can choose eco-friendly materials such as reclaimed cedar or other recycled woods. Also, consider using non-toxic finishes and adhesives to minimize environmental impact.
Absolutely! Personalizing your step stool is a great way to make it unique. You can paint it, add patterns, or use different colored wooden rods for a fun look. Your step stool can reflect your personal style while being functional.
To make a kid-friendly step stool, ensure the design is simple and sturdy. Use rounded corners and non-slip surfaces to prevent accidents. You can also add handrails or side guards for extra safety. For a creative touch, let the kids help with painting or decorating their stool.
For a durable finish, consider using an oil-based wiping varnish. It's easy to apply and provides a strong protective layer. If you prefer a natural look, beeswax or linseed oil are great options. Always allow the finish to fully cure before using the stool.
Why You Should Try This Project
In conclusion, building a DIY step stool can be a fun and rewarding project. With the right tools and materials, constructing a sturdy and functional step stool is easier than you might think. Following these steps ensures a safe and reliable piece of furniture for your home. Don't forget to measure twice and cut once to avoid any mistakes. Happy building!


