When I was first introduced to the idea of building stilts, it seemed like a project that might be complicated, but it turned out to be surprisingly fun and straightforward. Whether you're looking to build a pair for fun or as part of a project, using simple materials like wood, PVC pipes, or even buckets can get you there. I've explored a few methods to make your own DIY stilts and will take you through the journey step by step, offering my personal insights along the way.
Why Stilts?
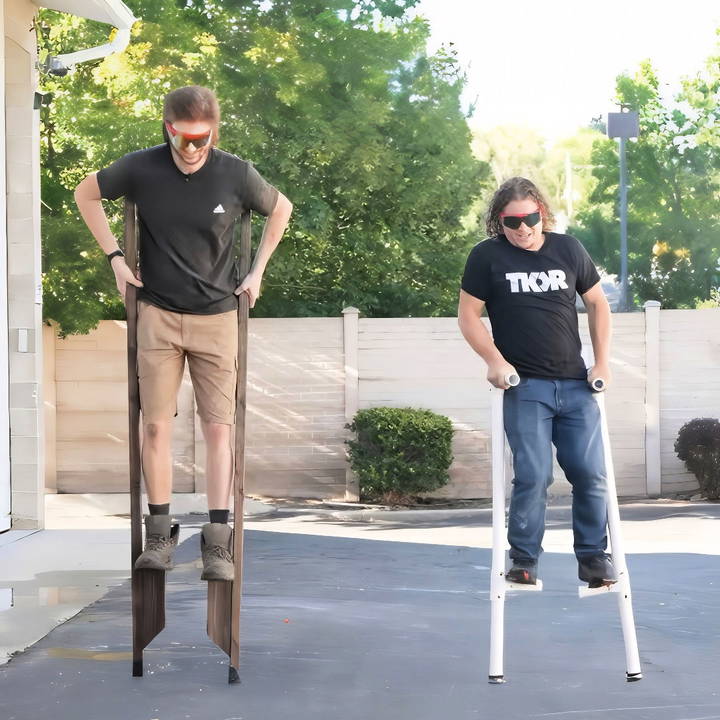
Building stilts can be an entertaining and rewarding project, not just for adults but also for kids. It allows you to exercise your creativity while working with basic tools and materials. In this guide, I'll walk you through three different methods of making stilts: one using wood, another with PVC pipes, and the simplest version using buckets. I've tested each method, learning tips and tricks along the way that I'll share to help you avoid mistakes.
Materials You'll Need
For this project, you'll need different materials depending on which version of stilts you want to build:
Wood Stilts:
- 2x2 wooden boards
- 2x4 wooden board for footrests
- 3-inch nails
- Gorilla tape (for reinforcement)
- Basic tools (saw, hammer)
- Sandpaper for finishing
PVC Pipe Stilts:
- 1.5-inch or 1-inch PVC pipe (depending on user's weight)
- T-connectors for footrests
- Rubber caps for bottom (to add grip)
- Rubber mallet
- Screws for reinforcement
- Drill
- Measuring tape
- Saw
Bucket Stilts:
- 5-gallon buckets (or 2.5-gallon for children)
- Rope (for handles)
- Drill
- Step bit for hole creation
- Pliers to remove bucket handles
Step by Step Instructions
Learn how to make DIY stilts with our step-by-step instructions for wood, pvc pipe, and bucket stilts. Perfect for fun and creative projects!
Wood Stilts
When I started building the wooden stilts, I thought it would be more challenging than it was, but it turned out to be fairly straightforward. You only need a few basic tools and some lumber.
Step 1: Measure and Cut the Wood
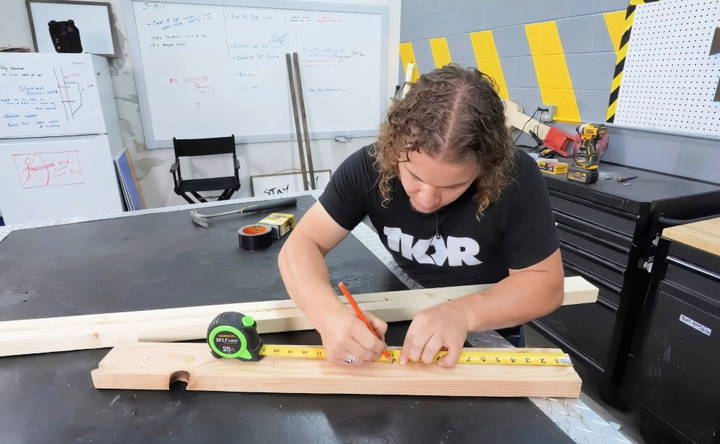
The first step is to determine the height of the person using the stilts. I measured from the ground to my shoulder, which was about 55 inches, to determine the length of the stilts. You'll want the footrests about 16 inches off the ground.
Cut your 2x2 boards to the desired length for your stilts. For the footrests, cut a 2x4 to the appropriate size – I used about 4 inches wide to comfortably fit a foot.
Step 2: Assemble the Stilts
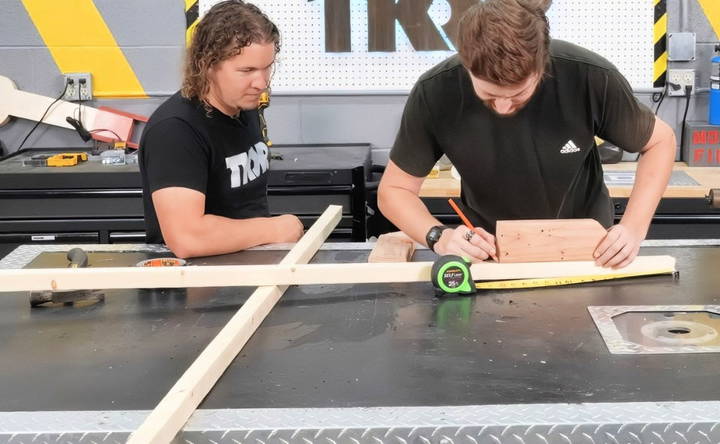
To attach the footrests to the stilts, I nailed them into place, carefully making sure that my nails didn't poke out of the wood or split the boards. It's essential to position the footrests securely because they will bear your weight.
One thing I learned quickly: soft woods like pine can easily split at the ends, so I reinforced the bottoms of the stilts with Gorilla tape to prevent this. Wrapping the tape about an inch from the bottom kept everything together and added extra strength.
Step 3: Sand and Finish
Once the stilts were assembled, I realized that the edges were rough. After sanding down the surfaces, they were smooth enough to walk on comfortably. You can also go the extra mile by staining or adding a protective coat to the wood, which not only makes them look great but also helps preserve the wood.
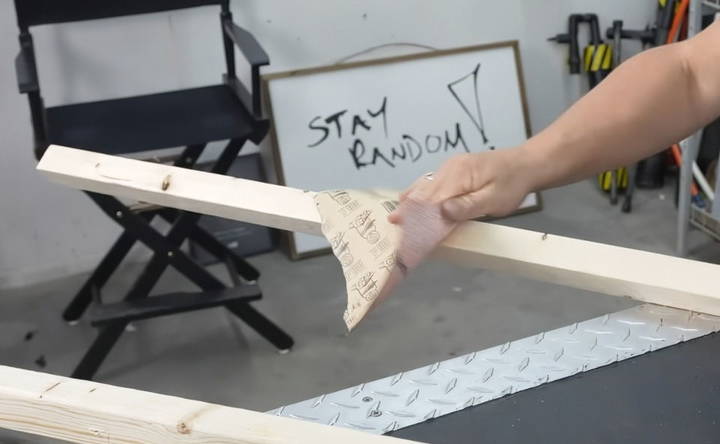
Wooden stilts feel sturdy, and because they can be custom-made to your height, they offer a lot of flexibility. One of my key takeaways was to ensure that the footrests are attached securely and that you sand down all edges to avoid any discomfort while walking.
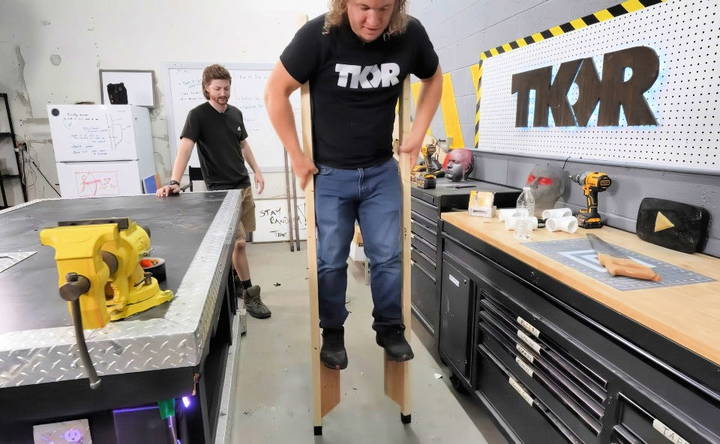
PVC Pipe Stilts
PVC stilts are lighter than wood, making them a great alternative if you want something easy to carry and build.
Step 1: Measure and Cut
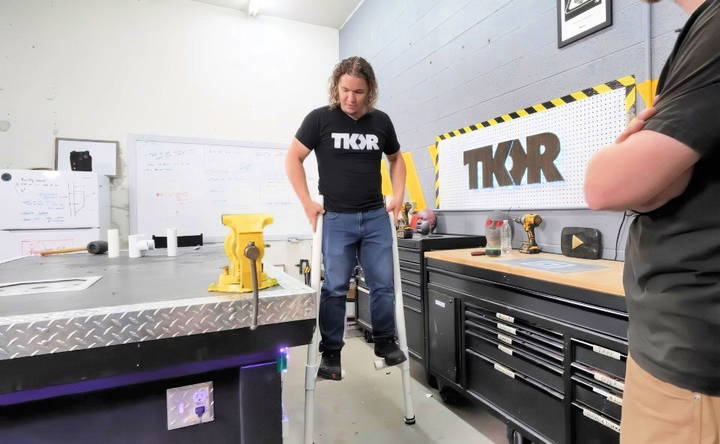
For PVC stilts, I measured from my hips to the ground, adding the desired height I wanted to be off the ground. I also decided to add handles, which made the stilts easier to balance on. I cut six-inch sections of PVC for the footrests and handles, while the main body was around 14-16 inches tall.
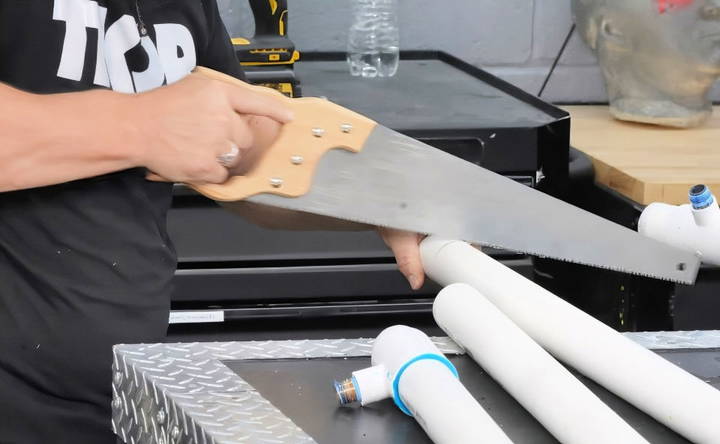
Step 2: Assemble Without Glue
The most interesting part of the PVC method was assembling the stilts without glue. I used a rubber mallet to tap the pieces together, ensuring a tight fit. Adding T-connectors allowed me to mount the footrests securely. Without glue, though, I noticed some slipping, so I reinforced the stilts with screws.
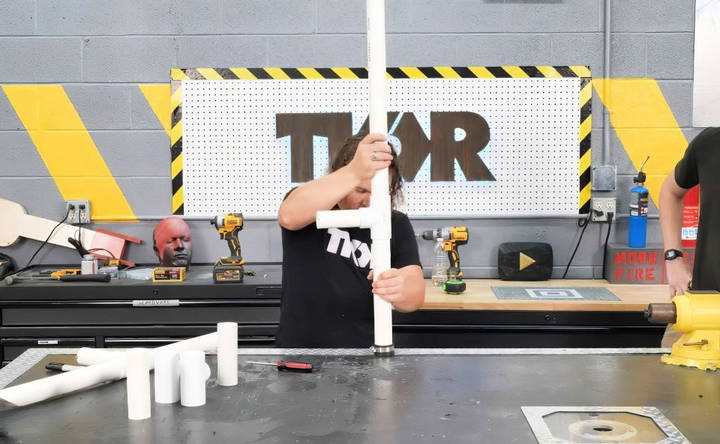
Step 3: Add Handles and Rubber Caps
The addition of handles gave me better control while walking. I also placed rubber caps on the bottoms of the PVC pipes, which provided much-needed grip, especially when walking on smooth surfaces.
One major lesson I learned with PVC stilts is the importance of handles. Without them, it's tricky to maintain balance. I also noticed that using rubber caps makes a huge difference in stability. If you skip the glue like I did, just be sure to add screws to hold everything together more securely.
Bucket Stilts
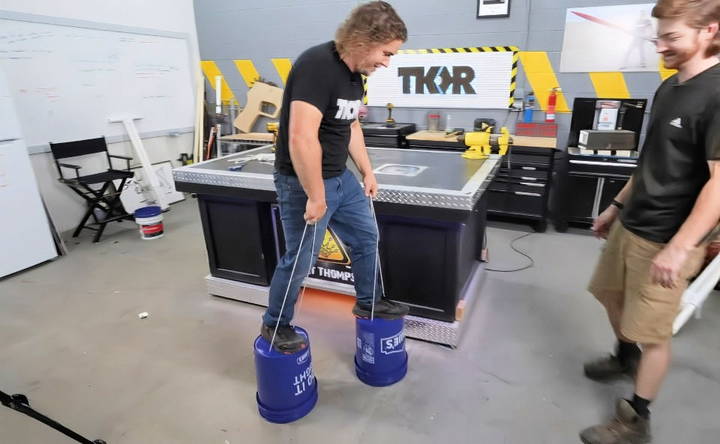
If you're looking for a quick and easy solution, bucket stilts are by far the simplest. You can build these in under 10 minutes, and they work great, especially for kids.
Step 1: Prep the Buckets
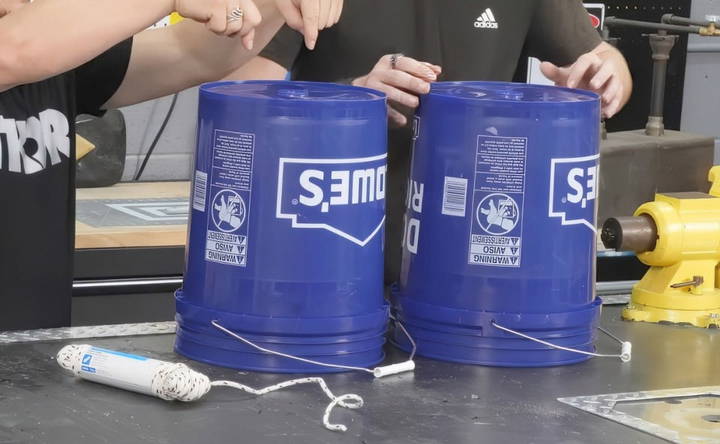
Start by removing the handles from the buckets. I used pliers to twist off the handles from the plastic rings. After that, drill two holes on either side of each bucket, wide enough to fit a piece of rope through. Make sure the holes are spaced well enough to accommodate the size of your shoe.
Step 2: Attach the Rope
Thread a length of rope through each hole, tying knots on the inside of the bucket to secure it. The rope acts as a handle that you hold onto while walking.
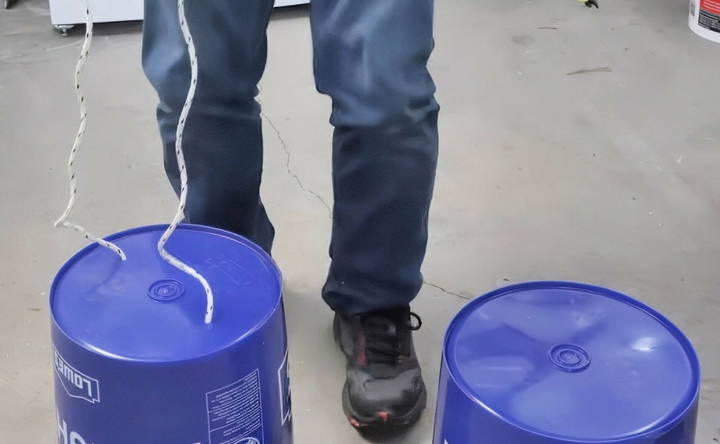
These are the simplest and quickest to make, but they're also not as durable as the other options. They're perfect for younger children or for a quick, fun activity, but I wouldn't recommend them for long-term use. If you're heavier, consider using 5-gallon buckets rather than smaller ones for stability.
Customization Ideas
Customizing your DIY stilts can make them more fun and personalized. Here are some simple and creative ideas to help you get started:
1. Design Variations
Paint and Decorate:
- Use bright colors to paint your stilts. This makes them look attractive and easy to spot.
- Add stickers or decals for a unique touch. You can choose themes like animals, sports, or space.
Grips and Handles:
- Wrap the handles with soft foam or rubber grips. This provides comfort and better control.
- You can also use colorful tape to wrap the handles for a stylish look.
2. Adjustable Heights
Telescopic Design:
- Make stilts with adjustable heights. Use telescopic poles that can be extended or shortened.
- This is great for different skill levels and ages. Beginners can start low and gradually increase their height.
Removable Extensions:
- Add removable extensions to the bottom of the stilts. This allows you to change the height easily.
- Secure the extensions with screws or clamps to ensure safety.
3. Personalized Touches
Name Tags:
- Attach a name tag to your stilts. This is especially useful if multiple people are using them.
- You can use a small piece of wood or plastic, write your name on it, and attach it with glue or screws.
Themed Decorations:
- Decorate your stilts according to a theme. For example, you can build pirate-themed stilts with skull and crossbones designs.
- Use fabric, paint, and other craft materials to bring your theme to life.
4. Functional Enhancements
Foot Straps:
- Add adjustable foot straps to keep your feet secure. This helps in maintaining balance and control.
- Use Velcro straps or buckles for easy adjustment.
Shock Absorbers:
- Install small shock absorbers at the base of the stilts. This reduces impact and makes walking more comfortable.
- You can use rubber pads or springs for this purpose.
5. Safety Features
Reflective Tape:
- Apply reflective tape to your stilts. This makes you visible in low light conditions, enhancing safety.
- Place the tape on the sides and handles for maximum visibility.
Non-Slip Pads:
- Attach non-slip pads to the bottom of the stilts. This provides a better grip and prevents slipping.
- You can use rubber or textured pads for this.
By customizing your stilts, you can make them more enjoyable and suited to your needs. These ideas are easy to implement and can significantly enhance your stilt-walking experience.
Troubleshooting Common Issues
When using DIY stilts, you might encounter some common problems. Here are practical solutions to help you address these issues effectively:
1. Balance Problems
Wobbly Stilts:
- Solution: Ensure that the stilts are of equal length. Check that all screws and bolts are tight. Practice walking on a flat, even surface to improve your balance.
Difficulty Standing Up:
- Solution: Start by holding onto a stable object like a wall or a friend's shoulder. Gradually shift your weight onto the stilts. Practice standing still before attempting to walk.
2. Material Issues
Loose Screws:
- Solution: Regularly check and tighten all screws and bolts. Use a thread-locking adhesive to prevent them from loosening over time.
Splintering Wood:
- Solution: Sand down any rough or splintered areas. Apply a wood sealant or varnish to protect the wood and prevent further splintering.
3. Comfort and Fit
Uncomfortable Handles:
- Solution: Wrap the handles with foam or rubber grips. This provides cushioning and makes them more comfortable to hold.
Slipping Feet:
- Solution: Add adjustable foot straps to secure your feet. Use non-slip pads on the footrests to provide better grip.
4. Safety Concerns
Slippery Surfaces:
- Solution: Attach non-slip pads to the bottom of the stilts. Practice walking on surfaces with good traction, like grass or carpet, before moving to harder surfaces.
Low Visibility:
- Solution: Apply reflective tape to your stilts. This makes you more visible in low light conditions, enhancing safety.
5. Performance Issues
Difficulty Turning:
- Solution: Practice making small, controlled turns. Shift your weight gradually and use your arms for balance. Start with wide turns and gradually make them tighter as you gain confidence.
Uneven Walking:
- Solution: Focus on taking even steps. Practice walking in a straight line. Use a mirror or have someone watch you to provide feedback on your form.
6. Maintenance Tips
Regular Inspections:
- Solution: Inspect your stilts regularly for any signs of wear and tear. Replace any damaged parts immediately to ensure safety.
Proper Storage:
- Solution: Store your stilts in a dry, cool place. Avoid leaving them outside where they can be exposed to the elements, which can cause damage over time.
Addressing issues ensures a safer, enjoyable stilt-walking experience. Regular maintenance and practice boost your confidence and skills.
FAQs About DIY Stilts
Discover the top FAQs about DIY stilts! Learn how to build, use, and stay safe with your homemade stilts in this comprehensive guide.
For beginners, start with stilts around 12-18 inches high. As you gain confidence, you can increase your height.
Yes, but ensure they are supervised and use shorter stilts. Children should also wear protective gear and practice in a safe environment.
To adjust the height, you can drill multiple holes in the stilts and move the footrests up or down. Secure them with bolts and nuts at the desired height.
Use sturdy, corrosion-resistant screws or bolts, such as stainless steel or galvanized. Ensure they are long enough to securely fasten the parts together.
Add padding: Use foam or rubber padding on the footrests and handles.
Adjust fit: Ensure the footrests are at a comfortable height and angle.
My Overall Takeaway
In my experience, building DIY stilts is an enjoyable project that can be as simple or complex as you want it to be. Wood offers the most durability and customization, PVC is lightweight and versatile, and bucket stilts are a quick and easy option, especially for kids. Regardless of the method you choose, always ensure the stilts are stable and the materials you use can support your weight.
By following these steps and adapting them to your needs, you'll end up with a fun pair of stilts that you can enjoy yourself or share with others. Each method has its own pros and cons, but they're all accessible, affordable, and enjoyable to make.


