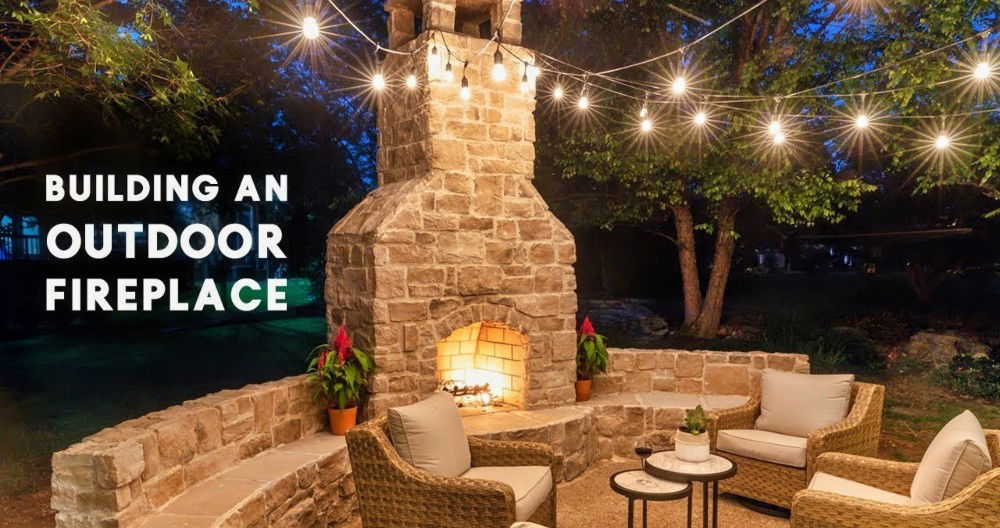
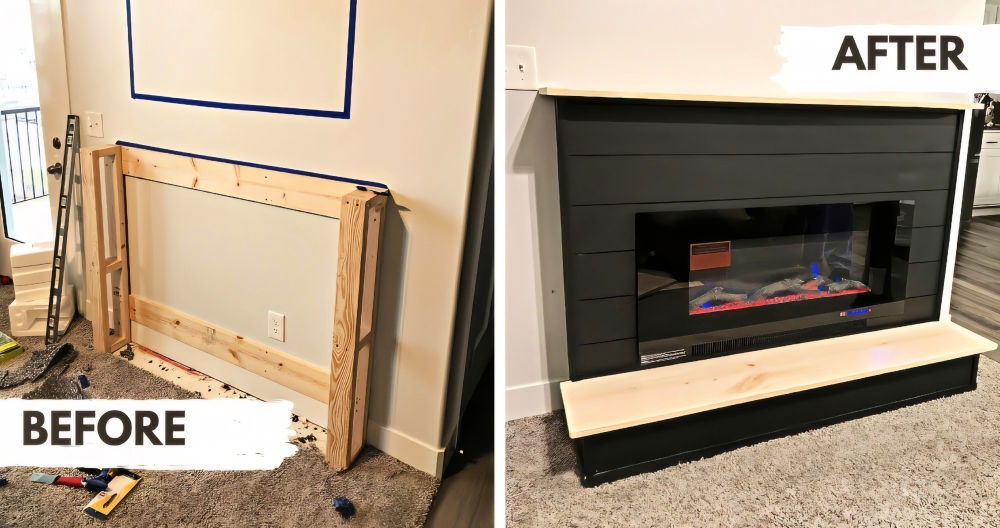
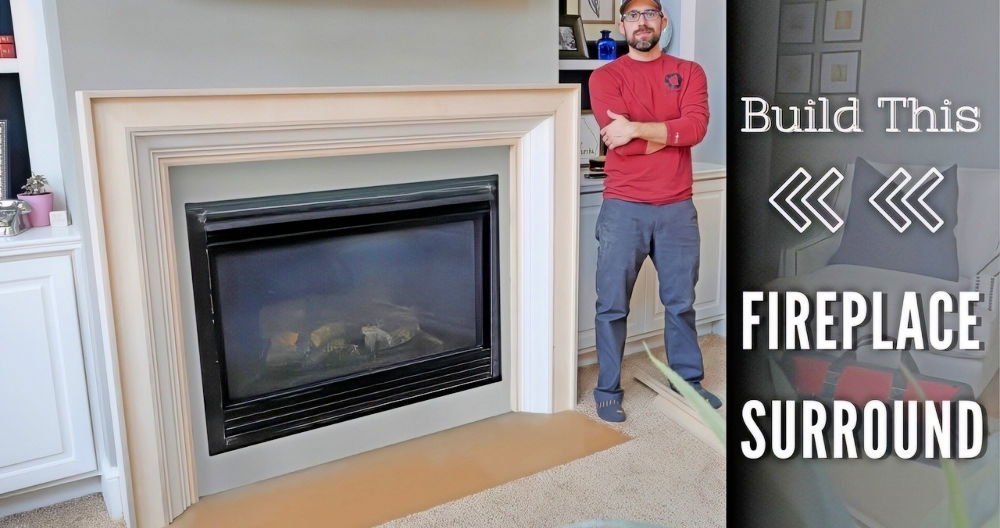
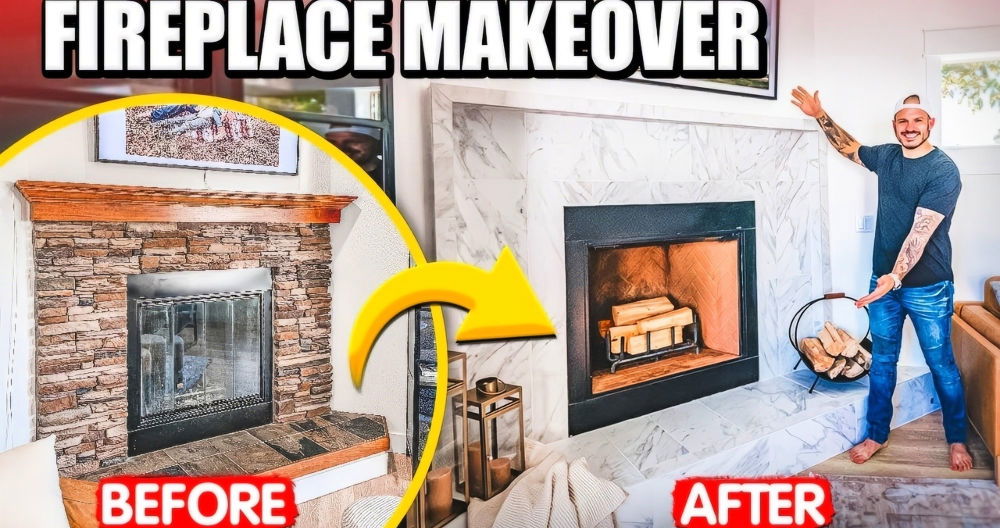
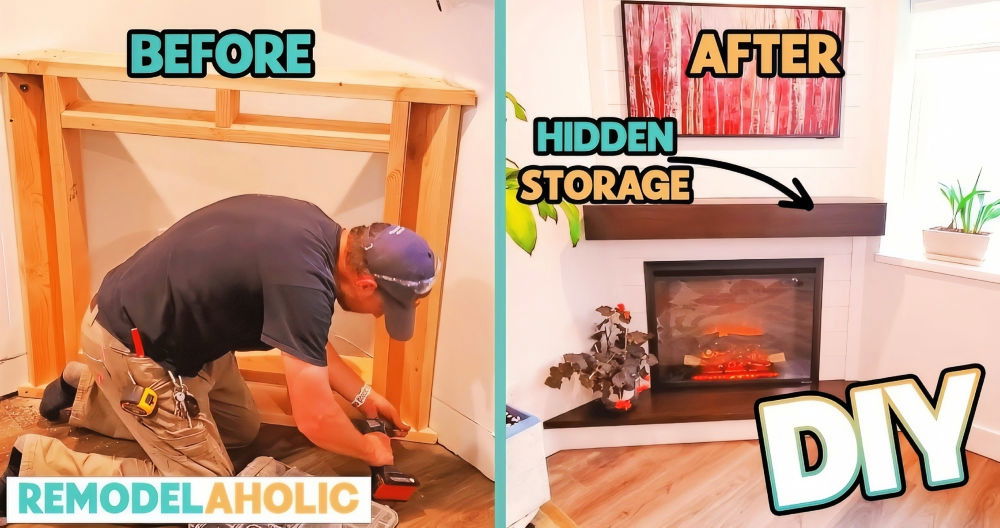
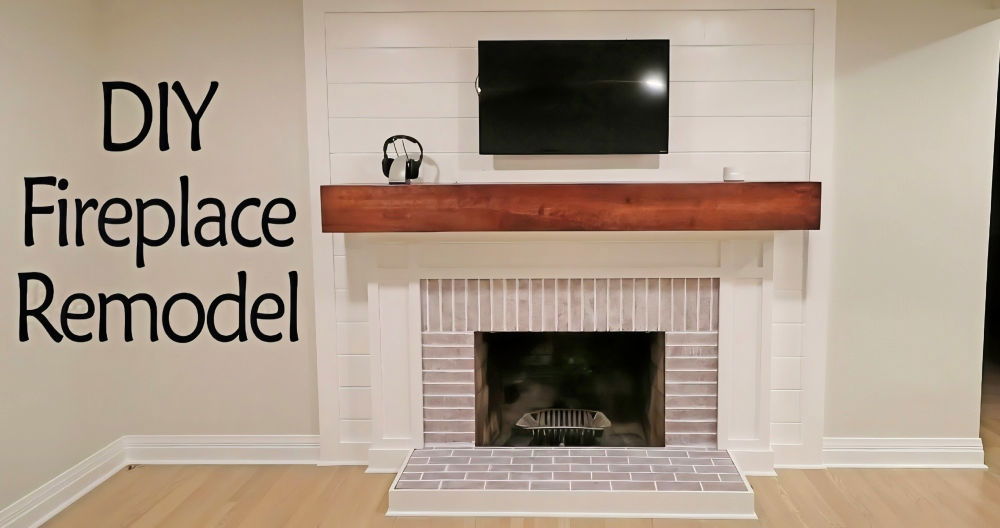
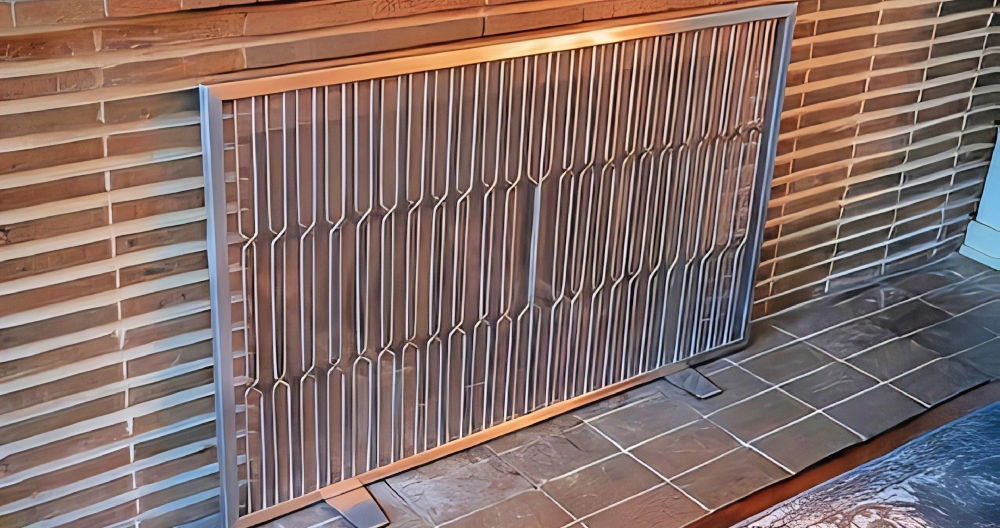
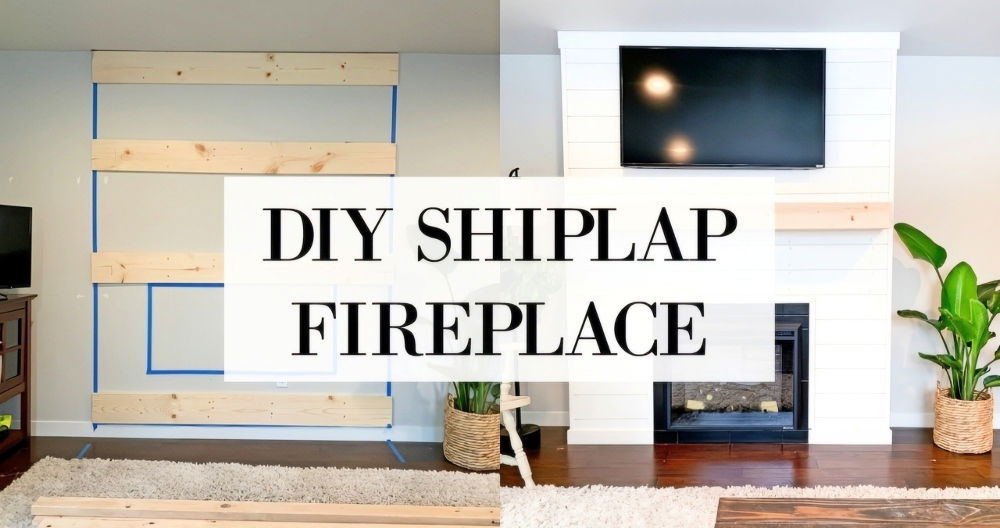
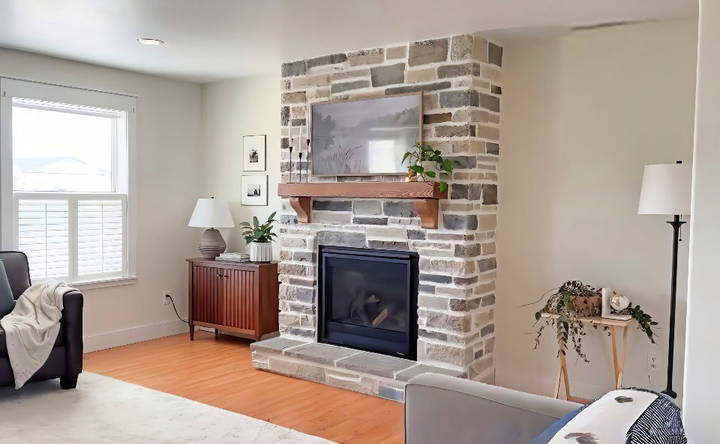
Starting my DIY stone fireplace project gave me a sense of purpose. With a few tools and materials, I sketched out a simple plan. Using rocks from my backyard, I slowly formed the structure. Mixing cement was tricky, but I managed. By sticking to the basics, the task felt manageable. Building each part was satisfying and boosted my confidence.
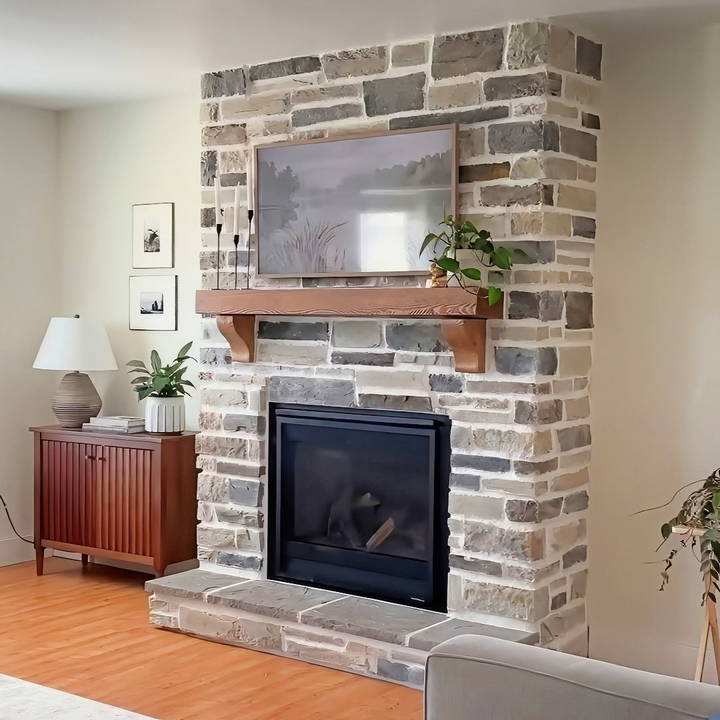
Completing the fireplace felt rewarding. Watching the first fire in my handmade piece filled me with pride. The warmth it brought wasn't just physical; it symbolized the hard work put into building it.
Now, as you read on, I hope my story inspires you. These tips and steps below will help you start your own DIY stone fireplace.
Getting Started: Materials and Planning
Firstly, it's crucial to acknowledge that a stone fireplace is not just another DIY project. It demands thorough planning, a bit of muscle, and, most importantly, patience. For my project, I used the following materials:
- Stone veneer: The hero of the project. I chose a mix of sizes for a natural look.
- Type S mortar: For securing the stones.
- Cement board: As a backer
- 2x4s and plywood: For framing.
- Cement dye: To color the mortar, giving a seamless look with the stones.
- Tools like a trowel, a masonry bit, a cut-off wheel, a hammer, and a sponge.
Selecting these materials was based on my research and advice from professionals. Each material serves a specific purpose, from the cement board providing a solid foundation for the veneer, to the mortar ensuring the stones stay in place.
Step by Step Instructions
Learn how to make a stunning DIY stone fireplace with our step-by-step guide. From framing to the final touches, get tips for the perfect finish.
Framing and Preparing the Base
The adventure started with framing. I marked the center line of my wall meticulously, as this would determine the entire fireplace's positioning. After removing baseboards and planning the hearth, I built a platform using 2x6s for the hearth and then framed the fireplace structure. Precision here is key; I ensured everything was squared and securely attached to the wall studs and the floor for stability.
Installing Cement Board and Electrical Setup
Next was the cement board installation. Honestly, it seemed daunting at first, but with the right screws (make sure they're suitable for cement boards to prevent corrosion), it was relatively straightforward. This step is pivotal because the cement board acts as a sturdy base for the stone veneer. Also, I factored in the electrical setup for a future TV above the fireplace, planning the outlet and cable placements strategically.
Mortar Mix and Stone Veneer Application
Now, onto the most thrilling yet challenging part: mixing mortar and applying the stone veneer. Getting the mortar consistency right was a learning curve. It needs to be just wet enough to adhere but not too wet that stones slide off. Applying mortar to each stone and then to the cement board, ensuring a strong bond, was a meticulous process. Each stone was carefully chosen and placed, making a stunning, random pattern.
Cutting Stones and Addressing Challenges
Cutting stones to fit precisely was another skill I honed. Using a cut-off wheel made it easier, but it was still important to plan each cut strategically. The goal was to have cut edges in less visible places, maintaining the natural look of the veneer. There were moments of frustration, like stones not sticking initially or adapting to the right mortar consistency, but each hurdle was a learning opportunity.
The Final Touches: Hearth and Grouting
For the hearth, similar principles applied, but the stones here required a thicker bed of mortar. Leveling each stone on the hearth to ensure a flat surface was satisfying, marking the nearing end of the project. Grouting (or overgrouting, in my case for a rustic look) was the final, messy, yet transformative step. Mixing the mortar with a bit more water and applying it generously between the stones, then smoothing it out, resulted in the overgrouted look I desired.
Troubleshooting Guide for DIY Stone Fireplace
When building and enjoying your DIY stone fireplace, you might encounter some issues. Here's a guide to help you troubleshoot common problems:
Stones Are Loose or Falling Off
- Solution: Check the mortar's consistency before applying; it should have a peanut butter-like texture. If stones are already loose, carefully remove them, clean the area, and reapply mortar. Allow it to cure according to the manufacturer's instructions.
Smoke Entering the Room
- Solution: Ensure the damper is fully open when starting a fire. If the problem persists, inspect the chimney for blockages and consider extending the chimney height to improve draft.
Mortar Cracking
- Solution: Cracks can occur due to temperature changes or settling. Small cracks can be filled with refractory caulk. For larger issues, remove the affected mortar, clean the area, and repoint with new mortar.
Difficulty in Lighting the Fire
- Solution: Use dry, seasoned wood and kindling to start your fire. Arrange the wood to allow airflow, and consider using a fire starter for assistance.
Excessive Soot Buildup
- Solution: Burn only seasoned wood to reduce soot. Regularly clean the fireplace and chimney, and schedule annual inspections by a professional.
Heat Not Distributing Evenly
- Solution: Consider installing a blower or fans to circulate the heat. Ensure furniture isn't blocking the fireplace's heat output.
Fireplace Smells
- Solution: Odors can be due to creosote buildup or dampness. Clean the fireplace and chimney, and ensure the area is well-ventilated.
Safety first! Always wear protective gear when working on your fireplace, and consult professionals if you're unsure about any steps.
Safety Precautions for DIY Stone Fireplace Projects
When embarking on a DIY stone fireplace project, safety is paramount. Here are some key precautions to ensure your project is not only successful but also safe:
Wear Protective Gear
Always wear safety goggles, gloves, and a dust mask when handling stones and mortar to protect against flying debris and inhalation of fine particles.
Ventilation is Crucial
Proper ventilation is essential to prevent dangerous fumes from accumulating. Ensure your workspace is well-ventilated, especially when working with adhesives or sealants.
Fire Safety
Before lighting your fireplace, check for flammable materials nearby. Keep a fire extinguisher accessible in case of emergencies.
Tool Safety
Use tools appropriately and keep them in good condition. Read the manuals for any power tools, and never leave them unattended when plugged in.
Lifting Techniques
Stone is heavy. Use proper lifting techniques—bend at the knees and keep your back straight—to avoid injury. Consider using a dolly or asking for assistance with heavier stones.
Building Codes and Regulations
Familiarize yourself with local building codes and regulations. Obtain any necessary permits before starting your project.
Professional Advice
If you're unsure about any aspect of the construction, consult a professional. This is especially important for structural and ventilation concerns.
By following these safety precautions, you can enjoy the process of making your stone fireplace while minimizing risks.
FAQs About DIY Stone Fireplace
Discover answers to FAQs about DIY stone fireplaces: materials, tools, and step-by-step guidance for your stone fireplace project.
The time it takes to build a stone fireplace can vary greatly depending on the complexity of the design and your skill level. A simple design could take a weekend, while more intricate designs could take several weeks. It’s important to take your time to ensure a safe and beautiful result.
While you don’t need to be a professional, some masonry experience is helpful. Understanding how to select and apply mortar, position stones, and ensure the structure is safe and stable is crucial. There are many resources available to guide you through the process.
Regular maintenance includes cleaning the stones with a brush and mild detergent, checking for any loose stones or mortar, and ensuring the firebox and chimney are clean and clear of debris. Annual inspections by a professional are recommended to maintain safety and efficiency.
Yes, you can add a stone fireplace to an existing home. However, it's important to consult with a structural engineer to ensure your home can support the weight of the stone. You'll also need to adhere to local building codes and possibly obtain permits. It's crucial to have a proper foundation and support for the fireplace.
When designing your stone fireplace, consider the size and layout of the room. A larger room might benefit from a grand, floor-to-ceiling design, while a smaller space may require a more compact fireplace. Sketching your design or using design software can help visualize the end result. Additionally, browsing design ideas online or in magazines can provide inspiration and practical tips for your project.
Reflection on the Journey
This DIY stone fireplace project transformed my space and taught me valuable skills. Give it a try and see your hard work come to life.


