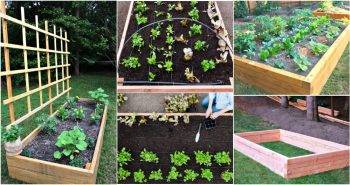
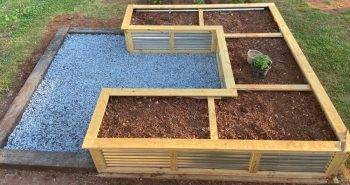
Building a DIY raised garden bed is a fantastic way to elevate your gardening experience, providing you with a designated area to grow plants while improving drainage, preventing soil compaction, and minimizing pest issues. While raised beds are commonly built using wood, one of the best materials you can use is stone. Stone garden beds are more durable, aesthetically pleasing, and will stand the test of time compared to their wooden counterparts.
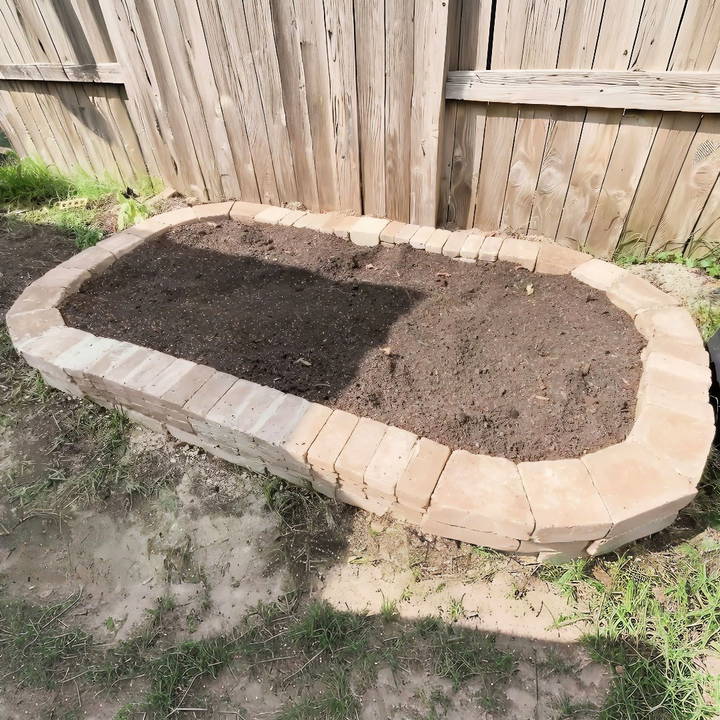
Why Choose a Stone-Raised Garden Bed?
Before we jump into the building process, let's briefly explore the benefits of using stones to construct your garden bed:
- Durability: Unlike wood, which may rot or degrade over time, stone is much more resilient and can last for decades.
- Aesthetic Appeal: Stone can complement the natural surroundings of your garden and give a timeless, rustic look.
- Low Maintenance: Once the stones are set and glued, there's very little maintenance needed. No need to replace boards or worry about warping or splintering.
- Environmental Impact: Using natural stone minimizes the need for treated wood, which often contains chemicals that can leach into the soil.
While the initial cost may be higher than using wood, a stone-raised bed is a worthwhile long-term investment for any gardener.
Materials Needed
To start, you will need the following materials for your stone raised garden bed. Here's a breakdown of what you will need:
- Stones: For this project, I used different types of interlocking and mini stones. You'll need three layers of stones to build a solid structure:
- First Layer: 32 interlocking stones (10 x 3.5 x 7 inches) and 2 mini stones (7 x 3.5 x 1.75 inches).
- Second Layer: 82 mini stones (7.5 x 5 x 1.75 inches), 12 interlocking stones (10 x 3.5 x 7 inches), and 4 square stones (7 x 3.5 x 7 inches).
- Third Layer: 13 interlocking stones (10 x 3.5 x 7 inches), 8 square stones (7 x 3.5 x 7 inches), and 62 mini stones (7.5 x 5 x 1.75 inches).
- Landscaping adhesive: A strong adhesive to hold the stones together. You will need 7 tubes of 11-ounce adhesive or 2 larger 28-ounce tubes.
- Chalk gun: To apply the adhesive, particularly if using the larger tubes.
- Landscaping spray paint: For marking the area where your raised bed will sit.
- Paver base sand: To fill gaps in the base and help build a level surface.
- Tamper tool: To flatten and compact the soil where the bed will be constructed.
- Level: To ensure each layer of your stone bed is even.
Step by Step Instructions
Learn how to build a DIY stone-raised garden bed with our step-by-step instructions—perfect for beginners. Start your gardening project today!
1. Plan and Mark Your Area
Start by determining the location and size of your raised bed. The standard size is 8 feet by 4 feet, which is large enough to grow a variety of plants but still easy to manage. Once you've selected your area, use landscaping spray paint to outline the bed's perimeter. This visual guide will help you keep everything in the correct place as you work.
2. Prepare the Ground
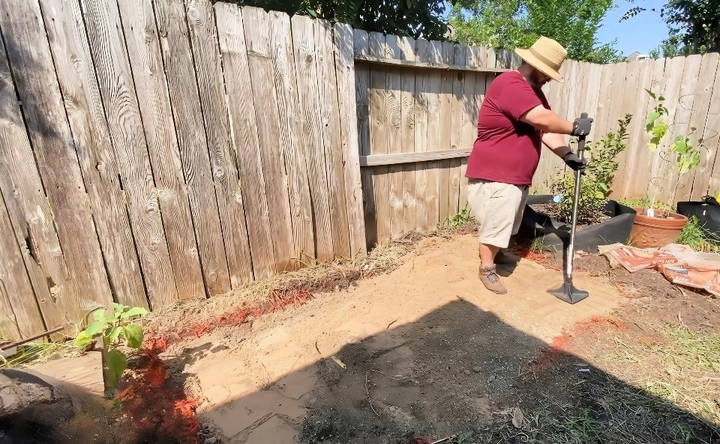
Your stone bed will be much more stable if it's built on a level surface. Here's how to do it:
- Use a shovel to remove any grass or plants from the designated area.
- Fill any uneven spots or low areas with paver base sand.
- Use a tamper tool to compact and flatten the sand and soil, ensuring the ground is level. This step is crucial for ensuring the stability of your raised bed.
3. Lay the First Layer of Stones
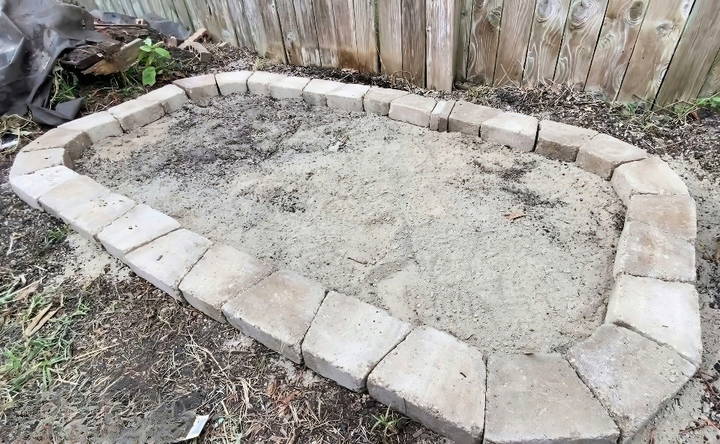
The first layer sets the foundation, so take your time and make sure it's perfect. You will need to place:
- 32 interlocking stones around the perimeter of your bed, with the two mini stones added to fill any gaps.
- Ensure that each stone is level. Use your level frequently to double-check that everything is even and adjust the stones as needed.
This initial layer is critical for the stability of the entire structure, so don't rush through it.
4. Apply Landscaping Adhesive
After laying the first layer, you'll want to secure the stones by applying landscaping adhesive between them. Here's how:
- Load your chalk gun with the adhesive and apply a bead of adhesive between each stone, making sure to glue them together firmly.
- If you are using the larger 28-ounce adhesive tubes, ensure you have a larger chalk gun that can handle them. The smaller tubes run out quickly, and the larger ones will save time in the long run.
- Allow the adhesive to set for a bit before proceeding to the next layer.
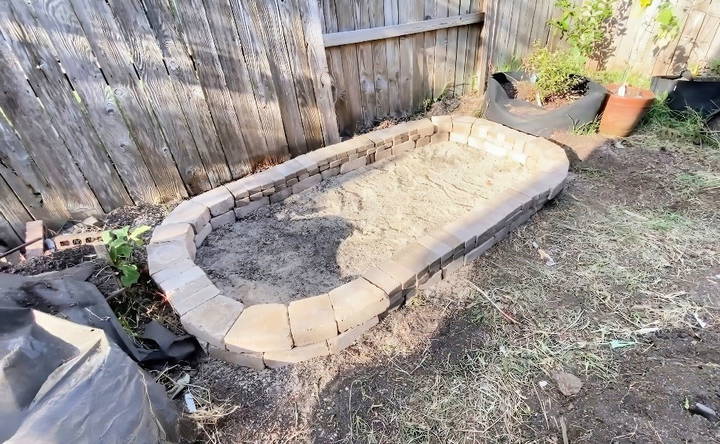
5. Add the Second Layer of Stones
Now, begin building the second layer:
- Start with 82 mini stones. These smaller stones fit between the larger interlocking stones from the first layer.
- You will also need 12 more interlocking stones and 4 square stones for additional support in the corners and along the sides.
- Again, apply adhesive between each stone to ensure they are secure.
- Continue checking that the layer is level as you go. An uneven second layer could result in a crooked or unstable raised bed, so be diligent.
6. Construct the Third Layer
The third and final layer will complete the raised bed:
- Use 13 interlocking stones, 8 square stones, and 62 mini stones to form the last layer.
- Just like before, use landscaping adhesive between each stone to secure them in place.
- Make sure that the third layer lines up with the second and first layers to build a seamless and stable wall.
- Check the level one last time to ensure the entire bed is even and ready for use.
7. Finishing Touches
Once the structure is complete, let the adhesive cure for at least 24 hours before filling the bed with soil. You can use a high-quality garden soil mix that's rich in nutrients for the best results.
Fill the raised bed to about 85-90% full with soil to allow room for your plants. After the soil settles over time, you may need to add more.
8. Start Planting
Now that your raised garden bed is complete, it's time to plant! Raised beds are perfect for growing vegetables, herbs, and flowers because they offer superior drainage, reduce the risk of soil compaction, and give you control over the soil quality.
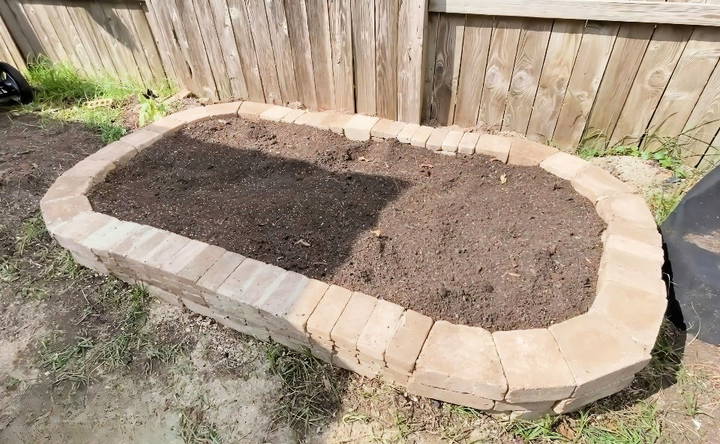
Make sure to water the plants thoroughly after planting and enjoy the benefits of your new stone raised garden bed.
Tips for Long-Term Maintenance
While stone beds are much more durable than wooden beds, a few maintenance tips will keep them looking and functioning their best:
- Weed Control: Install landscape fabric at the bottom of the bed before adding soil to prevent weeds from growing up through the bed.
- Regular Inspection: Check the stones periodically to ensure none have shifted or become loose. Reapply adhesive if needed.
- Soil Health: Every year, replenish the soil by adding compost or new topsoil to ensure your plants have the nutrients they need.
Conclusion
Building a stone-raised garden bed might take a little more time and investment upfront, but the result is a sturdy, beautiful garden structure that will last for years to come. The steps outlined above ensure that your bed will be level, strong, and ready for planting.
Not only will a stone-raised bed add to the aesthetic appeal of your garden, but it will also provide an optimal growing environment for your plants. Enjoy the lasting benefits of your stone bed and happy gardening!
FAQs About Building a Stone Raised Garden Bed
Discover answers to common questions about building a stone-raised garden bed, from materials needed to design tips and maintenance advice.
To ensure the bed is level, first clear the area and fill any low spots with paver base sand. Use a tamper tool to compact the soil. After placing each stone layer, use a level to check for evenness before moving on.
Building a stone-raised bed can cost between $500 and $600, depending on the size and materials used. While pricier than wood, the durability of stone makes it a long-term investment.
Yes, staggering the stones (i.e., offsetting the seams) builds a stronger and more stable structure. It also adds to the visual appeal of the raised bed.
Remove invasive plants like bamboo before starting your project. Digging up the roots and using landscape fabric can help prevent regrowth.
Yes, pill bugs may nest in the crevices of the stones. To deter them, consider planting marigolds alongside your vegetables or regularly inspect and manage pests.
For a standard-sized bed, you will need around seven 11-ounce tubes or two larger 28-ounce tubes of landscape adhesive. A caulk gun is necessary to apply the adhesive.
Stone-raised beds are versatile and can be used for growing a variety of plants, including vegetables, herbs, and flowers. Due to good drainage, they are ideal for plants that prefer well-drained soil, like tomatoes and peppers.
Yes, while adhesive is recommended for added stability, especially for taller beds, you can stack stones without it. However, the structure may be less secure.
Check the stones periodically, especially after heavy rainfall or winter. Reapply adhesive if necessary to prevent stones from loosening or shifting.
Raised beds tend to attract fewer pests than in-ground gardens, but some pests like pill bugs might hide in stone gaps. Regular monitoring and using natural repellents can help control them.


