Making your own DIY storm windows can be a practical, rewarding project that not only enhances your home's insulation but also adds to its aesthetic, especially if you have a historic or older house with double-hung windows. In this guide, you'll find detailed instructions on everything from gathering the right tools and materials to finishing touches, helping you build durable, energy-saving storm windows to protect your home.
Why DIY Storm Windows?
DIY storm windows offer a range of benefits:
- Energy Efficiency: They provide an extra layer of insulation, reducing drafts and lowering heating costs.
- Preservation of Original Windows: Storm windows protect original wood windows, extending their lifespan.
- Cost-Effectiveness: Making storm windows yourself is significantly cheaper than buying custom storm windows or full window replacements.
- Noise Reduction: They help block outside noise, making your home quieter.
Tools and Materials You'll Need
Building storm windows doesn't require advanced woodworking skills or costly tools. Here's what you'll need:
Tools:
- Table Saw: For cutting wood pieces to the right size.
- Mitre Saw: Helps in making precise angle cuts.
- Laminate Router: Used for making a rabbet (recess) along the edges to hold the glass.
- Kreg K4 Pocket Hole Jig: A jig that makes it easy to drill angled holes for strong joints.
- Chisel: Useful for cleaning up the corners after routing.
- Clamps: Essential for holding the frame pieces together during assembly.
- Flush Cut Saw: Trims excess wood for a clean, smooth finish.
- Sandpaper: 80 grit and 150 grit, for smoothing the wood surfaces.
- Glazing Point Driver: For securing the glass in place.
Materials:
- 1x4 and 1x6 Cypress: Durable wood resistant to moisture, ideal for outdoor use.
- Titebond III Wood Glue: Waterproof glue suitable for outdoor conditions.
- 1¼-inch Pocket Hole Screws: Recommended for ¾-inch thick wood.
- Oil-Based Primer: Provides a durable, water-resistant undercoat.
- Glass Panels: Custom cut to fit the window frame.
- Glazing Putty: Used to seal the glass in place.
- Whiting Powder: For cleaning glass after applying putty.
Step by Step Instructions
Learn how to build DIY storm windows with step-by-step instructions. Enhance your home's efficiency and appearance with ease and precision.
Step 1: Measure and Cut the Wood
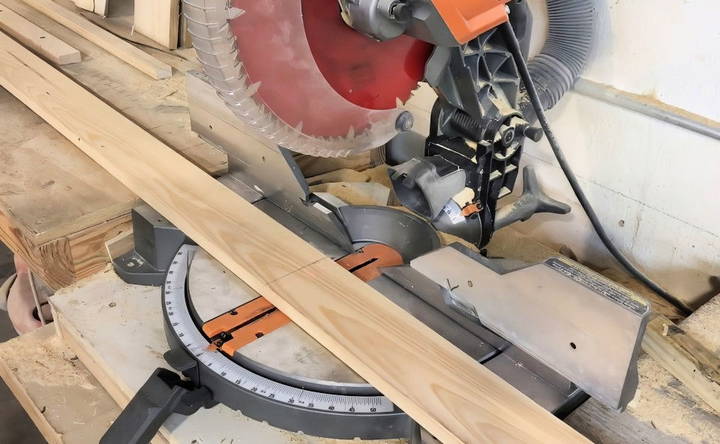
- Choose Your Wood: Cut 1x4 and 1x6 Cypress boards to length based on your window dimensions. Cypress is moisture-resistant and holds up well outdoors.
- Rip the Boards: On a table saw, rip the 1x4 and 1x6 boards to the specified dimensions.
- The 1x4 should be ripped in half to form the side pieces (stiles).
- The 1x6 will be cut into three sections for the top rail, meeting rail, and bottom rail.
Step 2: Assemble the Frame with Pocket Holes
- Drill Pocket Holes: Use the Kreg Pocket Hole Jig to drill holes for each joint.
- The bottom rail will have wider spaced pocket holes for stronger support.
- The top rail should have pocket holes placed close together.
- Clamp and Screw: Align each joint precisely, clamp them, and drive 1¼-inch screws through the pocket holes. This keeps the frame sturdy and prevents movement during assembly.
- Apply Wood Glue: After assembling the frame, apply a generous amount of Titebond III glue to each joint to strengthen the connection. Wipe away any excess glue to prevent bumps in the finish.
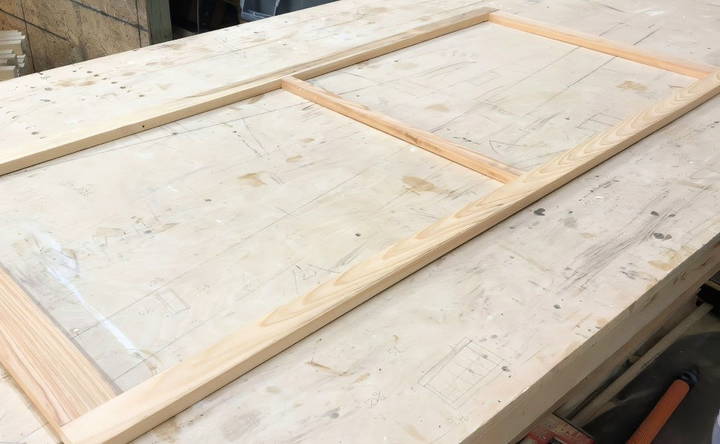
Step 3: Sand and Shape the Frame
- Sand the Frame: Smooth the edges and surfaces with 80-grit sandpaper, focusing on areas where joints may have rough spots. This also helps the primer adhere better.
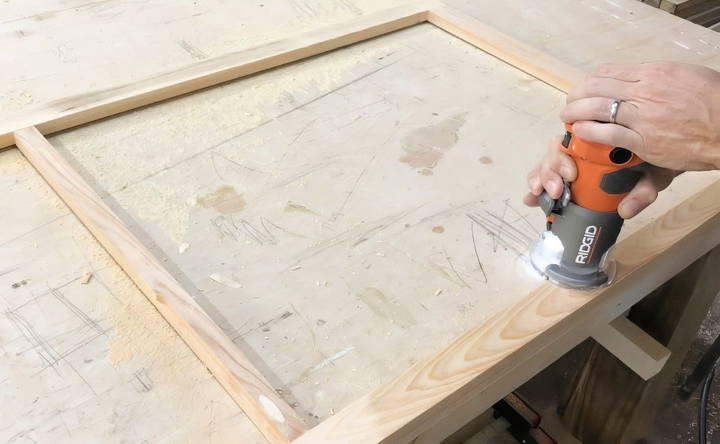
- Route the Rabbet for the Glass: Using a laminate router with a rabbeting bit, build a recess along the frame's interior edges. This rabbet will hold the glass securely.
- Square the Corners: Since routing leaves rounded corners, use a chisel to square them off. This step is crucial because any leftover wood can interfere with the glass, potentially causing breakage.
Step 4: Prime the Frame
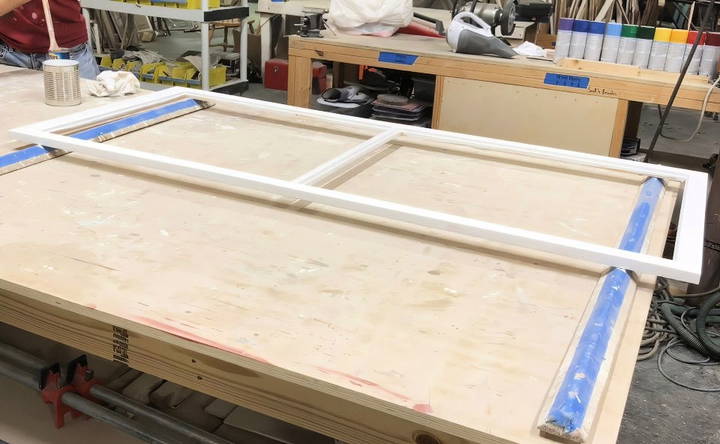
- Apply Oil-Based Primer: To protect the wood, coat the entire frame with an oil-based primer. Be thorough, especially in the rabbets where the glass will sit. Let the primer cure for about 12 hours.
- Sand After Priming: Once dry, sand with 150-grit sandpaper to smooth any rough spots, ensuring an even surface for painting later.
Step 5: Cut and Fit the Glass
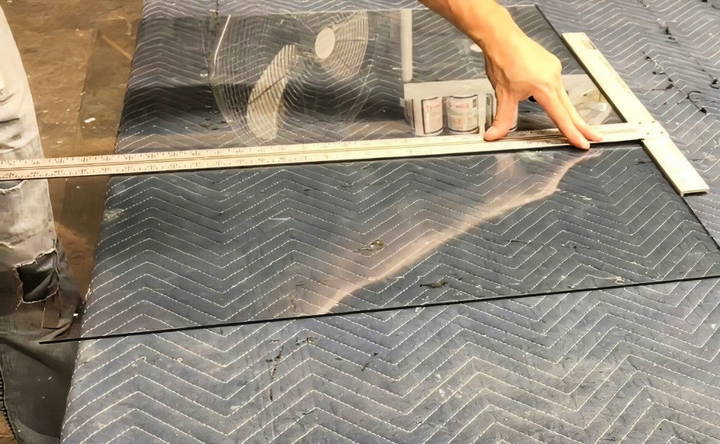
- Measure the Glass Accurately: Each window opening may be slightly different, so measure each one carefully. The top and bottom sections might not be identical.
- Cut the Glass: Using a T-square and a carbide glass cutter, score the glass along your measured line and snap it cleanly. Always handle glass with care and wear protective gloves.
- Test Fit: Place the glass into the rabbet to check that it fits perfectly. If adjustments are needed, trim the wood or carefully re-measure and cut the glass.
Step 6: Glaze the Glass
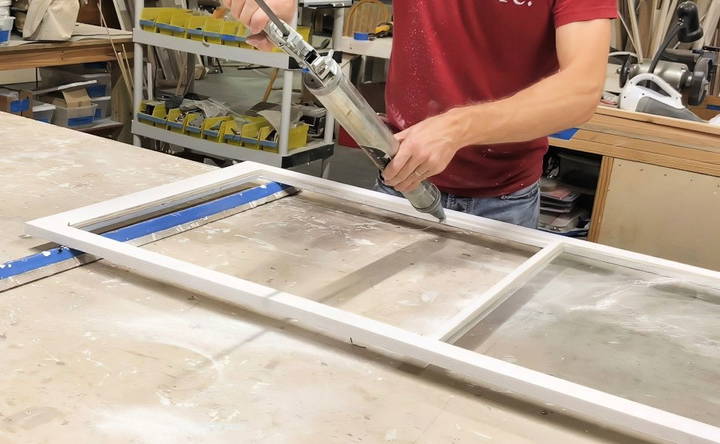
- Apply Glazing Putty: After fitting, apply a thin layer of putty around the rabbet. The putty will build a seal between the glass and the wood, holding it securely.
- A caulk gun filled with putty can make this step easier, but a putty knife works well, too.
- Set the Glass: Press the glass firmly into the putty, ensuring there are no gaps.
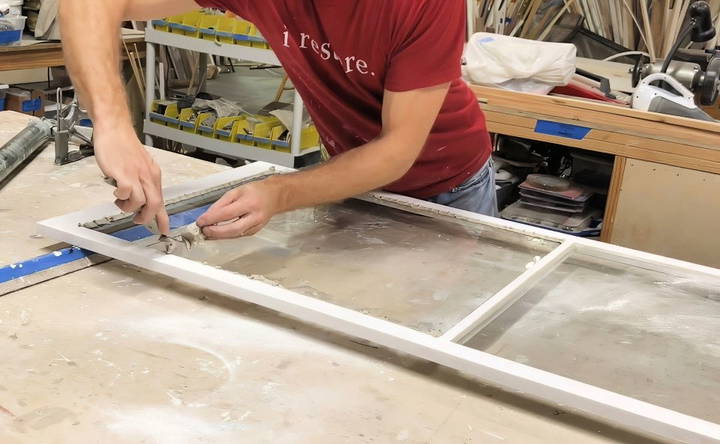
- Secure with Glazing Points: Use a glazing point driver to insert small metal points around the perimeter of the glass, which will keep it stable.
- Add Putty Bevels: Apply a second layer of putty around the outer edge of the glass and smooth it to a 45-degree bevel with your putty knife. This builds a clean, weather-resistant seal.
Step 7: Clean the Glass and Final Touches
- Dust with Whiting Powder: Whiting powder helps absorb any residual oils from the glazing putty on the glass, giving it a clean finish.
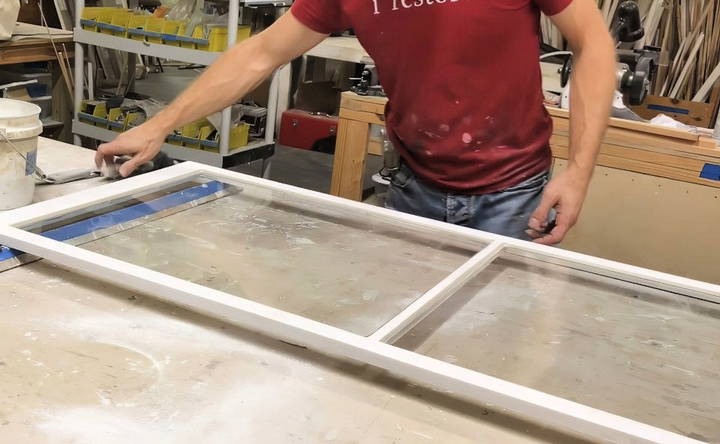
- Final Sanding: Lightly sand any excess putty or imperfections around the frame edges.
- Paint the Frame: After allowing the putty to set for a few days, apply a durable exterior paint to the frame to ensure a weather-resistant finish.
Tips for Success
- Use Clamps: Clamping is essential for alignment and prevents the wood from shifting while securing pocket screws.
- Thorough Cleaning: Keep the working area clean, especially when priming and glazing, to avoid debris getting on the glass or into the putty.
- Check Squareness: Before inserting glass, measure the diagonal lengths to ensure the frame is square. Adjust if needed.
- Safety Precautions: When handling glass, always wear gloves and eye protection.
Benefits of DIY Storm Windows
- Energy Efficiency: The added layer of glass and insulation keeps warm air inside during the winter and blocks drafts, reducing your heating costs.
- Preservation: For those with historic or double-hung windows, storm windows protect original frames from the elements, reducing the need for costly replacements.
- Aesthetic Appeal: Unlike many store-bought options, a DIY storm window can be customized to match the architecture of an older home.
- Noise Reduction: These windows also act as a buffer against outside noise, making your indoor environment quieter.
Troubleshooting Common Issues
- Glass Doesn't Fit: If the glass is too tight, remove it and sand down the rabbet slightly. Avoid forcing it, as this can lead to cracks.
- Putty is Uneven: Take your time when applying the putty, and practice smoothing it with a putty knife to get a professional finish.
- Frame Isn't Square: If the frame feels off, re-measure each piece and make small adjustments before assembling.
Maintaining Your Storm Windows
- Repaint Every Few Years: Regular painting helps maintain the frame and keeps moisture out.
- Inspect the Putty: Over time, glazing putty may crack. Check it every season and apply new putty if necessary.
- Clean the Glass: Use a non-abrasive glass cleaner to maintain a clear view and protect the glazing putty.
Conclusion:
Building DIY storm windows requires patience and precision, but the results are well worth it. Not only do they improve energy efficiency and reduce noise, but they also add an element of classic charm to older homes. With the right tools and attention to detail, you can build storm windows that are as functional as they are attractive—perfect for keeping your home comfortable through any season. So, gather your tools and get started on this rewarding DIY project!
FAQs About DIY Storm Windows
Discover answers to common questions about DIY storm windows. Enhance energy efficiency and protect your home with our expert tips and guidance.
To make a clean break, use a dowel under the score line for support before snapping the glass. Also, adding a drop of 3-in-1 oil to the glass cutter’s wheel can make it glide smoothly and last longer.
Yes, plexiglass can be used, especially for interior storm windows, but it may yellow and warp in sunlight if used externally. Plexiglass also lacks the thermal and noise insulation benefits of regular glass.
Cypress is chosen for its rot resistance, ideal for exterior use. If it’s unavailable, red cedar or redwood are also good options due to their durability and resistance to decay.
For additional protection, some users suggest beveling the bottom rail to match the window sill’s angle, allowing rainwater to run off instead of pooling at the bottom of the frame.
It’s possible to make simpler frames with hand tools like a circular saw and a chisel, though achieving clean rabbets and smooth edges will be more challenging. For a quicker, rigid frame, consider layering cut plywood instead of traditional joinery.
Installing weep holes at the bottom of the frame helps with drainage and airflow, reducing condensation risk. The typical recommendation is three 1/2” holes along the bottom rail.
Glazing putty is preferred because it’s renewable and doesn’t harm wood fibers upon removal. Silicone can bond too strongly, often damaging the wood if removed and may need replacement sooner.
1/8-inch annealed glass is ideal for storm windows. For additional noise reduction, laminated glass can be used, though it may be more costly.
Yes, it's best to cut the glass slightly undersized to allow for expansion and fitting adjustments, reducing the risk of stress fractures when setting the glass in place.
Storm windows typically mount with hangers at the top and latches at the bottom, allowing for seasonal removal and easy installation without drilling directly into the primary window frame.
For flexibility, you can design the frame with removable panels. Use a rabbet on both sides and secure glass or screen panels using clips, allowing easy switching between glass and screen.


