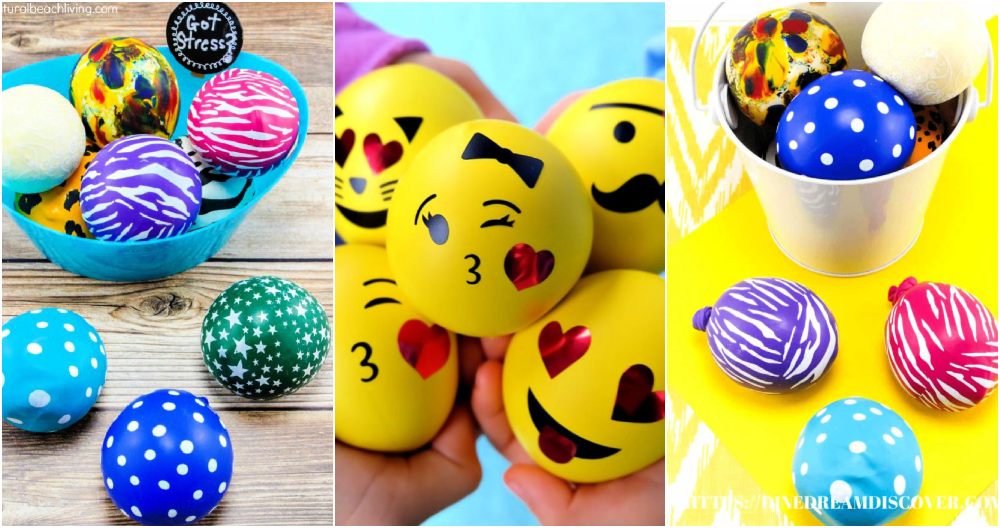
Making DIY stress balls for kids has been a fun and calming activity for my family and me. One rainy afternoon, we gathered some simple supplies like balloons, flour, and a funnel. With smiles on our faces, we followed easy steps to fill the balloons with flour. We all enjoyed the process, and my kids were delighted to squish their new homemade stress balls.

These DIY stress balls not only brought us a stress-relief tool but also a wonderful bonding time. Watching my kids use them, I saw how they found comfort in squeezing the balls when feeling anxious.
I'm confident that this guide will help you make homemade stress balls, too. You'll find the steps simple and rewarding, and it will bring joy and relaxation to your family.
Benefits of Stress Balls
Stress balls are more than just a fun, squishy object; they serve a practical purpose in both mental and physical health. Here's how they can be beneficial:
- Mental Clarity and Focus: When you're feeling overwhelmed, squeezing a stress ball can help redirect your energy and attention. This simple action can break the cycle of stress and give your mind a moment to reset, improving focus and productivity.
- Stress and Anxiety Relief: The repetitive motion of compressing a stress ball can be a form of mindfulness, which has been shown to reduce feelings of stress and anxiety. It's a discreet way to manage your stress levels, whether you're at work, home, or on the go.
- Physical Rehabilitation: If you're recovering from an injury or suffer from conditions like arthritis, stress balls can aid in strengthening your hand muscles and improving grip strength. They're often used in physical therapy to help with rehabilitation.
- Enhanced Blood Circulation: Using a stress ball stimulates the muscles of your hands and wrists, which can improve blood circulation. Better circulation can lead to increased hand dexterity and warmth.
- Pain Reduction: For those who experience repetitive strain injuries from tasks like typing, stress balls can provide a form of relief by altering the focus and reducing the perception of pain.
- Emotional Expression: Stress balls can also serve as an outlet for emotional expression. Squeezing a stress ball can be a physical way to release frustration or anger without causing harm.
Using a stress ball daily enhances well-being. It aids mental relaxation and physical health, making it a great stress management tool.
Materials You'll Need and Why:
- Empty Water Bottle: To securely transfer flour into the balloon without making a mess.
- Balloon: Acts as the exterior of your stress ball. Feel free to choose colorful or patterned ones for extra fun!
- Flour: Serves as the filling, providing the perfect texture for squeezing.
- Marker Pen: To bring your stress ball to life with a face or unique designs. Ensure it's suited for use on balloons.
- Wool (Optional): For adding quirky hair to your stress ball, making it even more personalized and fun.
- Funnel (DIY or Pre-made): Vital for a mess-free transfer of flour into your water bottle.
Step by Step Instructions
Make your own stress ball with our easy step-by-step guide. Learn how to make a DIY stress ball with simple materials and personalized touches.
Step 1: Preparing Your Materials
I started by setting up my workspace in the kitchen (definitely don't choose your bedroom for this; you'll thank me later) and gathered all my materials. Making a funnel out of paper was a breeze and taping it well ensured it held up during the flour transfer process.
Step 2: Filling the Bottle with Flour
Getting the flour into the bottle was surprisingly therapeutic. I cut the corner of my flour bag and poured it into the funnel. Yes, a bit of flour ended up on the counter, but that's part of the fun, right? Remember, it's all about experimenting with the quantity but aim for what you think will fill up your balloon nicely.
Step 3: Blowing Up the Balloon
Blowing up the balloon slightly before attaching it to the bottle was a game-changer. It made stretching the balloon over the bottle's neck easier and prevented the dreaded flour puff-back when I eventually deflated it.
Step 4: Transferring Flour to the Balloon
This part required a bit of technique. After securely attaching the balloon to the bottle and ensuring no gaps, I gently squeezed the bottle to funnel the flour into the balloon. It took a few squeezes and shakes to get the flour moving, but seeing the balloon fill up was quite satisfying.
Step 5: Releasing the Air and Tying the Balloon
Letting the air out slowly was crucial. I momentarily feared flour would fly everywhere, but careful control prevented any mess. Tying the balloon was easier than anticipated, and I was left with a nearly finished stress ball!
Step 6: Giving It Personality
Drawing on the balloon with a marker pen brought my stress ball to life. I opted for a simple smiley face, but the possibilities here are endless. Adding wool for hair was a quirky touch that added character.
Step 7: Enjoy Your Stress Ball!
After a short drying period for the marker ink, my stress ball was ready. The satisfaction of making something not only adorable but also useful was immense.
Customization Ideas
Making your own stress ball is not just about stress relief; it's also an opportunity to express your creativity. Here are some ideas to make your stress ball uniquely yours:
- Choose Your Colors: Pick balloon colors that make you happy or calm. You can even layer balloons for a cool two-tone look.
- Filler Fun: Beyond the usual flour or rice, consider filling your stress ball with fine sand for a different feel. Or, use beads for a light massage effect as you squeeze.
- Add a Scent: For a soothing experience, add a few drops of essential oil like lavender or chamomile to the filler.
- Get Crafty with Faces: Draw faces on your stress ball to reflect different emotions. It's a fun way to express how you're feeling.
- Fabric Covers: Sew a simple fabric cover for your stress ball. This can add durability and texture.
- Glitter and Glow: Mix in some glitter with your filler for a sparkly effect. Or use glow-in-the-dark paint for a stress ball that lights up the night.
- Nature-Inspired: Incorporate elements from nature, like dried flowers or leaves, into the filler for an earthy touch.
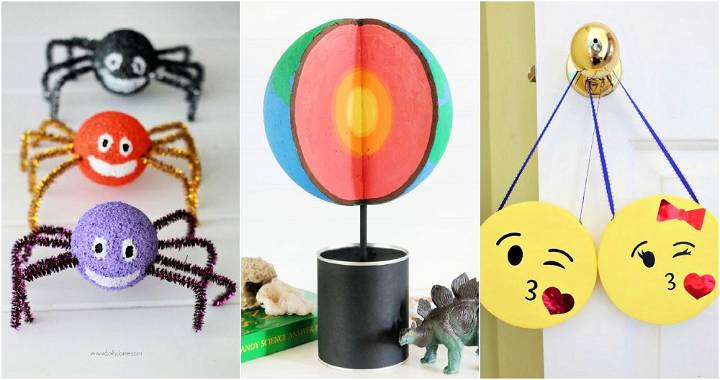
- Theme It: Make stress balls themed around holidays, sports teams, or your favorite characters.
The key to a great DIY project is to have fun and make it your own. Your stress ball should be a reflection of what brings you joy and peace.

Advanced Techniques
For those who love crafting and want to take their DIY stress ball to the next level, advanced techniques can add durability, functionality, and a touch of sophistication. Here are some innovative ideas:
- Layering for Strength: Start by making a basic stress ball with a balloon and your choice of filler. Then, several layers of balloons should be added over it to increase its strength and prevent any leaks. Each layer can be a different color for a visually appealing effect.
- Making Textured Surfaces: For a unique sensory experience, consider adding textures to your stress ball. This can be done by using textured balloons or by applying materials like fabric or rubber bands between the layers of balloons.
- Incorporating Weight: To enhance the stress-relief experience, you can add weight to your stress ball. This can be achieved by mixing heavier materials like fine sand or small beads with your primary filler. The added weight requires more muscle engagement, which can be soothing for some users.
- Electronic Integration: For a modern twist, integrate small electronic devices like LED lights or vibration motors inside your stress ball. This requires careful planning to ensure safety and functionality, but it can result in a stress ball that lights up or provides a gentle massage when squeezed.
- Aromatherapy Stress Balls: Combine stress relief with aromatherapy by adding essential oils to your filler. Choose oils known for their calming properties, such as lavender or eucalyptus, and enjoy the added benefit of stress relief through scent.
- Eco-Friendly Options: Use biodegradable materials to make your stress ball environmentally friendly. Natural fillers like seeds or beans and latex balloons are great options for those who are eco-conscious.
Explore these techniques to make a stress ball that relieves stress and reflects your style. Always prioritize safety, especially with electronics or heavy materials.
Troubleshooting Common Issues
When crafting your own stress ball, you might run into a few snags. Here's how to solve some common problems so you can keep your stress ball in top shape:
- Balloon Bursts During Filling: This can happen if the balloon is overstretched or the filler is too coarse. To prevent this, gently stretch the balloon before filling and use a fine material like flour or rice as a filler.
- Filler Leaks Out: If you notice your filler escaping, it's likely due to a small hole or a weak spot in the balloon. Try double-layering the balloons for extra protection.
- Stress Ball Too Firm or To Squishy: The feel of your stress ball depends on how much filler you use. If it's too firm, remove some filler. If it's too squishy, add more until you reach the desired consistency.
- Difficulty Getting Filler into Balloon: A funnel is your best friend here. If you don't have one, cut the bottom off a plastic bottle to make a makeshift funnel.
- Balloon Doesn't Seal Properly: Make sure to tie a tight knot close to the filler level. If you're struggling, use a rubber band to secure the end before tying.
- Stress Ball Loses Shape: Over time, the filler may settle or compact. Give your stress ball a good shake or knead it to redistribute the filler evenly.
By keeping these tips in mind, you'll be able to fix common issues and ensure your DIY stress ball remains a reliable source of stress relief.
FAQs About DIY Stress Ball
Discover answers to common questions about DIY stress balls, including materials, techniques, and tips for making your own stress relievers.
First, stretch the balloon by inflating it and then deflating it. Attach the balloon’s opening to the funnel’s end. Pour your filler into the funnel, shaking and tapping it to help the material move into the balloon. Use a pen or pencil to push through any clogs. Continue filling until the balloon is the desired size.
Absolutely! You can personalize your stress ball by choosing different colors and patterns of balloons. Some stores offer patterned balloons which can add a fun twist to your stress ball. Feel free to experiment with the fillers as well, as each provides a unique texture and squeezing experience.
To increase the longevity of your stress ball, consider double-ballooning it. After filling the first balloon and tying it off, cut the neck off another balloon and carefully stretch it over the filled one. This extra layer can help prevent leaks and tears.
Stress balls can help reduce temporary stress and tension by providing a physical outlet for nervous energy. The act of squeezing and releasing the ball can promote relaxation, improve focus, and strengthen hand muscles. It’s also a great way to keep your hands busy and your mind focused during stressful times.
To prevent your stress ball from bursting, avoid overfilling it. Make sure there's enough room for the material inside to move around when squeezed. Additionally, regularly check for any weak spots or tears and reinforce them with additional balloon layers if necessary. It's also a good idea to handle the stress ball gently and avoid sharp objects.
Final Thoughts
Start making your own DIY stress balls today, and enjoy the calming joy they bring!


