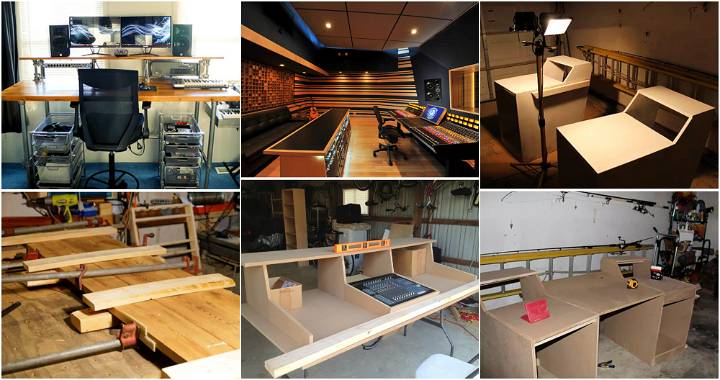
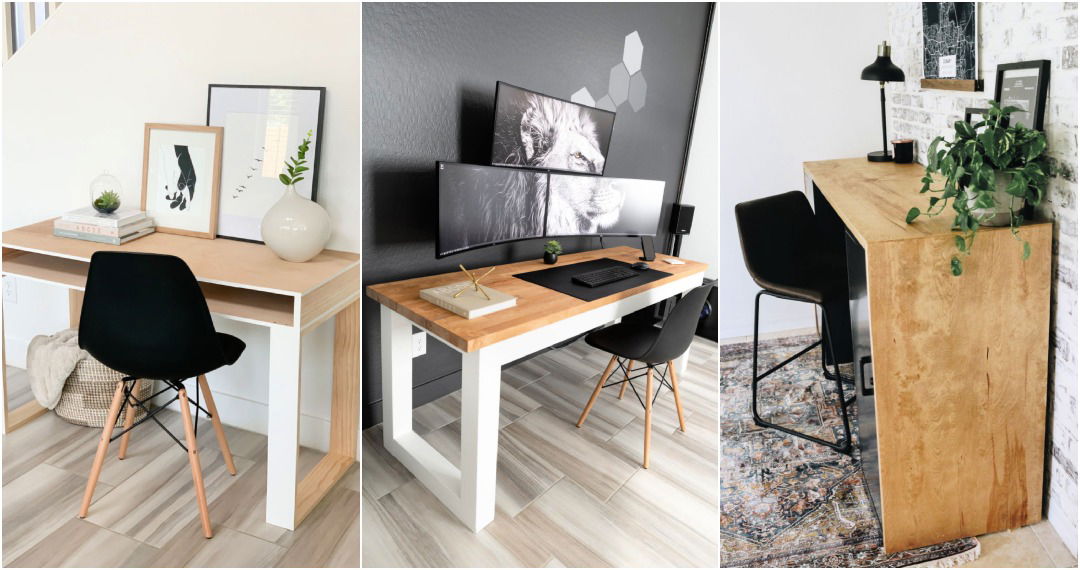
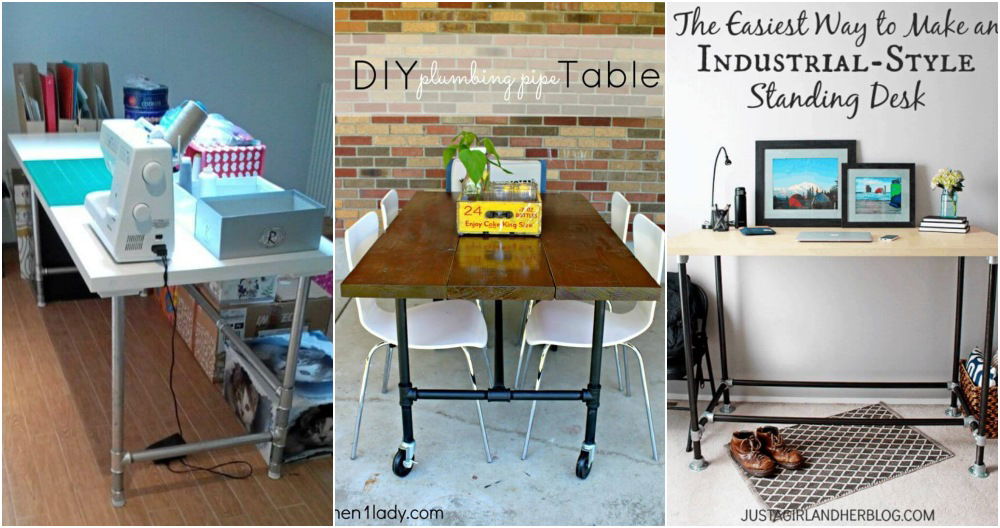
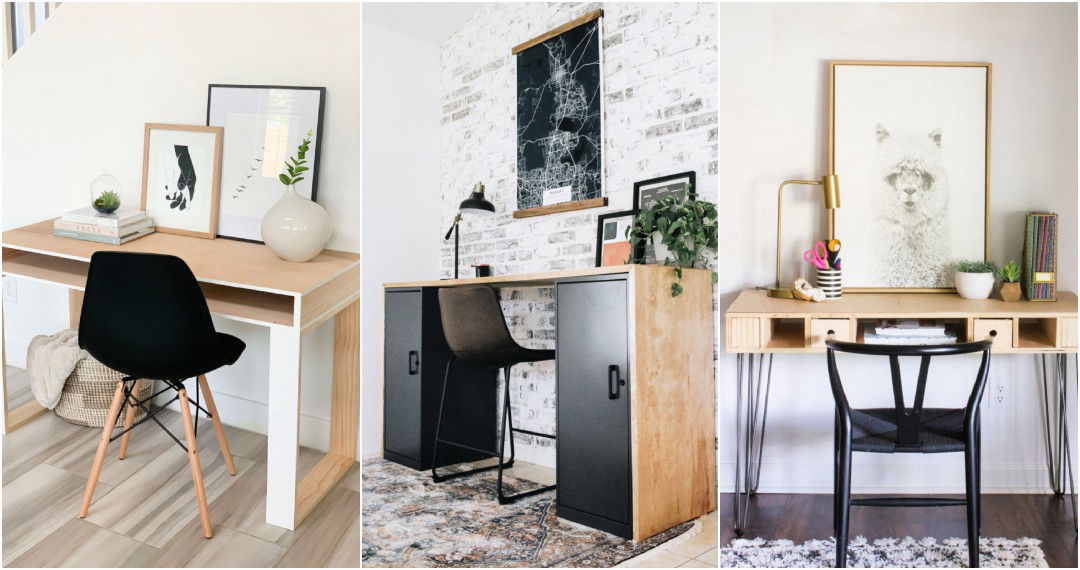
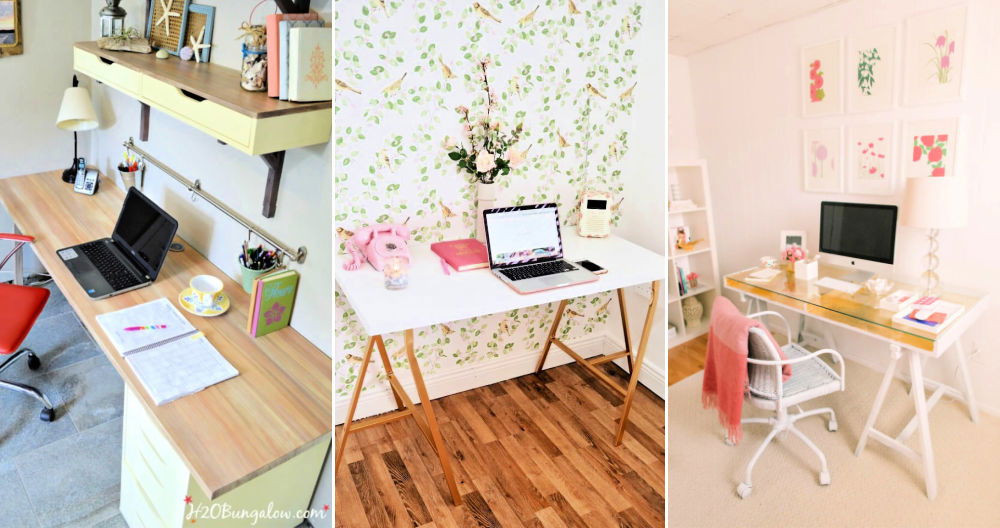
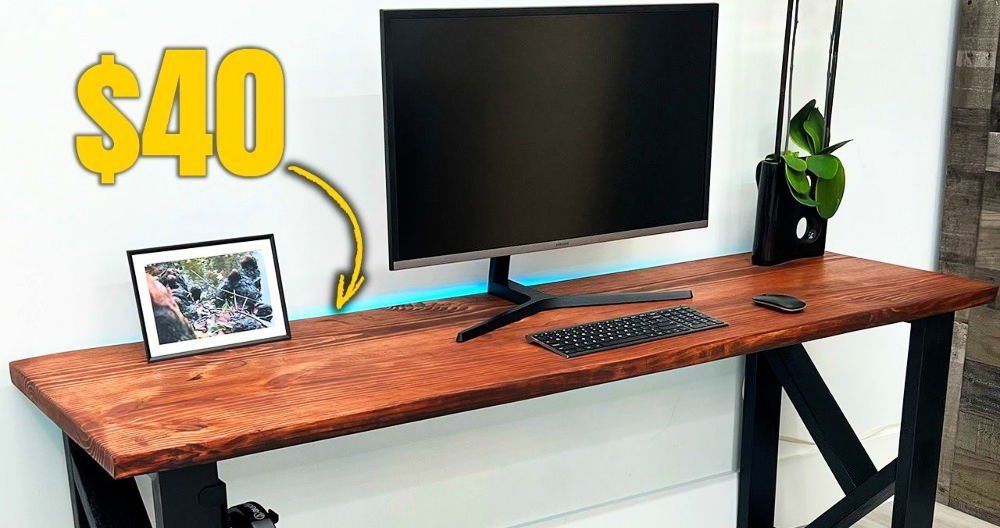
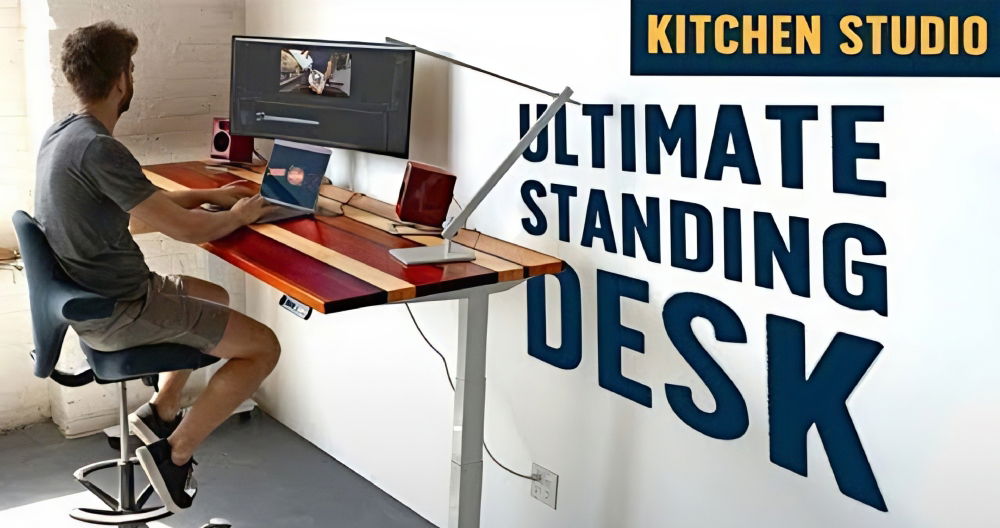
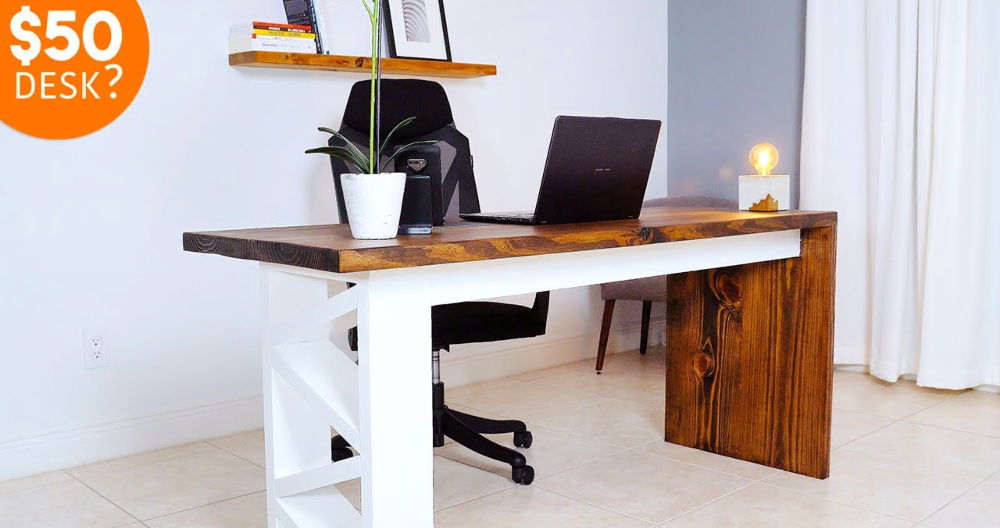
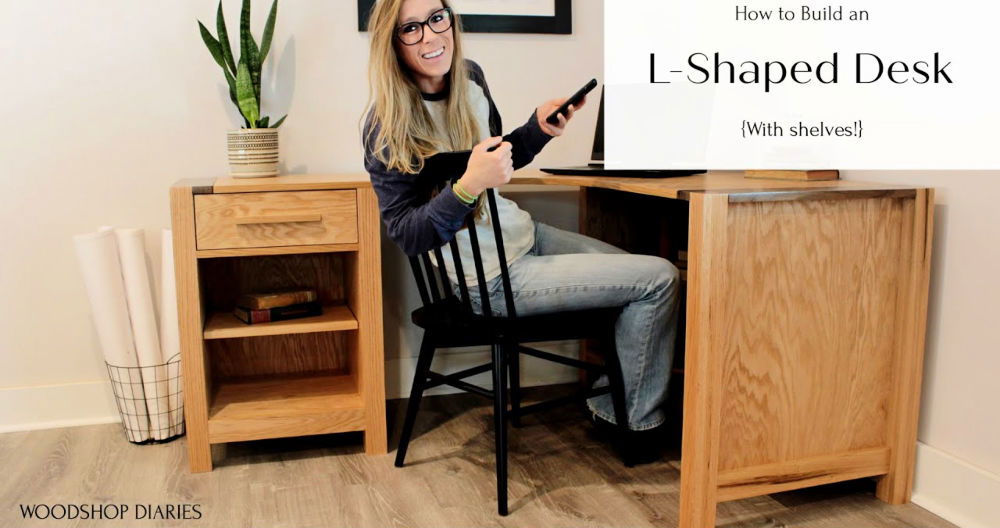
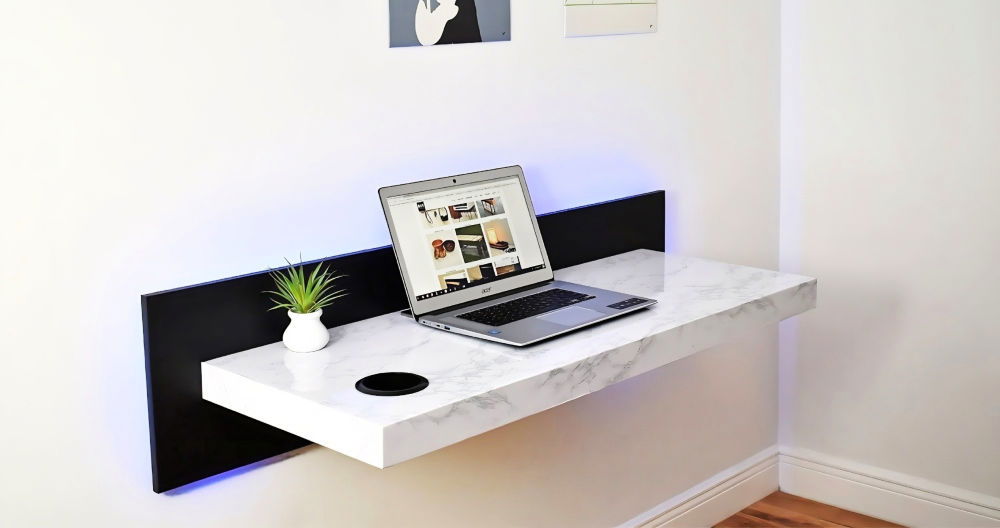
Building a DIY studio desk can significantly enhance your workspace and boost productivity. Whether setting up a home office or a DIY music studio desk, a well-designed desk can make a huge difference. This guide will provide you with helpful tips and step-by-step instructions to build a functional and stylish desk. You can achieve a personalized setup that meets your unique needs with readily available materials and tools.
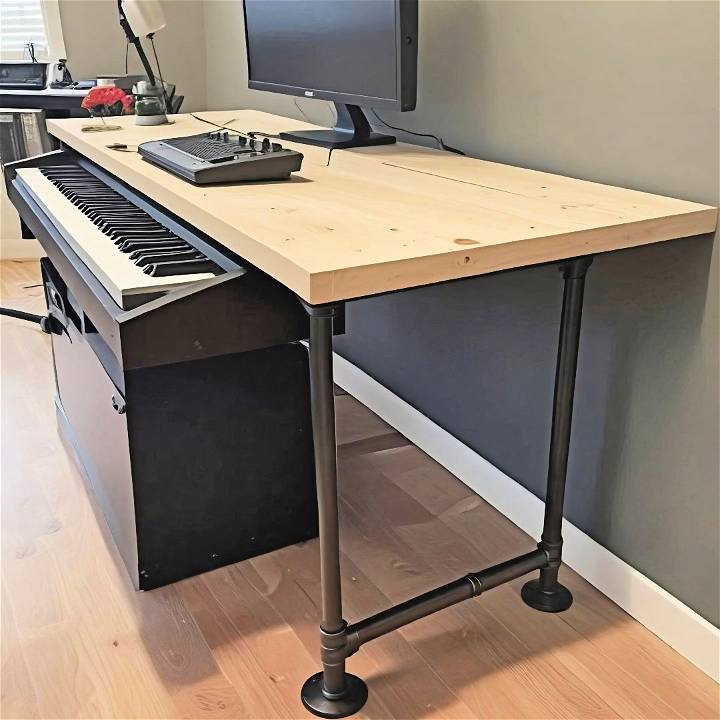
When building a DIY studio desk, planning and measuring your space is crucial. Determining the right size and configuration ensures your desk fits perfectly and supports all your equipment and supplies. Consider robust materials like wood and metal for durability, and optimize the arrangement for comfort and efficiency.
Now, let's delve into the specifics and explore how you can build your ideal recording studio desk and customize it for your needs.
Materials and Their Purpose
Here's what you'll need to embark on this project:
- 74" x 25" x 1.5" Butcher Block: Serves as the desk's top. Choice of wood reflects personal style and ensures durability.
- 1" Black Pipe and Fittings: These form the desk's frame. Black pipes are chosen for their industrial strength and visual appeal.
- Gloves: For protection against sharp burrs on pipes and additional grip.
- Utility Knife: To remove any labels from the pipes.
- Acetone: To clean the oil off the pipes and remove label residue, ensuring a clean build.
- Drills (Two): One with a countersink bit for the screws to avoid wood splitting, and another for driving screws.
- 1" Screws: To secure the butcher block top to the frame.
- Tape Measure and Level: To ensure everything is evenly spaced and leveled.
Step by Step Instructions
Learn how to build a DIY studio desk with our step-by-step guide. From frame construction to finishing touches, get detailed instructions for your custom setup.
Step 1: Frame Construction
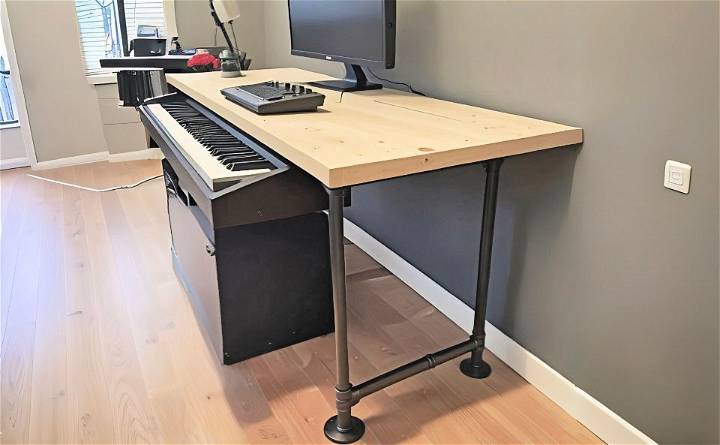
I began with the frame, connecting the 1" black pipes using the fittings. The foundation of the desk was structured to fit an M-Audio Hammer 88 Pro underneath, setting the height a bit higher than a standard desk. This required strategic planning with the length of pipes and fittings.
- Why It's Needed: The frame's stability and height are crucial for accommodating studio equipment and ensuring comfortable usage.
Step 2: Cleaning and Preparing Pipes
Using a utility knife, I carefully removed any labels from the pipes. Next, I wiped them down with acetone to remove oil and residue. This step is vital for a clean, professional-looking finish.
- Why It's Needed: Clean pipes are easier to handle and assemble, plus it enhances the desk's overall look.
Step 3: Assembling the Frame to the Butcher Block
With the frame assembled and cleaned, I proceeded to attach it to the butcher block. I opted to lay the butcher block on the frame and secure it with 1" screws. Measurements were taken to ensure an even overhang of the butcher block on all sides for a balanced look.
- Why It's Needed: Securely attaching the top to the frame is essential for stability and durability.
Step 4: Finishing Touches
Once the butcher block was attached to the frame, I decided on a light stain and a coat of polyurethane to protect the wood and enhance its natural beauty.
- Why It's Needed: A finish not only protects the wood but also gives the desk a professional and personalized aesthetic.
Cost Breakdown
- Butcher Block: Approximately $200
- Frame Materials (Pipes and Fittings): About $250
The total cost was around $450, significantly less than purchasing a pre-made studio desk of similar size and quality.
Customization Ideas for Your DIY Studio Desk
When it comes to making a DIY studio desk, customization is key. It’s not just about building a piece of furniture; it’s about crafting a creative space that inspires and facilitates productivity. Here are some ideas to help you tailor your studio desk to your personal needs and preferences.
Choose Your Style
- Think about the style of your desk. Do you prefer a modern look with clean lines and a minimalist approach, or are you more inclined towards a rustic, industrial vibe with raw wood and metal accents? Your style will guide the choice of materials and the overall design of your desk.
Functional Design
- Consider the functionality. What will you be using your desk for? If you’re a musician, you might want integrated racks for audio equipment. For visual artists, a tilting surface or a place to store canvases could be beneficial. Gamers might want built-in LED lighting and holders for controllers.
Ergonomic Comfort
- Ergonomics are crucial. The height of your desk, the distance to your screen, and the placement of your keyboard and mouse should all promote comfort and prevent strain. An adjustable chair or desk height can make long hours at your desk more comfortable.
Personal Touches
- Add personal touches. This could be as simple as choosing a color scheme that reflects your personality or as intricate as adding custom drawer handles or decorative trim. Consider using chalkboard paint or whiteboard surfaces to jot down quick notes or ideas.
Smart Storage
- Think about storage solutions. Shelves, drawers, and hooks can keep your workspace tidy and your tools within reach. Hidden compartments for cables and power strips can help maintain a clean look while keeping functionality.
Tech Integration
- Incorporate technology thoughtfully. If you use multiple monitors, design a multi-level shelf to hold them at the right angle and height. Include USB ports and cable management systems to keep your tech organized and accessible.
Flexibility for Future Changes
- Design with flexibility in mind. Your needs may change over time, so consider modular components that can be rearranged or expanded as required.
By considering these customization ideas, you can build a studio desk that not only looks great but also enhances your creativity and productivity.
Technology Integration in Your DIY Studio Desk
Incorporating technology into your DIY studio desk is not just about the gadgets you use; it’s about making a seamless and efficient workspace. Here’s how you can integrate technology into your desk design:
Smart Power Solutions
- Start with power management. Install built-in USB and power outlets within easy reach. This will help you charge devices without cluttering your desk with cables.
Cable Management
- Cable management is essential. Use cable trays, clips, or sleeves to keep wires organized and out of sight. This not only looks cleaner but also prevents accidents and makes it easier to change your setup when needed.
Monitor Mounts
- Consider monitor mounts. Adjustable arms allow you to position your screens at the perfect height and angle, reducing neck strain and freeing up valuable desk space.
Wireless Technology
- Embrace wireless technology. Wireless keyboards, mice, and headphones can reduce cable clutter. Plus, they offer more flexibility in how you arrange your workspace.
Lighting
- Good lighting is crucial. Integrate LED strips or lamps that you can control for brightness and color temperature. This will help reduce eye strain and set the mood for your work.
Sound System
- A built-in sound system can be a game-changer for music lovers. Designate a space for speakers or use a soundbar that fits neatly under your monitor for a clean look and high-quality audio.
Tech Storage
- Build a tech storage area. Drawers with custom compartments for gadgets, like tablets or external hard drives, keep them safe and accessible.
Smart Desk Features
- If you’re tech-savvy, consider smart desk features. Automated standing desk converters, Bluetooth trackers for your equipment, or even voice-controlled assistants can enhance your productivity.
Integrate tech into your DIY studio desk to build a workspace tailored to your needs and adaptable to evolving tech. Keep it simple, functional, and suited to your workflow.
Maintenance and Care for Your DIY Studio Desk
Keeping your DIY studio desk in top condition is important for ensuring it remains a functional and inspiring workspace. Here’s how you can maintain and care for your desk:
Regular Cleaning
- Clean regularly. Dust and wipe down your desk surface at least once a week. Use a microfiber cloth to avoid scratching the finish, and if your desk is made of wood, use a cleaner that’s suitable for wood surfaces.
Protect the Surface
- Protect the surface. Consider using coasters for drinks and a desk pad or mat where you work most often. This will help prevent stains and scratches.
Manage Spills
- Deal with spills immediately. If you spill something on your desk, clean it up as soon as possible to prevent damage, especially if your desk is made of wood or another porous material.
Organize Cables
- Organize cables. Use cable ties or clips to keep cables tidy. This not only looks better but also prevents wear and tear on the cables themselves.
Check for Wear and Tear
- Inspect for wear and tear. Every few months, check for any loose screws or bolts and tighten them if necessary. Look for any signs of wear, like peeling veneer or chipped paint, and address them promptly.
Update Protective Coatings
- Refresh protective coatings. If your desk has a sealant or varnish, it may need to be reapplied every few years to keep the desk protected and looking its best.
Adjust Moving Parts
- Maintain moving parts. If your desk has drawers or other moving parts, make sure they’re well-lubricated and glide smoothly.
Avoid Direct Sunlight
- Keep out of direct sunlight. Prolonged exposure to sunlight can fade and damage the finish of your desk, so try to position it away from the direct sun if possible.
By following these simple maintenance and care tips, you can ensure that your DIY studio desk remains a durable and cherished part of your creative space for years to come.
FAQs About DIY Studio Desk
Get answers to your faqs about DIY studio desk, including materials, dimensions, and step-by-step instructions for a perfect build.
Building your own studio desk allows for customization to fit your specific needs and style, cost-efficiency as it can be cheaper than buying a pre-made desk, a sense of satisfaction from making something on your own, quality control over the materials and build, and an educational experience that can enhance your skills.
Measure your space before you start. Consider the size of your equipment and how much surface area you need. Leave enough room for comfortable movement and ensure the desk height aligns with your ergonomic needs.
Absolutely! Plan for rack spaces for audio equipment, shelves for monitors, and drawers for storage. Think about cable management and whether you need a sliding keyboard tray or space for a MIDI controller.
To ensure stability, use thick, high-quality wood or MDF for the desktop and legs. Secure all joints with both wood glue and screws for added strength. Consider adding a back brace or angle brackets if the desk is particularly large or will hold heavy equipment.
Consider installing cable trays under the desk or use cable clips to route wires neatly. You can also drill holes in the desk to pass cables through or use grommets to keep the holes tidy. For a wireless look, cable sleeves or cord covers can bundle multiple wires together.
Final Thoughts and Recommendations
Wrapping up, building a DIY studio desk for maximizing your productivity is an achievable and rewarding project. By crafting your own DIY studio desk, you can tailor it to your unique needs and style. Not only does it enhance your workspace, but it also boosts your efficiency. Follow our guide to design and build a recording studio desk that fits your requirements perfectly. This way, you can build a productive environment without breaking the bank. Happy building!


