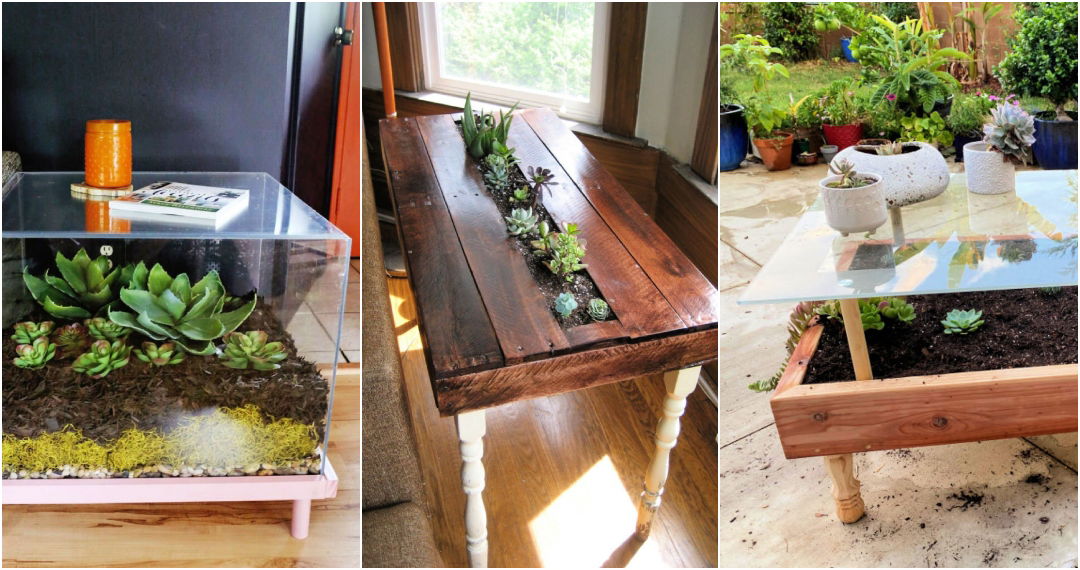
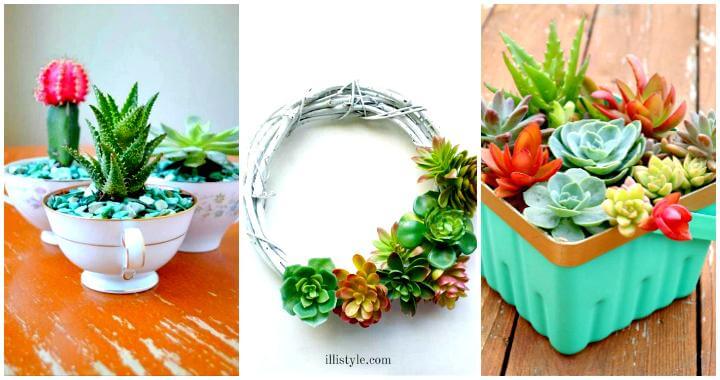
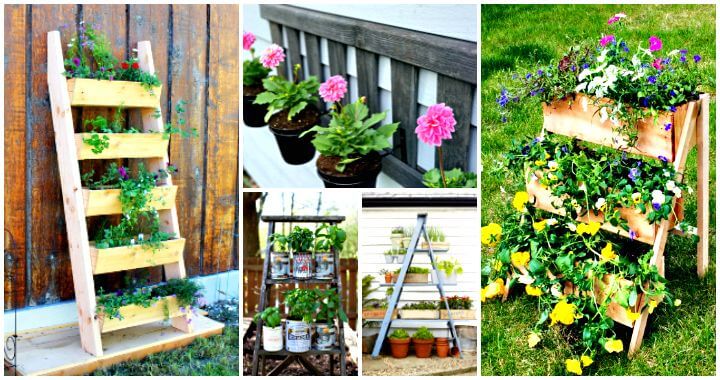
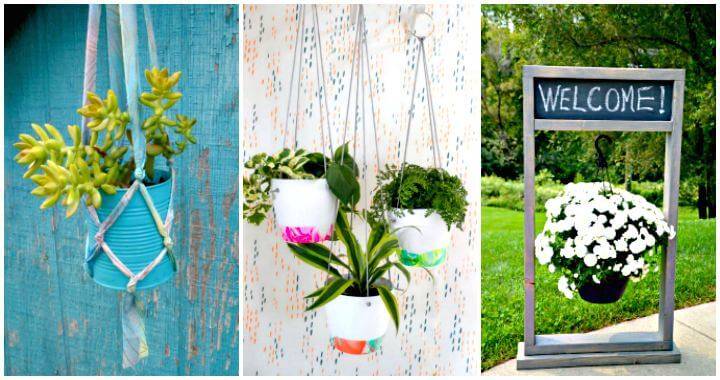
Making my first DIY succulent planter was a simple and enjoyable project. I loved how easy it was to arrange the small plants and watch them thrive. Succulents are low-maintenance, making them perfect for beginners or anyone with a busy lifestyle. Plus, using an old container or a unique pot added a personal touch to my home decor.
When I realized how quick and budget-friendly this project was, I knew others would enjoy it too. You don't need much to get started—just some soil, succulents, and a little creativity. I'm sharing this guide to help you make your own homemade DIY succulent planter, and I'm sure these tips will make the process easy and fun for you.
Materials Required and Their Significance
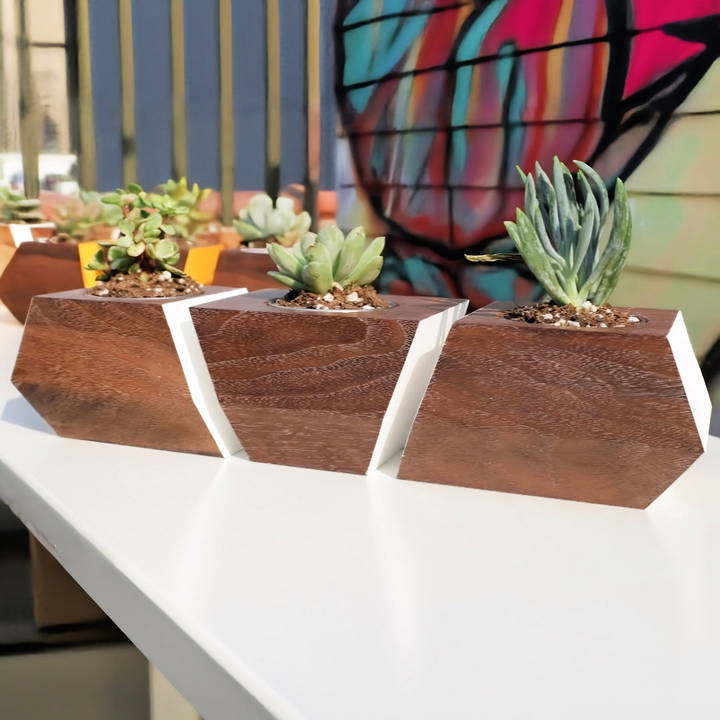
- Pen Turning Blanks (3 inches): I chose these due to their perfect size for the planters. Their wooden material added a natural and rustic look.
- Steel Condiment Containers: These were ideal for housing the succulents securely within the wooden planters while ensuring ease of maintenance.
- Spray Paint: Selected to add a personalized color flair to the planters, making them unique and vibrant additions to any room.
Step by Step Instructions
Make a beautiful DIY succulent planter. Follow our step-by-step guide from preparing the wood to the final touches and potting the succulents.
Preparing the Wood
First, I squared up the pen, turning blanks using a planer. If you're like me and don't have a planer, opt for lumber already squared (S3S or S4S). Ensuring the wood was properly squared was crucial for accurate guideline drawing and cutting.
Cutting Angles and Bevels
With my miter saw set up with a fine finishing blade to minimize sanding, I cleaned up the ends of the blocks. Ensuring sharp angles and clean cuts was my priority here, aiming to minimize sanding to maintain the sharp visuals of the planter. I followed with angular bevel cuts around the block, primarily eyeballing to achieve visually appealing angles rather than adhering to specific measurements.
Drilling and Sanding
Identifying the center of each piece, I drilled holes for the steel plant containers using a 2 and 3/8 inch Forstner bit. Watching the shavings curl away was oddly satisfying! Post-drilling, it was sanding time. Opt for sanding by hand or with very fine settings to protect those crisp edges.
Painting
With anticipation building, I masked the areas I wanted to keep natural with painter's tape and moved on to painting. Unfortunately, Chicago's weather played spoilsport initially, but I managed to find a suitable time later on. The spray painting process was exciting, as it brought a splash of color to the project.
Finishing Touches
Once the paint dried, I decided against using lacquer on the walnut planters, preferring a natural finish. I used simple paste finishing wax for the walnut and an oil-based finish for the maple to make the grain pop.
The Final Step: Potting the Succulents
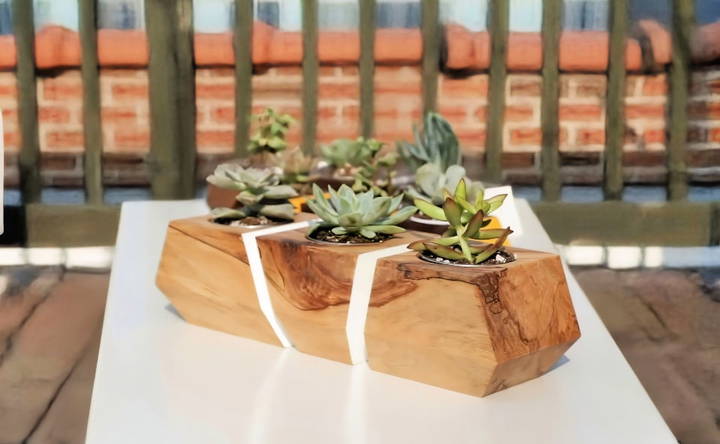
Filling the steel containers with succulents, I placed them into the drilled holes. The natural yet modern look of the planters brought a piece of the outdoors into my living space, blending seamlessly with my decor.
Key Lessons and Tips
- Experiment with Angles: Don't be afraid to trust your instincts when it comes to cutting angles; sometimes, the most visually appealing ones are found through experimentation.
- Protection is Key: Opting for finishes that protect the wood while maintaining its natural beauty is essential, especially if you plan to place these planters in sunlight or near water sources.
- Patience Pays Off: The drying and setting times for both the paint and finishes can test your patience. Ensure ample time for each stage to achieve the best results.
Advanced DIY Techniques for Succulent Planters
A succulent planter involves more than adding soil and plants; it's an art enhanced by advanced DIY techniques. Here are some ideas to improve your succulent gardening:
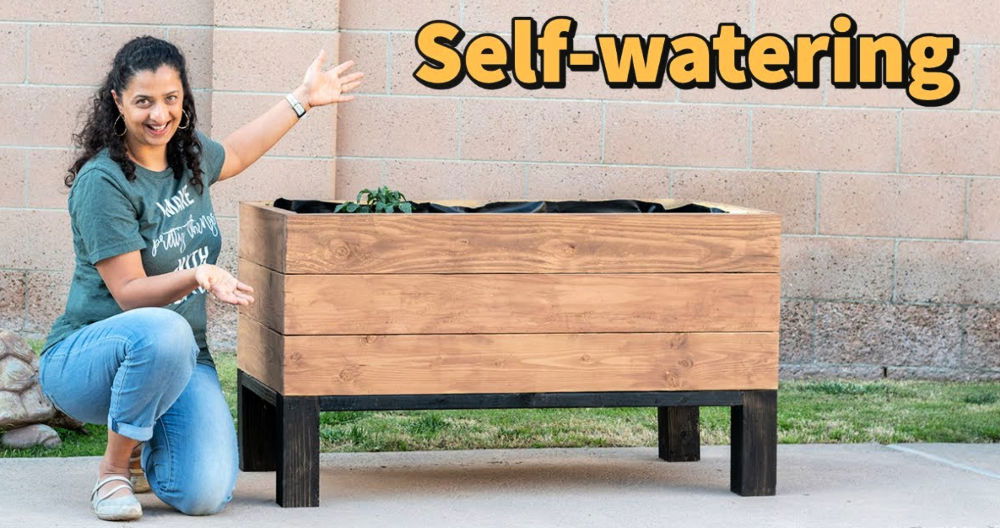
Self-Watering Systems
Self-watering systems are a boon for busy plant lovers. They ensure your succulents get just the right amount of water, even when you're away. Here's how to set one up:
- Materials: You'll need a plastic bottle, cotton rope, water, and a drill.
- Steps:
- Drill a hole in the cap of the bottle and thread a piece of cotton rope through it.
- Fill the bottle with water and screw the cap back on.
- Place the other end of the rope deep into the planter's soil.
- The rope will wick water into the soil, keeping it consistently moist.
Smart Planter Integration
Incorporate smart technology into your planters for a futuristic touch. Use sensors to monitor soil moisture, light levels, and more. Here's a simple guide:
- Materials: Soil moisture sensor, microcontroller (like Arduino), and a Wi-Fi module.
- Steps:
- Connect the soil moisture sensor to the microcontroller.
- Program the microcontroller to send alerts to your phone when the soil is dry.
- Use the Wi-Fi module to connect the system to the internet.
Advanced Materials: Concrete Planters
Concrete planters are durable and stylish. Making one might sound complex, but it's quite doable:
- Materials: Concrete mix, water, a mold (like an old container), and cooking oil.
- Steps:
- Oil the inside of your mold to prevent sticking.
- Mix the concrete according to the package instructions.
- Pour the mix into the mold and let it set for at least 24 hours.
- Once dry, gently remove the planter from the mold.
Resin Planters
Resin planters offer a modern look and endless design possibilities. To build one:
- Materials: Epoxy resin, a mold, colorants, and safety gear.
- Steps:
- Mix the epoxy resin with your choice of colorant.
- Pour the mixture into the mold and let it cure as per the resin instructions.
- After curing, remove your new, custom-colored planter.
Integrating these advanced DIY techniques gives you a unique, functional, succulent planter and a fun, creative experience.
Design Inspirations for Succulent Planters
When it comes to succulent planters, the design possibilities are as vast as your imagination. Here are some creative ideas to inspire your next DIY project:
Embrace Nature's Palette
Think of your planter as a canvas for nature's beautiful colors. Combine succulents with varying shades of green, punctuated with vibrant hues like the deep reds of Echeveria ‘Black Prince' or the soft blues of Senecio serpens. Arrange them to build a living mosaic that catches the eye.
Play with Textures
Succulents come in an array of textures, from the velvety touch of Kalanchoe tomentosa to the glossy finish of Haworthia. Mix and match these textures within your planter for a tactile experience that invites people to look closer.
Upcycle with Creativity
Old teacups, vintage books, or even discarded toys can become unique homes for your succulents. This approach not only recycles materials but also adds a story to each planter. Imagine a tiny succulent garden nestled inside an old typewriter, merging the botanical and the literary.
Geometry Meets Greenery
Geometric shapes are in vogue, and incorporating them into your planter designs can add a modern twist. Build triangular or hexagonal frames from wood or metal, and fit your succulents within these shapes for a contemporary look.
Hanging Gardens
Succulents like String of Pearls or Donkey's Tail are perfect for hanging planters. Suspend them in macramé holders or repurposed birdcages to add a vertical dimension to your space. They're not only beautiful but also space-saving.
Personal Touches
Personalize your planters by adding elements that reflect your personality. Paint your pots with patterns that you love, or embed small figurines among the plants. These personal touches make your succulent garden uniquely yours.
Explore these design ideas to make succulent planters that show creativity and style. Experiment for the best designs; don't fear trying new things!
Seasonal Care Adjustments for Succulent Planters
Succulents are resilient, but they still need special attention as the seasons change. Here's how to keep your succulent planters thriving all year round:
Spring Awakening
As the days grow longer, your succulents will start to wake up from their winter rest. It's the perfect time to:
- Increase Watering: Begin to water more frequently as the plants start growing.
- Fertilize: Give them a boost with a half-strength succulent fertilizer to encourage new growth.
Summer Thriving
Summer is a growth spurt for succulents, but it can also bring challenges like intense heat.
- Shade: Protect your succulents from scorching midday sun by moving them to a shaded area or using a shade cloth.
- Watering: Water deeply but less often to encourage strong root development.
Autumn Adjustments
As temperatures drop, it's time to prepare your succulents for the cooler months.
- Reduce Watering: Start to cut back on watering as the plant's growth slows down.
- Bring Indoors: If you live in a cold climate, bring your planters inside before the first frost.
Winter Care
Winter is a rest period for many succulents, and they require minimal care during this time.
- Water Sparingly: Water only when the soil is completely dry to avoid root rot.
- Light: Ensure they receive enough light, which may mean using a grow light if natural light is scarce.
Follow these seasonal care tips to keep your succulents healthy and beautiful year-round.
FAQs About DIY Succulent Planter
Get answers to all your questions about DIY Succulent Planter! Discover tips, steps, and essentials for making your own stunning succulent display.
Proper drainage is crucial for succulent health. Here’s how to ensure it:
Drainage holes: If your container doesn’t have them, drill several small holes at the bottom.
Gravel layer: Add a layer of gravel or pebbles before adding soil to increase water flow.
The right soil: Always use a succulent or cactus mix that drains quickly and doesn’t retain excess moisture.
Watering frequency depends on various factors, but here are general guidelines:
Check the soil: Water only when the soil is completely dry.
Less is more: Succulents thrive with less water. Overwatering can lead to root rot.
Seasonal changes: Water less during the winter months when succulents go dormant.
Yes, succulents can be placed outdoors, but consider these points:
Climate: Succulents prefer dry, warm environments. Protect them from frost.
Sunlight: They need plenty of indirect sunlight. Too much direct sun can scorch the leaves.
Rainfall: Ensure outdoor planters have excellent drainage to cope with unexpected downpours.
When selecting succulents, keep in mind:
Variety: Mix different types and sizes for a diverse look.
Growth habits: Consider how they'll grow over time—some spread out, while others grow tall.
Color and texture: Play with colors and textures to build a visually appealing arrangement.
Watering your succulent planter efficiently and cleanly is important to avoid overwatering and to keep your space tidy. Here are some tips:
Use a watering can with a long spout: This allows you to direct the water precisely to the base of the plants, minimizing spillage.
Water sparingly: Succulents don't need much water. Add just enough to moisten the soil without it becoming soggy.
Wait for the soil to dry: Before watering again, ensure the top inch of soil is dry to the touch to prevent overwatering.
Protect your surfaces: Place a saucer or tray under your planter to catch any excess water that drains out.
Consider a spray bottle: For smaller planters, a spray bottle can provide gentle hydration without disturbing the soil or plants.
Final Thoughts on My DIY Journey
In conclusion, learning how to make a DIY succulent planter is a fun and creative way to add a touch of nature to your space. With simple materials and easy steps, you can craft a unique planter that complements your home or office decor. Succulents are low-maintenance, making them the perfect choice for busy lifestyles. Enjoy the process of designing your planter and watching your succulents thrive in their new home!


