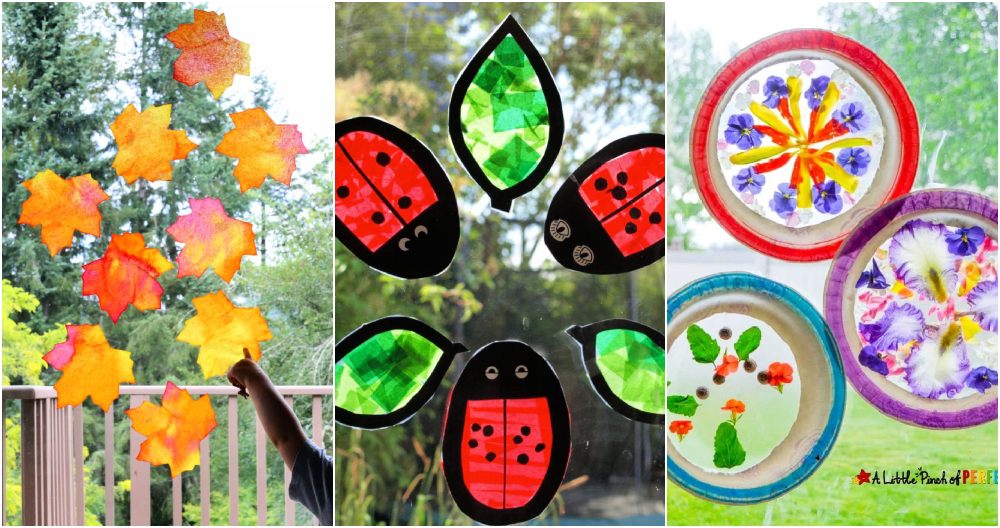
Making DIY suncatchers has always been a fun activity for me. On a sunny afternoon, I would gather all my colorful beads, strings, and a plastic lid. I felt excited as I arranged the beads inside the lid, waiting to see how they'd shine in the sunlight. The process was simple: just some beads, glue, and patience.
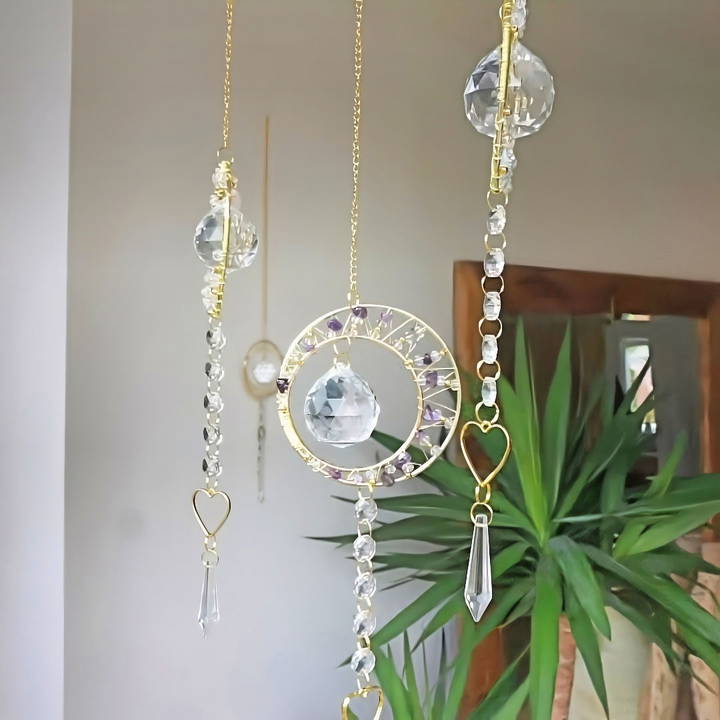
After letting my suncatcher dry overnight, I eagerly hung it in my window the next morning. The beams of sunlight made the colors dance around my room, bringing a warm and cheerful atmosphere. It brought me so much joy to see my simple creation brightening up my living space. I enjoy sharing how easy and rewarding this project is.
These steps will really help you make your own beautiful DIY suncatchers. Get started, and soon, your room will be filled with delightful colors, too!
Materials Needed and Their Purpose
Before we begin, it's essential to gather all the necessary materials. For this project, you'll need:
- Two metal hoops (one larger than the other): These serve as the frame for your suncatcher, determining its size and shape.
- Thin gold wire (approximately 2 meters): The wire is used to secure the hoops together and to attach the beads and crystals, making the suncatcher's design.
- A variety of beads and crystals: These elements add the sparkle and aesthetic appeal to your suncatcher. Choosing different colors and shapes can customize your design.
- Scissors and a ruler: Scissors are needed to cut the wire, and a ruler helps ensure that the lengths are accurate.
- Jump rings and a prism: The jump rings are used for connecting different segments of the suncatcher together, including the decorative prism which acts as the centerpiece.
Now that we have our materials ready, let's move on to the creation process.
Step by Step Instructions
Learn how to make stunning DIY suncatchers by following simple step-by-step instructions, from preparing the frame to adding the final touches.
Step 1: Preparing the Frame
- Align the Hoops: Place the smaller hoop inside the larger one, aligning their tops where they have been welded together. This alignment is critical as it serves as a starting point for wrapping the wire.
- Wrap the Hoops with Wire: Using the thin gold wire, start wrapping it tightly around both hoops, securing them together. Ensure the hoops stay close to each other as you wrap. Repeat this process around 20-25 times until the hoops are securely fastened. This step might seem tedious, but it's crucial for the stability of your suncatcher.
Step 2: Adding the Wire Web
- Zigzag Pattern: After securing the hoops, start making a zigzag pattern with the wire across the front of your hoops. This doesn't have to be perfect, but aim to keep an even tension and spacing as you go, making a web that mimics rays of sunshine.
- Secure the Ends: Once you've used up the wire, securely wrap the end around the frame a few times before cutting off the excess. You can use pliers or the edge of your scissors to press down any sharp ends.
Step 3: Beading
- Pattern Planning: Decide on a pattern for your beads and crystals. I like starting with a gold bead, followed by a clear, a colored crystal, and then another clear before repeating the pattern. This sequence brings a balance of color and sparkle.
- Stringing Beads and Crystals: Carefully string your chosen beads and crystals onto a new piece of wire. Remember, the beauty of a DIY project lies in its uniqueness, so feel free to get creative with your patterns.
- Wrapping Beaded Wire: With your beaded wire ready, wrap it around the frame, allowing beads to sit snugly against the wire web. Ensure each bead is securely in place as you wrap, adjusting their positions as needed. This step brings your suncatcher to life, infusing it with color and glitter.
Step 4: Final Touches
- Adding the Prism: The prism acts as the heart of your suncatcher, catching light and scattering rainbows. Use a jump ring to attach the prism to the center bottom of your frame, ensuring it hangs freely and can catch the light.
- Making the Hanging Loop: Use an additional piece of wire or a jump ring at the top of your suncatcher. This will be where you hang it from a window or other sunny spot.
- Adjustments: Take a moment to adjust any beads or components to ensure your suncatcher hangs well and looks balanced.
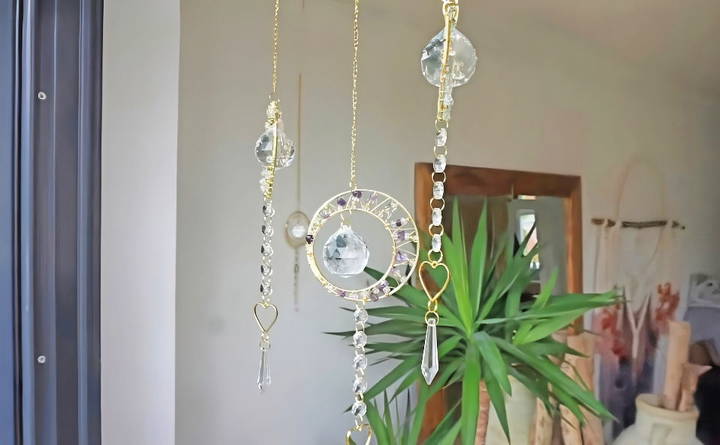
Congratulations, you've just completed your moons and stars crystal suncatcher! Hang it near a window and watch as it captures and disperses light, adding a touch of color and magic to your space.
Upcycling Ideas for Suncatchers
Upcycling creatively repurposes items destined for the trash. You can turn various household items into beautiful suncatchers. Here are some ideas to start:
- CDs and DVDs: Old CDs and DVDs are perfect for upcycling into suncatchers. Their reflective surfaces make beautiful patterns when sunlight passes through them. Cut them into shapes, or use them whole by hanging them with a fishing line or ribbon.
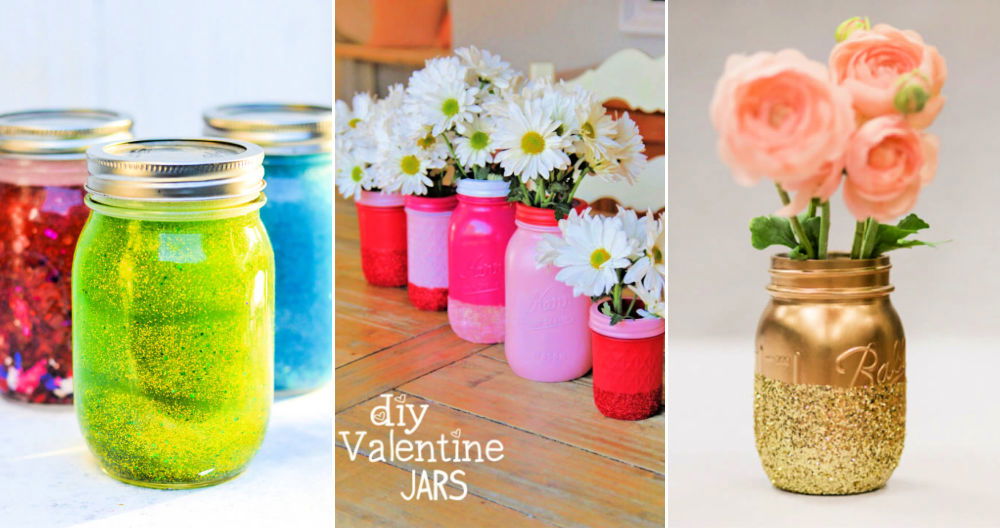
- Glass Jars and Bottles: Small glass containers can be turned into suncatchers by painting them with translucent colors or decorating them with glass paints. Hang them near a window, and they'll cast a colorful glow when the sun shines through.
- Beads from Old Jewelry: If you have broken necklaces or bracelets, don't throw them away. The beads can be strung together to make a suncatcher. Combine different colors and sizes for a unique look.
- Mason Jar Lids: The metal rings from mason jar lids make great frames for suncatchers. You can stretch transparent fabric or glue in glass pieces to make a colorful display.
- Wine Corks: Slice wine corks thinly and drill a small hole to string them together. They won't catch light the same way glass does, but they make an interesting texture and are ideal for a rustic aesthetic.
- Kitchen Utensils: Old metal cookie cutters, graters, and colanders have interesting shapes and holes that are perfect for catching and reflecting light. Hang them as they are, or paint them for an extra pop of color.
- Key Rings: Don't toss out old key rings. They can be used to hang your suncatcher creations, adding a metallic sparkle as they turn in the light.
- Fabric Scraps: Use transparent or semi-transparent fabric scraps to make soft, flowing suncatchers that move with the breeze and play with the light in subtle ways.
- Sea Glass and Shells: Collect sea glass and shells from the beach to make a nautical-themed suncatcher. Their natural translucency and texture will give your creation an organic feel.
Upcycle to make pretty suncatchers and reduce waste, adding personal stories to your home or garden. Gather odds and ends to bring joy and light to your space.
Safety Tips for Crafting Suncatchers
Crafting suncatchers can be a delightful and creative activity, but it's important to keep safety in mind, especially when working with materials like glass and wire. Here are some safety tips to ensure a secure and enjoyable crafting experience:
Wear Protective Gear
- Always wear safety glasses to protect your eyes from any flying fragments of glass or beads.
- Use gloves when handling sharp edges or cutting wire to prevent cuts.
Safe Workspace
- Keep your crafting area well-lit and organized. Make sure all tools and materials are within easy reach and stored safely when not in use.
- Work on a stable, flat surface to avoid any accidents with materials rolling off the edge.
Proper Tools
- Use the right tools for the job. Glass cutters, pliers, and wire cutters should be in good condition and suitable for the materials you're working with.
- Keep tools sharp and well-maintained to make sure they work efficiently and safely.
Mindful Crafting
- Be mindful of your movements, especially when cutting or joining pieces. Slow and steady wins the race.
- If you're crafting with children, supervise them at all times and provide them with age-appropriate tasks.
Chemical Safety
- If you're using any chemicals, like solder or adhesive, ensure you're in a well-ventilated area.
- Read and follow all instructions and warnings on product labels.
First Aid
- Keep a first aid kit nearby in case of minor injuries.
- Know basic first aid procedures for cuts or burns.
Fire Safety
- If you're using any heat sources, like a soldering iron, keep them away from flammable materials.
- Have a fire extinguisher or a bucket of sand nearby just in case.
Following these tips makes a safe, enjoyable crafting environment. Precautions protect you and ensure a stress-free experience.
FAQs About DIY Suncatchers
Learn everything you need to know about DIY suncatchers with our FAQs. We provide tips, materials, and step-by-step guidance for beautiful suncatchers.
When choosing a design:
Consider simplicity: Start with simple shapes if you're a beginner.
Get inspired: Look at nature, geometric patterns, or cultural symbols.
Personalize: Incorporate colors and elements that have personal significance to you.
Absolutely! Suncatchers are a great craft for kids:
Choose safe materials: Use plastic or acrylic instead of glass.
Keep it simple: Let them create with beads or pre-cut shapes.
Supervise: Always oversee the use of adhesives and small parts.
To maximize light-catching:
Placement: Hang it in a sunny window.
Use prisms: Add crystal prisms to refract more light.
Contrast: Use both transparent and opaque elements to make depth.
Yes, to be more eco-friendly:
Recycle: Use materials like old CDs or glass jars.
Upcycle: Transform everyday items like plastic lids into art.
Natural elements: Incorporate leaves, flowers, or twigs sealed in clear resin.
To add a sparkling effect to your suncatcher:
Use reflective materials: Incorporate small mirrors or shiny beads.
Layering: Place clear beads over colored ones to catch the light.
Angles matter: Hang your suncatcher where it can move and rotate, allowing light to hit at different angles.
Final Thoughts
Making your own DIY suncatcher is a simple, fun project that brings color and joy into your home. Give it a try and see how it brightens your day!


