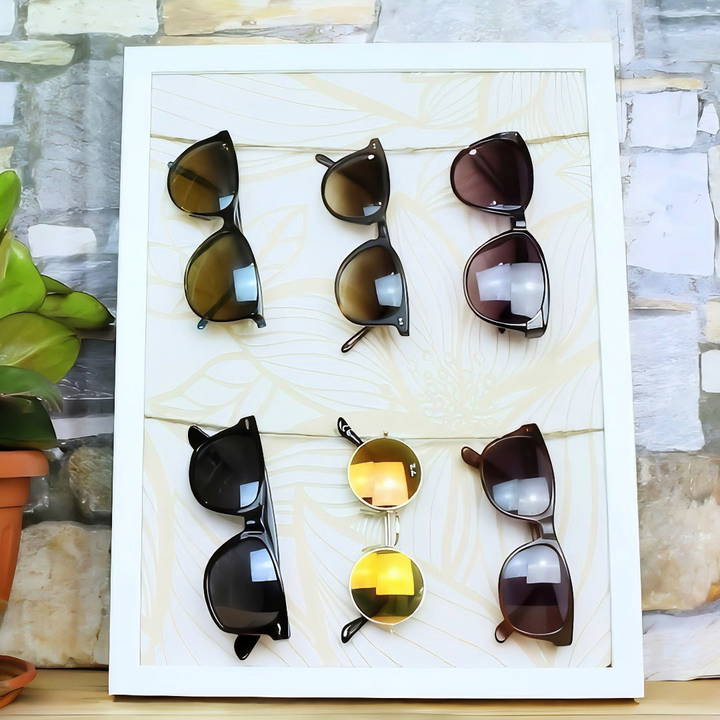
Sunglasses are such a fun accessory – and such a pain to store. I've always found it frustrating to keep them organized and easily accessible. Every time I had to head out, rifling through closed cases was such a bother. I decided it was time for a solution and embarked on making a chic DIY sunglass holder that displays my collection while giving easy access. It turned out so well; I thought I'd share the process with you!
Materials Needed and Why They Are Important
- Large Picture Frame: This acts as the base and border for your sunglass holder. It should be sturdy enough to handle the weight of several pairs of sunglasses.
- Fabric: Choose a piece of fabric that matches your décor to cover the cardboard back. This adds a stylish background for your sunglasses.
- Hot Glue Gun and Glue Sticks: Essential for securing the fabric to the cardboard and attaching the twine.
- Twine/String: This will hold your sunglasses. Twine is durable and has a rustic look that can complement various home décor styles.
- Scissors: For cutting the fabric and twine.
- Marker/Pencil and Ruler: To mark where the rows of twine will be placed.
- Wall Hooks/Nails: To hang the finished holder on the wall.
Step by Step Instructions
Learn how to make a DIY sunglass holder with our step-by-step guide. Perfect for organizing your sunglasses stylishly. Get started with easy instructions!
Step 1: Gather Your Materials
Make sure you have all the materials listed above at hand. Having everything ready will make the process smoother and quicker.
Step 2: Prepare the Picture Frame
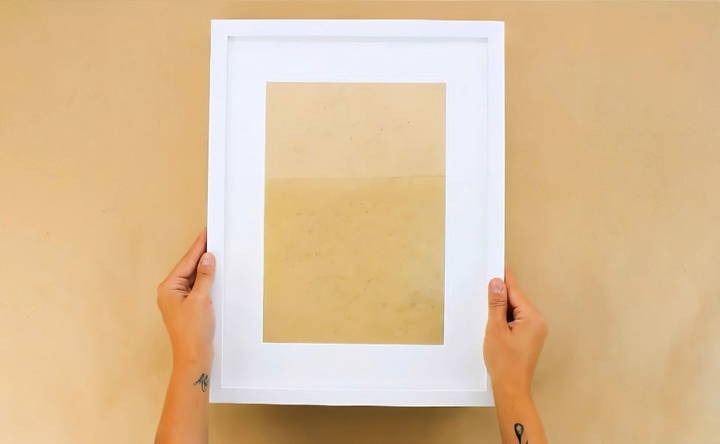
Start with a large picture frame. Open the back and carefully remove the glass. You won't need the glass for this project, but you might want to save it for another use.
Step 3: Cut and Attach the Fabric
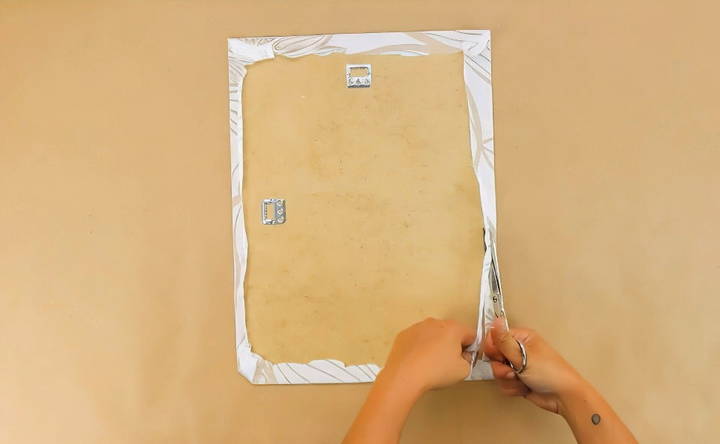
Take the cardboard back of the picture frame and lay it flat. Cut a piece of fabric large enough to cover the entire surface and wrap around the edges. Lay the fabric face down, place the cardboard on top, and fold the edges of the fabric over the cardboard. Using a hot glue gun, secure the fabric by gluing the edges down on the back side of the cardboard. This fabric will provide a stylish backdrop for your sunglasses.
Step 4: Measure and Mark Twine Placement
Flip the fabric-covered board over. Lay out your sunglasses to get an idea of how many rows you can fit. Use a ruler and marker or pencil to draw lines where you'll be placing the twine. Make sure the lines are evenly spaced to ensure a neat appearance.
Step 5: Attach the Twine
Hot Glue Method:
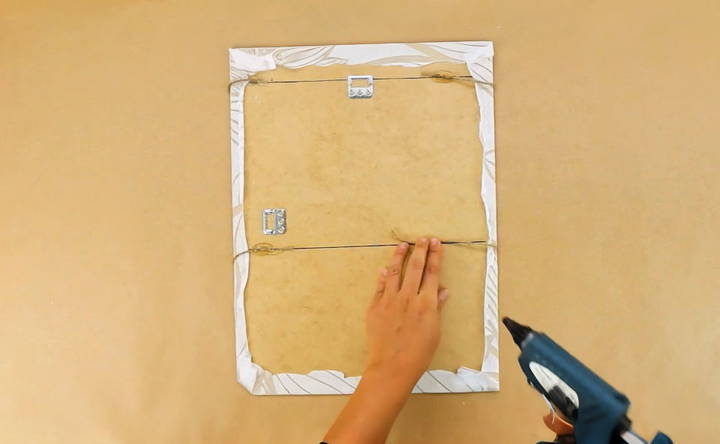
- Start on one side of the marked line. Apply a dab of hot glue and attach one end of the twine.
- Wrap the twine across the front of the board along the marked line.
- Secure the other end of the twine with another dab of hot glue on the opposite side.
Repeat Process:
- Repeat these steps for each marked line. Make sure the twine is tight and secure to hold the weight of the sunglasses.
Step 6: Reassemble the Frame
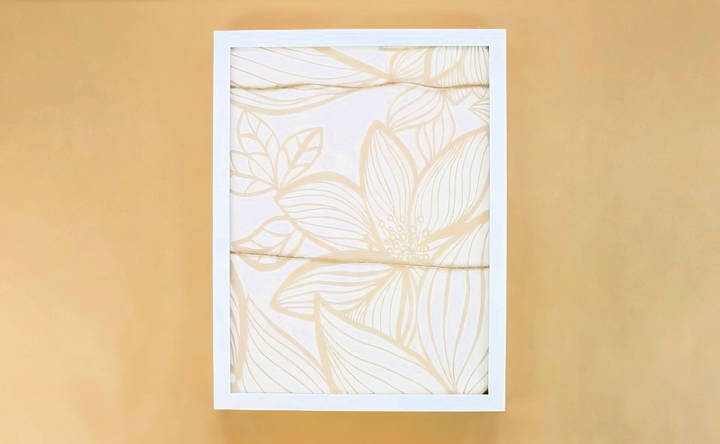
Once all the twine is securely in place and the glue has dried, put the board back into the picture frame. Secure it tightly so that it can hold the sunglasses without caving in.
Step 7: Hang Your Sunglass Holder
Choose a spot on your wall where you'd like to hang your new sunglass holder. Use wall hooks or nails to mount it. Ensure it's at a comfortable height for easily grabbing your sunglasses.
Step 8: Display Your Sunglasses
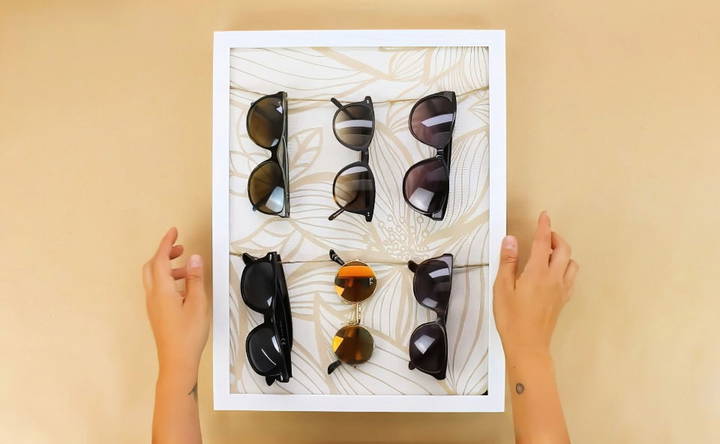
Now, simply add your sunglasses by hooking them onto the twine. This way, they are on display and easily accessible. You'll no longer have to riffle through cases!
Additional Tips for Customizing Your Holder
Discover additional tips for customizing your holder: personalize with paint, use different materials, and add extra storage for functionality.
Personalize with Paint or Decorations
You can paint the picture frame to match your décor or to add a pop of color. Adding decorative elements like stickers, beads, or stencils can also give your sunglass holder a personal touch.
Use Different Materials
If twine doesn't suit your style, you can use ribbon, clothesline, or even thin strips of wood or metal. Each material offers a different aesthetic.
Add Extra Storage
Consider adding small hooks to the bottom of the frame for keys, hats, or other accessories. This can build a multifunctional organizer.
FAQs About DIY Sunglass Holder
Discover top FAQs about DIY sunglass holders! Learn how to build, customize, and organize your sunglasses with our expert tips and advice.
Absolutely! Cardboard is a great starting point because it's readily available and easy to work with, but you can get creative with other materials. Consider using wood, fabric, plastic containers, or even repurposed items like old picture frames or CD cases. The key is to choose a material that's sturdy enough to hold your sunglasses securely and complements your decor style.
No problem! There are alternatives to a hot glue gun for securing your DIY sunglass holder. You can use craft glue, super glue, or even double-sided tape, depending on the materials you're working with. Just make sure the adhesive you choose is strong enough to hold the pieces together and dries clear for a neat finish.
Personalizing your sunglass holder is a fun way to make it unique! You can paint it, decorate it with fabric scraps, washi tape, or stickers, or even add embellishments like beads or buttons. Consider using stencils or stamps to build patterns or designs. Let your creativity shine!
If your sunglasses don't fit in the holder, you might need to adjust the dimensions or design. Measure your sunglasses carefully before you start building and make sure the compartments or hooks are wide and deep enough to accommodate them. You can also experiment with different designs, such as vertical holders or individual hooks, to find the best fit for your sunglasses collection.
To make your DIY sunglass holder more durable, consider reinforcing the structure with additional layers of cardboard or other sturdy materials. You can also apply a sealant or varnish to protect it from moisture and wear and tear. If you're using fabric, choose a durable type like canvas or denim, and reinforce the seams for added strength.
Conclusion:
Making your own chic DIY sunglass holder is simpler than you might think and solves the problem of storing your sunglasses in a stylish and accessible way. The materials are inexpensive, and the steps are easy to follow, making this a fun and practical project.
By ensuring your sunglass holder matches your home décor, you build a visually pleasing solution that keeps your sunglasses organized and on display. Hopefully, my step-by-step guide will help you in making your own sunglass holder with ease.


