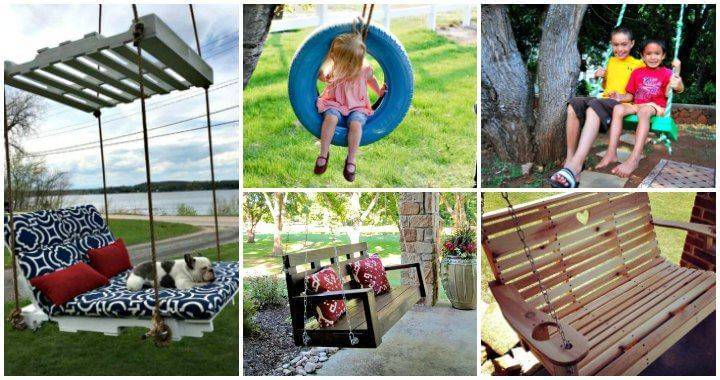
Constructing a DIY swing is a rewarding project that's not only fun but also adds a charming element to your outdoor space. Whether you're looking for a peaceful reading nook or a delightful area for your children to play, this guide will walk you through making your own swing from scratch. The process might seem complex at first, but by breaking it down step by step, you'll find it's quite manageable.
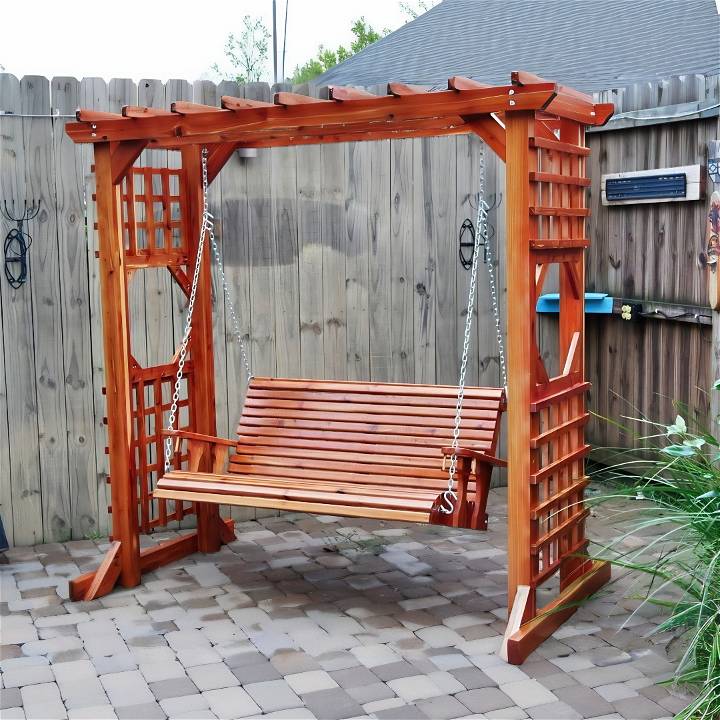
Materials & Tools Needed
You must collect the following materials and tools before starting:
- Eastern red cedar (or your choice of lumber)
- Wood glue
- Carriage bolts, screws, nails
- Spar varnish for outdoor protection
- Chain and S-hooks for hanging the swing
- Double-sided tape, ca glue, accelerator
- Tools: saw, drill, miter saw, router, sander, clamps
Selecting the Lumber
- Start by visiting your local lumber yard with a cut list. Choose pieces that best fit your needs for both size and aesthetics.
- Ensure to leave the lumber stack as found for lumberyard etiquette.
Prepping the Lumber
- For parts requiring 3-inch and 2-inch thickness, laminate your 4-quarter material by gluing them together. Use a liberal amount of glue.
Assembling the Frame
- Gluing: After the glue cures, remove any clamps or temporary screws.
- Cutting to Size: Use the jointer to square the edges, then cut lumber to the required widths for the swing's frame.
- Assembling Arbor: Assemble the swing's arbor using screws temporarily, later to be replaced with carriage bolts for durable support.
- Braces and Frames: Add 45-degree braces to both top and bottom to prevent swaying. Incorporate design elements like octagonal frames as desired.
Making the Swing
- Templates: For repeating parts, build templates to ensure consistency. Adjust the back of the seat to a comfortable slope.
- Armrest and Supports: Use double-sided tape to attach the template to the stock. Cut roughly and refine shape with a router.
- Seat Slats: Cut slats for the seat and install them using wood glue and nails, ensuring even spacing.
Final Touches
- Cup Holders: Utilize leftover material for cup holders. Attach using CA glue for quick adhesion.
- Hanging the Swing: Determine the chain's length for hanging. Use a plumb bob to align the eye bolts perfectly.
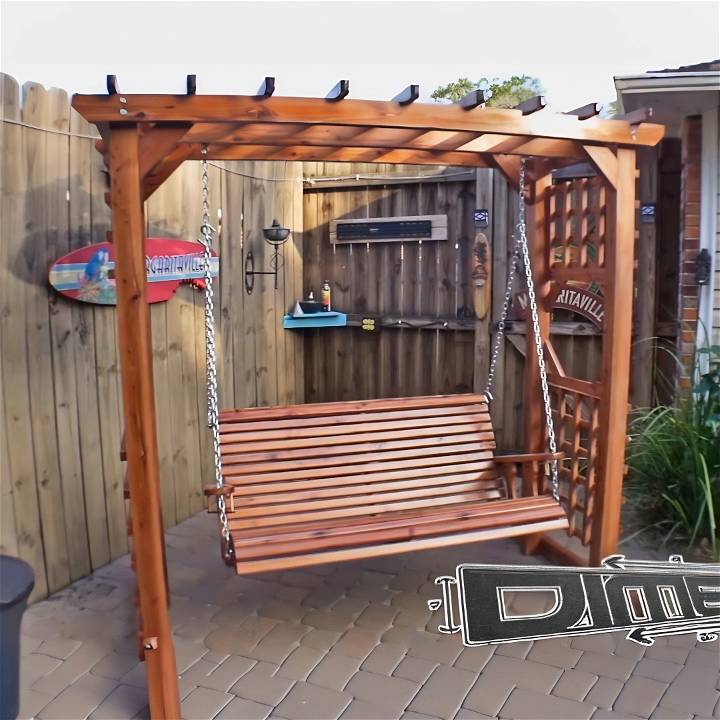
- Protection: Apply a marine-grade spar varnish to all parts for outdoor protection.
Reassembly and Finishing
- After the varnish cures, reassemble the swing. Make final adjustments to the chain's length and ensure everything is secure.
Video Tutorial
For a step-by-step visual guide, watch the "DIY Swing" tutorial on YouTube.
It pairs well with this written guide by offering a visual representation of the techniques discussed, making the building process easier to understand and follow.
Constructing this swing is not just about making a space for relaxation; it's about building memories. This guide aims to make the process as simple and enjoyable as possible.
DIY Swing: Your Questions Answered
Building a DIY swing can be a fun and rewarding project. To help you get started, here are answers to some frequently asked questions:
What materials do I need for a basic swing set?
For a basic swing, you'll need:
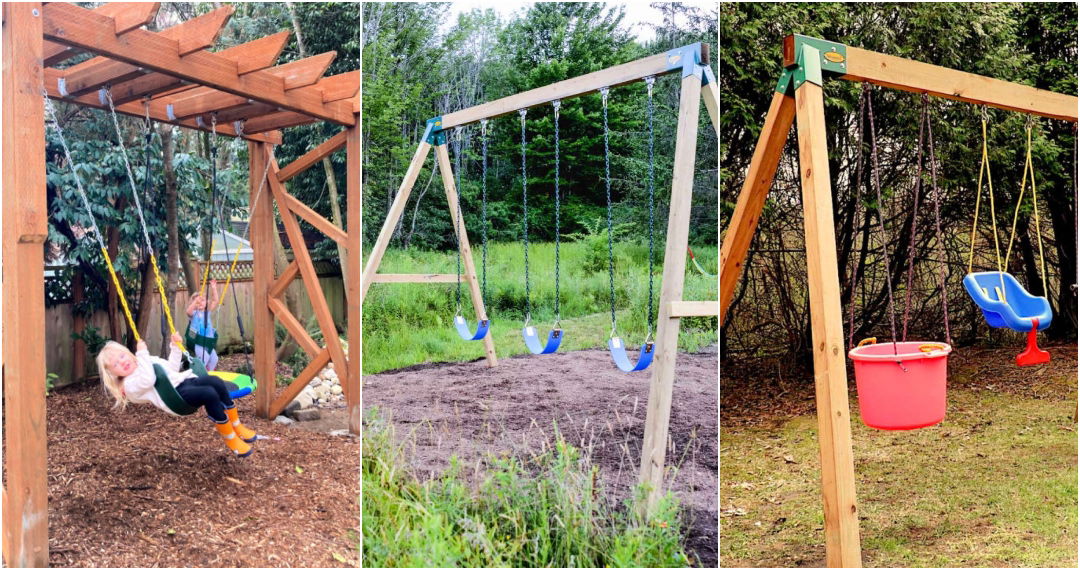
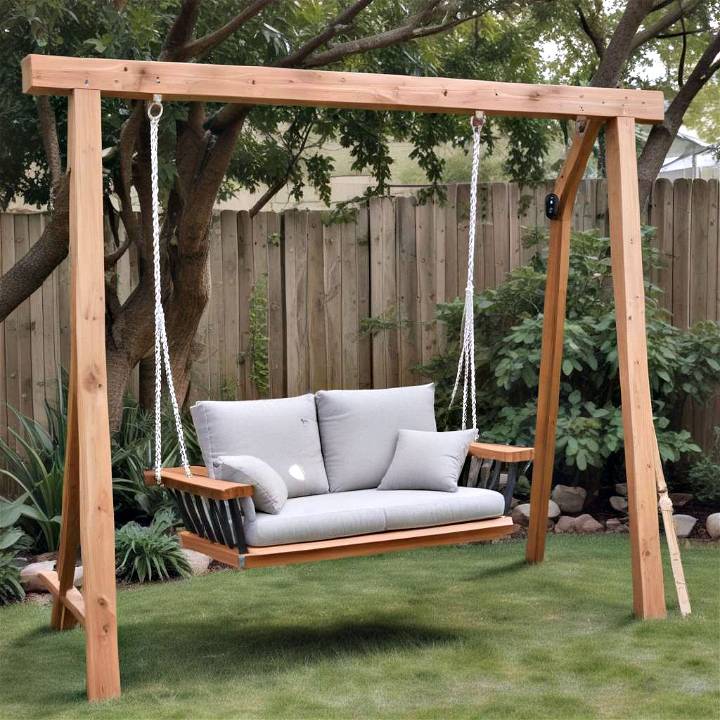
- 4x4 and 4x6 treated pine lumber for the frame.
- Swing hangers and frame brackets for assembly.
- Screw eyes and J bolts for securing the swing.
- Swings which you can either make or purchase separately.
How much space is required for a swing set?
Ensure you have a clear area that extends at least 6 feet from the edge of the swing in all directions. This provides a safe space for swinging and moving around the set.
Can I customize my swing set?
Absolutely! You can add different types of swings, a slide, or even a climbing wall. Personalize it with paint or by incorporating unique design elements.
How do I ensure my swing set is safe?
Use quality materials and follow a detailed guide for assembly. Regularly inspect the set for wear and tear, and make sure it's properly anchored to the ground.
What's the best way to maintain my swing set?
To maintain your swing set, apply a wood preservative annually, check for rust, and tighten any loose bolts. This will help your swing set last longer and stay safe.
Building a swing set is not just about following instructions; it's about making a safe and enjoyable place for fun and relaxation. Always prioritize safety and quality during your DIY project.
Conclusion:
In conclusion, adding a DIY swing to your backyard can elevate your outdoor space and provide hours of entertainment for the whole family. Get creative with materials and designs to personalize your swing. Have fun crafting your own unique outdoor oasis!


