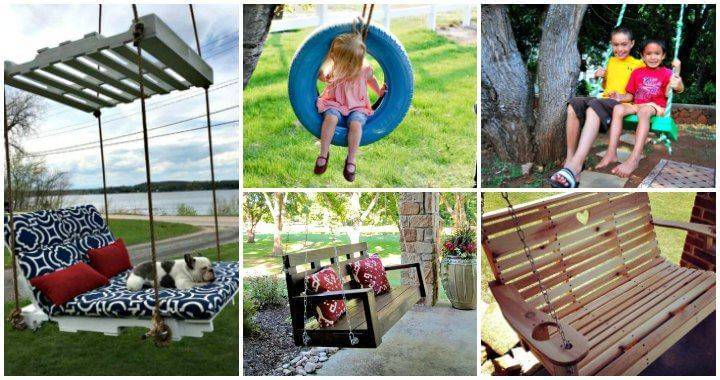
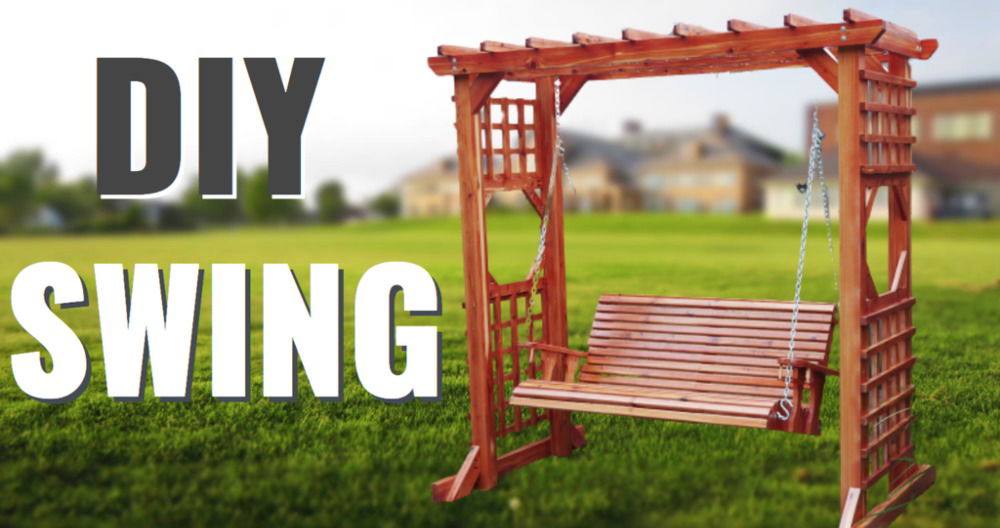
Building a swing set, especially when space is at a premium in your yard, requires creativity and resourcefulness. Just like many of you, my journey started with a desire to add a unique touch to our outdoor space without consuming too much of it. Inspired by a video I found, I decided to take on the challenge of building a swing set from a whiskey (well, technically rum) barrel. Here's how I did it, step by step, and how you can do it too.

Choosing Your Materials
First off, the choice of a rum barrel was driven by both availability and the desire for an aesthetic that stands out. Living near a rum distillery provided easy access to barrels, but you can find similar barrels at local home improvement stores or even online. The barrel not only served as the primary material for the swing seats but also added a unique touch to our garden.
Tools and Materials Needed
Here's what you'll need to start this project:
- A rum or whiskey barrel
- Saw for cutting the barrel staves
- Sandpaper or an electric sander
- Drill with hole saw attachment
- Measuring tape
- Polypropylene rope, strong and weather-resistant
- Outdoor varnish or spar urethane
Why These Materials?
Each material and tool have its particular purpose. The saw and drill are necessary for cutting and shaping the barrel staves into seats. Sandpaper ensures a smooth finish for comfort and aesthetics. Polypropylene rope is durable and weather-resistant, perfect for outdoor swings. The outdoor varnish protects the wood, preserving the swing's appearance and extending its life.
Step-by-Step Process
Learn how to build your own DIY swing set with our step-by-step guide, from disassembling the barrel to adding the finishing touches.
Disassembling the Barrel
The first step is taking apart the barrel carefully to preserve the wood staves. This process requires patience and gentle handling to ensure the staves don't crack or break.
Selecting and Preparing the Staves
Look for three staves that fit well together, which will form the seat of your swing. They should be relatively similar in curvature for comfort. Once selected, cut them down to your desired seat width. Sand the edges and surfaces to smooth everything out, building a seat that's safe to use and pleasing to touch.
Assembling the Swing Seat
Arrange the staves side by side and secure them together. You may want to add a support piece underneath to reinforce the structure. Drill holes on each end of the seat for the rope.
Preparing and Attaching the Rope
Cut your polypropylene rope to the required length, considering the height from the ground and allowance for securing knots. Thread the rope through the holes, tying secure knots under each hole to hold the seat in place. Make sure the knots are tight and secure.
Finishing Touches
Apply three coats of outdoor varnish or spar urethane to the swing seat, ensuring all surfaces are well covered. This step is crucial for protecting the wood from weather elements and ensuring longevity.
Hanging the Swing
Choose a sturdy tree branch or a beam on your porch. Ensure that the structure can support the swing's weight and the potential dynamic load when in use. Attach the rope securely, using either strong knots or bolts and hooks, depending on where you're attaching the swing.
Safety and Maintenance Tips
- Regularly inspect the swing for any signs of wear or damage, especially the rope and where it's attached.
- Reapply varnish or protective coating annually to protect the wood from the elements.
- Ensure the swing is not too high off the ground to prevent falls.
- Always supervise children while they are using the swing.
Customization Ideas for Your DIY Swing Set
Building a swing set is an exciting project that can bring joy to your backyard. While the basic structure provides endless fun, consider customizing it to make it truly unique. Here are some creative ideas to enhance your DIY swing set:
1. Climbing Wall Attachment
Description: Add a climbing wall to one side of your swing set. Climbing walls come in various designs, from simple holds to more intricate patterns. They provide an excellent opportunity for kids to develop strength, balance, and problem-solving skills.
Installation Tips:
- Sturdy Base: Ensure your swing set has a stable base to support the added weight of the climbing wall.
- Safety First: Use textured, non-slip climbing holds. Position them at varying heights to accommodate different skill levels.
- Age-Appropriate: Adjust the difficulty level based on the age of the children using the swing set.
2. Tire Swing
Description: A tire swing adds a nostalgic touch to your playset. It's a classic favorite that appeals to kids of all ages.
Installation Tips:
- Selecting the Tire: Find a large, sturdy tire (preferably from a tractor or heavy-duty vehicle). Clean it thoroughly and remove any sharp edges.
- Hanging Mechanism: Attach sturdy chains or ropes to the tire. Hang it from a sturdy beam or crossbar.
- Swinging Fun: Kids can sit inside the tire and swing back and forth. Make sure there's enough clearance around the tire.
3. Picnic Table or Sandbox Platform
Description: Build a small platform adjacent to the swing set where kids can have a picnic or play in a sandbox.
Installation Tips:
- Platform Design: Build a simple wooden platform with guardrails. Paint it in bright colors to make it inviting.
- Sandbox Option: If you choose a sandbox, line it with a weed barrier fabric and fill it with clean play sand.
- Seating Area: Add a bench or picnic table for kids to rest or enjoy snacks.
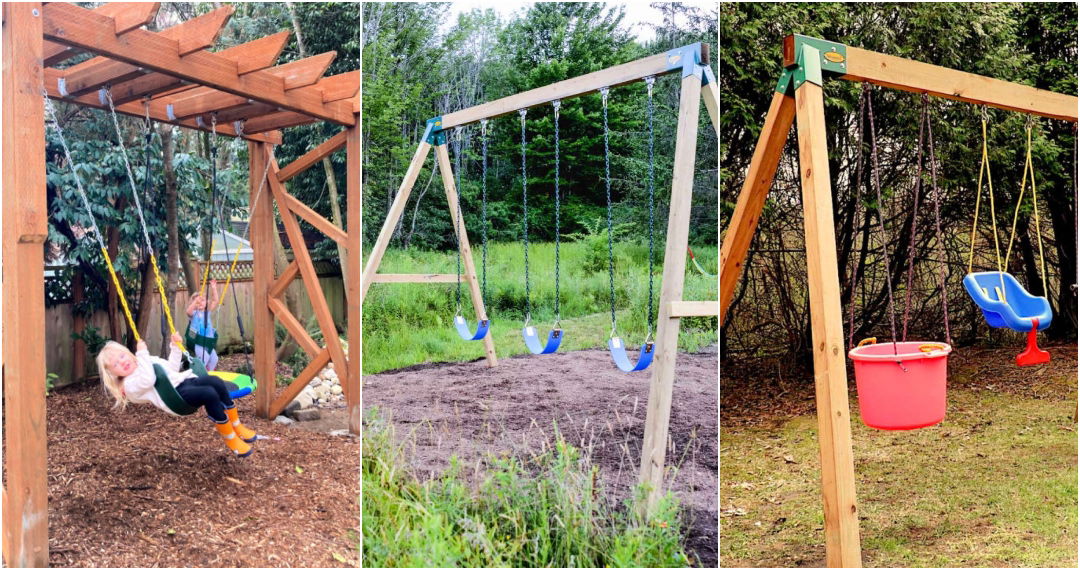
4. Bucket Swings for Toddlers
Description: Bucket swings are perfect for younger children who may not be ready for regular swings. They provide extra support and safety.
Installation Tips:
- Bucket Seats: Purchase bucket-style swing seats designed for toddlers.
- Lower Height: Hang the bucket swings lower than regular swings to accommodate little legs.
- Secure Attachment: Ensure the bucket swings are securely attached to the swing set frame.
5. Decorative Touches
Description: Personalize your swing set with decorative elements. Paint the wooden beams in vibrant colors, add wind chimes, or hang flower baskets.
Installation Tips:
- Weather-Resistant Paint: Use outdoor paint that withstands sun and rain.
- Safety Check: Ensure that any decorative items are securely fastened and won't pose a hazard.
Remember, customization allows you to tailor the swing set to your family's preferences and needs. Get creative, involve the kids, and enjoy building memories together!

FAQs About DIY Swing Sets
Discover everything you need to know about DIY swing sets with these FAQs. Find answers to your questions and start building your backyard fun today.
1. How Do I Choose the Right Location for My Swing Set?
When selecting a spot for your swing set, consider the following:
- Level Ground: Choose a flat area to ensure stability.
- Safety Clearance: Leave enough space around the swing set to prevent collisions with other structures or obstacles.
- Sun and Shade: Opt for a location that receives a mix of sun and shade throughout the day.
3. How High Should I Hang the Swings?
Follow these guidelines:
- Toddler Swings: Hang them lower (about 12-18 inches above the ground).
- Regular Swings: Hang them higher (around 8-10 feet).
4. What Safety Measures Should I Take?
- Anchoring: Securely anchor the swing set to the ground.
- Soft Landing: Use a soft surface (wood chips, rubber mulch) under the swings.
- Regular Inspections: Check for loose bolts, splinters, and wear.
5. Can I Add Accessories to My Swing Set?
- Climbing Wall: Encourage strength and balance.
- Tire Swing: A classic addition for all ages.
- Picnic Table or Sandbox: Build a play area adjacent to the swings.
6. How Do I Maintain My Swing Set?
- Regular Inspections: Check for damage and tighten bolts.
- Cleaning: Keep it clean by removing debris.
- Sealing and Staining: Protect wooden parts.
- Seasonal Care: Adjust for winter and snow.
Final Thoughts
Building this swing set out of a rum barrel provided not only a unique addition to our garden but also a fun and creative way to upcycle. The project did have its challenges, such as finding the right barrel and ensuring the swing was safe and comfortable. However, the result was truly rewarding.


