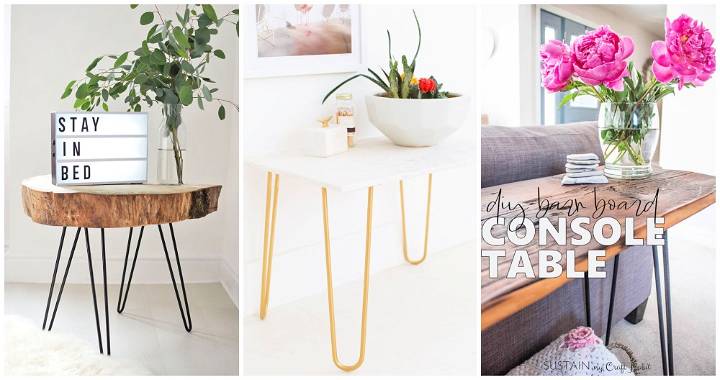
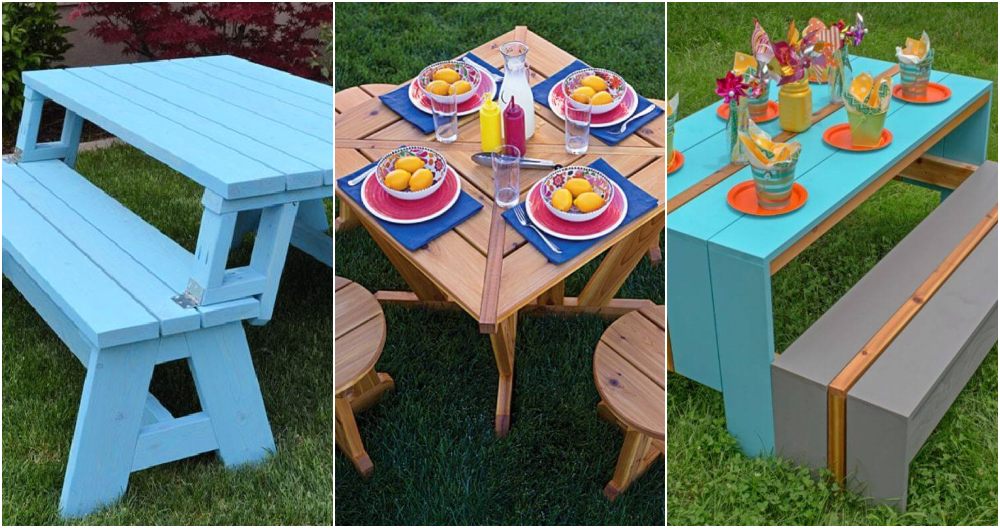
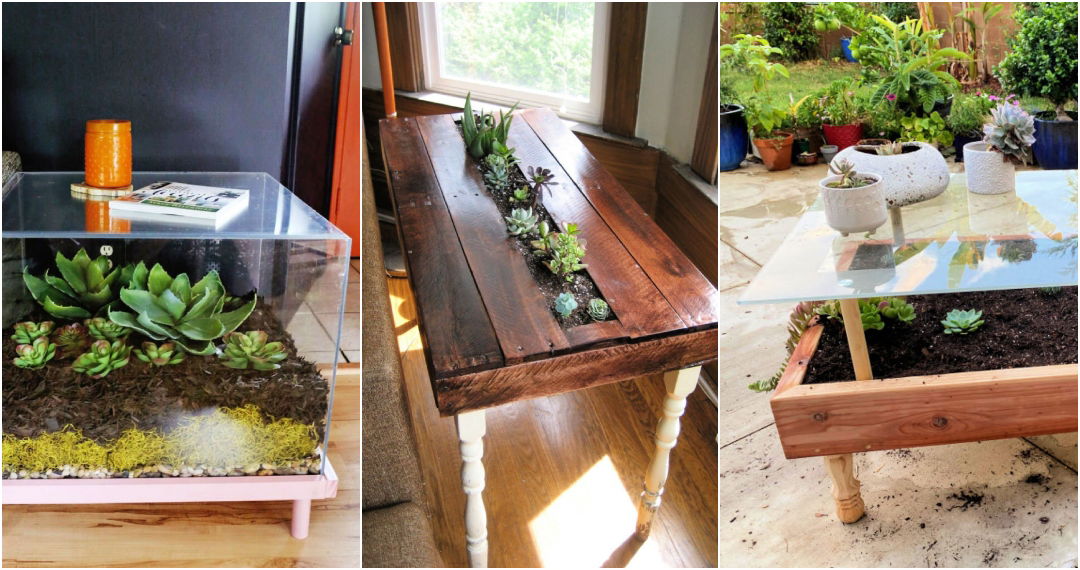
Making table legs from scratch might seem daunting at first, but with some patience and the right materials, it can be an enriching DIY project. I'm going to take you through my journey of making chunky table legs, detailing the process, the materials needed, and some personal insights that could help you undertake this project confidently.
Materials Needed and Their Purpose
Before we dive deep into the process, understanding the materials you'll need and why they're important is crucial.
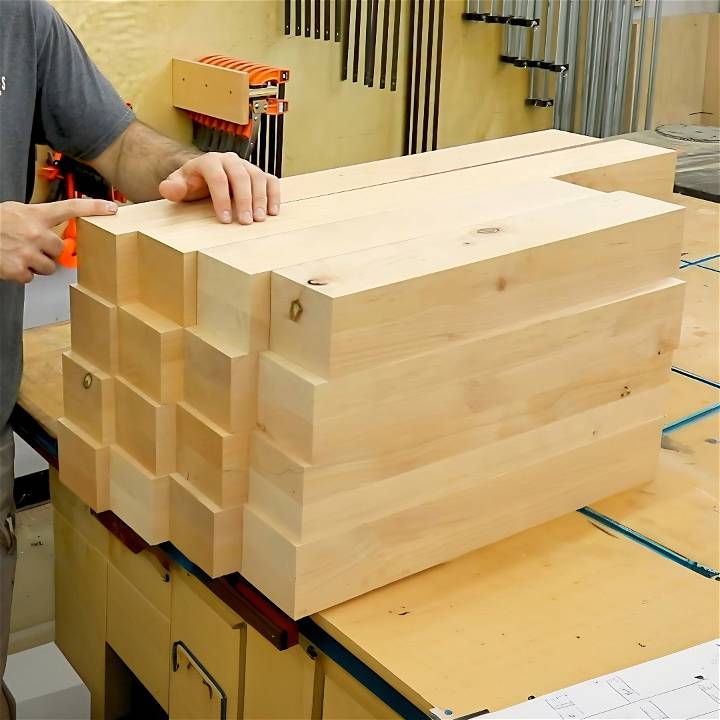
- Eight-Quarter Lumber: The thickness ensures your table legs are chunky and sturdy. I usually go for a width of about four inches.
- Glue: A strong wood glue is necessary for bonding the pieces of lumber together, making the legs solid.
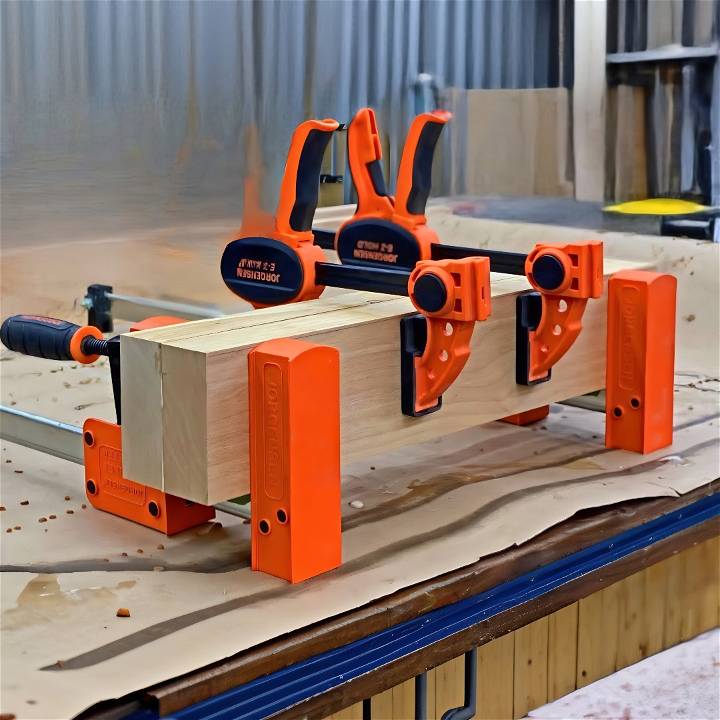
- Clamps: These are vital for holding the lumber pieces tightly while the glue dries.
- Jointer and Planer: For smoothing and squaring the glued-up legs.
- Miter Saw: For cutting your lumber to the rough length and then trimming the glued-up legs to their final size.
- Safety Glasses: Safety first! Always protect your eyes from wood chips and dust.
- Optional: Paste Wax: Applying this to your jointer and planer beds can make the lumber slide smoother and protect the metal surfaces.
Step by Step Instructions
Learn how to build DIY table legs with these step-by-step instructions. From cutting lumber to final cuts, master the process easily at home.
Step 1: Cutting and Preparing the Lumber
First, I cut my lumber to the rough length using a miter saw. The precision of the cut here isn't critical, but try to keep it neat. Safety tip: Don't forget to wear your safety glasses to protect your eyes from flying wood chips.
Step 2: Glue-Up Preparation
Laying down paper under the lumber pieces you're about to glue helps with clean-up. Taping the clamps prevents glue from sticking to them. Decide which faces of the lumber will be outward and apply a generous, even layer of glue to the inside faces. Use a spreader to ensure the glue covers every part.
Step 3: Clamping
After aligning the glued faces, I start the clamping process. Begin by snugging down the clamps lightly, ensuring everything stays aligned. Then, add two more clamps on top for extra pressure. Wipe away any excess glue to save time during the cleaning process.
Step 4: Cleaning Off Excess Glue
Once the glue has dried, removing any squeezed-out glue is crucial for a smooth finish. I often use a block plane for this— it's efficient and doesn't damage the wood.
Step 5: Squaring and Smoothing
This is where the jointer and planer come into play. Running the glued-up piece through the jointer builds a smooth, flat surface, which then acts as a reference for the planer to smooth the opposite side. Remember to wax your jointer and planer beds beforehand for a smoother operation.
Step 6: Final Cuts
Now that all faces are smooth and squared, it's time to cut the legs to their final size using a miter saw. This is where your precision counts, so measure twice and cut once.
Personal Insights and Tips
- Patience Is Key: The glue-up and squaring process can be time-consuming but rushing it may result in less-than-ideal outcomes.
- Invest in Quality Clamps: Good clamps make the process smoother and ensure a tight bond between the lumber pieces.
- Safety Can't Be Overstressed: Always, always use safety glasses and be mindful of where your hands are, especially when using saws and planers.
Troubleshooting Common Issues with DIY Table Legs
When embarking on a DIY project to build table legs, you may encounter a few common issues. Here's how to identify and solve them effectively.
Stability Concerns
- Problem: Your table wobbles or feels unstable.
- Solution: Ensure all legs are cut to equal length using a precise measuring tool. Check the floor for evenness where the table will stand. If necessary, add adjustable feet to the legs to accommodate uneven surfaces.
Joining Techniques
- Problem: Joints between the legs and table are weak or come apart.
- Solution: Use strong joinery methods like mortise and tenon or dowel joints for a more robust connection. Glue alone is not enough; reinforce with screws or brackets if needed.
Wood Splitting
- Problem: The wood splits when screws are inserted.
- Solution: Pre-drill holes to prevent splitting, especially near the ends of the wood. Choose the correct screw size; too large can cause damage.
Finishing Flaws
- Problem: The finish on the legs is uneven or blotchy.
- Solution: Sand the wood thoroughly before applying any finish. Test the finish on a scrap piece to ensure it looks as expected.
Hardware Issues
- Problem: Difficulty attaching or aligning hardware.
- Solution: Mark out hardware placement carefully before drilling. Use a template if multiple legs need identical hardware placement.
By addressing these common issues, you'll be on your way to making sturdy and beautiful DIY table legs. Remember, patience and attention to detail are key in DIY projects!
Customization Tips for DIY Table Legs
Building DIY table legs gives you the freedom to add a personal touch to your furniture. Here's how to customize them to reflect your unique style.
Choosing Your Style
Identify Your Aesthetic: Consider the overall look of the room where the table will be placed. Is it modern, rustic, or perhaps industrial? Select a design for your table legs that complements this style.
Adding Decorative Elements
- Carving and Shaping: With basic tools, you can carve designs into the legs or shape them into elegant forms. Simple geometric patterns or grooves can add a sophisticated touch.
- Painting and Staining: Choose colors that match your decor or go bold with contrasting hues. Stains can enhance the natural beauty of the wood, while paint can make a dramatic statement.
Incorporating Hardware
Metal Accents: Adding metal caps or casters to the bottom of the legs can introduce an industrial vibe. Brass or copper details can bring warmth and elegance.
Ensuring Cohesion
Consistency is Key: If you're making multiple legs, ensure all customizations are consistent across each leg. This uniformity is crucial for a cohesive look.
By following these tips, you'll build table legs that are not only functional but also a reflection of your personal style. Remember, the goal is to make something that you'll be proud to display in your home.
FAQs About DIY Table Legs
Discover everything you need to know about DIY table legs in our comprehensive FAQ guide. Learn how to choose, install, and customize table legs today.
What are the best materials for making DIY table legs?
The best materials for DIY table legs depend on your project and style. Wood is popular for its versatility and warmth. Metal pipes can give an industrial look, and reclaimed materials like old 2x4s can add character. For durability and ease of work, softwoods like pine are often recommended for beginners.
How can I ensure my table legs are stable?
To ensure stability, make sure all legs are the same length and attach them securely to the table top. Use sturdy joinery techniques like mortise and tenon or brackets. For added stability, consider adding a lower shelf or cross braces that can double as storage or design elements.
Can I make adjustable table legs?
Yes, you can make adjustable table legs by adding hardware like threaded inserts and adjustable feet. This allows you to fine-tune the height and level the table on uneven floors. It's a practical solution for multi-purpose tables.
How do I attach table legs without screws showing?
For a clean look, you can attach table legs using hidden joinery methods. Dowels, biscuits, or pocket holes can be used to connect legs without visible screws. If you're using metal legs, consider welding or using decorative bolts for an industrial aesthetic.
What are some creative ideas for DIY table legs?
Get creative with materials like pipe legs for an industrial vibe or upcycle old items like wooden hangers for small tables. You can also experiment with shapes, like X-shaped legs for a farmhouse style or tapered legs for a mid-century modern feel. The key is to match the design with the overall style of your room.
In Conclusion
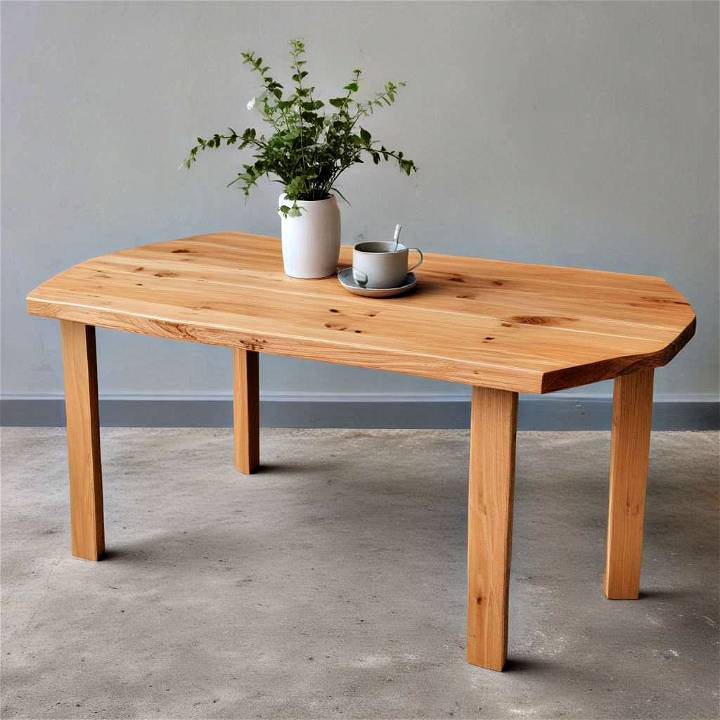
Making your own table legs is not just about saving money or customizing your furniture; it's about the satisfaction of making something beautiful and durable with your own hands. This project has taught me patience, honed my woodworking skills, and added a personal touch to my home that store-bought furniture simply cannot match.
If you decide to embark on this woodworking journey, remember to enjoy the process, learn from any mistakes, and take pride in your creation. Crafting table legs might be a small part of a bigger project, but it's a rewarding one. Good luck, and happy woodworking!


