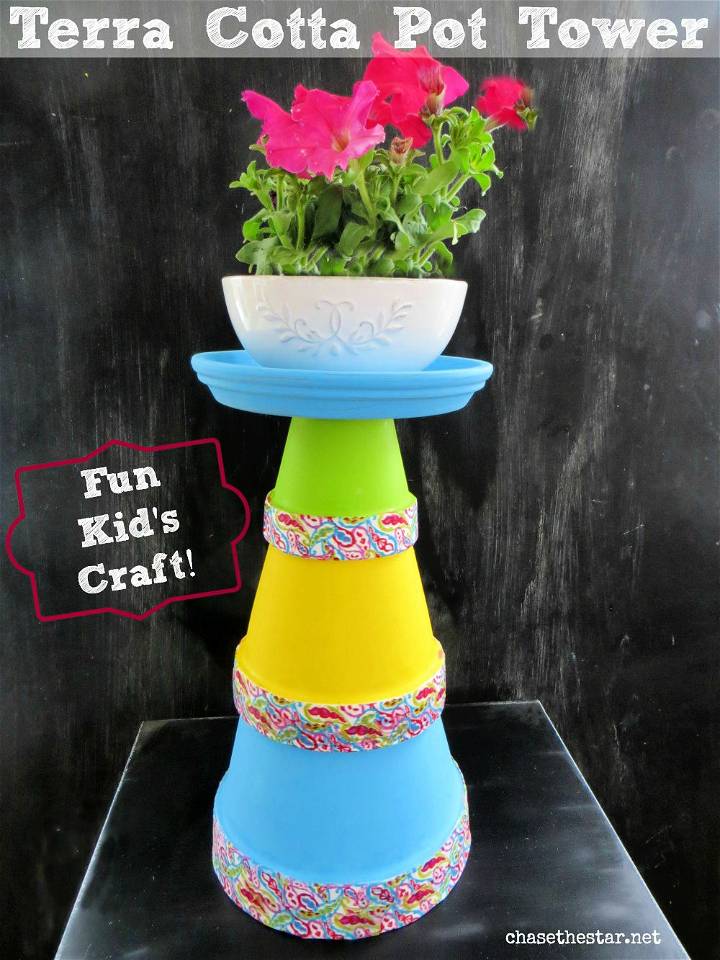
It’s Terra cotta pot tower or stacked flower tower week for us. As you all know, how much my son and I love DIY crafts. We love keeping ourselves busy crafting at home. It’s a hobby we can never get rid of! Also, it helps me to spend quality time with my boy. We learn new things and add colorful home decor to our house. Guess what I did this weekend? Yes! We made a terra cotta pot tower. For those of you, who don't know what Terra Cotta pots are, these pots are simply different from regular clay pots that are used for gardening purposes. These pots can be used outdoors as well as indoors.
So we had some empty pots lying around in our garage after we planted the flowers in them into the front yard. This weekend, after brunch, I decided to get rid of the extra things lying around in the garage. While I was at it, I saw these pots, which quickly reminded me of the DIY craft that my son and I can do together. I cleaned them and took them inside to make a good (not to mention exciting) use of these pots.
Let's gather some supplies!
For my Terra Cotta Pot tower, I used the paints that I bought from Plaid, which are easily washable and super-friendly for the kids to use.
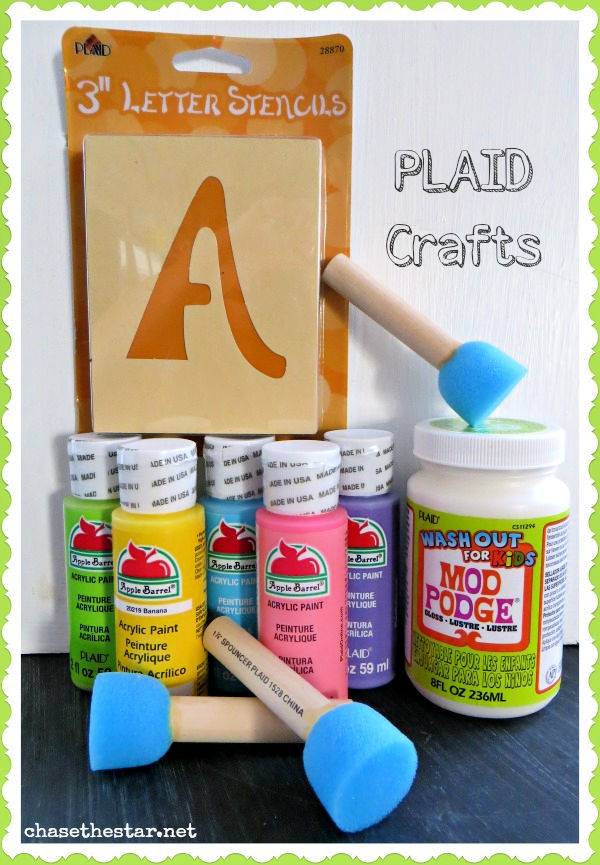
- 5 bottles Apple Barrel paint
- 1 bottle Mod Podge Washout
- 1 Fun stencils pack
- 3 Foam applicators
How lucky am I to find the required products at home. Guess this is what happens when you are a DIY craft lover, you find almost everything you need at home. When you don’t, you always have different ideas to go with!
The idea was just to make a tower from these pots and write a quote on them with stencils' help to give it a more fun-crafty vibe. But the Terra Cotta wasn't large enough to carry a whole quote. So I just eventually gave up on the idea of adding a quote and decided to go with a simple painting. As for my stencils, they can wait for the next time I use them!
Making a terra cotta pot tower or stacked flower tower:
Step 1:
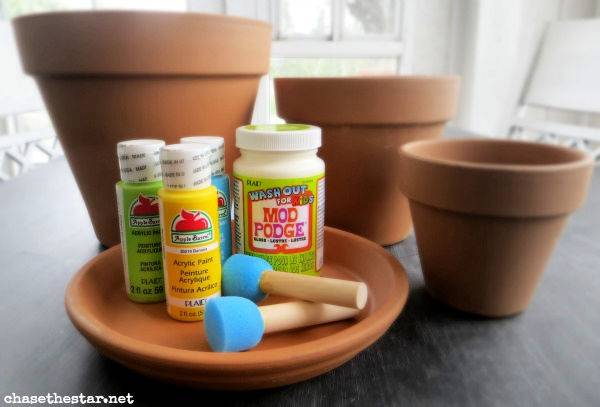
For a start, I gathered three different sized Terra Cotta Pots, basically a large, medium, and small. To go with my terra cotta pots, I added a large Terra Cotta platter whose usage you will understand by the end. The paints I used were of Apple Barrel paint and Mod Podge. Lastly, I got a foam applicator to make our work more easy and fun.
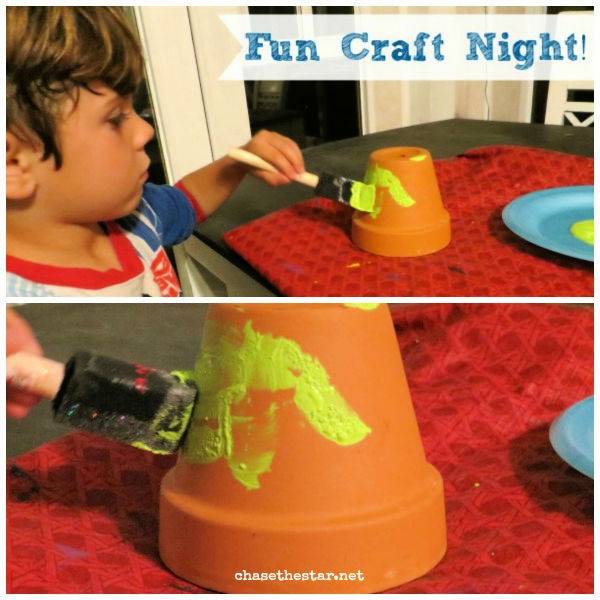
I also used a foam brush for the painting, and to keep it all the pots together to form a tower, I got a Washi tape as an adhesive.
Step 2:
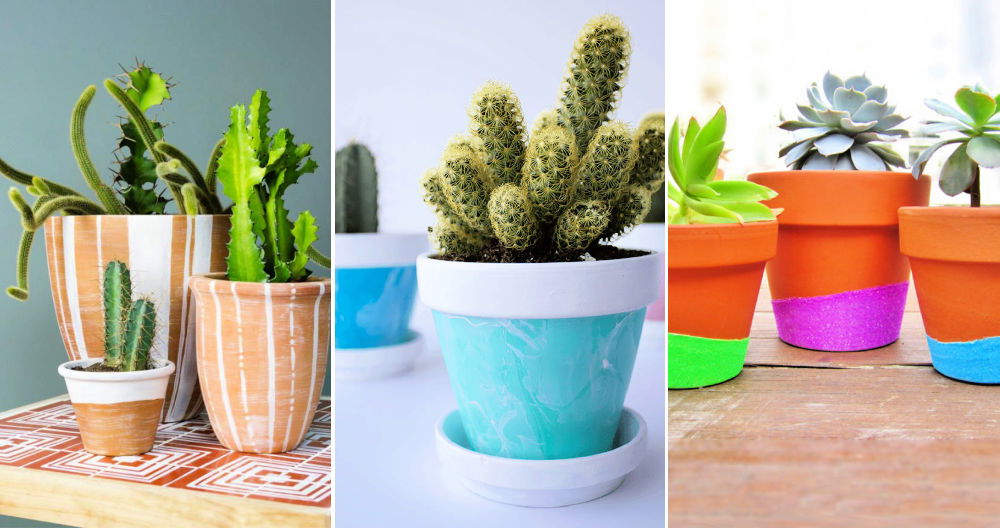
Paint your Terra Cotta pots, whatever way you like. I chose a bright yellow color, while my boy chose a green one to match it with my medium-sized yellow-painted terra cotta pot.
We both painted our pots with our favorite colors, and they turned out to be pretty bright and decent. Of course, I helped my boy, later on, to even the strokes of his painted pot.
Step 3:
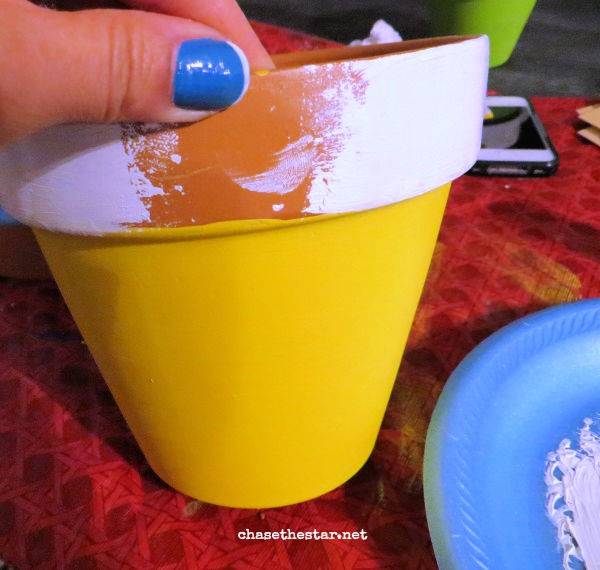
This step is optional, and it totally depends on you whether you want to paint the rims of your pots or leave as it is. I decided to paint them white because the white-colored rims enhance the overall color of the pot.
This white colored paint was the Mod Podge Washout. It makes sure the Washi tape sticks over the paint.
Step 4:
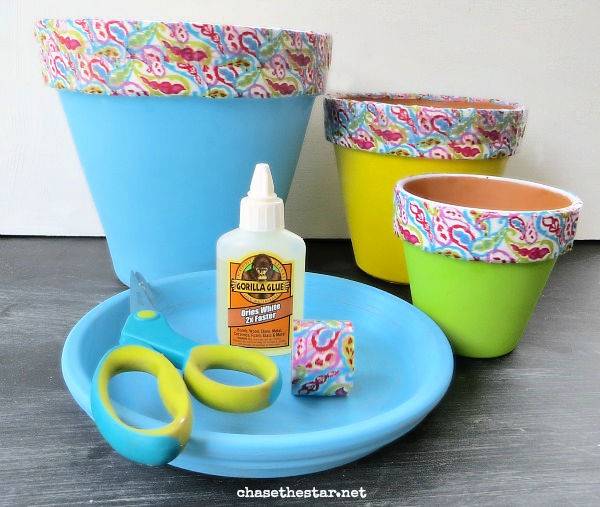
Mod podge applying was quite the delicate step, but we used a foam applicator and did the job quite nicely. My son then pressed the Washi tape down with his fingers. It was certainly a fun experience for both of us. I badly wanted to try it myself, so I let my kid do the smaller pot, and I tried it for the biggest pot.
Thankfully, this mod podge was washable, making it a kid-friendly thins. I love it because of this reason because it’s less mess and more fun this way.
Step 5:
In the end, I added a layer of Mod podge over the pots to protect them and give them a final look.
I knew they look super fun like this!
But you know, I always want more with my DIY crafts. For me, more is (mostly) less! , so I decided to go to the next step!
Step 6:
Yes! You got it right! To build a tower from these lovely colored pots! I believe it to be a unique piece that will cover less space.
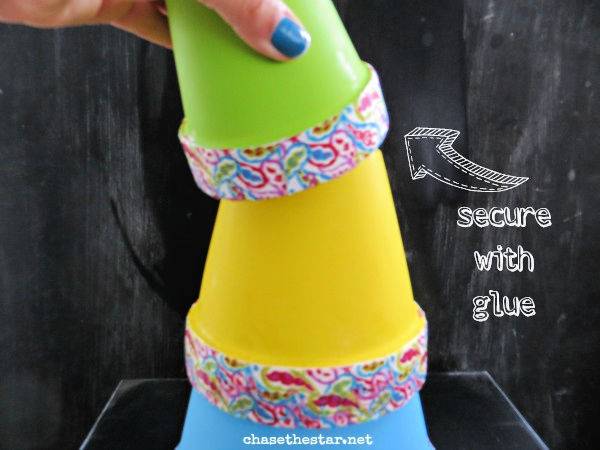
Place the Terra Cotta Pots upside down by placing the smallest on the top and the biggest on the bottom of the tower. Add a saucer that we bought to our crafting table. Keep them secure by using a strong adhesive to join them together for a longer period of time.
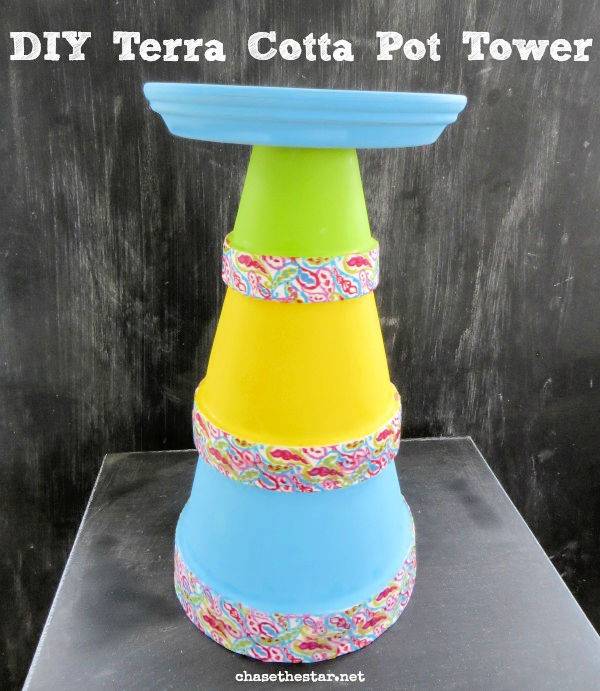
I placed a small bowl I had right in my kitchen cupboard to add weight to the pots, so they stay together while the adhesive takes it time to dry down.
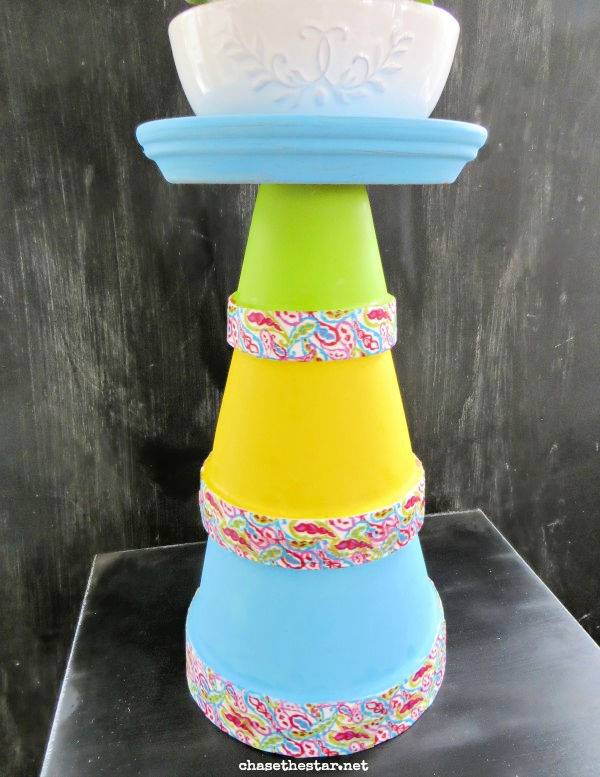
Later on, I added these pretty Petunias in the bowl to complete my pot tower's look.
Behold my three pots - terra cotta pot tower or DIY flower planter! Isn’t this pretty!?
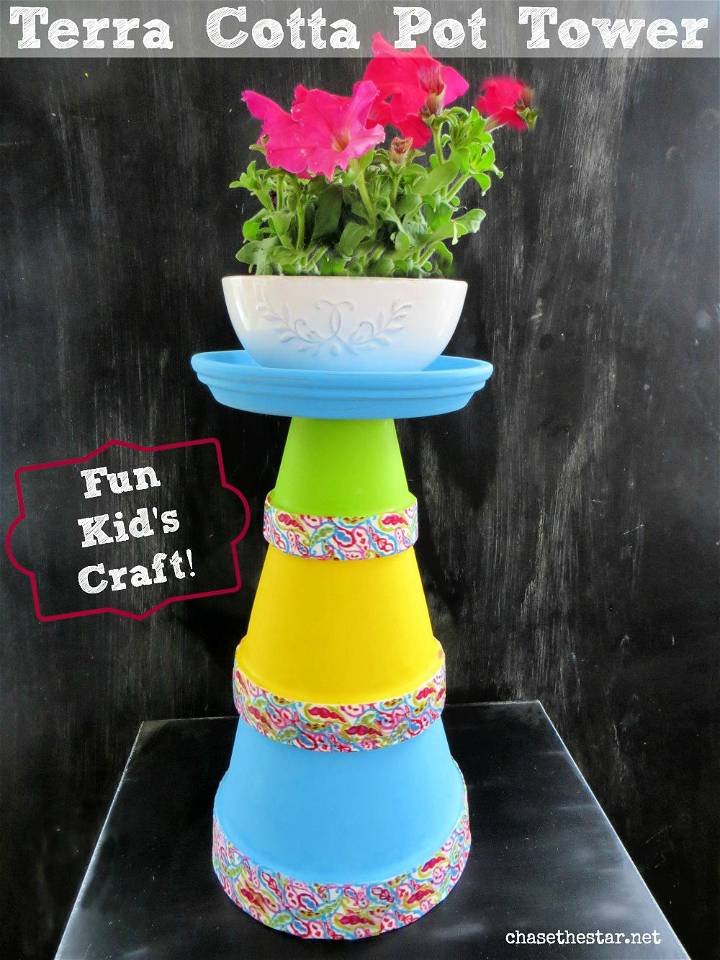
The Apple Barrel paints that we used dried quickly then we thought, making it easy to complete this DIY crafting project in less than an hour {less drying time}.
I loved this New Mod podge. Normally, mod podge creates a mess, but this new formula is my favorite, as it can easily be washed off. Before that, all I used to worry about the messy little one is going to create while crafting. But with these Mod Podge, I can easily wash them out with simple water and soap. The bottles are even super easy to handle and do not create a mess for the kids. Their hands and clothes stay clean, and that’s a big thing!
After this, craft night is now a tradition for us! If you love crafting with kids, then you should definitely try this. It’s a quick DIY project, with less hassle, and with these paints, you have no fear of smudging or your kids getting dirty. Try this at home, and you will love the quality time you will spend with your kids away from mobiles and laptops, and your kids will develop a love for DIY crafts as well. It’ll open new doors of creativity for them. Enjoy!


