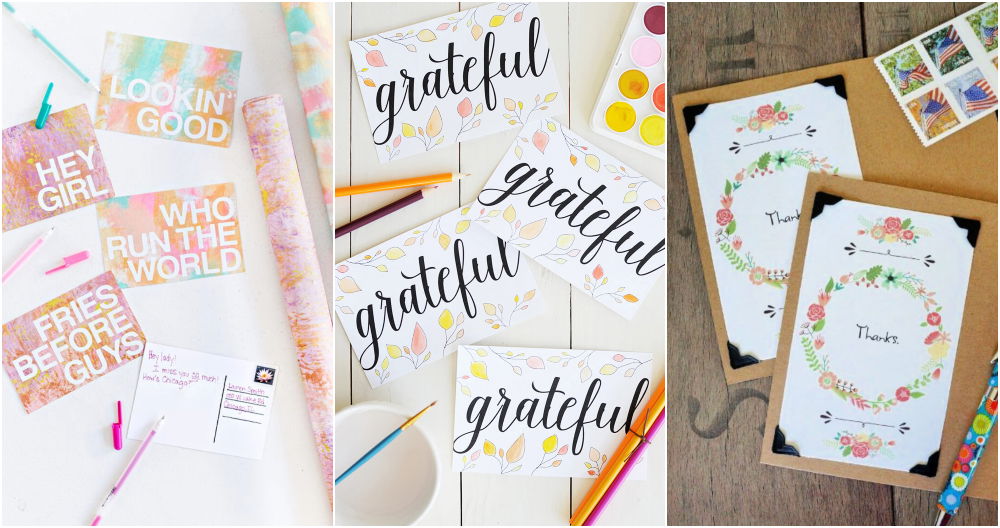
Making my first homemade DIY thank you card was a great moment. I needed a simple way to show my appreciation. I gathered some paper, markers, and a few stickers. In no time, I had a colorful and personal card. This process made me realize how little effort is needed to make someone feel special.
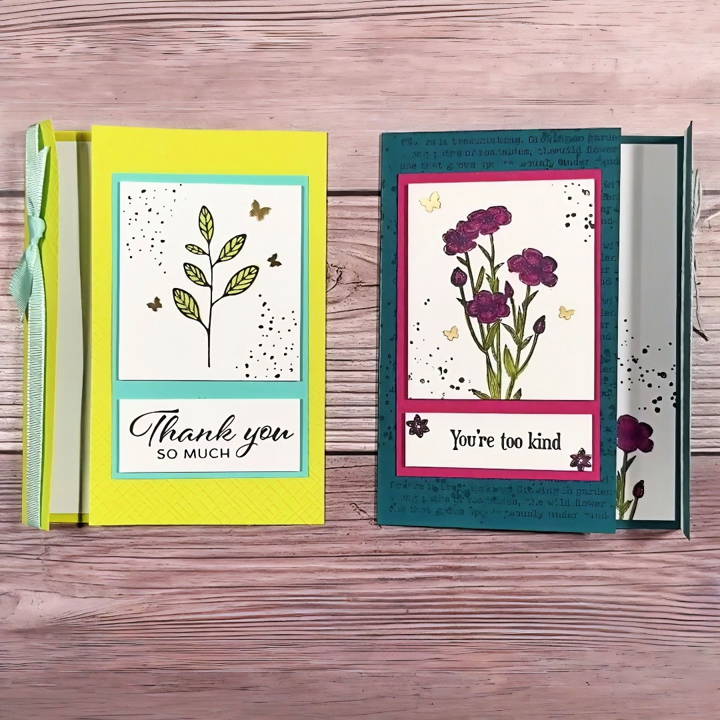
Making DIY thank you cards was not only fun but also gave me a chance to be creative. I experimented with different designs and messages. Each card was unique and it felt good knowing my friends and family would love them. If you're up for a quick and meaningful project, these ideas are here to help.
Cultural Significance
Thank you cards are more than just a polite gesture; they carry a deep cultural significance that varies across the world. In many cultures, expressing gratitude is a fundamental part of social etiquette, but the way it's expressed can differ greatly.
In the United States, saying “thank you” is a common practice, almost to the point of being reflexive. It's a way to acknowledge someone's kindness or service. However, this isn't the case everywhere. For instance, in some parts of India, expressing thanks to family members is uncommon as it may imply a formal distance in a relationship that is expected to be inherently close and personal. Instead, gratitude is often shown through actions or nonverbal gestures.
Materials You'll Need
- Cardstock: For the base of the card. I prefer using vibrant colors like a lemon-lime twist or berry burst for a cheerful vibe.
- Basic White Cardstock: This will be used for the inside of the card and for making a focal point on the front.
- Stamp Set: Choose one with versatile images and sentiments. I used the Layering Leaves and Quiet Meadow stamp sets, which offer a variety of designs.
- Ink Pads: Needed for stamping your images and sentiments. I used Memento black ink and a couple of colorful inks like lemon lime twist and berry burst.
- Embossing Folder (Optional): To add texture to your card base.
- Ribbon or Baker's Twine: To embellish your card.
- Adhesive: Such as glue dots and Stampin' Dimensionals or any foam adhesive for added dimension.
Why These Materials?
The choice of materials ensures versatility and simplicity in the card-making process. Using vibrant cardstock and coordinating ink colors helps make an eye-catching design, while basic white cardstock provides a clean backdrop for your sentiments and stamped images. The use of an embossing folder adds texture and depth, although it's optional, it can elevate the look of your card. Embellishments like ribbon or twine add a finishing touch, making the card feel more special.
Step-By-Step Instructions
Make heartfelt DIY thank you cards with our step-by-step guide. From card base prep to adding embellishments, make personalized cards easily!
Step 1: Prepare Your Card Base
Start by scoring your chosen colored cardstock at 1 inch and five and a quarter inches along the longer side. This makes a unique fold that adds interest to your thank you card.
Step 2: Emboss for Texture (Optional)
If you're using an embossing folder, now would be the time to add texture to your card base. Simply place the cardstock inside the folder and run it through your embossing machine. Remember, this step is optional but recommended for an added touch of elegance.
Step 3: Stamp Your Sentiments and Images
On a piece of basic white cardstock, stamp your sentiment and any desired images using black ink. If your stamp set is a two-step one like the Layering Leaves, go ahead and add color using your chosen inks.
Step 4: Assembling the Card
Cut the stamped white cardstock to fit the front of your card and adhere it. Then, attach the piece with the sentiment inside the card. For a bit of creativity, you can trim another piece of white cardstock slightly smaller than your colorful cardstock and adhere it inside your card for a cleaner finish.
Step 5: Add Embellishments
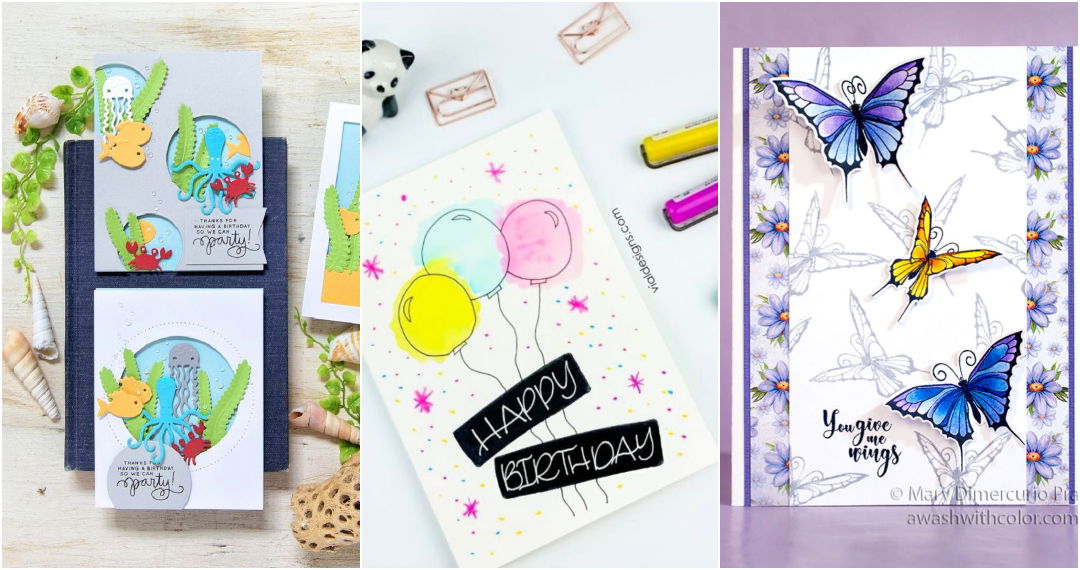
Using glue dots, attach a piece of ribbon or baker's twine around your card. This not only adds beauty but also keeps the unique fold in place. If you wish, add some sparkle with a glitter brush or affix some decorative butterflies or any other embellishments you like for that extra special touch.
Personalization Techniques
Making a DIY thank you card is a heartfelt way to express gratitude. Personalizing your card adds a special touch that can make the recipient feel truly appreciated. Here are some techniques to help you craft a card that's as unique as your message of thanks:
- Choose Quality Materials: Start with good paper. It's the foundation of your card and sets the tone for your creation. Whether it's textured, colored, or patterned, the right paper can elevate your card's look and feel.
- Play with Colors: Colors can convey emotions. Soft pastels might express gentle appreciation, while bold hues can celebrate a vibrant thank you. Mix and match to find the palette that best reflects your gratitude.
- Incorporate Photos: Adding a personal photo can turn a simple card into a memorable keepsake. Use a picture that holds special meaning for both you and the recipient.
- Use Stamps and Stencils: Stamps and stencils are great for adding designs without needing advanced artistic skills. They come in endless shapes and themes, so you can find something that resonates with the occasion.
- Experiment with Hand Lettering: If you're comfortable with your handwriting, try hand lettering your message. It adds a personal and artisanal touch that no font can replicate.
- Add Embellishments: Embellishments like ribbons, buttons, or beads can add texture and interest to your card. Just a few well-placed decorations can transform a plain card into something extraordinary.
- Include a Personal Message: Beyond the design, what you write matters. Take a moment to pen a message that comes from the heart. It doesn't have to be long, but it should be sincere.
- Make an Envelope: Don't forget the envelope! A handmade envelope can be just as personalized as the card itself. Consider using matching paper or a complementary design.
The goal is to make the recipient feel special. Take your time, enjoy the process, and let your creativity shine through. Your effort and thoughtfulness will surely be felt when the card is received.
Photography Tips
When it comes to DIY thank you cards, adding a personal photo can transform your creation into a memorable keepsake. Here are some photography tips to help you capture the perfect image for your card:
- Choose the Right Lighting: Natural light works best for photos. Try to take your picture during the day when the light is soft and even. Avoid harsh sunlight that can make shadows.
- Keep the Background Simple: A cluttered background can distract from the main subject. Use a plain wall or a simple backdrop to make your photo stand out.
- Focus on the Subject: If you're using a camera, adjust the focus to ensure the subject is sharp. On a smartphone, tap the screen where you want to focus.
- Use Props: Props can add context to your photo. For a thank you card, consider including items that relate to the reason for your gratitude.
- Edit Thoughtfully: Use photo editing tools to enhance your image. Adjust the brightness, contrast, and saturation to improve the overall look of the photo.
- Print Quality: Make sure to print your photo on good quality paper. Photo paper will give you a crisp and professional finish.
- Size Matters: Before printing, check that the size of the photo matches the card. You don't want it to be too big or too small.
Follow these tips to make a beautiful, personalized thank-you card. The photo reflects your gratitude, so make it special.
FAQs About DIY Thank You Cards
Discover essential FAQs about DIY thank you cards. Learn tips, materials, and creative ideas to make your own heartfelt thank-you cards.
Personalizing your thank you cards can be done in many ways. Consider using a photo, a hand-drawn illustration, or a unique design that reflects your personality or the occasion. You can also add a personal touch by using a special type of paper, adding a handwritten note, or incorporating elements like a wax seal or ribbon.
Yes, there are several quick and easy designs you can use. For instance, a simple yet elegant design could involve using a piece of decorative washi tape as a border on a blank card, or making a card with a cut-out shape (like a heart or star) that reveals a different colored paper underneath. Another idea is to use a stamp with a thank you message for a classic look.
Absolutely! Making thank you cards with children is a great way to teach them about gratitude. Choose simple and safe materials like stickers, stamps, or finger paints. You can also use templates or pre-cut shapes to make the process easier for little hands.
A thoughtful thank-you message should be sincere and specific. Start by expressing your gratitude, then mention the gift or act you’re thankful for, and conclude with a personal message or a note about the future. For example, “Thank you so much for the beautiful scarf. It’s just my style, and I’ll think of you every time I wear it. Let’s get together soon for coffee!”
To add an extra flair to your thank you cards, consider using creative techniques like wax resist. With a white crayon, write your message on the card, then paint over it with watercolors to reveal the hidden note. This method is especially friendly for even the smallest painters. Another fun idea is to make fingerprint monster cards where you dip and print fingertips, then draw them into little monsters, adding a playful touch to your gratitude. For a more sophisticated look, try using painter's tape to tape out a bold message or simple design, then paint over it and peel the tape to reveal your negative space design. These unique touches will surely make your thank you cards stand out and be remembered.
Conclusion
Getting started with creative DIY thank-you card ideas is easier than you think. With a few materials and a bit of creativity, you can make awesome and heartfelt cards. Try it out and make someone's day special with a personal touch.


