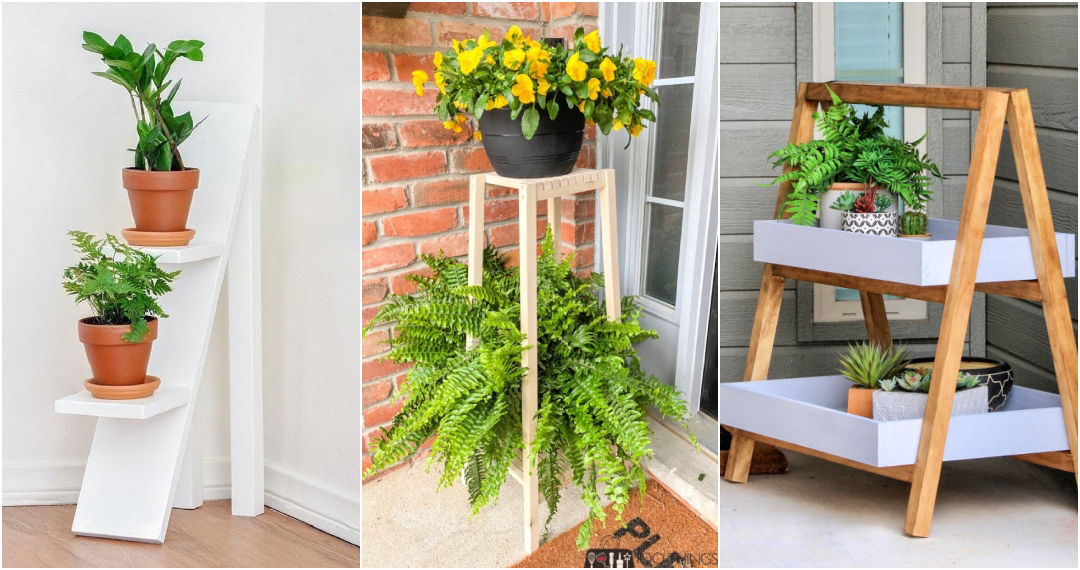
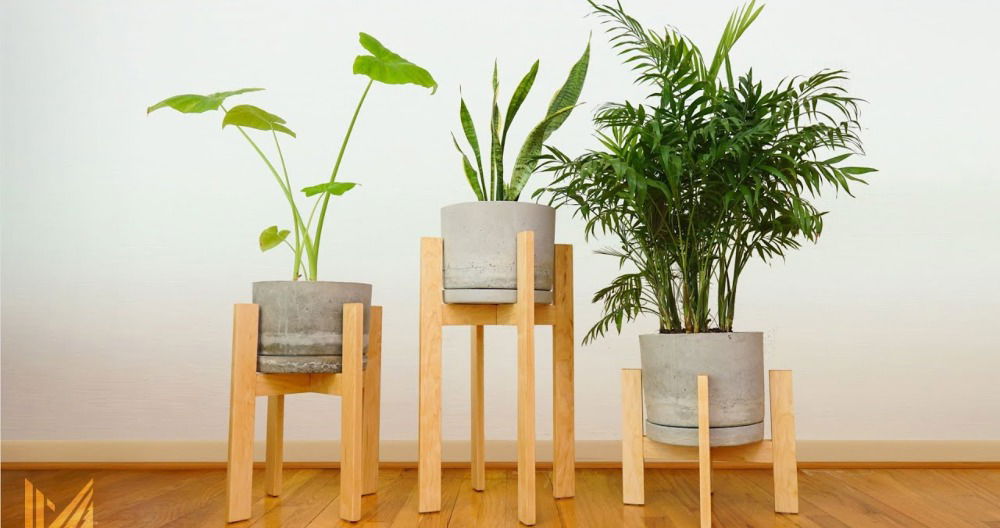
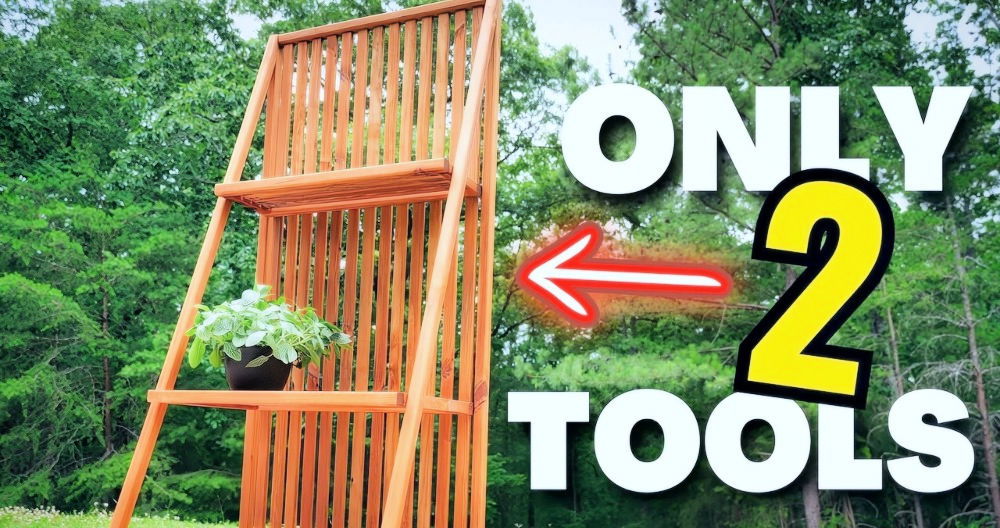
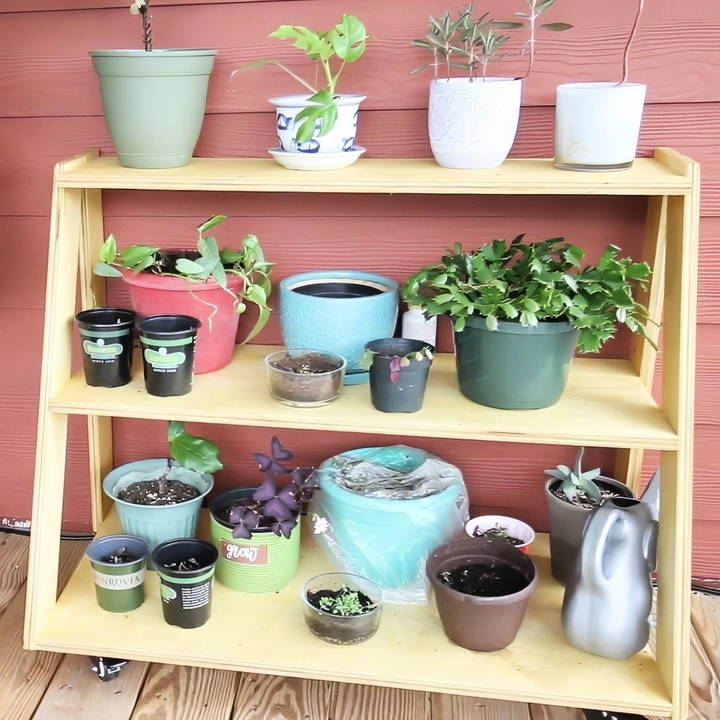
Building a beautiful, functional, and mobile-tiered plant stand can be a fun and practical DIY project. In this guide, you'll learn to construct a DIY tiered plant stand perfect for patios, porches, or indoor plant setups. This project combines simplicity with functionality and can easily be accomplished with basic tools, pocket hole joinery, and a few essential materials.
What You'll Need
Here's everything you'll need to get started:
Materials
- Half Sheet of Plywood (4' x 4'): A half-sheet of plywood serves as the primary material for this project.
- Pocket Hole Screws: For joining the pieces together.
- Waterproof Sealant (e.g., Waterlox): For protecting the wood from moisture and outdoor exposure.
- Casters: Four 2-inch casters that can roll, swivel, and lock for stability.
Tools
- Miter Saw: For cutting angles on the posts.
- Pocket Hole Jig (Kreg 720 Pro or similar): For making strong, clean joints.
- Drill: Essential for making the pocket holes and attaching parts.
- Speed Square: Helps ensure your work is perfectly aligned.
- Measuring Tape: For precise measurements and cuts.
Step by Step Instructions
Build your own tiered plant stand with our DIY guide. Follow step-by-step instructions, from cutting plywood to adding casters, for a custom design.
Step 1: Cut the Plywood and Prepare Materials
Start by cutting the half-sheet of plywood down to the sizes needed for each shelf and post. Here's a breakdown of each part you'll cut:
- Shelves: You'll have three tiers for this plant stand—bottom, middle, and top. Measure and cut each shelf according to the desired width and depth, ensuring each tier can hold various plant sizes.
- Posts: You'll need four posts. The front posts will be cut at a straight angle, while the back posts are angled slightly to add a stylish design element and better support.
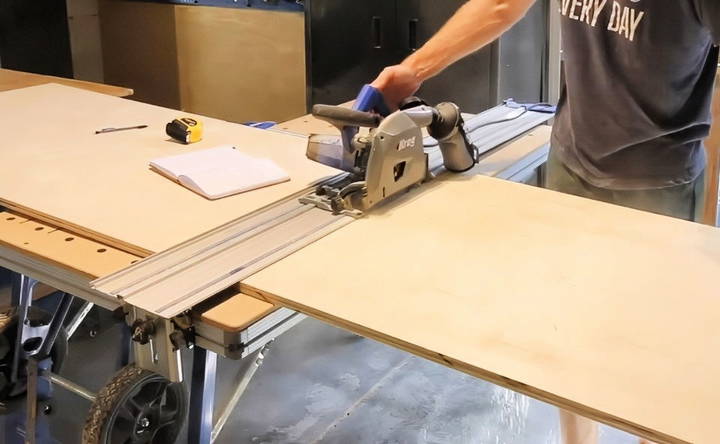
Tip: If you're new to cutting plywood, using a cutting guide or a system like the Kreg Adaptive Cutting System can help achieve clean and straight cuts.
Step 2: Drill Pocket Holes
Once all the pieces are cut, it's time to use the pocket hole jig. Pocket hole joinery builds strong, hidden joints, making it perfect for this project's clean look.
- Set up the Kreg 720 Pro Pocket Hole Jig: This jig simplifies the pocket hole drilling process, especially in plywood.
- Drill Holes in the Shelves: Drill pocket holes on each shelf, specifically on the sides that will attach to the posts. This way, each shelf will be securely anchored to the posts.
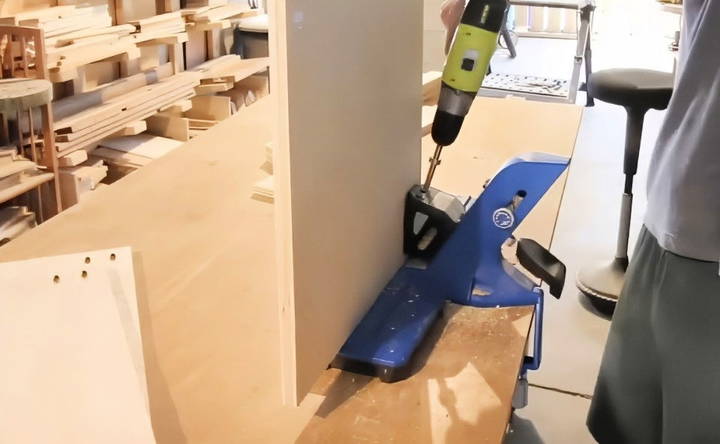
Tip: Pocket holes in plywood can sometimes splinter; using a jig with an auto-max clamp system, like the Kreg 720, can reduce this issue and make the process quicker.
Step 3: Assemble the Stand
Now that the parts are ready, let's put it all together! Assembly is straightforward but requires attention to detail to ensure everything is level and secure.
- Attach the Bottom Shelf: Start by securing the bottom shelf to the straight back posts. Using pocket hole screws, drive the screws into the posts to build a solid base.
- Add the Middle and Top Shelves: Work upward, attaching the middle shelf next and then the top shelf. Use a speed square to make sure each shelf is level as you go, checking for any misalignment that could cause stability issues later.
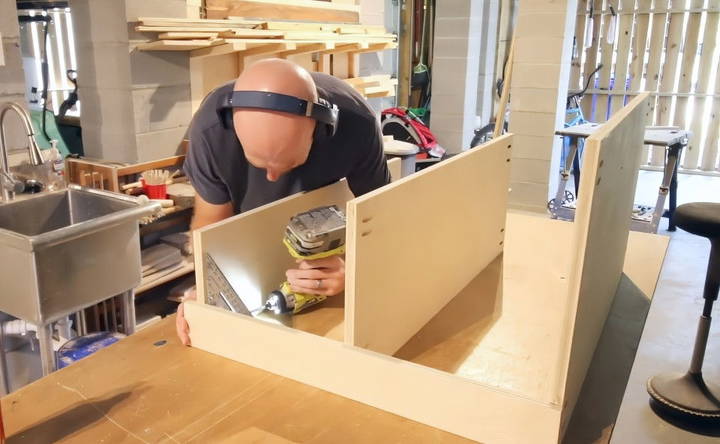
Tip: Clamping the shelves in place while you drill can help keep everything stable and aligned, especially if you're working alone.
Step 4: Attach Angled Front Posts
The front posts add a unique touch to this stand by angling outward slightly, providing better support and visual appeal.
- Position the Angled Posts: Begin with one side, attaching the angled post to the top shelf. Secure it with pocket hole screws, starting at the top and then moving down to the middle and bottom shelves.
- Repeat on the Other Side: Follow the same process for the other angled front post. Ensure both posts are at the same angle and height for a balanced look.
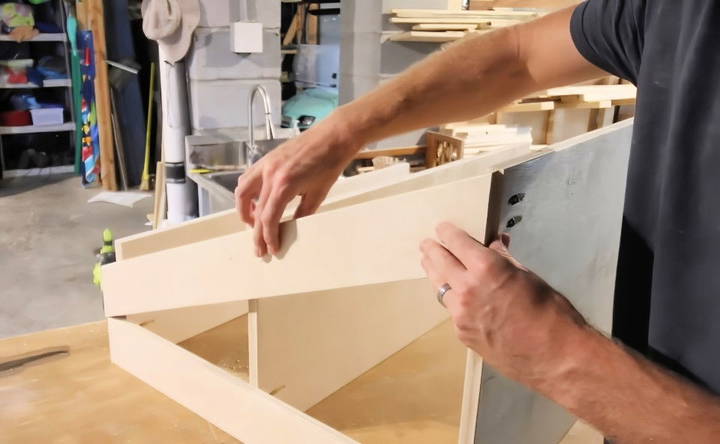
Note: It might initially seem like the top shelf won't align with the angled posts, but once in place, it will fit securely.
Step 5: Sand and Apply a Waterproof Finish
Once the entire structure is assembled, take the time to finish it properly. Sanding and sealing the wood is crucial for a plant stand that may be exposed to moisture and varying temperatures.
- Sand the Stand: Lightly sand each part of the plant stand, focusing on any rough edges or splinters. Use a fine-grit sandpaper for a smooth finish.
- Apply Waterproof Sealant: Coat the plant stand with a waterproof sealant like Waterlox, which is ideal for projects exposed to water or humidity. This layer will protect the wood and maintain its appearance over time.
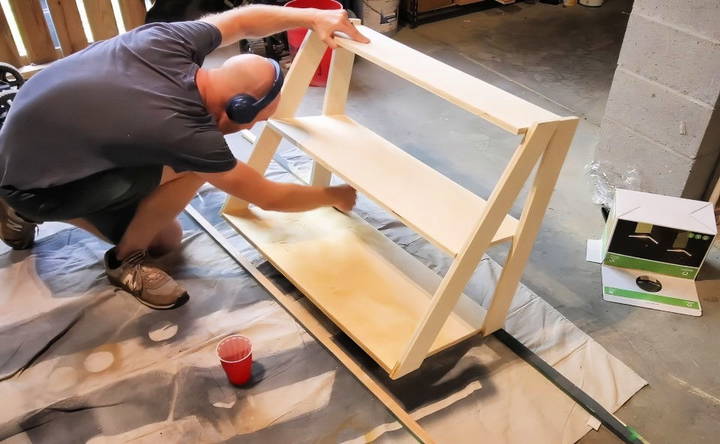
Tip: Apply at least two coats of sealant, allowing each layer to dry fully before adding the next. This ensures thorough coverage and maximizes durability.
Step 6: Attach Casters
Casters make this plant stand incredibly functional by allowing you to move it around easily, ideal for optimizing light exposure for your plants or simply rearranging your space.
- Select Lockable Casters: Choose 2-inch casters that can lock in place. Locking casters will keep the stand stable, especially if you have children or pets around.
- Attach the Casters to Each Corner: Secure each caster to a corner on the bottom of the stand. Check that all casters are level so the stand rolls smoothly without wobbling.
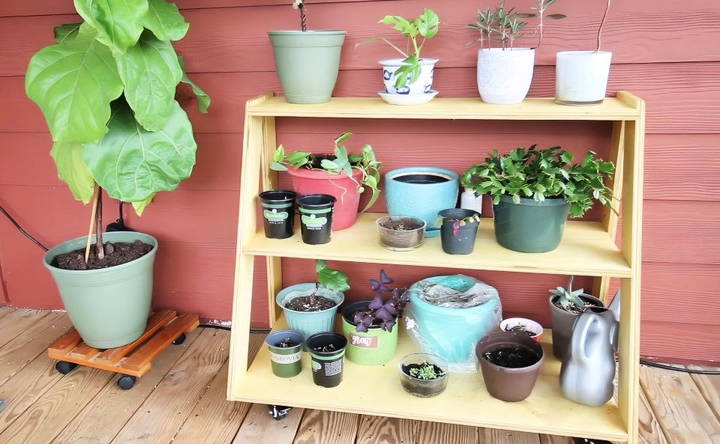
Additional Tips and Considerations
- Choosing the Right Plywood: Opt for high-quality, exterior-grade plywood if your stand will be used outdoors. This plywood is more resistant to warping and water damage.
- Customization Options: Consider adding paint or a decorative stain to match your aesthetic. You can also vary the heights or spacing of the shelves if you have specific plants in mind.
- Weight Distribution: Be mindful of the stand's weight distribution. Heavier pots should be placed on the bottom shelf to lower the center of gravity, preventing tipping.
- Plan for Maintenance: Over time, outdoor stands may require a fresh coat of sealant or minor repairs. Regular upkeep will keep your plant stand in top shape for years to come.
Final Thoughts: Benefits of a DIY Tiered Plant Stand
Building your own rolling plant stand offers both aesthetic and functional benefits. Not only will this DIY project save you money, but it will also provide a custom piece tailored to your needs. Here are some of the perks of adding a tiered rolling plant stand to your home:
- Efficient Space Use: A three-tier design maximizes vertical space, allowing you to fit more plants in a smaller footprint.
- Enhanced Mobility: Casters make it easy to roll the stand indoors, outdoors, or across different rooms, helping your plants get optimal sunlight.
- Customizable Design: By building the stand yourself, you can adjust the measurements, materials, or finish to match your unique style.
- Durable and Cost-Effective: This project requires minimal materials and, when built with care, can outlast many store-bought options.
By following this guide, you'll build a durable and stylish plant stand that complements any space and brings your love of plants front and center. Whether placed on a screened porch, patio, or indoors, this DIY tiered rolling plant stand will showcase your plants beautifully and bring convenience to your gardening routine.
FAQs About DIY Tiered Plant Stand
Find answers to common questions about DIY tiered plant stands. Learn how to build, style, and maintain your perfect plant display.
This rolling stand can be versatile! It can function as a vegetable prep cart, a mobile shelving unit for tools or supplies, or even a display rack for outdoor decorations. Adding casters makes it easy to move around, which can be helpful for various tasks, like using it as a support for canning or gardening supplies.
Yes, you can adjust the height by extending the length of the posts and spacing the shelves differently. However, if you’re adding height, consider using thicker plywood or additional bracing to keep it stable.
Keep heavier plants or objects on the bottom shelf, which lowers the center of gravity and reduces the risk of tipping. Additionally, always ensure that the casters are locked, especially if the stand is on uneven ground or around children and pets.
Yes, if you don't have a pocket hole jig, you can use wood screws with countersunk pilot holes. This method isn't as seamless but still provides strong joints. Adding wood glue can enhance the strength of these alternative connections.
For outdoor use, reapply a waterproof sealant every one to two years. This will help protect the plywood from moisture, sun exposure, and other elements, extending the life of the stand.


