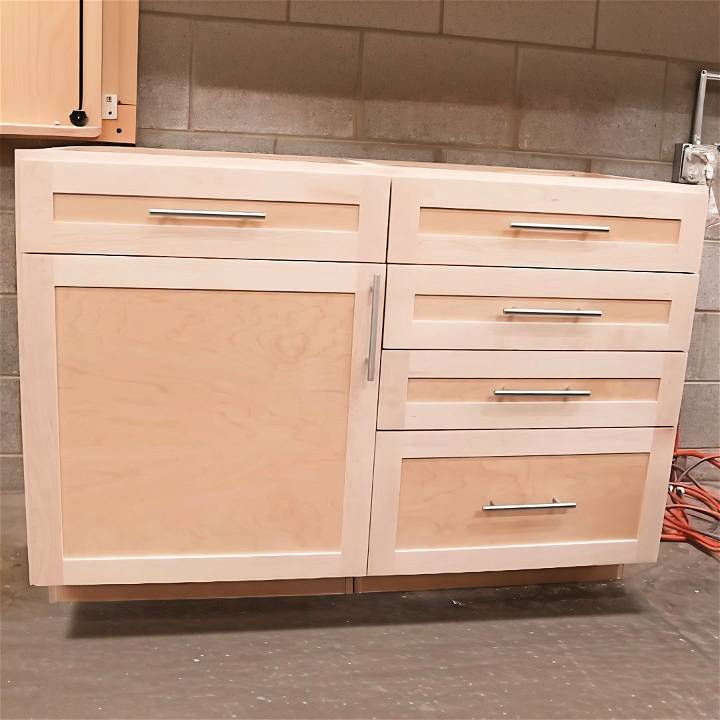
Building a DIY tilt-out trash cabinet is an exciting and practical project that adds both style and functionality to your home. This handy piece of furniture helps keep your kitchen tidy by hiding your trash can while providing an accessible and convenient spot for waste disposal. Plus, it offers a fun and fulfilling experience for anyone interested in building a DIY tilt-out trash cabinet.
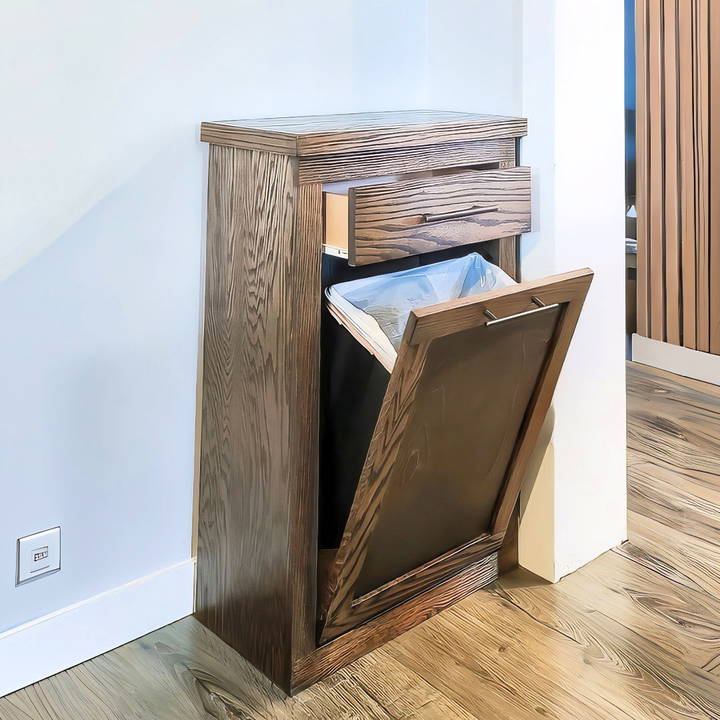
To start, gather all necessary materials and tools. Basic woodworking skills are sufficient, as many guides and tutorials simplify the process. The end result will be a DIY trash can cabinet that not only looks great but also makes everyday tasks easier.
Ready to get hands-on? Let's explore the step-by-step process in the next section!
Why You Need These Materials
Before we start, let's talk about the materials we'll need and why they are important.
Materials List:
- Plywood & Oak Hardwood Boards: These provide a sturdy and aesthetically pleasing structure for the cabinet.
- Table Saw & Miter Saw: Essential for precise cuts and fitting.
- Trim Blade (Optional): Reduces chipping on the oak veneer.
- Brad Nailer & Brad Nails: Helps in quickly assembling parts securely.
- Wood Glue: Provides a strong, lasting bond.
- Orbital Sander & Sandpaper (80 grit and 150 grit): For smoothing the surface.
- Kreg 720 Pro Pocket Hole Jig: Simplifies making strong joints.
- Clamps: Ensure parts are held firmly together during assembly.
- Construction Adhesive: Adds extra strength to the top piece.
- Steel Wool: For a smooth finish on the lacquer.
- Hinge & Drawer Slides: Enable the tilt-out and smooth drawer operation.
- Paint or Stain & Lacquer: For aesthetic finishing and protection.
- Tilt Stops: To prevent the cabinet door from over-tilting.
Step by Step Instructions
Learn how to make a DIY tilt-out trash cabinet with step-by-step instructions, including cutting, assembling, and finishing techniques.
Step 1: Cutting the Wood
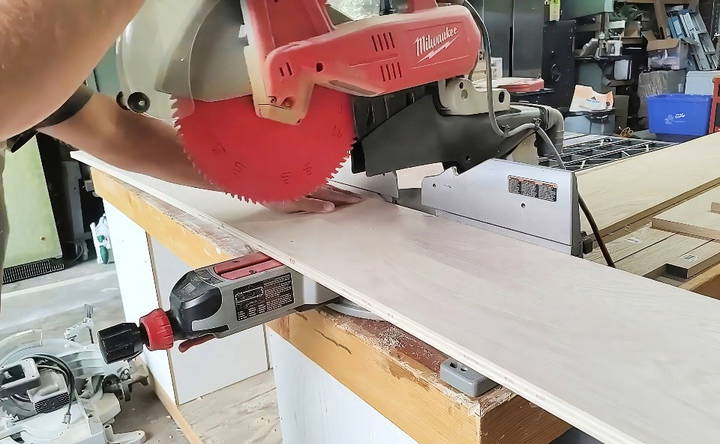
Start by cutting all the wood pieces to size as specified in the free woodworking plans. We used both plywood and oak hardwood boards. Use the table saw to cut the plywood and adjust the widths of the boards. To cut the lengths, use a miter saw.
Tips:
- Trim Blade Use: If you have a trim blade, use it to minimize chipping on the oak veneer. If you don't, you can use a method involving painter's tape and a scrap piece of wood to prevent chipping.
Step 2: Building Dado Cuts
Next, cut a ¼ inch dado cut along all drawer pieces to fit the bottom panel. This requires running each piece through the table saw multiple times if you don't have a dado blade.
Important:
- Repeat this for the door grooves where the door panel will slide in.
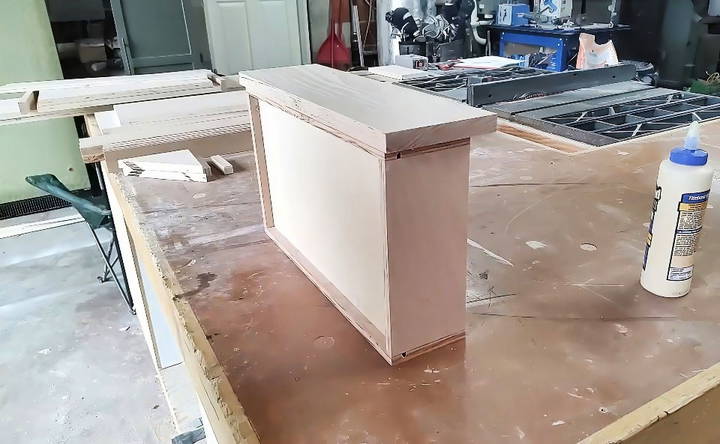
Step 3: Assembling the Drawer
Assemble the drawer by gluing and nailing the back and sides together. Use a brad nailer with 1¼ inch brad nails.
Procedure:
- Insert Drawer Panel: Slide the drawer bottom into the dado channel.
- Attach Drawer Front: Nail it in place, then clamp and wipe off excess glue with a damp shop rag.
Step 4: Sanding
Sand all the cut wood pieces. Start with 80 grit sandpaper for a light sanding using an orbital sander.
Tip:
- Orbital Sander: We use the Milwaukee battery-powered sander for convenience.
Step 5: Building Pocket Holes
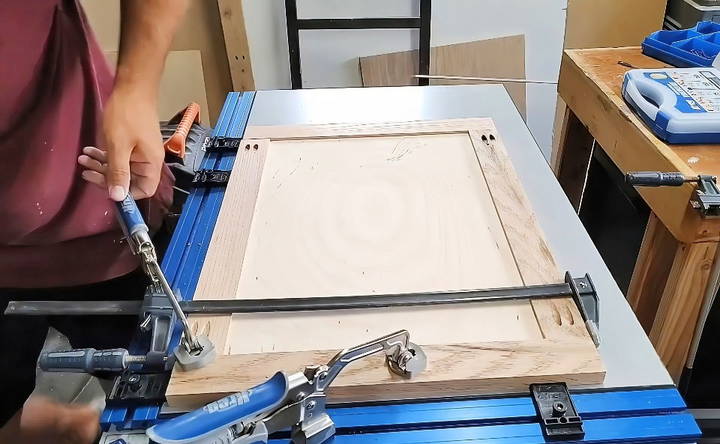
Using the Kreg 720 Pro Pocket Hole Jig, build pocket holes for the drawer and the door. Pre-drill pilot holes in oak to prevent splitting.
Efficiency Tip:
- Do all the pocket holes at once to save time.
Step 6: Assembling the Face Frame and Door
Learn the steps for assembling the face frame and door with our easy guide. Detailed instructions for a professional finish on your projects.
Face Frame:
- Clamp: Use a clamp table to hold pieces square.
- Screws: Use 1¼ inch hardwood Kreg screws for assembly.
- Pre-drill Holes: This is crucial to avoid splitting in oak.
Door:
- Glue and Clamp: Ensure the door panel fits snugly in the groove.
- Screw Together: Attach using pre-drilled pocket holes.
Step 7: Building the Cabinet
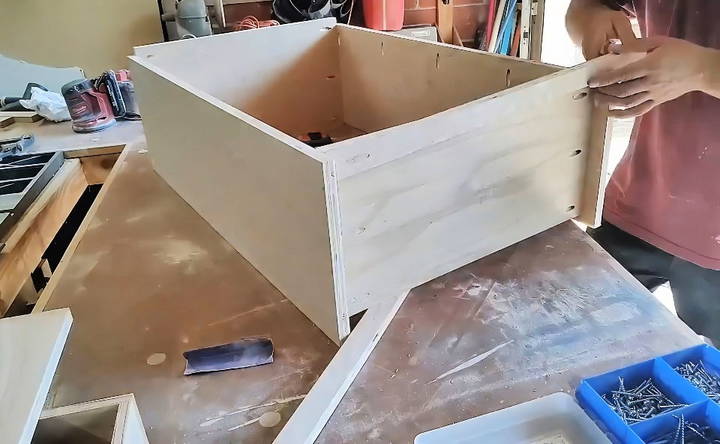
Assemble the cabinet using the pre-drilled pocket holes and screws. Support the bottom piece with extra wood supports for added strength.
Steps:
- Assemble all four pieces.
- Attach the face frame.
- Build the top, adding trim pieces around the edges and secure it with wood glue and nails.
- Let the adhesive and nails set by placing something heavy on top.
Step 8: Building the Trash Bin Tilt Platform
Construct the platform that will hold the trash bin using wood glue and finish nails. Attach this platform to the door with pocket holes.
Important:
- Use high-quality wood glue for a strong tilt-out mechanism.
- Wipe excess glue and let it dry thoroughly.
Step 9: Finishing
Learn expert techniques for sanding, staining, and finishing wood to achieve smooth, professional results in your projects. Perfect your finishing skills!
Sanding:
- Start with 80 grit sandpaper and finish with 150 grit.
- Wipe off dust before staining.
Staining and Finishing:
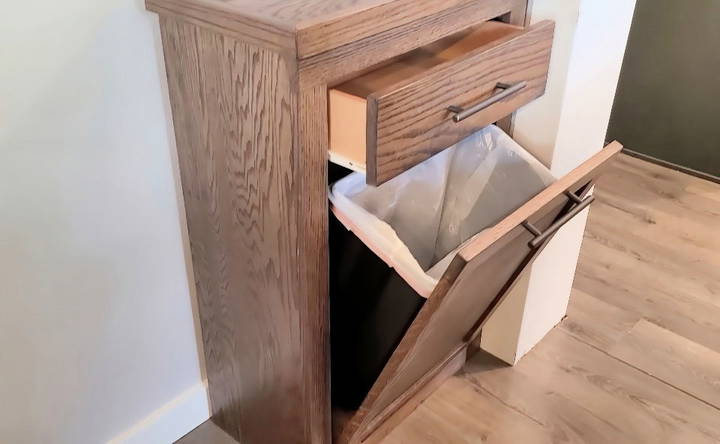
- Apply dark walnut stain.
- Use a spray lacquer finish, let each coat dry, and rub with steel wool for a smooth finish.
Step 10: Final Assembly
Learn the steps for final assembly, attaching hinges and drawer slides, plus making perfect adjustments for a seamless finish.
Attach Hinges and Drawer Slides:
- Use a piano hinge for the cabinet door.
- Install your chosen drawer slides following their instructions.
Adjustments:
- Check if the tilt-out mechanism works correctly and affix tilt stops accordingly.
Design Customization Ideas
When building your DIY tilt-out trash cabinet, personalizing the design to match your home's style and your personal taste is a wonderful way to make the piece truly yours. Here are some ideas to inspire your creativity:
- Choose Your Wood Wisely: Selecting the right type of wood is crucial. Pine is affordable and easy to work with, making it great for beginners. If you're looking for something more durable, consider hardwoods like oak or maple. These not only last longer but also stain beautifully for a high-end finish.
- Paint or Stain?: Think about whether you want to paint or stain your cabinet. Paint allows for bold colors and can be a fun way to add a pop of personality. Staining, on the other hand, showcases the natural beauty of the wood grain. Both options have their merits, so consider what fits best with your kitchen's aesthetic.
- Hardware That Harmonizes: The hardware you choose – hinges, knobs, and handles – can significantly affect the overall look. For a sleek, modern kitchen, consider brushed nickel or chrome. If your home has a more traditional feel, brass or wrought iron might be more appropriate.
- Functional Flourishes: Beyond aesthetics, think about functional design elements. For example, a built-in deodorizer or a compartment for recycling can add practical value to your cabinet.
- Make It Mobile: Adding casters to the bottom of your cabinet can turn it into a mobile unit, which is especially handy if you often find yourself needing to move it out of the way.
- Top It Off: The top of your cabinet doesn't have to be just another surface. Consider adding a butcher block top for extra prep space or a granite top to match your countertops.
The key to a successful DIY project is making it work for you. These ideas are just a starting point – feel free to mix, match, and modify them to suit your needs and tastes.
Troubleshooting Common Issues
Building a DIY tilt-out trash cabinet can be a rewarding project, but like any DIY endeavor, you might run into a few hiccups along the way. Here's a straightforward guide to solving some common issues you may encounter:
- Sticky Door: If your cabinet door sticks when you try to open it, check the hinges. They might need tightening or lubricating. A bit of WD-40 or cooking oil can do the trick. Also, ensure that the door isn't rubbing against the frame, which could require some sanding.
- Tilt Mechanism Troubles: A tilt-out cabinet relies on a smooth mechanism. If yours is giving you grief, first make sure all the moving parts are clean and free from debris. Sometimes, adjusting the tension on the springs or replacing worn-out parts is necessary.
- Alignment Adjustments: Doors that don't close flush might need a hinge adjustment. Loosen the screws slightly, reposition the door, and then tighten them back up. It's a simple fix that can make a big difference.
- Odor Control: Trash can smell, well, trashy. Consider adding a charcoal filter or baking soda holder inside the cabinet to absorb odors. Regular cleaning also helps keep smells at bay.
- Scratches and Scuffs: Life happens, and furniture gets scratched. For minor scuffs, a matching wood marker can fill in the color. Deeper scratches might need a bit of wood filler and touch-up paint or stain.
- Loose Knobs or Handles: Over time, the knobs or handles on your cabinet might loosen. A quick tighten with a screwdriver usually sets them right. If they keep loosening, a drop of thread-locking fluid can provide a more permanent solution.
Most issues with a DIY project are fixable with a little patience and some elbow grease. Don't be discouraged if things aren't perfect the first time.
FAQs About DIY Tilt-Out Trash Cabinet
Discover answers to common FAQs about DIY tilt-out trash cabinets, from materials and tools to step-by-step guides and design tips.
A DIY tilt-out trash cabinet is a custom-built piece of furniture designed to hide your garbage can in a stylish way. It features a door that tilts out to reveal a trash can inside, helping to keep your kitchen or any room looking neat and tidy.
Building a tilt-out trash cabinet allows you to conceal unsightly garbage cans, adds aesthetic value to your space, and can be a fun and rewarding DIY project. It’s also a practical solution for keeping pets out of the trash.
First, select a trash can that fits your needs. Then, measure the can and add a few inches to each dimension to determine the size of your cabinet. This ensures there’s enough room for the can to tilt out easily.
Absolutely! You can paint or stain the wood to match your existing cabinetry or choose a contrasting color for a statement piece. Additionally, you can select hardware that complements your room's style.
To ensure the durability of your DIY tilt-out trash cabinet, use quality materials such as hardwood or plywood for the structure. Apply a sealant or protective finish to guard against moisture and wear. Additionally, use sturdy hinges and a solid handle to withstand frequent use. Regular maintenance, including tightening screws and cleaning, will also help extend the life of your cabinet.
Conclusion
And there you have it! You've built a functional and beautiful DIY tilt-out trash can cabinet. This project not only solves the problem of pets getting into your trash but also adds a touch of elegance to your kitchen. Don't forget to style it with some cookbooks or a plant on top for that extra charm.


