Last summer, I found myself at a crossroads familiar to many parents: my toddler was quickly outgrowing his crib, yet I wasn't quite ready to transition him to a traditional bed. The thought of him rolling out of bed in the middle of the night kept me up with worry. That's when I stumbled upon a solution that seemed to tick all the right boxes—a DIY toddler bed.
I was inspired by Shara from Woodshop Diaries, who shared a remarkably simple yet ingenious design utilizing basic materials: 2x4s and dowels. Here's how I embarked on making a cozy, safe, and budget-friendly sleeping solution for my little one.
Materials Needed and Why
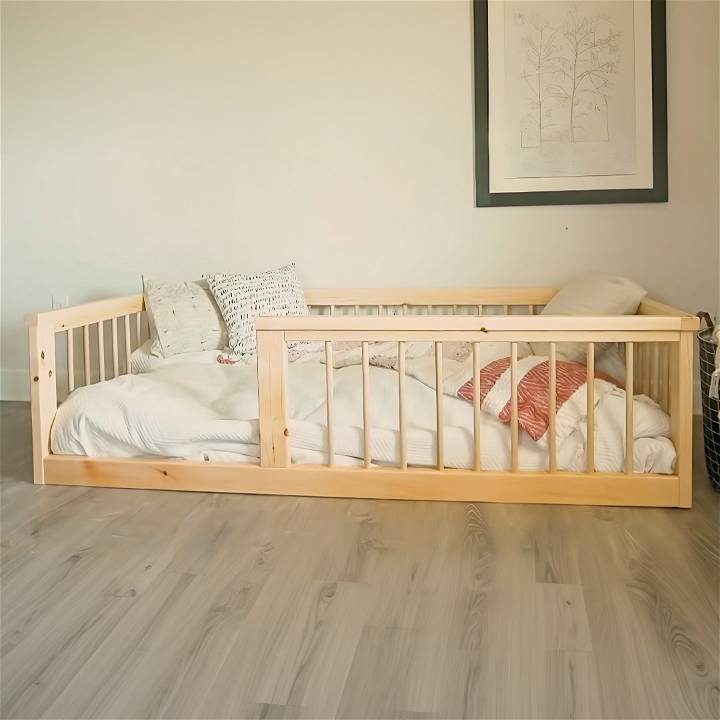
- 2x4s: These serve as the bed frame's backbone. I chose 92 5/8-inch pine studs for their affordability and enough strength to support the bed's structure.
- Poplar Dowels (* ¾ inch diameter): Dowels act as safety rails, preventing my toddler from rolling off without making him feel caged in.
- Screws and Wood Glue: For assembling and securing the pieces together, ensuring durability and sturdiness.
Tools Used
- Table Saw: For cutting down 2x4s into precise measurements.
- Drill and Forstner Bit (* ¾ inch): For drilling holes to fit the dowels.
- Pocket Hole Jig: For making efficient joints between pieces.
- Sander: To smooth out all surfaces, making them safe for little hands.
Step by Step Instructions
Learn how to build a DIY Toddler Bed with easy step-by-step instructions. Make a cozy and custom bed for your little one today!
Step 1: Cutting the 2x4s
I started by cutting the 2x4s into the lengths needed for the bed frame's sides, back, and front. To build a cleaner look and safer edges for my child, I decided not to rip the rounded edges off the 2x4s, keeping the toddler-friendly design in mind.
Step 2: Ripping and Assembling the Top Pieces
I used a table saw to rip the top pieces into two different widths: 1 * ½ inch and 2 inches. The 2-inch pieces would later serve as a decorative lip around the bed's edge. If you lack a table saw, opting for pre-cut 2x2s and 2x3s can be a viable alternative.
Step 3: Drilling Holes for the Dowels
Next, I marked where the dowels would go on the ripped 2x4s, ensuring they'd provide a safe barrier. Using a * ¾ inch Forstner bit, I drilled holes half an inch deep, a perfect fit for the dowels.
Step 4: Assembling Side Panels
After cutting the dowels to fit (about 15 15/16 inches each to account for saw blade kerf), I glued them into the drilled holes, making sturdy side panels. This step required some finesse and a rubber mallet to ensure all dowels fit snugly.
Step 5: Assembling the Frame
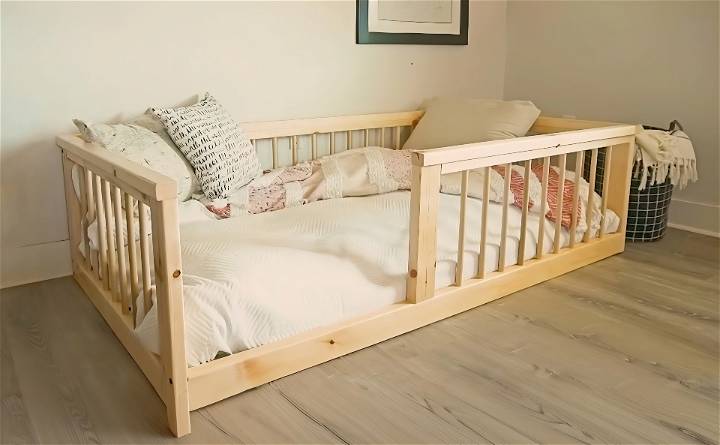
With the side panels ready, I joined them with the back panel using timber screws, making a U-shape. This method not only secured the bed frame's sides but also added a visually pleasing detail with the screw heads.
Step 6: Adding the Front Panel
For the front panel, I applied the same dowel insertion method but only halfway across to leave an entry point for my toddler. Then, the front panel was secured with the side panels, completing the bed's framework.
Step 7: Finishing Touches
I attached the remaining 2-inch wide pieces along the bed's top edge, hiding any unsightly screws and providing a finished look. Then, a thorough sanding followed, rounding off any sharp edges for safety. Finally, a couple of coats of clear varnish sealed the deal, making it easy to clean and maintain.
Creative Customization: Personalize Your DIY Toddler Bed
When it comes to making a special space for your little one, a customized toddler bed can be both practical and delightful. Here are some creative ideas to make your DIY toddler bed truly unique:
1. Themed Beds: Fuel Imagination
Encourage your child's imagination by designing a themed toddler bed. Here are a few popular themes:
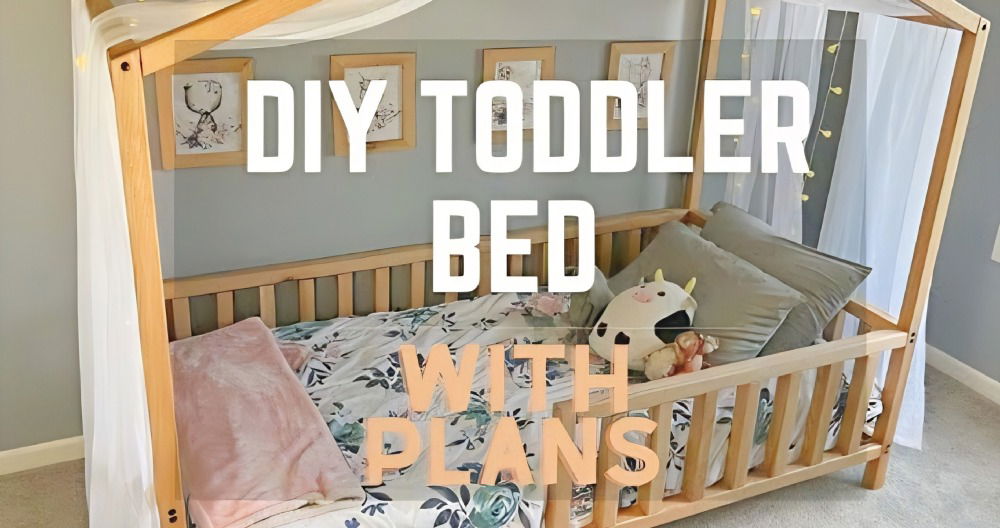
- House-Shaped Bed: Transform the bed into a cozy little house. Add windows, a mini door, and even a tiny chimney. Your toddler will love playing house in their own bedroom.
- Car or Truck Bed: Craft a bed that resembles a race car, fire truck, or any other vehicle your child adores. Paint it in vibrant colors and add wheels for an extra fun touch.
- Castle Bed: Build a magical castle bed fit for a little prince or princess. Use turrets, banners, and faux stone textures to bring the fairy tale to life.
2. Paint and Stencils: Add Whimsy
Customize the bed frame with paint and stencils. Consider the following:
- Chalkboard Paint: Apply chalkboard paint to a section of the bed frame. Your child can doodle, write messages, or practice their ABCs right on the bed!
- Nature-Inspired Stencils: Use stencils to add leaves, flowers, or animals to the bed. A forest-themed bed can evoke a sense of adventure.
3. Decals and Wall Art: Easy Updates
Decorate the bed with removable decals or wall art:
- Glow-in-the-Dark Stars: Stick glow-in-the-dark stars to the headboard or ceiling. Bedtime becomes an enchanting stargazing experience.
- Peel-and-Stick Murals: Choose murals featuring animals, landscapes, or favorite characters. These can be easily removed or replaced as your child's interests evolve.
4. Personalized Bedding: Comfort and Style
Select bedding that complements the bed's theme:
- Custom Bed Sheets: Design bed sheets with your child's name or favorite motifs. Many online services allow you to personalize bedding.
- Cozy Blankets and Pillows: Opt for soft blankets and pillows in coordinating colors. Consider textures like fleece or knits for extra comfort.
5. Repurpose and Upcycle: Eco-Friendly Choices
Look around your home for materials to repurpose:
- Old Doors or Shutters: Convert an old door or shutters into a charming headboard. Sand, paint, and distress them for a rustic look.
- Vintage Fabrics: Use vintage fabrics or quilts to build a cozy bedspread. The worn-in feel adds character.
Remember, the goal is to build a DIY toddler bed that reflects your child's personality and sparks joy. Keep safety in mind, and involve your little one in the customization process—they'll love having a bed that's uniquely theirs!
FAQs About DIY Toddler Beds
Discover the answers to your FAQs about DIY toddler beds, including safety tips, cost-effective solutions, and step-by-step guides.
1. How High Should the Bed Be?
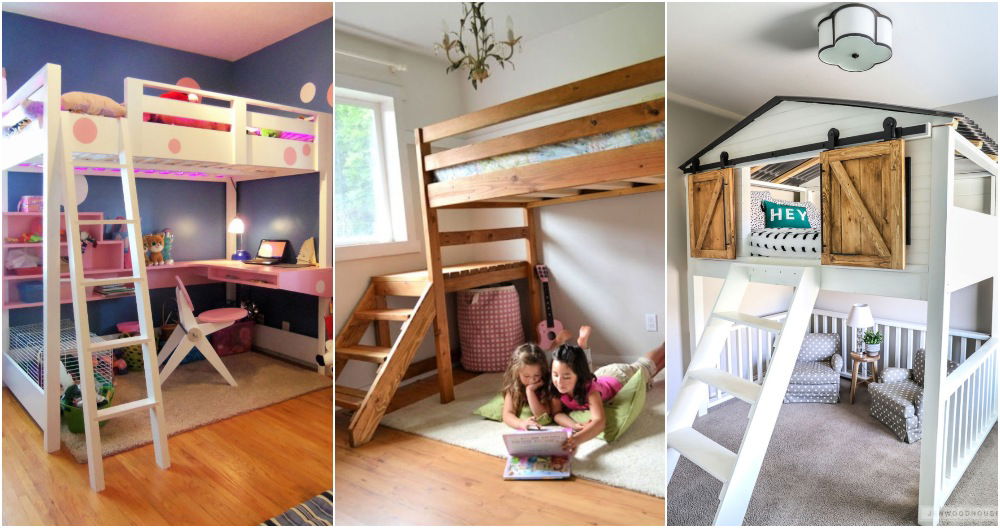
A toddler bed's height matters. Aim for a low-profile design—ideally around 8 to 10 inches from the ground. This ensures easy access for little legs and minimizes the risk of falls. Guardrails are essential, especially for loft-style beds.
2. Can I Convert an Existing Crib into a Toddler Bed?
Absolutely! Many cribs come with conversion kits. Follow the manufacturer's instructions to transform the crib into a toddler bed. Ensure proper mattress fit and secure attachments. It's a cost-effective way to repurpose furniture.
3. What Safety Measures Should I Consider?
Safety first! Here are key points:
- Smooth Surfaces: Sand all edges and surfaces to prevent splinters.
- Sturdy Construction: Use strong joints (like dowels or screws) to assemble the bed.
- No Sharp Corners: Round off edges to avoid bumps and bruises.
- Secure Fastening: Double-check screws and bolts regularly.
- Anchoring: Anchor the bed to the wall to prevent tipping.
4. How Can I Make the Bed Fun and Inviting?
Customize the bed to delight your toddler:
- Paint and Patterns: Add playful colors or patterns.
- Themed Bedding: Choose sheets with favorite characters or themes.
- Personal Touches: Attach name decals or small toys.
5. What Size Mattress Fits a DIY Toddler Bed?
Most toddler beds accommodate a standard crib mattress (approximately 28 x 52 inches). Measure your bed frame to ensure a snug fit. Invest in a comfortable, firm mattress for restful sleep.
Remember, a DIY toddler bed is not just furniture—it's a cozy haven where your little one dreams big!
Final Thoughts
Building this floor bed was not just a project but a labor of love. It provided my son with a "big kid" bed that felt safe and secure for both him and me. The simplicity of the design, combined with the practicality of its low height, meant I could rest easy knowing he was safe throughout the night.
This DIY adventure was a clear testament to how a few materials, some basic tools, and a weekend's worth of effort could build something so meaningful. It's been a few months since the bed was completed, and it's held up wonderfully, proving its durability and the effectiveness of a simple design.


