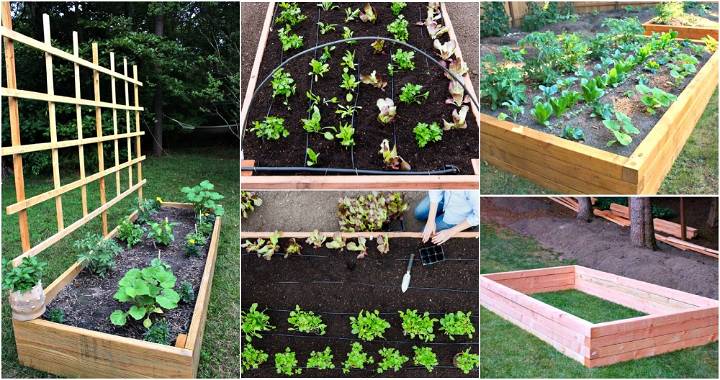
Building a garden trellis can seem like a complex task, but it doesn't have to be. I discovered a simple, cost-effective way to build a DIY trellis that not only supports my plants effectively but also adds aesthetic value to my garden. In this step-by-step guide, I'll share my experiences and practical advice to help you craft your own trellis with ease, based on the principles of Experience, Expertise, Trustworthiness, and Authoritativeness.
Materials Needed
- 1 by 2's (8 feet long)
- Why? These serve as the frame for your trellis. They're affordable, at just $1 each from Home Depot, durable, and the perfect size for a raised garden bed.
- Redwood stake
- Why? This is used to anchor the trellis into the ground. Redwood is chosen for its natural rot and decay resistance, making it durable over time.
- 100% cotton thread
- Why? Cotton thread is strong enough to support plant growth and is compostable, making clean-up at the end of the season simple and eco-friendly.
- Small nails
- Why? These act as anchors for threading and weaving the frame. They're easy to use and provide a secure point for the cotton thread.
Step by Step Instructions
Learn how to easily build a DIY trellis for your garden with this step-by-step guide. Start growing your favorite climbing plants today!
Step 1: Preparing Your Wood
First, cut the 1 by 2’s into two pieces: one three foot four-inch piece and one four foot eight-inch piece. This sizing is perfect for fitting into a standard four-foot-wide raised bed. Marking and cutting the wood precisely is crucial to ensure your frame assembles perfectly.
Step 2: Assembling the Frame
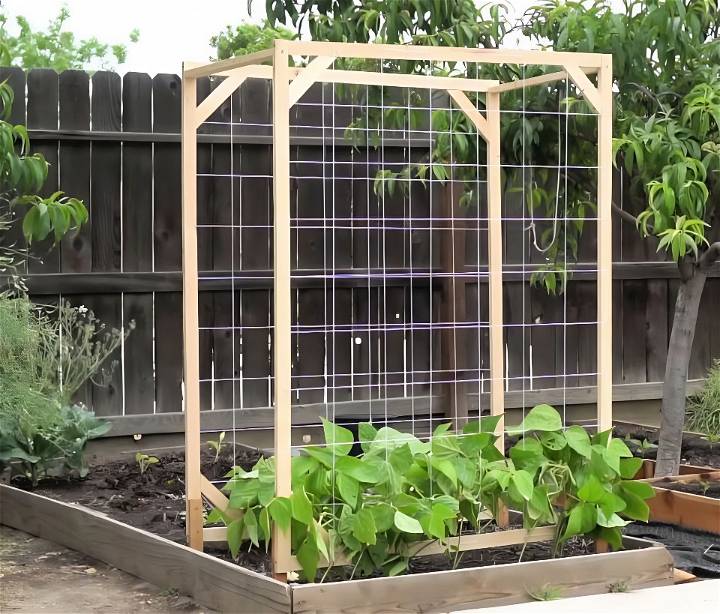
I arranged the cut pieces into a rectangle, then drilled pilot holes to prevent the wood from splitting. Next, I secured the corners with screws. To add extra stability, I attached a diagonal brace at each corner, using the same method. This ensures your trellis will be strong enough to support the weight of growing plants.
Step 3: Attaching the Stakes
The redwood stake was attached to the bottom of the trellis framework using two to three screws. This step is vital because it's what allows your trellis to stand upright and resist the wind and weather.
Step 4: Adding the Threading Nails
I hammered small nails along the perimeter of the frame at six-inch intervals, taking care not to drive them all the way in. These nails are crucial for the next step – they are the points on which you'll weave your thread to create the trellis netting.
Step 5: Weaving the Trellis with Cotton Thread
Starting from one corner, I tied the cotton thread securely to a nail, then began weaving it across to the opposite side, looping it around each nail as I went. The weaving pattern was straightforward – horizontal then vertical – ensuring full coverage for plants to latch onto as they grow.
Final Touches: Installing and Using the Trellis
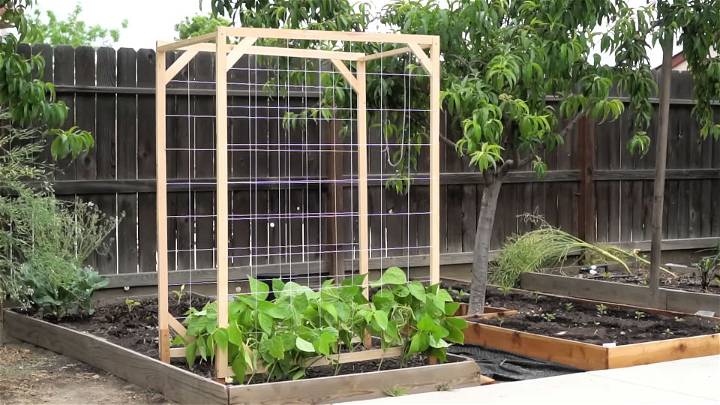
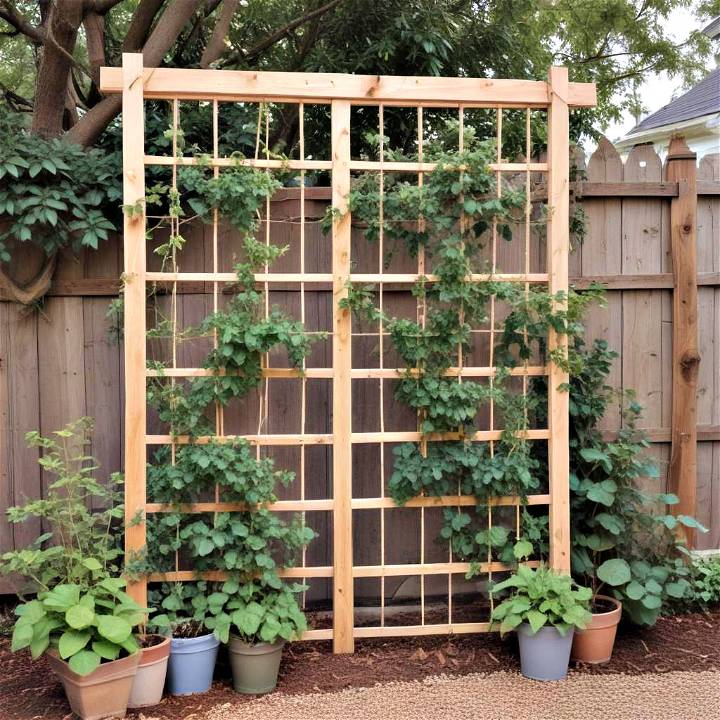
Once the trellis was threaded, I planted it firmly into my garden bed, using the redwood stakes to anchor it into the soil. I made two of these trellises and placed them two feet apart for extra support, connecting them at the top with a piece of wood. This not only provided ample space for my green beans to climb but also gave the structure additional strength against tipping over.
Why This Method Works
This trellis design is not only budget-friendly, costing around $7.50 for the entire setup, but it's also eco-friendly and practical. At the season's end, you can cut down the cotton thread and compost it along with your plants, simplifying cleanup and reducing waste. Plus, if the stakes ever begin to deteriorate, they can be easily replaced without needing to build a new trellis.
Planting and Training Vines
Selecting Suitable Climbing Plants
When choosing climbing plants for your trellis, consider the climate, soil type, and the amount of sunlight your garden receives. Here are some popular options:
- Roses: Ideal for a classic look and come in various colors and fragrances.
- Clematis: Offers a range of colors and blooms at different times of the year.
- Grapevines: Perfect for edible gardens and provide shade in summer.
Planting Near the Base
To ensure your plants thrive:
- Prepare the soil by adding compost and ensuring proper drainage.
- Plant the vines about 6 to 12 inches away from the trellis to avoid root damage.
- Water regularly to establish the plants, especially in the first few weeks.
Training Vines to Grow Upward
Training your vines is crucial for a full and healthy trellis:
- Gently guide the vines towards the trellis as they grow.
- Use soft ties like strips of fabric or special plant ties to attach the vines to the trellis without damaging them.
- Prune correctly to encourage growth. For example, prune grapevines in late winter, and roses after they bloom.
Pruning Techniques for Optimal Growth
Pruning not only shapes your plant but also encourages new growth:
- Remove dead or weak stems to allow more energy for healthy growth.
- Cut just above a leaf node or bud to promote new branches.
- Thin out crowded areas to improve air circulation and reduce disease risk.
By following these steps, you'll build a beautiful trellis for your plants. Be patient, as it takes time for full coverage. Enjoy gardening!
DIY Trellis FAQs
Get all your DIY Trellis questions answered in one place with our comprehensive FAQ guide. Learn how to build, maintain, and use trellises efficiently.
What materials are best for a DIY trellis?
Wood, bamboo, and metal are popular choices. Wood is versatile and can be painted or stained, bamboo is lightweight and eco-friendly, and metal is durable and offers a sleek look.
How tall should a trellis be?
For smaller plants like peas or bush tomatoes, 3-4 feet is sufficient. For taller plants, consider a trellis over 5 feet or an overhead structure.
Can I build a trellis without woodworking skills?
Yes, simple designs like teepees or towers can be made with basic materials like stakes and twine, requiring minimal skills.
What tools do I need to build a trellis?
Basic tools like a hammer, saw, drill, and garden shears are usually enough for most trellis projects.
How do I secure a trellis in the ground?
Use stakes driven into the ground or anchor it to a solid structure like a fence or wall.
Can trellises be used for privacy?
Absolutely, trellises with dense vines can create natural privacy screens.
How do I maintain my trellis?
Inspect it regularly for wear, tighten loose parts, and treat the material as needed to prevent rot or rust.
What are the easiest plants to grow on a trellis?
Cucumbers, beans, and morning glories are all easy to grow and train on a trellis.
How do I train plants on a trellis?
Gently tie the stems to the trellis with soft materials like cloth strips as they grow.
Can I make a movable trellis?
Yes, some designs like arch trellises can be made portable by constructing them in sections.
Conclusion:
In conclusion, making a DIY trellis can add charm and functionality to your garden. By following the steps outlined in this article, you can easily build a trellis that suits your needs and enhances your outdoor space. Happy crafting!


