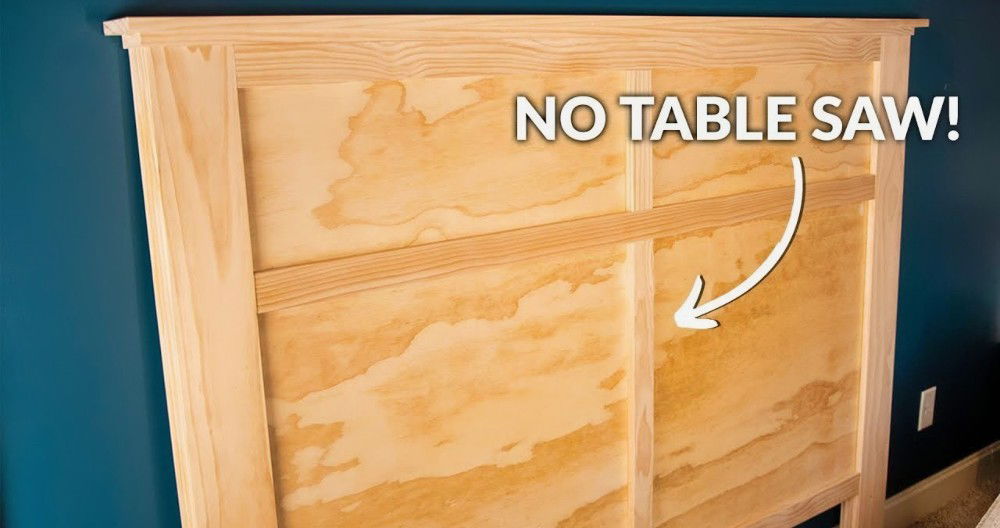
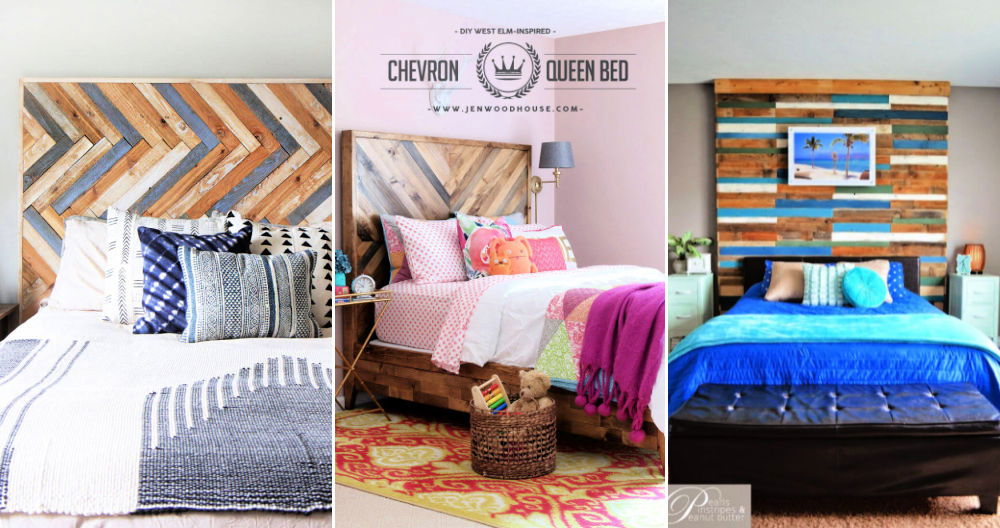
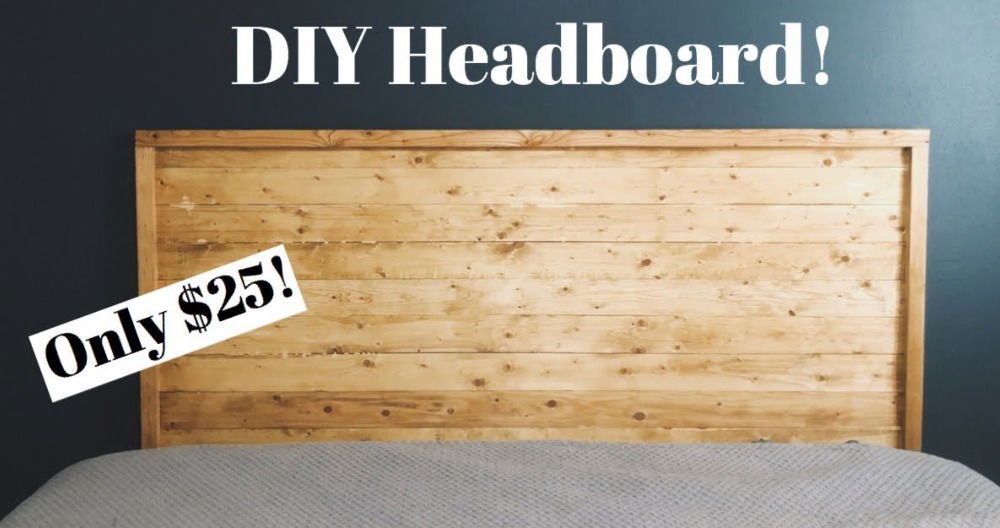
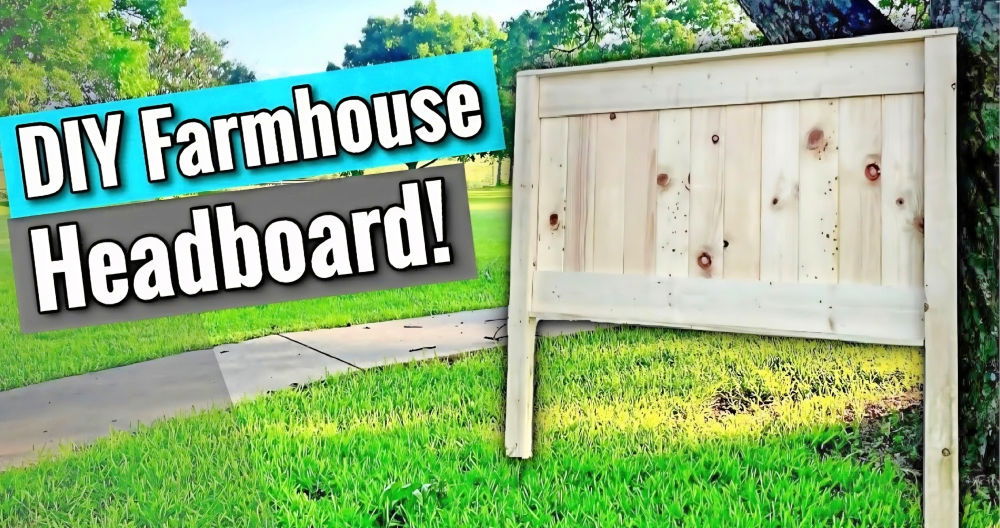
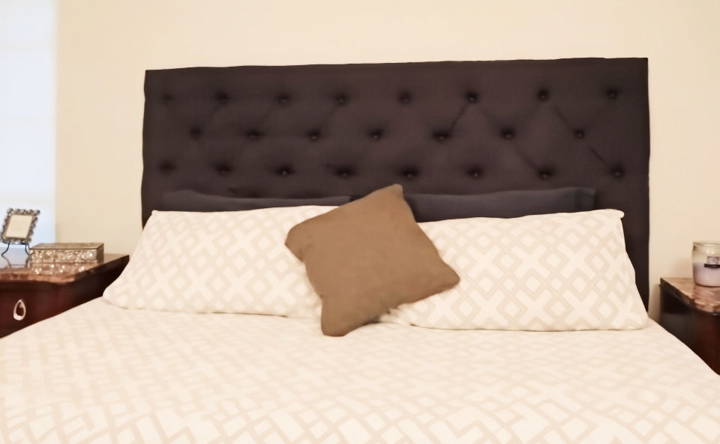
Building my own DIY tufted headboard was exciting. I started with a wooden board, foam, fabric, and some basic tools. Cutting the foam to fit the board took some effort, but it was worth it. Next, I covered the board with fabric and stapled it tightly. Adding buttons for the tufted look was the highlight. It gave my bed a stylish upgrade and a personal touch.
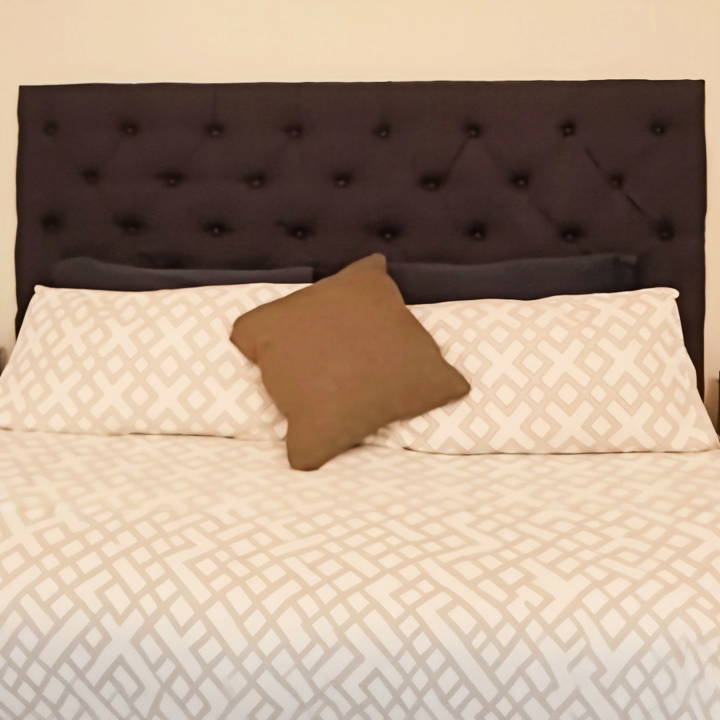
Finishing the headboard was surprisingly easy. All that was left was mounting it. I carefully attached it to the wall, ensuring it was secure. Waking up to my creation every day feels great.
I'm happy to share these steps with you. Making a DIY tufted headboard can be enjoyable and rewarding. Let's get started!
Materials Needed and Why
- 1/2 inch plywood: The foundation of your headboard.
- 1 1/4 inch foam mattress toppers: These offer a plush feel, making your headboard comfortable to lean against.
- Quilt batting: Helps smooth out the surface and prevents the plywood from tearing the fabric.
- Fabric of choice: This will be the visible part of your headboard, so choose something that complements your room.
- Scissors, Straight edge (level or yardstick), Tape measure, Fine tip permanent marker: Essential tools for measuring and cutting accurately.
- Staple gun with staples: For securing fabric and batting to the plywood.
- 3/4 inch roofing nails and washers: Used to make the depths for tufting and to secure the fabric in place.
- Hammer, Fabric button making kit, Clear industrial-strength adhesive: For building and attaching the decorative buttons.
- Wire cutting pliers, Stud finder, Drill driver, Heavy-duty picture hanging cleat: For attaching and hanging the headboard securely on the wall.
Step by Step Instructions
Build your own stylish headboard with these DIY tufted headboard step-by-step instructions. An easy guide from plywood prep to mounting.
Step 1: Plywood and Foam Preparation
I began by cutting the 1/2 inch plywood to match the width of Amy's king-size bed. Then, we cut the foam mattress toppers to fit the plywood. Using mattress toppers instead of buying pricier foam from craft stores saved us a considerable amount of money.
Step 2: Laying the Foundation
We laid the quilt batting over the foam and plywood, pulled it tight, and stapled it to the back of the plywood. It's essential to ensure the batting is smooth to avoid irregularities once the fabric cover is added.
Step 3: Marking for Tufts
Using a tape measure and marker, we decided on the tuft layout. We opted for five rows of buttons, alternating between seven and eight buttons per row, with each row 5.5 inches apart vertically and each button 9.5 inches apart horizontally. Precision here affects the final look, so take your time with these measurements.
Step 4: Making Depth for Tufts
At each marked spot, I cut small squares through the foam, which allows the buttons to sit deeply and make that classic tufted effect. It's a simple yet crucial step for achieving the right aesthetic.
Step 5: Adding the Fabric
We laid our chosen fabric over the batting, ensuring plenty of excesses to wrap around the back for stapling. Starting from the center, we pulled the fabric tight and stapled it to the back of the plywood, paying extra attention to the corners for a neat finish.
Step 6: Making the Tufts
With the aid of nails and washers, we started building the tufts. Placing a washer over each pre-cut square and hammering a nail through it securely into the plywood was challenging yet rewarding. This method ensures that the fabric pulls in to make a tufted look without spinning or gathering, which might happen with screws.
Step 7: Attaching the Buttons
Using a button-making kit, we covered buttons with the same fabric as the headboard. After cutting the hooks off the back of the buttons, we glued them directly onto the tips of the nails using clear adhesive. This step dramatically enhanced the headboard's appearance, concealing the nails and washers and providing a finished, polished look.
Step 8: Mounting the Headboard
Finally, we used a stud finder to locate studs in the wall for mounting the headboard with a heavy-duty picture hanging cleat. Ensuring the headboard was securely attached was crucial for both aesthetics and safety.
Design Variations
When it comes to building a DIY tufted headboard, the design variations are as vast as your imagination. Here, we'll explore some popular styles and how you can adapt them to suit your personal taste and bedroom decor.
Diamond Tufting
This classic pattern is known for its timeless elegance. To achieve diamond tufting:
- Cut your foam to the size of the headboard.
- Mark your tufting spots with a ruler and chalk, ensuring they are evenly spaced in a diamond pattern.
- Drill holes at each mark for your tufting needles.
- After covering your foam and plywood with fabric, thread your tufting needle with a strong button thread.
- Push the needle through the pre-drilled holes and secure it with a button or knot at the front.
Channel Tufting
For a more modern and sleek look, channel tufting is the way to go. It involves:
- Making vertical or horizontal channels on the headboard.
- Using strips of foam, make raised areas where the channels will be.
- Cover the entire headboard with your chosen fabric, tucking it into the channels to make a ribbed effect.
Unique Shapes
Don't feel limited to rectangles. Consider:
- Cutting your headboard into an arch, wave, or other geometric shapes for a unique twist.
- Outline your desired shape on plywood and cut it out with a jigsaw.
- Proceed with the tufting process as usual, adapting the pattern to fit your new shape.
Fabric Choices
The fabric you choose can dramatically change the look of your headboard. Options include:
- Velvet for a luxurious feel.
- Linen for a casual, breezy vibe.
- Faux leather for a contemporary edge.
Button Styles
The buttons you choose for tufting can add a decorative touch. Consider:
- Vintage buttons for a classic look.
- Fabric-covered buttons that match or contrast with your headboard.
- Novelty buttons for a fun, personalized element.
Build a tufted headboard that offers comfort and makes a statement. Choose a style that showcases your personality and matches your bedroom.
Customization Tips
Making a tufted headboard is not just about following a set of instructions; it's an opportunity to express your personal style and add a unique touch to your bedroom. Here are some tips to customize your DIY tufted headboard:
Choose the Right Fabric
The fabric you select will define the look and feel of your headboard. Consider these options:
- Velvet for a touch of luxury and softness.
- Linen for a light, airy feel that suits any decor.
- Faux leather for a modern, sleek appearance.
Selecting the Padding
The padding thickness will affect both comfort and aesthetics. Options include:
- High-density foam for firm support and pronounced tufts.
- Polyester batting for a softer, plush look.
Pick Your Color Scheme
The color of your headboard should complement your bedroom. Think about:
- Neutral tones for versatility.
- Bold colors to make a statement.
- Pastels for a gentle, calming effect.
Button Details
Buttons are the jewels of a tufted headboard. You can:
- Use contrasting button colors to add visual interest.
- Choose fabric-covered buttons for a cohesive look.
- Opt for metallic or crystal buttons for a bit of sparkle.
Adding Trim
For an extra decorative touch, consider:
- Nailhead trim for a classic, refined edge.
- Piping along the edges for a neat, tailored finish.
Incorporate Patterns
If you're feeling adventurous, mix patterns with solid colors. Keep in mind:
- Stripes or florals can add depth to your design.
- Geometric patterns can make a modern vibe.
Adjustable Features
Make your headboard functional as well as beautiful by:
- Adding wall mounts to adjust the height.
- Incorporating storage compartments behind the tufting.
Follow these tips to make your DIY tufted headboard comfy, stylish, and a reflection of your taste and creativity.
Advanced Techniques
For the DIY enthusiasts looking to elevate their tufted headboard, advanced techniques can add functionality and flair. Here's how you can incorporate some sophisticated features into your design:
Adjustable Height Mechanism
An adjustable height mechanism is a practical addition to cater to various mattress sizes and preferences.
- Install a French cleat system on the back of the headboard and the wall. This allows you to easily move the headboard up and down.
- Ensure the cleats are securely attached to studs in the wall for stability.
Built-in Lighting
Adding lighting can make ambiance and serve as a reading light.
- Consider LED strip lights along the edges or behind the headboard for a modern glow.
- Use puck lights with a push mechanism for a simple, touch-activated light source.
Storage Solutions
Hidden storage can be both stylish and functional.
- Build a hinged opening at the top of the headboard to store pillows or blankets.
- For a sleeker look, integrate drawers or shelves on the sides of the headboard.
Sound System Integration
Music lovers can integrate speakers into their headboard.
- Install Bluetooth speakers within the headboard structure.
- Ensure the speakers are covered with acoustically transparent fabric to not hinder the sound quality.
Fabric Panels
Interchangeable fabric panels allow you to change the look without reconstructing the headboard.
- Design the headboard with a frame that holds fabric panels in place.
- Secure the panels with Velcro or magnets for easy swapping.
Advanced Tufting Patterns
Move beyond traditional diamond patterns.
- Experiment with hexagonal or triangular tufting for a geometric twist.
- Use varying button sizes to make depth and texture.
Using these techniques, your tufted headboard will be a beautiful focal point and show your craftsmanship.
Troubleshooting Common Issues
When crafting a DIY tufted headboard, you might run into a few snags along the way. Here's a helpful guide to troubleshoot common issues:
Uneven Tufts
If your tufts are not uniform, it could be due to inconsistent spacing or uneven foam thickness.
- Solution: Measure and mark your tufting spots carefully. Use a template if necessary. Ensure your foam is evenly distributed before you start tufting.
Fabric Puckering
Puckering can occur if the fabric is not pulled tight enough or is unevenly distributed.
- Solution: Pull the fabric taut as you work, and check for even tension across the entire headboard. Use an upholstery stapler to secure the fabric firmly in place.
Button Attachment Issues
Buttons may not stay attached if not tied securely or if the thread is weak.
- Solution: Use a strong, upholstery-grade thread or fishing line. Double-knot your thread and consider using a washer or a small piece of fabric on the backside to anchor the button.
Difficulty with Tools
Upholstery tools can be tricky to handle, especially for beginners.
- Solution: Familiarize yourself with each tool before starting. Practice on scrap materials first. If a tool is too difficult to use, look for alternative methods or ask someone with more experience for help.
Wood Frame Splintering
When working with plywood or other wood materials, splintering can be a problem.
- Solution: Sand the edges of your wood frame before you begin. Use a fine-grit sandpaper for a smooth finish. When drilling holes, go slowly to prevent cracking.
Misaligned Patterns
If your fabric has a pattern, it may not align correctly on the first try.
- Solution: Lay out your fabric and plan the placement before cutting. Use tailor's chalk to mark the pattern alignment on the foam and frame.
Staple Gun Malfunctions
A jammed staple gun can halt your progress.
- Solution: Always check that your staple gun is loaded correctly and that you're using the right size staples. Keep a staple remover handy for any mistakes.
By keeping these solutions in mind, you'll be prepared to tackle any issues that arise during your DIY tufted headboard project.
FAQs About DIY Tufted Headboard
Discover answers to common questions about DIY tufted headboards. Learn tips and tricks for building your own stylish centerpiece.
When selecting fabric for your headboard, opt for upholstery-grade materials which are durable and can handle the wear and tear. Natural fibers like cotton or linen are great choices, but you can also consider velvet for a luxurious feel or faux leather for a modern look. Make sure the fabric is at least 54 inches wide to accommodate the width of most headboards.
Yes, you can make a tufted headboard without sewing by using a button-covering kit. These kits allow you to cover buttons with your chosen fabric without needing to sew them. You'll still need to use an upholstery needle to thread the buttons through the headboard, but no sewing is required to cover the buttons.
Common mistakes include:
Not measuring your materials accurately, which can lead to a headboard that doesn’t fit your bed or wall space.
Skipping the batting, which can result in a less plush headboard and make the buttons harder to tuft.
Pulling the fabric too tight when covering the headboard, which can distort the tufted effect.
Not securing the buttons tightly enough, which can cause them to pop off.
To attach your headboard to the bed frame, you can use headboard brackets or bolts that fit into the frame. If you prefer to mount it to the wall, French cleats or flush mounts provide a secure and stable option. Make sure to locate the studs in the wall for a firm attachment. Always follow the manufacturer’s instructions for the hardware you choose.
To keep your tufted headboard looking fresh, regular cleaning is key. For fabric headboards, use a vacuum with an upholstery attachment to remove dust and debris. If your fabric is durable, you can also use a mild fabric cleaner for any stains. For leather or faux leather, a damp cloth with a bit of soap will do the trick. Avoid harsh chemicals and scrubbing too hard, as this can damage the material. Additionally, keep the headboard away from direct sunlight to prevent fading.
Reflecting on the Project
Discovering ways to personalize my space has been a rewarding experience. Making a DIY tufted headboard added so much charm to my room. Give it a try, and you'll see how simple it can be. Start crafting your unique headboard now!


