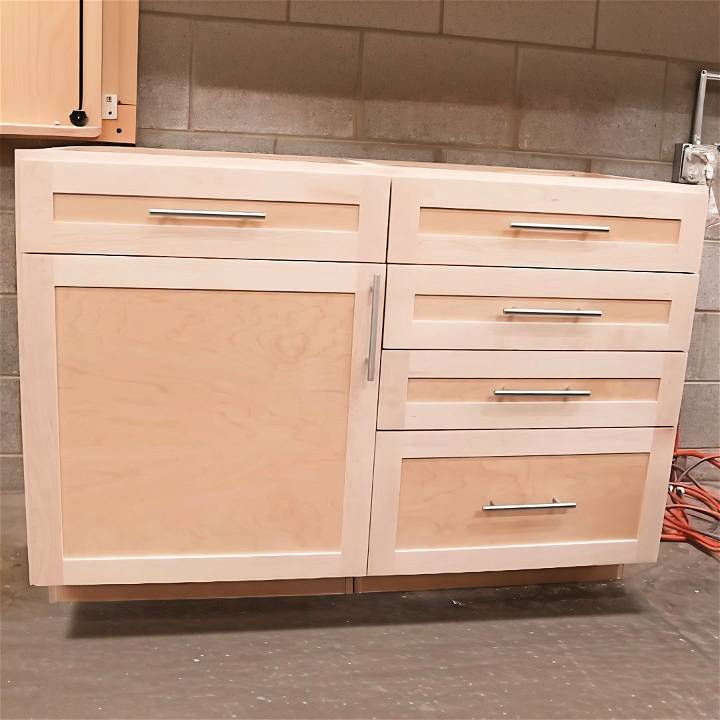
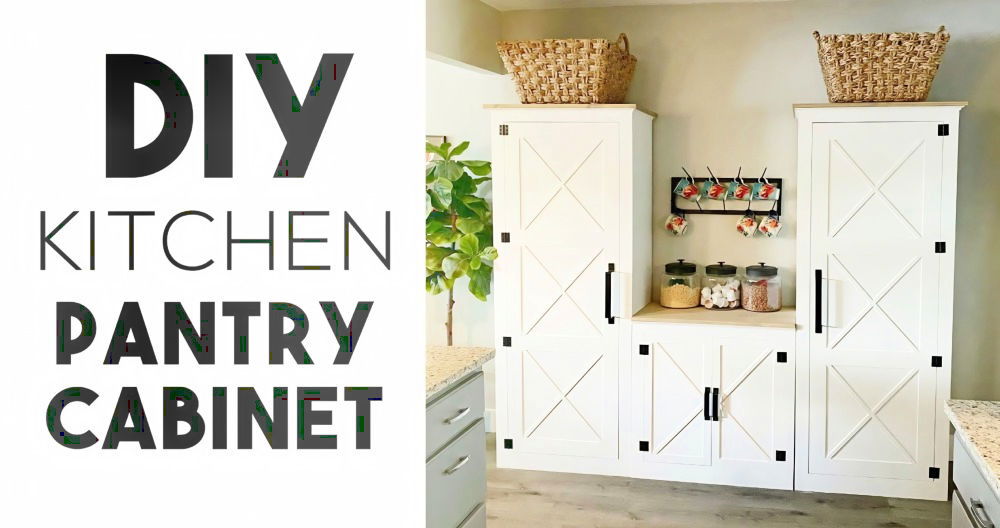
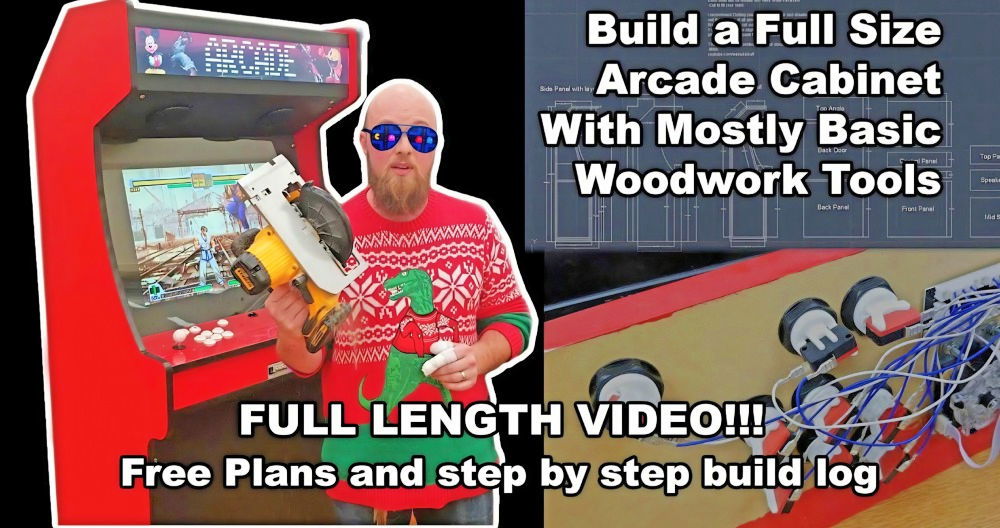
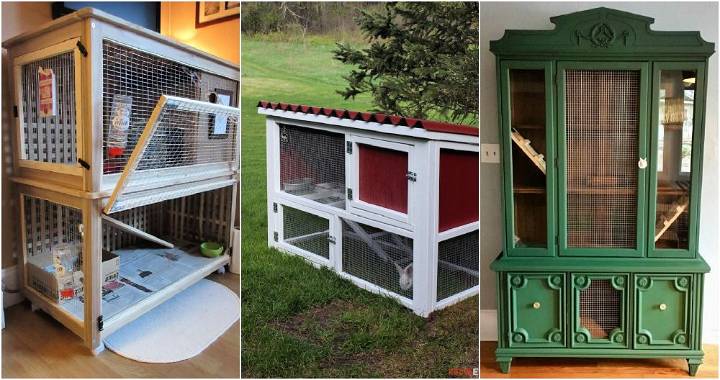
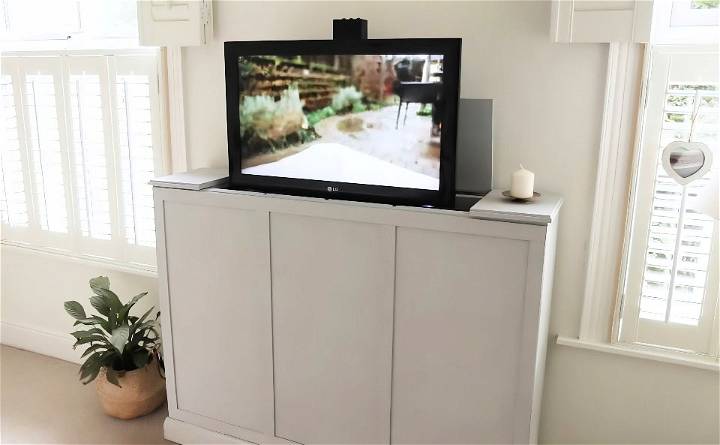
Building your own DIY TV lift cabinet can be an enjoyable and rewarding project. No matter your skill level, this guide can help you achieve a functional and stylish piece of furniture at home. Making your own TV lift cabinet allows you to customize it to fit your specific needs and preferences. Plus, it can add a sophisticated touch to your living space.
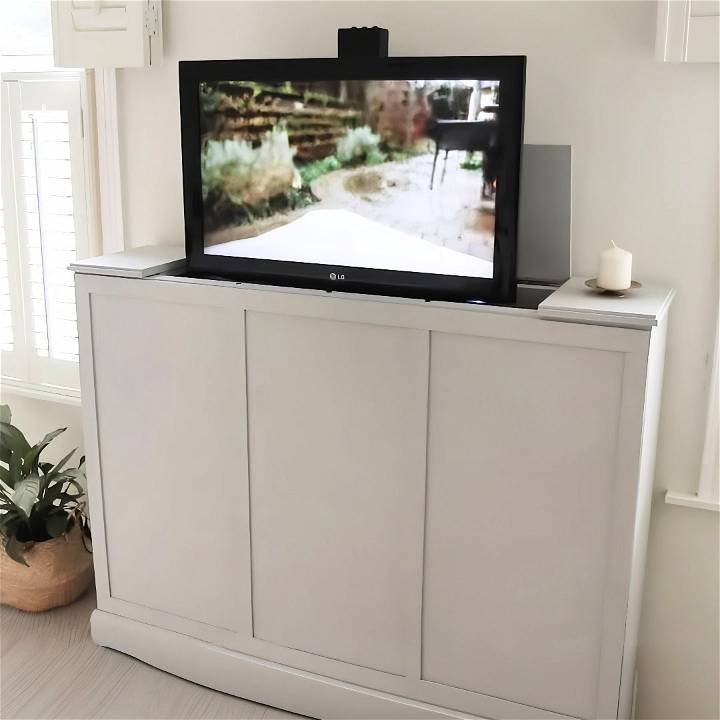
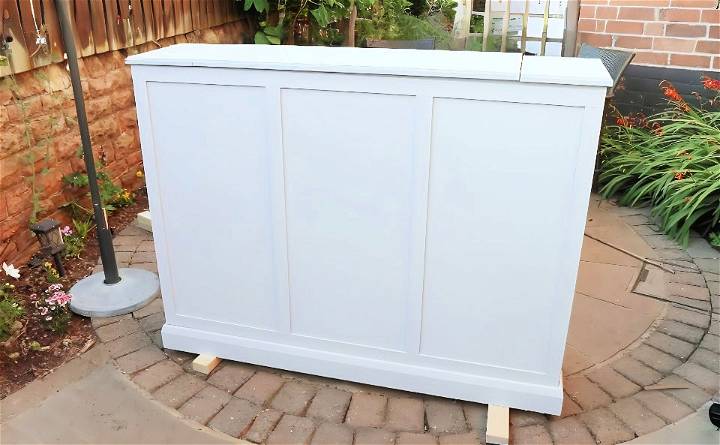
For those who prefer spending time outside, a DIY outdoor TV lift cabinet is a perfect solution. This project ensures your TV is protected from weather elements while still being easily accessible when you want to enjoy your favorite shows outdoors.
Materials You'll Need
Before we begin, gather the following materials:
- Structural Timber (1.5 x 2.5-inch wood): This forms the skeleton of your cabinet.
- OSB Board: Provides a sturdy base for your frame.
- 6mm MDF Sheets: Used for boarding up the front, back, and sides.
- Wood Screws: Essential for securing the timber pieces together.
- No More Nails Adhesive: Great for adhering larger sheets of MDF to the frame.
- G-Clamps or Heavy Objects: To ensure glued surfaces stick properly.
- Extension Lead: This is for plugging in your TV and the lift mechanism neatly inside the cabinet.
- Strip Wood and Skirting Board: This is for the decorative front paneling and bottom trim.
- 12mm MDF Sheet: This is used to make the lid with an overhang.
- Piano Hinge: To attach the lid securely.
- Sander: To smooth down the surfaces.
- Flexible Decorators Caulk: For filling gaps.
These materials ensure you have a sturdy and professional-looking cabinet that houses your TV lift mechanism effectively. Now, let's dive into the build process!
Step by Step Instructions
Learn how to build your own DIY TV lift cabinet with detailed step-by-step instructions. From cutting timber to final placement, build a stylish, functional piece.
Step 1: Cutting the Timber
First things first, you'll need to cut your structural timber to size. Here's how to do it:
- Measure and Cut: Use a saw to cut the wood according to the dimensions of your TV and TV mechanism. Make sure the internal measurements allow enough space for the TV to move freely.
- Safety Tip: Always make pilot holes before screwing the wood to prevent splitting.
Step 2: Building the Frame
Next, we'll construct the main framework:
- Front and Back Frames: Securely fasten the cut wood pieces into place with screws to build the frames.
- Attaching Corners: Fix pieces of wood onto each corner of one of the frames.
- Building the Shell: Secure the second frame to these corner pieces to form the cabinet's shell.
Step 3: Attaching the Base
Now, it's time to secure the base:
- Measure and Cut OSB Board: Lay the shell on top of the OSB board, measure, and cut it to size.
- Attach the Base: Securely screw the OSB board to the bottom of the frame.
Step 4: Reinforcing the Frame
For added strength:
- Adding Timber Pieces: Secure additional pieces of timber to key points in the frame.
Step 5: Fitting the TV Mechanism
Check the fitment and functionality:
- Test Fit: Secure the TV mechanism inside the frame according to the manufacturer's instructions.
- Ready for Use: Plug it in and test it to ensure it works perfectly, then remove it temporarily.
Step 6: Sanding
Before boarding up the sides:
- Smooth the Frame: Use a sander to make the wooden frame smooth and flush.
Step 7: Boarding Up the Frame
Time to cover the frame:
- 6mm MDF Sheets: Measure, cut, and fit these sheets to the front and back of the cabinet. Don't forget to add 12mm extra to the width to account for the board's thickness.
- Use No More Nails: Apply the adhesive generously and affix the boards. You may need G-clamps or heavy objects to ensure proper adhesion.
- Secure with Nails: For added security, use nails along with the adhesive.
Step 8: Installing Electrics
With sides still open:
- Drill a Hole Large enough for wires to pass through.
- Installing Extension Lead: Place it inside to plug in your TV and mechanism neatly.
- Re-attach the TV Mechanism: Secure it back in place.
Step 9: Boarding Up the Sides
Now that the electrics are in place:
- Side Panels: Measure, cut, and use No More Nails to attach the MDF sheets to the sides.
Step 10: Adding Front Paneling
For a decorative touch:
- Measure and Cut Strip Wood: To fit the front, consider a deeper base for skirting.
- Attached with adhesive: Use no more nails to affix the wood strips.
Step 11: Adding Skirting Board
To tidy up the bottom:
- Measure and Cut: Use an angled mitre saw or block.
- Secure in Place: Again, No More Nails is your friend here.
Step 12: Final Sanding and Filling Gaps
To finalize:
- Sanding Edges: Make sure all edges are smooth.
- Caulking: Use flexible decorator caulk to fill any visible gaps.
Step 13: Make the Lid
Build a functional and aesthetic lid:
- Measure and Cut: Using 12mm MDF, make a lid with a slight overhang.
- Center Section: Cut the lid into three parts, ensuring the middle piece is wide enough for the TV.
Step 14: Attaching the Lid
Secure the moving part of the lid:
- Piano Hinge: Attach it carefully to ensure flush alignment.
- Ensure Flat Closure: Use screw covers or sponge pads for adjustments.
Step 15: Final Placement and Testing
Putting your new creation in place:
- Positioning: At the end of your bed or against a wall.
- Attach TV: Securely mount the TV to the mechanism and ensure all cables are connected.
- Test Everything: Ensure the TV lift's smooth functionality.
Design Inspiration and Customization Ideas
When it comes to integrating a TV lift cabinet into your home, the design and customization are key to ensuring it complements your space and reflects your personal style. Here's a detailed guide to inspire you and provide practical ideas for your DIY project.
Embrace Modern Trends
Modern design often favors clean lines, minimalist aesthetics, and functional features. Consider the Clubside Grey model, which combines practicality with a sleek gray finish, or the Clubside Coral Beach, which adds an urban vibe to your room. Both designs are made in the USA and feature solid maple construction, ensuring durability and style.
Farmhouse Flair
For a cozy, rustic look, the Sonora style offers a modern farmhouse design with a two-tone color scheme and sliding barn door hardware. This style is perfect for adding warmth to your living space while keeping your TV hidden when not in use.
Transitional Designs
The Madison cabinet provides a transitional design that can fit into various decor styles. With long bar handles and metal legs, it offers a sophisticated look that can be customized in over 12 colors.
Customization Options
- Color and Finish: Choose from a wide range of colors and finishes to match your room's decor. Whether you prefer a classic white or a bold black, make sure it aligns with your interior design theme.
- Hardware: Select hardware that complements the cabinet's style. Brushed nickel handles can add a modern touch, while traditional knobs may suit a classic design better.
- Size and Proportions: Ensure the cabinet fits your TV size and room layout. Measure your space and TV dimensions carefully before deciding on the cabinet size.
Integrating Technology
With smart homes becoming more prevalent, consider integrating your TV lift cabinet with home automation systems. This allows you to control the lift with voice commands or through a smartphone app, adding convenience and a futuristic feel to your setup.
Eco-Friendly Materials
If you're environmentally conscious, opt for sustainable materials like reclaimed wood or eco-friendly finishes. This not only reduces your carbon footprint but also adds a unique story to your furniture piece.
Consider design inspirations and custom ideas to make your TV lift cabinet both functional and stylish. Prioritize quality and safety for lasting results.
Technology Integration
Incorporating smart technology into your DIY TV lift cabinet can significantly enhance the convenience and functionality of your living space. Here's how you can integrate the latest tech to build a seamless experience.
Smart Lift Systems
Choose a motorized TV lift that is compatible with smart home systems. For example, the Touchstone SRV 3900 Motorized Smart TV Lift is designed for easy installation and can be controlled via RF and IR remote controls, RS-232 port, and WiFi connectivity. This allows for operation through smartphone apps or voice commands with devices like Google Home and Alexa.
Connectivity and Control
Ensure your TV lift has the right ports and connectivity options. A lift with an RS-232 port can connect to advanced home theater systems and automation systems. This provides flexibility for future upgrades and integration with other smart devices in your home.
User-Friendly Interfaces
Opt for a TV lift system that offers user-friendly interfaces. Look for features like height memory settings and easy third-party remote pairing. These features make it simple to adjust and control your TV lift without needing technical expertise.
Wi-Fi Enabled Devices
Select a TV lift that is Wi-Fi enabled, allowing you to control it with your existing smart home ecosystem. This integration can add a layer of convenience, enabling you to manage your TV lift along with other smart devices from a single app.
Add smart tech to your TV lift cabinet to enhance furniture value and life quality. Focus on compatibility and simplicity for a smooth DIY project.
Maintenance and Longevity
Ensuring your DIY TV lift cabinet remains in top condition over the years requires regular maintenance and attention to detail. Here's a straightforward guide to help you keep your cabinet functioning smoothly for as long as possible.
Regular Cleaning
Wipe down your cabinet with a soft, dry cloth to keep it dust-free. Avoid using harsh chemicals or abrasive cleaners that can damage the finish or the mechanics of the lift system.
Check for Wear and Tear
Inspect the moving parts of the lift mechanism periodically. Look for signs of wear, such as frayed cables or loose screws, and address them promptly to prevent further damage.
Lubrication is Key
Apply a silicone-based lubricant to the lift's tracks and moving parts every six months. This will ensure smooth operation and prevent rusting or squeaking noises.
Update Technology
If your lift system includes smart technology, stay current with software updates. These updates can improve functionality and extend the life of your system.
Protect from Power Surges
Use a surge protector to safeguard the lift's electrical components from power spikes. This simple step can prevent costly repairs or replacements.
Handle with Care
Operate the lift using gentle, controlled motions. Avoid forcing the lift or overloading it beyond its recommended weight capacity.
With these tips, your DIY TV lift cabinet will stay functional, safe, and good-looking for years. Regular maintenance ensures long-lasting results from your project.
FAQs About DIY TV Lift Cabinet
Explore common questions about DIY tv lift cabinets, including installation tips, cost considerations, and design ideas for your home.
A DIY TV Lift Cabinet is a custom-built piece of furniture designed to hide your television when not in use. It uses a motorized lift mechanism to raise and lower the TV with the push of a button.
Building your own TV lift cabinet can be a rewarding project that allows for customization to fit your space and style. It can also be more cost-effective than purchasing a pre-made cabinet.
The key factors to consider include the size of your TV, the dimensions of the room, the type of lift mechanism, materials for the cabinet, and your skill level in DIY projects. It’s important to plan thoroughly to ensure the cabinet fits your space and the lift operates smoothly.
While some woodworking experience is beneficial, there are many resources and guides available that can help beginners through the process. However, it’s not recommended as a first project due to the precision and safety considerations involved.
Selecting the right TV lift mechanism depends on the size and weight of your TV, as well as the dimensions of the cabinet. Look for a mechanism that can support the weight of your TV and fits within the cabinet's interior space. It's also important to consider the mechanism's durability, warranty, and noise level during operation.
Conclusion
In conclusion, building your own DIY tv lift cabinet can be a rewarding and practical project. It not only enhances your living space but also offers a personalized touch to your entertainment setup. From selecting materials to final assembly, each step of making a DIY TV lift cabinet can be completed with some effort and planning. Additionally, consider making a DIY outdoor tv lift cabinet to elevate your outdoor entertainment experience. Start your project today and enjoy the satisfaction of custom craftsmanship.


