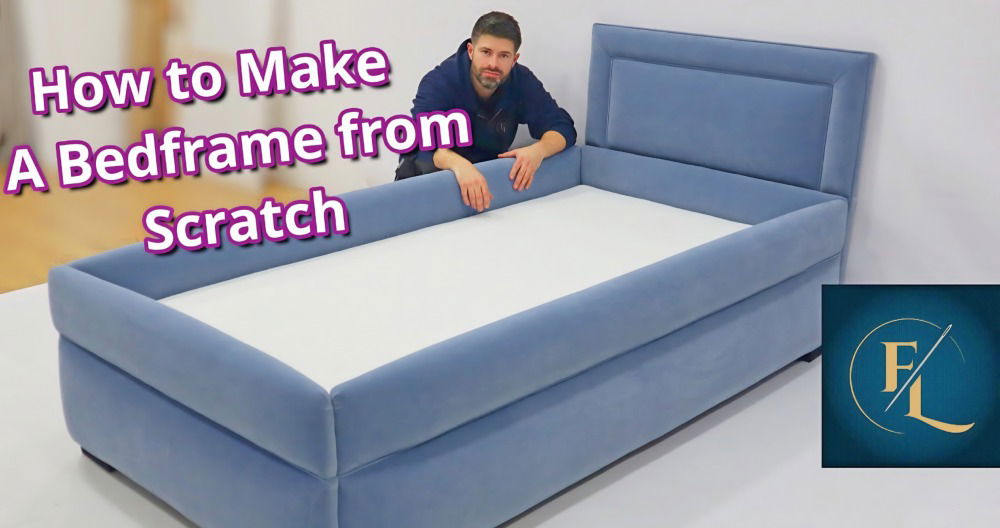
Building my DIY twin bed frame was an exciting project that brought so much joy to my home. I spent hours planning and gathering materials, ensuring I had everything I needed to start. It amazed me how simple making a twin bed frame could be with a clear plan. I felt proud to see my efforts turn into a functional and beautiful bed frame.
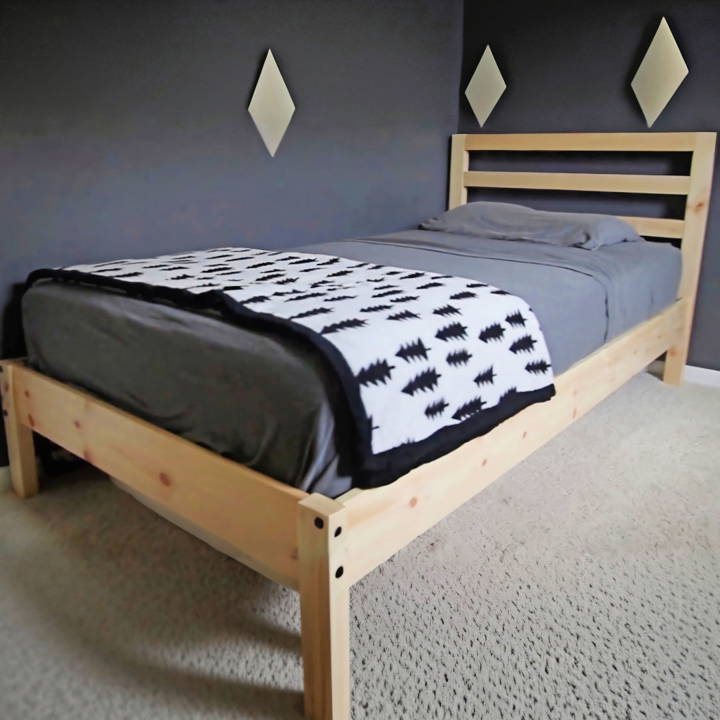
I can say that anyone can build a simple twin bed frame with the right guidance. The satisfaction of constructing something useful with my hands was motivating. I'm helping you with this: Follow the steps below, and you'll have your own twin bed frame in no time.
I encourage you to try the steps given below. They will guide you through making a durable and attractive DIY twin bed frame.
Materials Needed and Their Purpose
- 1x3 and 1x6 Lumber: These serve as the primary building blocks of the bed. The 1x3s were used for the legs and supporting structures, whereas the 1x6s formed the side pieces and headboard elements. I chose these sizes for their visual appeal and structural integrity.
- Wood Glue and Clamps: Essential for bonding pieces together securely. Clamping ensures a tight bond while the glue dries.
- Miter Saw or Circular Saw: These tools are necessary for making accurate cuts. You can choose one based on availability and comfort of use.
- Orbital Sander and Sandpaper (up to 220 grit): These are used to smooth out all surfaces and edges, ensuring the bed is safe to the touch and aesthetically pleasing.
- Flat Head Bolts, Cross Dowel Nuts, Insert Nuts, and Quarter Inch Dowels: These hardware pieces are crucial for assembling the bed securely while allowing for disassembly if needed. Each serves a purpose to strengthen connections and ensure longevity.
- Polyacrylic Finish: A water-based finish was my choice for ease of application and quick drying time, ensuring a durable and attractive final appearance.
Preparing the Materials
The first step was to cut all lumber to the correct lengths according to the design. Accuracy here is key to ensure all pieces fit together seamlessly in later stages. I chose to glue some of the 1x3s together to make thicker legs for a sturdier bed — a tip for anyone looking to enhance the durability and weight capacity of their DIY bed.
Step by Step Instructions
Learn how to build a DIY twin bed frame with step-by-step instructions: gluing, clamping, drilling, sanding, and finishing for a perfect result.
1. Gluing and Clamping Legs and Boards
After cutting, I glued several pieces together to achieve the thickness and strength needed for the bed's legs and certain parts of the headboard. This process requires patience and enough clamps to ensure a tight bond. I learned the hard way that it's better to remove excess glue immediately with a damp cloth to avoid tedious cleanup later.
2. Drilling and Fastening
Using my homemade template (a simple cardboard cutout marked with drill points), I drilled holes for bolts, nuts, and dowels. This step was crucial for aligning the parts correctly before assembly. I employed various fasteners for different parts of the bed — for example, using insert nuts and flat head bolts for the bed frame structure and dowels for the headboard details. Ensuring the right fit for these fasteners was probably the most challenging and rewarding part of the project.
3. Sanding
Before assembly, I gave all pieces a thorough sanding, starting at a lower grit and working up to 220. This made sure all surfaces were smooth and ready for finishing. Chamfering the edges was an added safety step to prevent any sharp corners.
4. Finishing
Applying a polyacrylic finish was the final step before assembly. This not only protected the wood but also gave it a smooth, appealing look. I opted for a water-based finish for its ease of use and quick drying times.
Construction and Assembly
Putting the bed together was a rewarding process, seeing all the pieces fit perfectly thanks to the diligent preparation. One crucial lesson was the importance of trial and error — especially when working with dowels and cross dowel nuts to ensure snug fits without compromising the wood. Assembly required focus, especially when securing the sides to the headboard and ensuring all parts were aligned correctly.
Finishing Touches and Lessons Learned
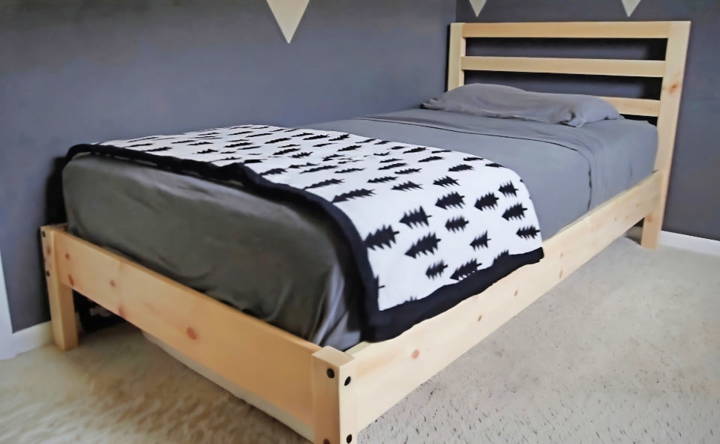
Once assembled, I stood back and appreciated not just the finished bed but also the journey. I was reminded of the importance of preparation, precise measuring, and the willingness to learn from mistakes. The moment the mattress settled on the frame, transforming a pile of wood into a functional piece of furniture, was incredibly satisfying.
Customization Ideas for Your DIY Twin Bed
Building a twin bed that reflects personal style and meets individual needs can be a fulfilling DIY project. Here are some customization ideas to make your twin bed unique and functional:
- Choose a Theme: Start by selecting a theme that resonates with you. Whether it's minimalist, rustic, modern, or whimsical, your theme will guide the design choices you make.
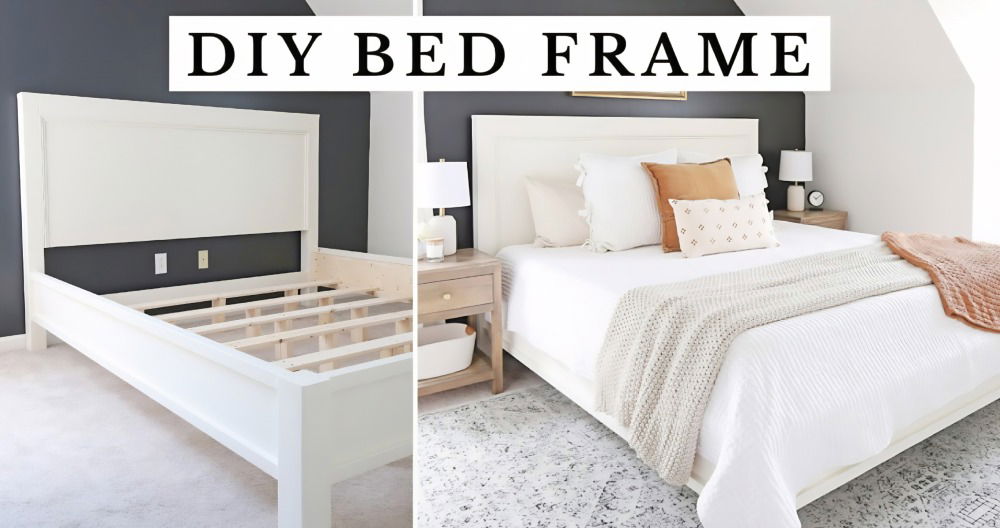
- Headboard Designs: The headboard is the focal point of any bed. Consider building a headboard with built-in shelves for books and decor or upholstering it with fabric for a soft, cozy touch.
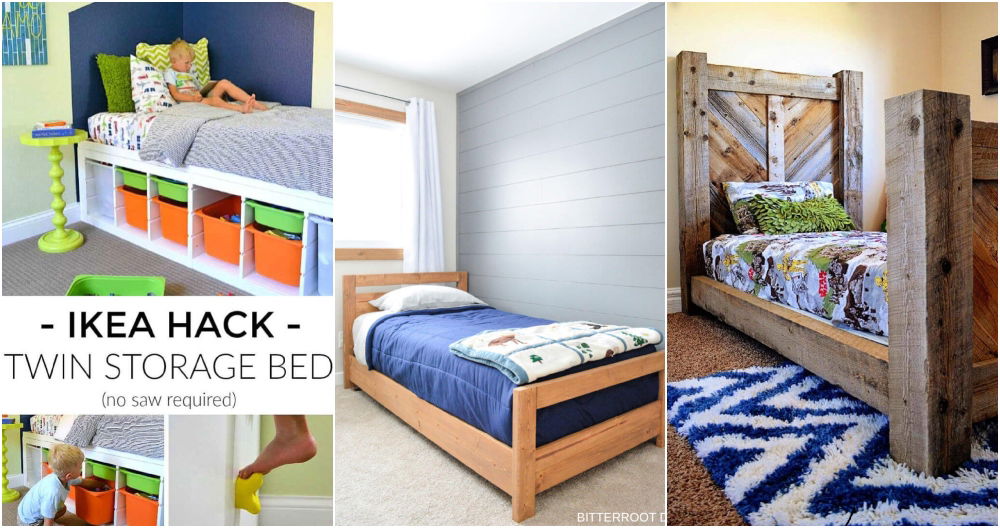
- Storage Solutions: Utilize the space under the bed by adding drawers or rolling bins for extra storage. This is especially helpful in smaller rooms where space is at a premium.
- Creative Painting: Paint your bed frame with colors that match your room's palette. Use stencils or masking tape to build patterns or geometric designs for a more artistic effect.
- Multipurpose Design: Think about how your bed can serve multiple purposes. For example, adding a foldable desk at the end of the bed can turn it into a study area when needed.
- Safety Rails: If the bed is for a child, consider adding safety rails that are both functional and decorative. They can be painted or adorned with their favorite characters.
- Eco-friendly Materials: Choose sustainable materials like reclaimed wood or bamboo. Not only do they look great, but they also reduce environmental impact.
- Adjustable Features: Incorporate adjustable elements such as a headrest or footrest that can be raised or lowered for added comfort.
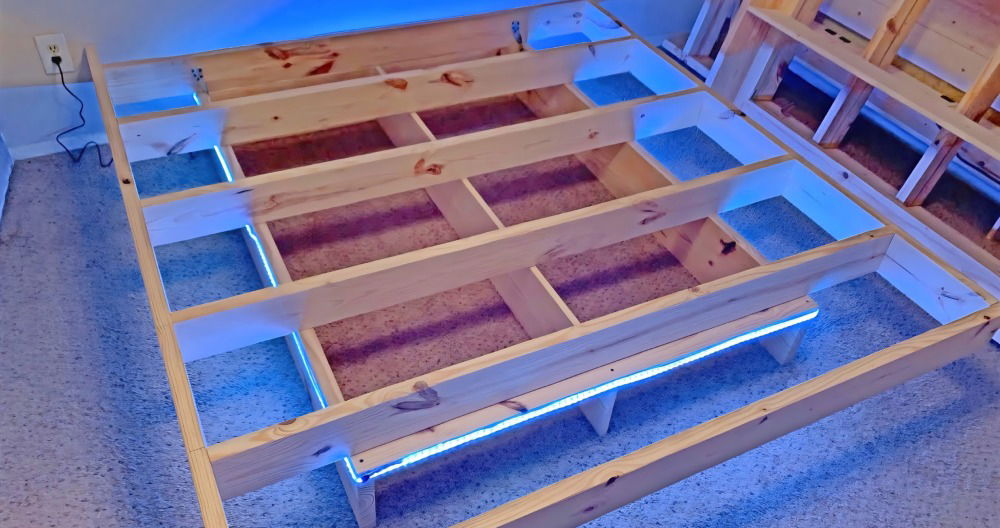
- Lighting: Install LED strip lights under the bed or around the headboard for ambiance and functionality. Choose lights with adjustable brightness and color to suit different moods.
- Personal Touches: Finally, add personal touches like monograms, hand-painted motifs, or fabric trims to make the bed truly your own.
Consider these ideas to customize a twin bed that's comfy and reflects your personality.
Troubleshooting Common Issues
When embarking on a DIY twin bed project, you might encounter a few hiccups along the way. Here's a helpful guide to troubleshoot common issues:
Wood Splitting
- Cause: Often due to drilling too close to the edge or using screws that are too large.
- Solution: Pre-drill holes and use the correct size screws. Consider adding wood glue for extra strength.
Uneven Frame
- Cause: This can happen if the cuts are not straight or the floor is uneven.
- Solution: Use a level to check the frame's evenness. Sand down any high spots or add shims under the legs to balance.
Squeaky Bed
- Cause: Usually a result of loose joints or friction between parts.
- Solution: Tighten all connections. If the noise persists, apply wax or a lubricant to the areas where there's friction.
Mattress Doesn't Fit
- Cause: Possible measurement error or mattress size variance.
- Solution: Double-check the bed frame and mattress dimensions. Adjust the frame size if necessary, ensuring a snug fit.
Stuck Drawers
- Cause: Drawers may stick due to humidity or improper installation.
- Solution: Ensure drawers are square and install drawer slides correctly. Use a dehumidifier in humid climates.
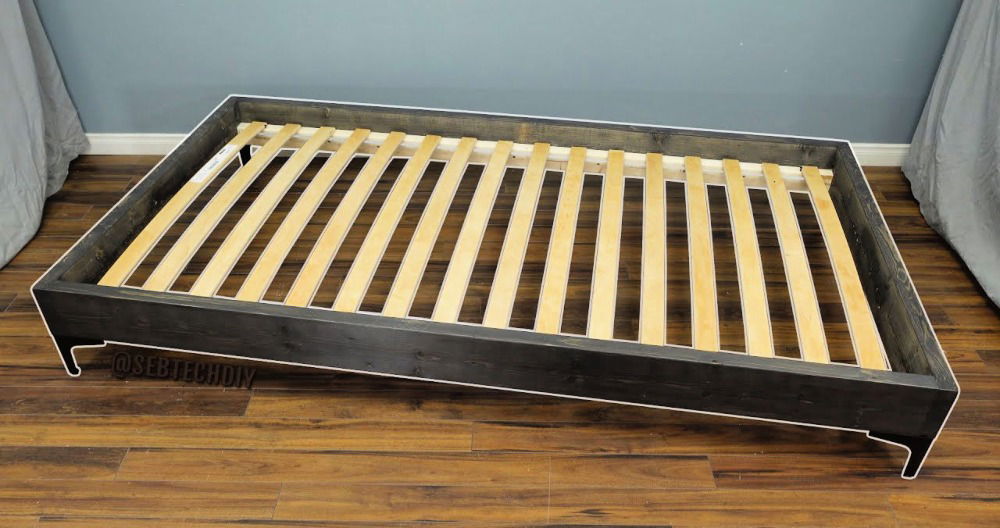
Weak Bed Slats
- Cause: Slats may be too thin or spaced too far apart.
- Solution: Replace with thicker slats or add more slats to distribute weight evenly.
Finish Flaws
- Cause: Dust or uneven application can mar the finish.
- Solution: Sand the area lightly and reapply the finish. Work in a clean, dust-free environment.
Misaligned Holes
- Cause: Drilling without marking or a shifted workpiece.
- Solution: Measure and mark carefully before drilling. Clamp down pieces to prevent shifting.
By addressing these common issues, you can ensure a smoother DIY experience and a sturdier, squeak-free twin bed.
FAQs About DIY Twin Bed
Discover answers to the most common faqs about DIY twin bed projects, including materials, tools, and step-by-step instructions for a successful build.
Absolutely! One of the best parts about DIY is the ability to customize. You can adjust the dimensions to fit a specific mattress size, add storage underneath, or even create a unique headboard design. Just make sure to plan your design carefully before you start building.
The time it takes can vary based on your skill level and the complexity of the design. However, a simple twin bed frame can typically be built in one weekend. It’s a great project to tackle over a couple of days.
Yes, building your own bed frame can be very cost-effective. It allows you to save money compared to buying a pre-made frame, and you can also choose materials that fit your budget. With careful planning and shopping around for materials, you can build a sturdy and stylish twin bed frame for under $50.
To ensure your twin bed frame is sturdy, follow these tips:
Use thick, high-quality lumber for the main supports.
Reinforce joints with wood glue in addition to screws.
Install middle support beams if your design allows, especially if the bed will be used by adults.
Make sure all screws are tightened properly and check them periodically.
Here are some common mistakes to avoid:
Not measuring twice before cutting. Always double-check your measurements.
Skipping the sanding process. Sanding is crucial for a smooth finish and to prevent splinters.
Forgetting to square up the frame during assembly. Use a carpenter's square to ensure all corners are 90 degrees.
Overlooking the need for a ventilated mattress foundation. Ensure there's enough space between slats for mattress breathability.
Final Thoughts:
Wrapping up, building a simple DIY twin bed frame is a rewarding project that adds personal touch to your home. Following these steps will give you a sturdy and attractive piece. With basic tools and materials, you can build a functional and stylish twin bed that fits perfectly in any space. Dive into this fun and practical project and enjoy the satisfaction of your handiwork.


