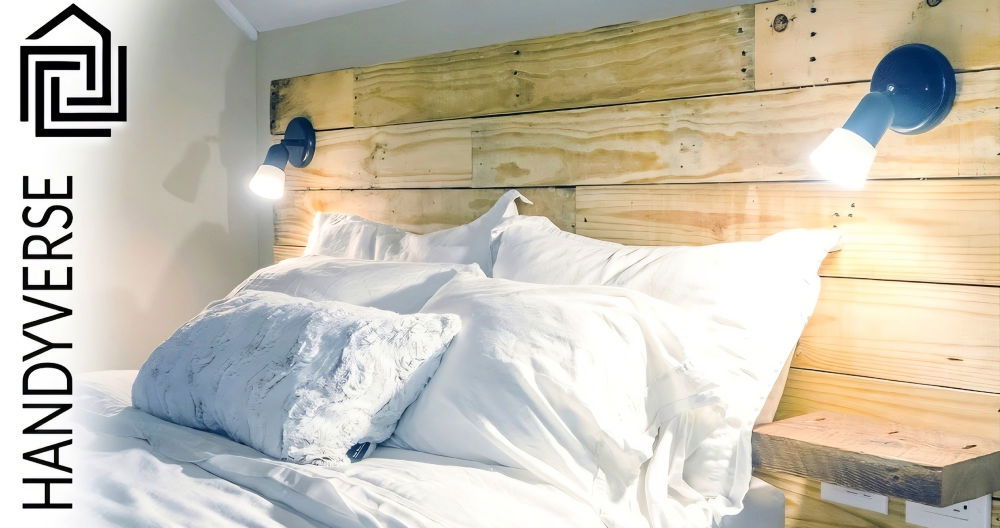
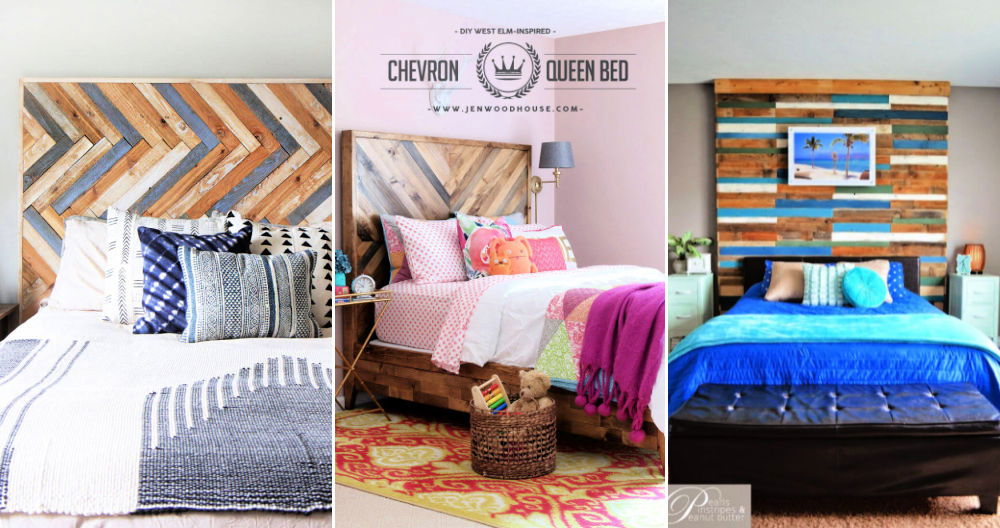
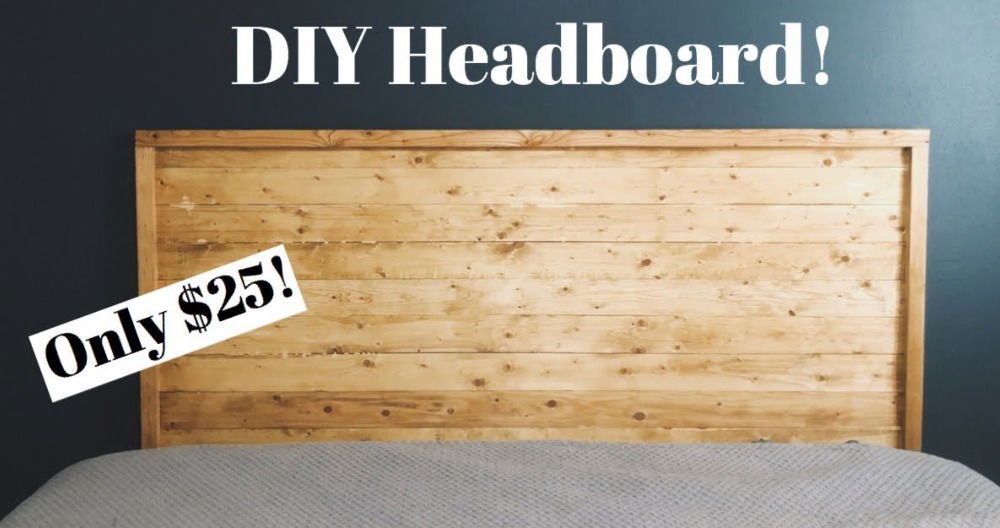
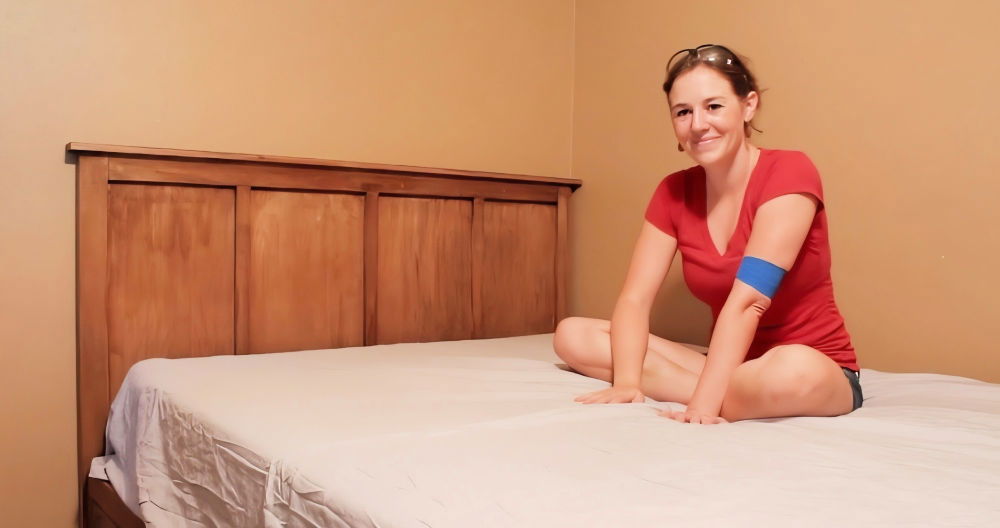
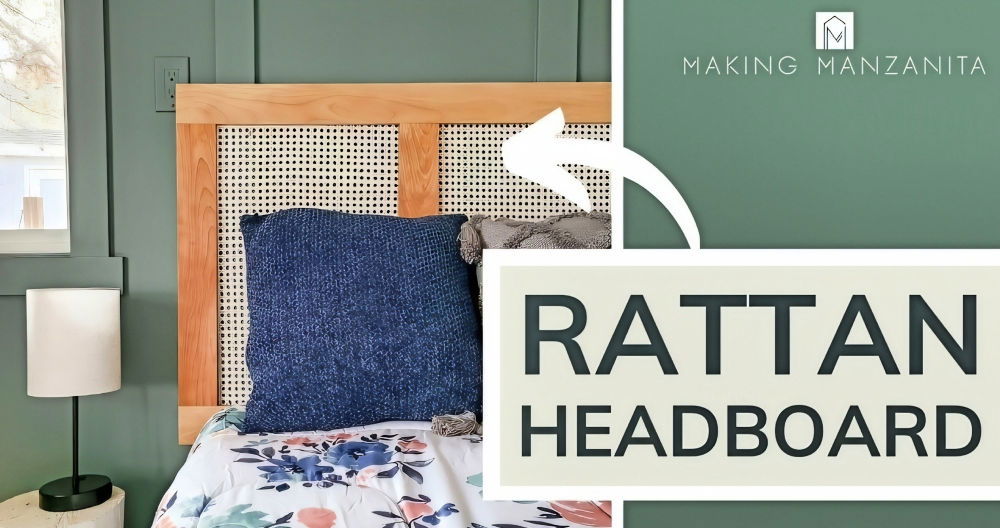
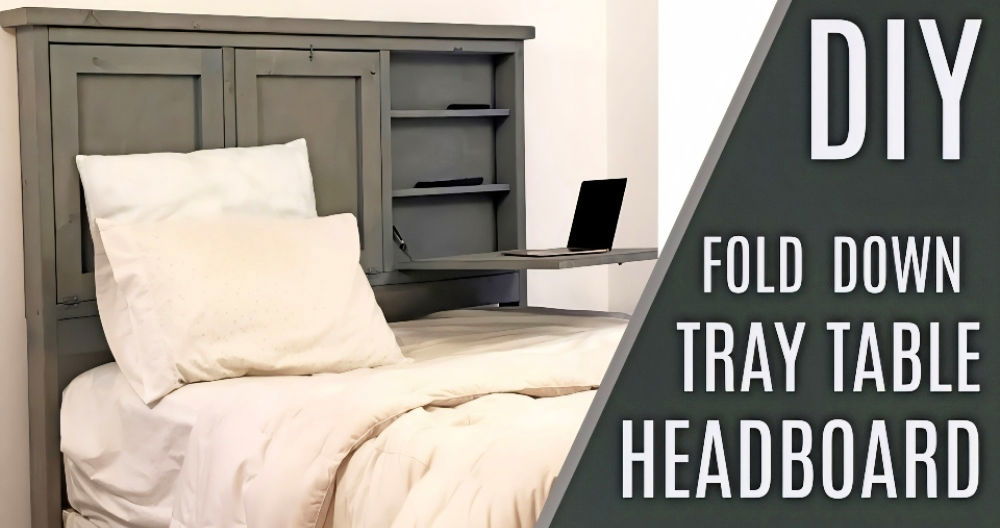
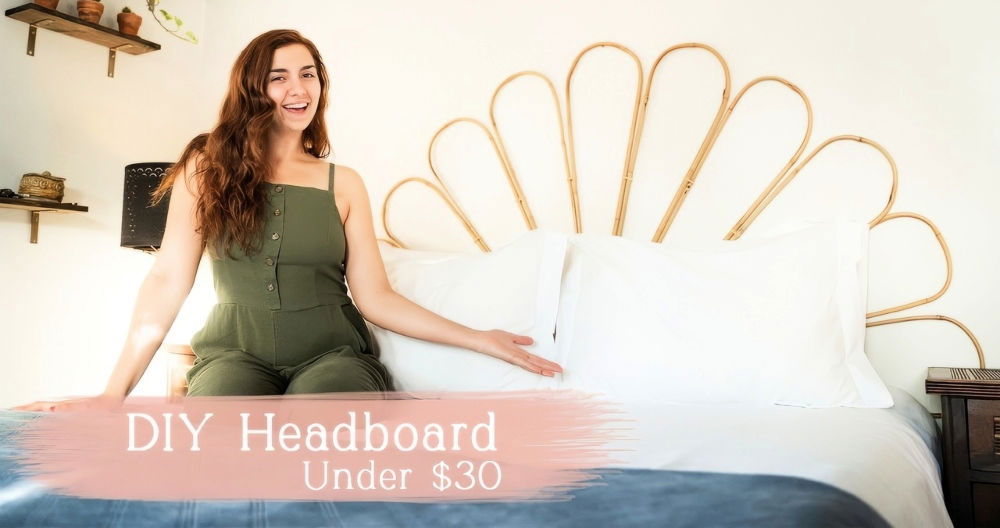
Building a DIY twin headboard is an enjoyable project that adds a personal touch to your bedroom. Not only does it save money, but it also allows you to craft a piece perfectly suited to your space. With simple tools and readily available materials—even scrap wood—you can make a stylish, custom headboard that elevates your room's aesthetic.
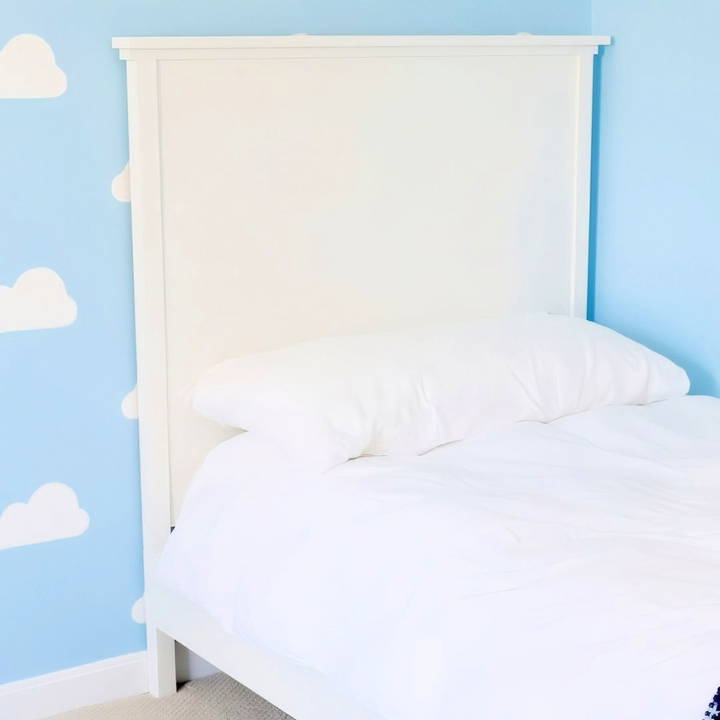
Why Make Your Own Headboard?
Traditionally, headboards were more than just decorative pieces; they served a functional purpose by making a gap between the wall and the bed. This design helped send cold air from uninsulated walls toward the floor, preventing drafts from disturbing your sleep.
However, with modern insulation and heating, headboards no longer need to serve this practical function. Today, they are primarily aesthetic, keeping your pillows in place and providing a stylish backdrop for your bed. Building your own headboard gives you complete control over the design, allowing you to match it perfectly to your room decor.
Materials and Tools You'll Need
Before getting started, gather all your materials and tools to ensure the building process runs smoothly. Here's a list of what you'll need:
Materials:
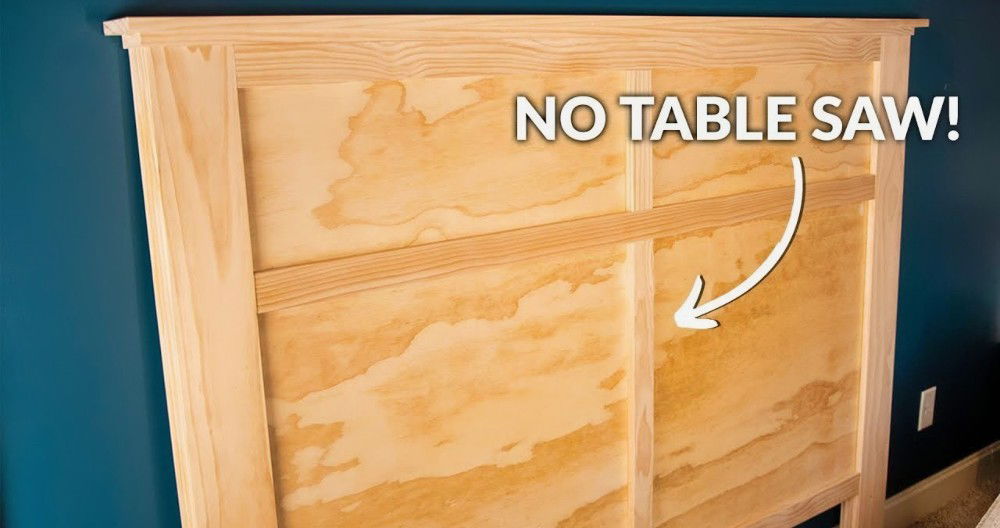
- 3/4-inch plywood: You'll need enough plywood to build the body of the headboard. If you don't have a full sheet, like in this example, you can join smaller pieces together.
- 2x2 wood posts: These will serve as the outside frame for your headboard.
- 1x2 and 1x3 boards: These boards will be used for the trim on the top of the headboard.
- Wood glue: Essential for securing the wood pieces together.
- Pocket screws: 1 1/4-inch pocket screws are recommended for joining the plywood to the frame.
- Pocket hole plugs: Optional, but useful for covering up the pocket holes for a cleaner finish.
- Wall cleat: A 1x4 board cut at a 45-degree angle to build a cleat for mounting the headboard to the wall.
- Wall anchors: If you're not able to secure the cleat into two wall studs, anchors will ensure a secure fit.
Tools:
- Circular saw: To cut the plywood and other pieces of wood to size.
- Router (optional): Useful for adding decorative details like a micro-bevel to mimic the look of separate boards.
- Kreg jig: This tool will help you build pocket holes for joining the plywood to the frame.
- Clamps: You'll need plenty of clamps for securing pieces while the glue dries.
- Stud finder: Necessary for finding the studs in your wall when hanging the headboard.
- Drill and drill bits: For making holes and screwing in the cleat and frame.
- Forstner bit: To build holes for sinking screws into the cleat and ensuring a flush fit.
Step by Step Instructions
Learn how to build a DIY twin headboard with step-by-step instructions, from preparing plywood to finishing touches. Perfect weekend project!
1. Preparing the Plywood
If you have a full sheet of 3/4-inch plywood, you can skip this step. However, if you're working with leftover pieces, start by joining two sections together. Use wood glue and pipe clamps to hold the pieces in place while they dry.
Once the pieces are secured, trim the plywood to the desired dimensions for your twin headboard. The typical size for a twin headboard is about 40 inches wide by 36 inches tall, but you can adjust the size based on your bed and preferences.
2. Adding Decorative Grooves (Optional)
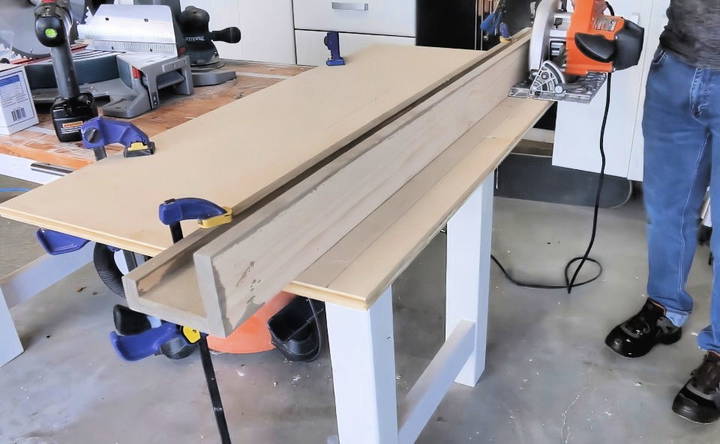
If you want to give the appearance of separate boards rather than a solid piece of plywood, use a router to carve in micro-bevels every 5 1/4 inches (the width of a 1x6 board).
If you don't have a router, you can achieve a similar effect with a circular saw. This step is optional, but it adds a nice decorative touch to make the headboard look more polished.
3. Making the Frame
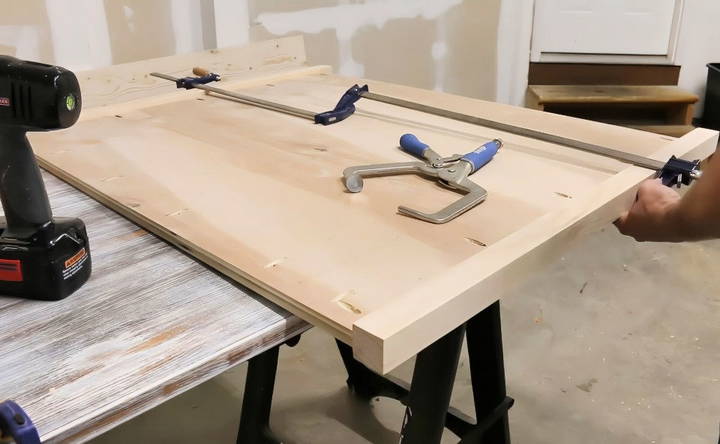
Next, you'll attach the 2x2 wood posts to the sides of the plywood. These will form the frame of the headboard. Start by drilling pocket holes along three sides of the plywood using the Kreg jig, spacing them about 8 inches apart. Remember to leave a little space (around 3/8 of an inch) between the edge of the plywood and the 2x2 posts to ensure everything fits flush later.
Apply wood glue to the edges of the plywood and align the 2x2 posts. Use clamps to hold them in place and drive 1 1/4-inch pocket screws through the holes you buildd to secure the frame.
4. Attaching the Top Trim
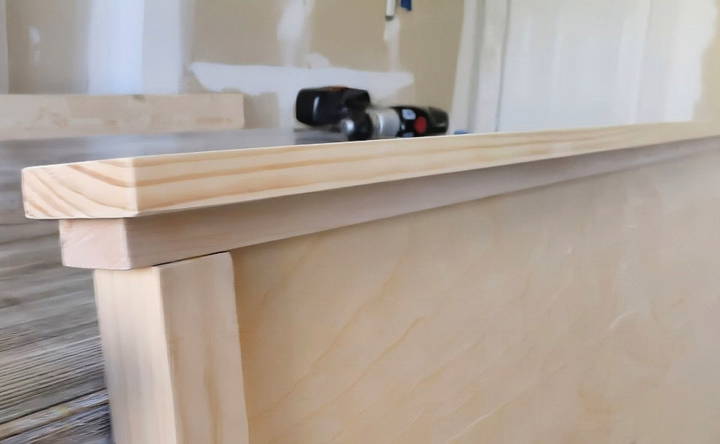
The top trim consists of a 1x2 board and a 1x3 board. The 1x3 board will form the main part of the trim, while the 1x2 sits on top to build a layered effect.
Mark the centerline of the top edge of your headboard, then center the 1x3 trim board on top, leaving a half-inch overhang on each side. Apply wood glue and clamp the board in place. Repeat the process with the 1x2 board, aligning it with the 1x3 board.
Secure the trim pieces with clamps until the glue dries. If you like, you can also add pocket screws from underneath for extra strength.
5. Filling in Pocket Holes
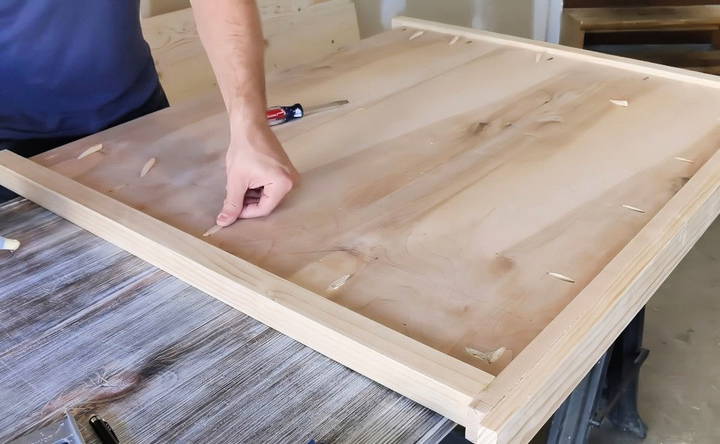
Now, it's time to cover up the pocket holes for a cleaner look. Apply a little wood glue to the pocket hole plugs and insert them into the holes. Once the glue is dry, trim off any excess and sand the surface smooth.
Mounting the Headboard
Once your headboard is built, it's time to hang it on the wall. Follow these steps for secure and level mounting:
6. Preparing the Cleat
To mount the headboard, you'll need to build a wall cleat. This is a simple but effective way to hang heavy objects securely. Set your table saw to a 45-degree angle and cut a 1x4 board down the middle. This will give you two pieces: one for the back of the headboard and one for the wall.
7. Attaching the Cleat to the Headboard
Now that the cleat is cut, attach one half of it to the back of the headboard. First, laminate two pieces of scrap wood together (about 10 millimeters thick) and attach them to the back of the headboard using wood glue. This will help level out the cleat with the rest of the headboard frame.
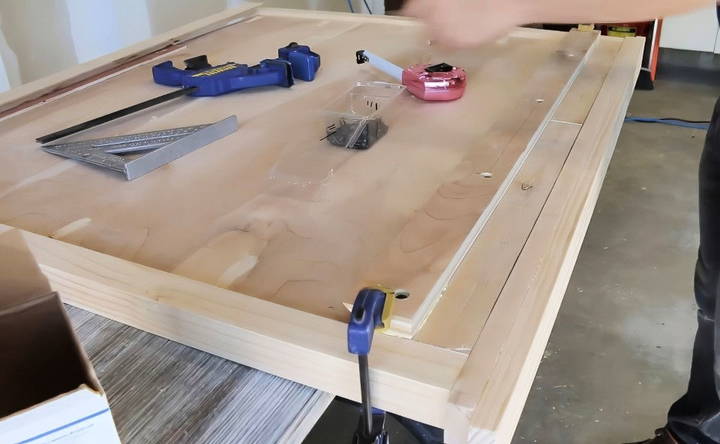
Once the scrap wood is in place, use a Forstner bit to build recessed holes for the screws. Pre-drill holes and attach the cleat with wood glue and screws.
8. Installing the Wall Cleat
With the cleat securely attached to the back of the headboard, it's time to install the other half of the cleat on the wall.
Start by placing the headboard in position behind the bed and marking where the bottom of the cleat falls. Use a stud finder to locate the wall studs, as you'll want to secure the cleat into at least one stud for added stability.
Once the stud is marked, drill holes in the wall and insert wall anchors where there are no studs. Line up the cleat with your marks, and use a level to ensure it's perfectly straight. Attach the cleat to the wall with screws.
Finishing Touches
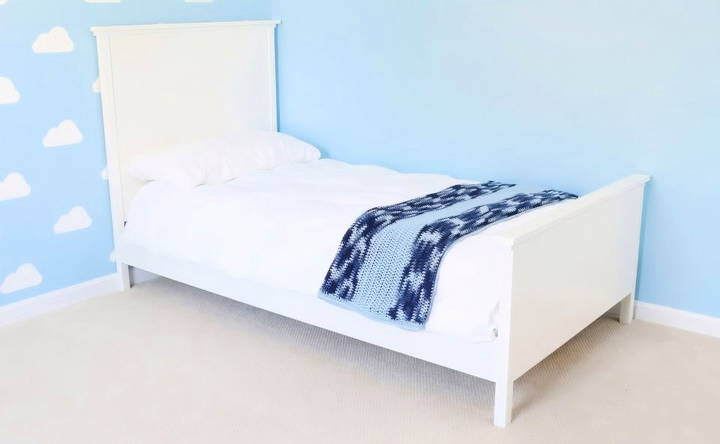
Now that the cleat is attached, simply lift the headboard and hook it onto the wall cleat. Adjust the position if necessary to make sure everything is level.
If desired, you can finish your headboard with stain or paint to match the rest of your bedroom furniture. Sand down any rough spots and apply your chosen finish with a brush or roller. Allow it to dry completely before using.
Conclusion
Building your own twin headboard is a fun and fulfilling project that can be completed in just a few hours, depending on your level of experience. The beauty of this project is its flexibility—you can adjust the design, materials, and finish to suit your personal style and room decor. Plus, by using leftover wood or scrap materials, you can build a stunning piece of furniture that doesn't break the bank.
With the help of basic tools like a circular saw, Kreg jig, and clamps, you'll have a functional and decorative headboard ready to hang in no time. Give it a try and enjoy the satisfaction of a beautiful, custom-made headboard!
FAQs About DIY Twin Headboard
Discover answers to faqs about DIY twin headboard projects. Get step-by-step guidance, materials needed, and creative design ideas.
You can join two or more smaller pieces of plywood together using wood glue and clamps. Ensure the pieces are securely glued and clamp them until dry for a strong bond.
Use a router to carve micro-bevels along the surface of the plywood, creating the illusion of 1x6 boards. If you don’t have a router, you can use a circular saw to achieve a similar effect.
A router is optional for creating decorative grooves. Instead, you can use a circular saw to mimic the look of separate boards, but this step is purely decorative and not required for the structure.
Absolutely! The project encourages using leftover materials. If your scraps don’t fit the dimensions, you can join them with wood glue or add layers to build thickness.
After attaching the cleat to the headboard, use a stud finder to locate wall studs. Use a level to ensure the cleat on the wall is straight before securing it with screws and anchors.
Use wall anchors to secure the cleat if studs aren’t located in the right spot. These provide the additional support needed to hold the headboard securely.
You will need to unmount the headboard, move the bed, and remount the headboard in the new location. Filling the old holes with putty and touching up with paint is a simple fix.
Valspar's chalky finish paint in "kid white" was used for the project. Chalk paints are a great choice for making a soft, matte finish that works well with most decors.
Yes, you can adjust the size to match any bed frame or style. The typical dimensions for a twin headboard are around 40 inches wide by 36 inches tall, but you can scale up or down depending on your needs.
Pocket hole plugs are used to cover the pocket screw holes for a cleaner finish. While not necessary for function, they improve the overall appearance of the headboard. Simply glue them in place, trim any excess, and sand them smooth.
A French cleat provides strong, level support and makes it easier to hang large items like a headboard. It allows for simple removal and adjustment while keeping the headboard securely in place.


