Brightening up your kitchen with this DIY under-cabinet lighting is a fantastic way to add ambiance and functionality. With the right materials and tools, you can achieve a sleek, professional-looking installation without a large budget or professional expertise. This guide will provide detailed instructions for each step of installing under-cabinet lighting with COB LED strips, ensuring optimal brightness and minimal visibility.
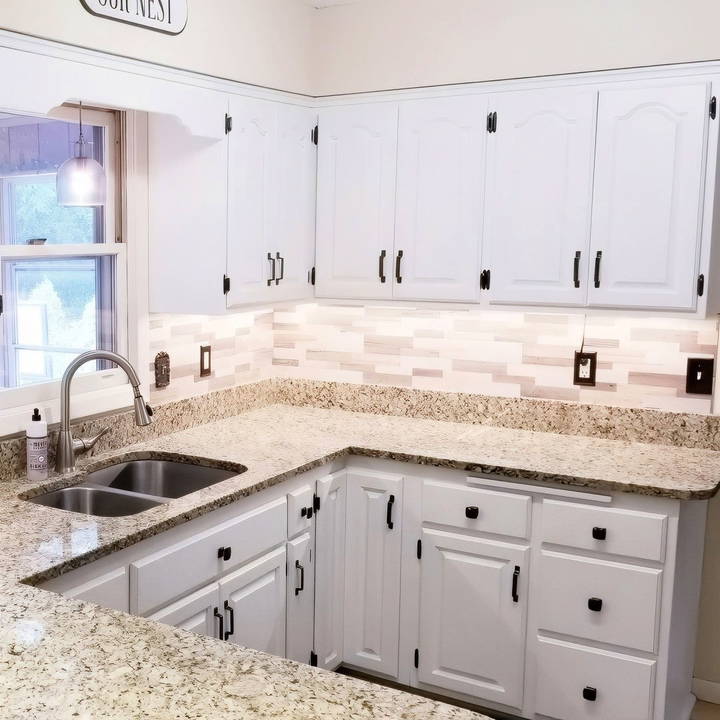
Why Choose Under-Cabinet Lighting?
Under-cabinet lighting provides focused light on countertops, making food preparation safer and more enjoyable. It also adds a modern look to any kitchen by making a warm, ambient glow that can transform a dark kitchen into an inviting space.
Materials Needed
Here's a comprehensive list of everything you'll need for this DIY project:
- COB LED Strip: Choose a strip with a high CRI (Color Rendering Index), preferably above 90, for true color representation.
- Aluminum Channels: These will house the LED strips, aiding heat dispersion, and giving the lights a professional look.
- Dimmer Dial: Optional but recommended to adjust brightness.
- Power Supply Unit: Ensure it matches the voltage and amperage requirements of your LED strip.
- Wire Stripper: For stripping wires for connections.
- Wago Connectors: For secure, tool-free wire connections.
- LED Strip Connectors: For connecting LED strips without soldering.
- White Silicone Wires (18-gauge): To connect different LED strips or sections.
- Cord Organizer System: To keep cables and wires neat.
- Thumb Tacks & Double-Sided Tape: For securing channels and wires under the cabinets.
Step by Step Instructions
Learn how to install under-cabinet lighting with this DIY guide. Follow step-by-step instructions to enhance your kitchen's ambiance easily.
Step 1: Plan Your Layout and Placement
Optimize your space with expert layout planning and perfect aluminum channel selection for efficient and stylish design solutions.
Evaluate Your Space
Start by assessing your kitchen space. Under-cabinet lighting is most effective when evenly spread out along your countertops. Here's how to get started:
- Measure the length of each cabinet section where you want the lights.
- Choose Placement: For most installations, placing the strip in the middle or near the front edge of each cabinet gives the best lighting.
Select the Right Aluminum Channels
Aluminum channels are essential to keep the lighting low profile and dissipate heat, which helps prolong LED lifespan. Select channels with a diffuser to soften the light. Popular options include:
- Silver with White Diffuser
- Black with White Diffuser
- Black with Black Diffuser
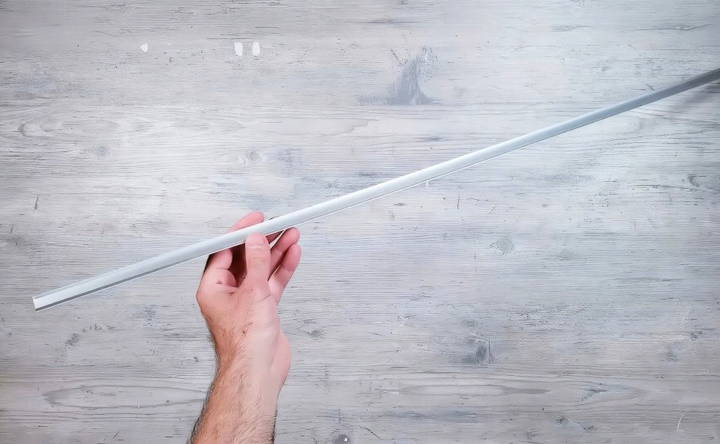
These channels also allow for easy customization if your layout requires bending or twisting.
Step 2: Measure and Cut Aluminum Channels and LED Strips
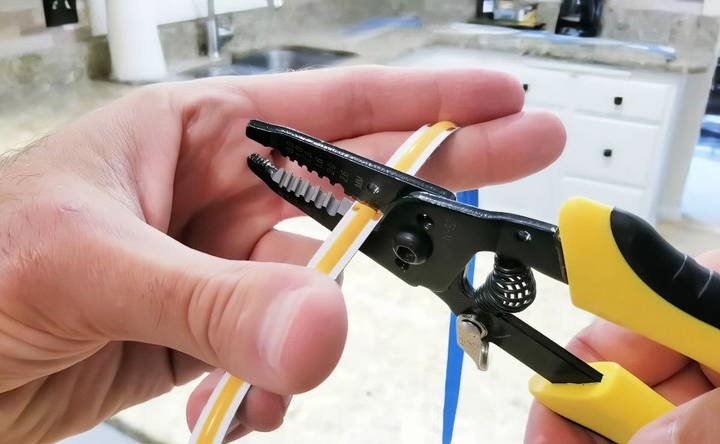
After planning, measure and cut the aluminum channels and LED strips to fit each cabinet section.
- Cutting the Aluminum Channels: Use a hacksaw or a miter saw to cut aluminum channels to your desired lengths. Cut the diffuser using scissors or a utility knife. Double-check your measurements to ensure a perfect fit.
- Cutting the LED Strips: COB LED strips typically come with marked cut points. Use scissors to cut along these points for precise lengths.
Step 3: Connect LED Strips
There are two primary ways to connect LED strips: using connectors or soldering. Here's a breakdown of each method.
Option 1: Using LED Strip Connectors (Plug-and-Play)
This method is beginner-friendly and doesn't require any special tools.
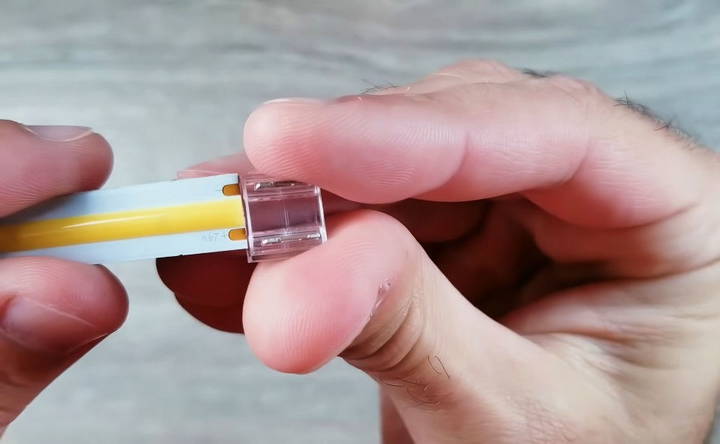
- Insert the Strips: Place each end of the LED strips into the connectors.
- Secure the Connection: Press down on the silver clamps to hold the wires in place.
If you need to connect LED strips with a gap between them, follow these steps:
- Insert the red and black wires into the connectors, and press down to make a secure connection.
- To extend the distance, cut the wire in the middle, strip the ends, and use additional silicone wires to reach the necessary length.
Option 2: Soldering the Connections
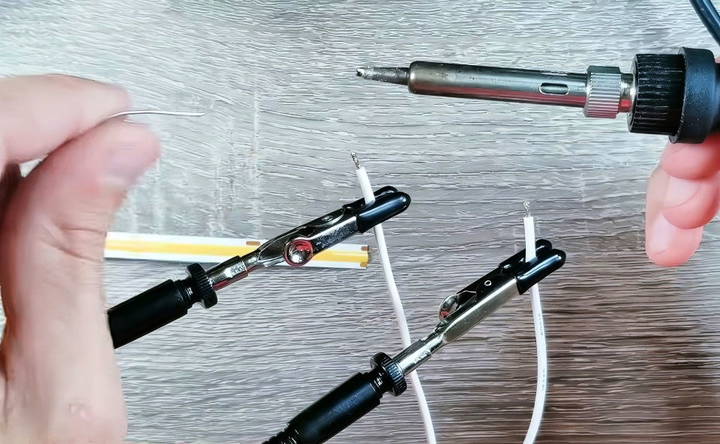
Soldering provides a more permanent and reliable connection. This method may be preferable if you're familiar with soldering techniques.
- Strip the Wires: Strip the ends of the wires and prepare them for soldering.
- Attach the Wires to the Strips: Carefully solder the positive and negative wires to each LED strip, making sure you connect the correct terminals.
- Test the Connections: After soldering, test the strips to ensure everything works correctly.
Step 4: Secure Aluminum Channels Under Cabinets
To install the aluminum channels, you can choose between using 3M double-sided tape or screws.
- Method 1: Double-Sided Tape: 3M double-sided tape is perfect for those who want to avoid drilling into cabinets. Cut the tape to the length of the aluminum channels and press firmly onto the cabinet surface.
- Method 2: Screwing in the Channels: If you prefer a more secure attachment, use the provided screws to attach the channels to the underside of your cabinets.
Step 5: Position and Attach LED Strips
Once the channels are in place, it's time to attach the LED strips.
- Feed the Wires: Drill small holes at the ends of the channels to feed the wires through.
- Attach the Strips: Remove the adhesive backing on the LED strips and press them into the channels.
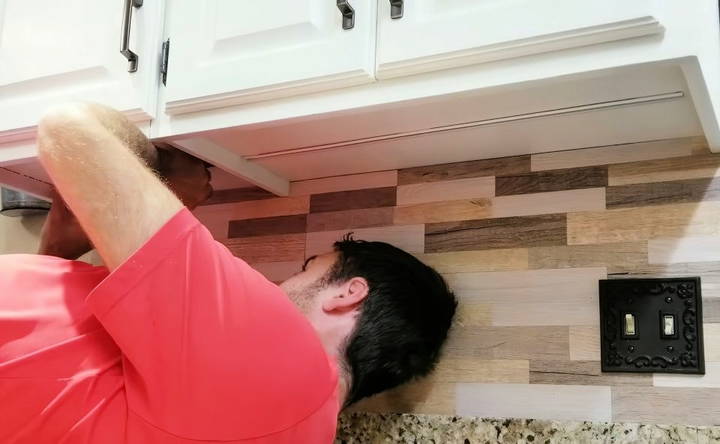
Step 6: Manage and Hide Wires
To keep your setup clean and organized, use cable concealers and clips to hide wires.
- Run the Wires: Carefully run wires along the underside of the cabinets, securing them with thumbtacks or cable clips.
- Drill Holes for Hidden Wiring: If you need to route wires between cabinet sections, drill small holes to pass them through. This step can help achieve a seamless look.
Step 7: Install Power Supply and Dimmer Dial
For this project, you'll need a 24V, 3A power supply unit to support the COB LED strips.
Installing the Power Supply
- Drill a Small Hole: If you want to keep the power supply hidden, drill a hole in the back of the cabinet.
- Feed the Cord Through: Cut the power supply cord in half, feed it through the hole, and reconnect it using Wago connectors.
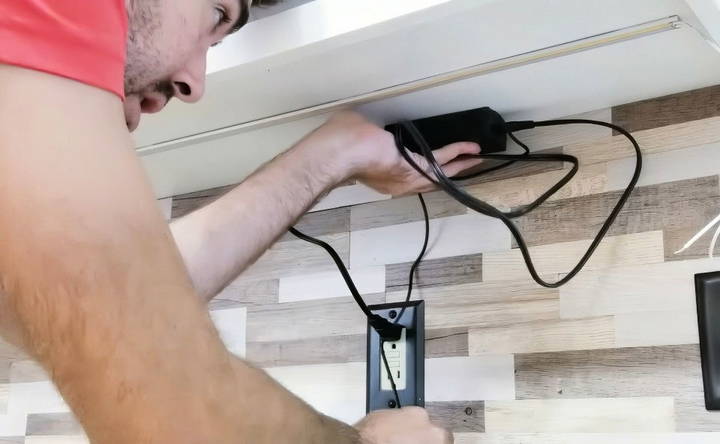
Setting Up the Dimmer Dial
A dimmer dial adds versatility, allowing you to adjust the brightness according to your needs. Here's how to install it:
- Connect Wires: Connect the input side of the dimmer dial to the power supply, and the output side to the LED strip wiring.
- Position the Dial: Attach the dimmer dial under the cabinet or near your main light switch for easy access.
Step 8: Final Testing and Adjustments
With all components connected, it's time to test your setup:
- Power On: Plug in the power supply and turn on the dimmer dial.
- Check Each Connection: Verify that all sections of LED strips are illuminating correctly and that the dimmer is functioning as expected.
- Adjust Brightness: Use the dimmer dial to set the lighting to your desired brightness level.
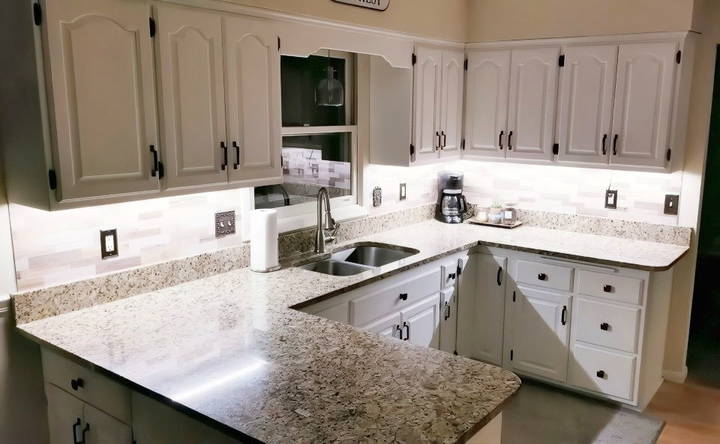
Additional Tips for a Professional Finish
- Use Cable Concealers: Hide bulkier wires with cable concealers inside cabinets for a cleaner look.
- Tape or Clip Connectors: To keep Wago connectors out of sight, secure them with tape or clips along the cabinet walls.
Conclusion
By following this guide, you can enhance your kitchen with under-cabinet lighting that is both functional and stylish. This DIY project not only improves kitchen aesthetics but also adds practical value. With COB LED strips, aluminum channels, and the optional dimmer, you'll have a versatile lighting setup that elevates your kitchen experience.
FAQs About DIY Under Cabinet Lighting
Explore FAQs about DIY under cabinet lighting for tips, installation guides, and troubleshooting to enhance your home lighting solutions.
COB LED strips offer higher brightness with even light distribution, making them ideal for under-cabinet lighting. They also have high CRI, ensuring colors appear natural.
While not essential, a dimmer dial offers flexibility. You can adjust the brightness for different tasks, from full lighting during cooking to a soft glow for ambiance.
With proper installation, COB LED strips in aluminum channels can last several years. Aluminum channels help dissipate heat, prolonging the lifespan of your LEDs.
For setups with gaps like windows or sinks, you can bridge LED strips using extended silicone wires. Drill small holes near the edges of the cabinets, run the wires through, and conceal them within the cabinetry. Alternatively, you can use Wago connectors to attach longer wires as needed for seamless power flow across separate areas.
Yes, you can connect the power source to a dimmable wall switch, like the Lutron Caseta series, to control the lights conveniently from a wall switch. For setups requiring smart controls, adding a dimmer-compatible LED driver ensures compatibility and enables control over brightness without needing additional remote controllers.
Flickering often results from an incompatible power supply or loose connections. Verify that your LED strips and power supply match in voltage (e.g., both 24V). Ensure that all connectors are secure, and if flickering persists, try upgrading to a higher-wattage power supply to support the LED load effectively.
Yes, running wiring through walls is an option for a cleaner look, but always check local codes. Alternatively, for easier installation, route the wires neatly along the cabinetry edges or frame. Using cable concealers or cord channels can effectively hide the wires without opening walls.
Aluminum channels offer heat dispersion, prolonging the LED lifespan and reducing fire risks. They also secure the LED strips more effectively than adhesive alone and provide a polished look with diffusers to soften the light, preventing harsh reflections on glossy countertops.
24V LED strips allow longer uninterrupted runs without significant brightness drops, making them ideal for expansive kitchen layouts. For shorter spans, 12V strips can be just as effective. Be sure to pair the strips with a power supply of the same voltage for consistent performance.
Install an outlet inside a cabinet or above the cabinets to eliminate visible cords. Alternatively, you can use low-profile extension cords or cord concealers to reduce visibility. For those who don’t mind DIY electrical work, adding an outlet inside the cabinetry is another option to ensure a neat appearance.
No, soldering isn’t mandatory. LED connectors allow you to connect strips without soldering by securing the wires into clips. However, soldering provides a more reliable connection if you’re comfortable with it, reducing the risk of loose connections over time.
Place the LED strips 1-2 inches from the front edge of the cabinet bottom, directing light away from the countertop's edge. This positioning reduces shadow lines and ensures even lighting across the countertop surface. Using angled channels can also help control light direction for more uniform illumination.


